

A garden gate is more than just an entry point; it is the first impression of your personal outdoor sanctuary. Whether you want to keep pets safe, add privacy, or simply enhance your curb appeal, building your own gate allows for a custom fit and style that pre-made options rarely offer.
Many homeowners feel intimidated by the idea of woodworking, assuming it requires professional skills or expensive tools. However, learning how to make a garden gate is a surprisingly accessible project for beginners.
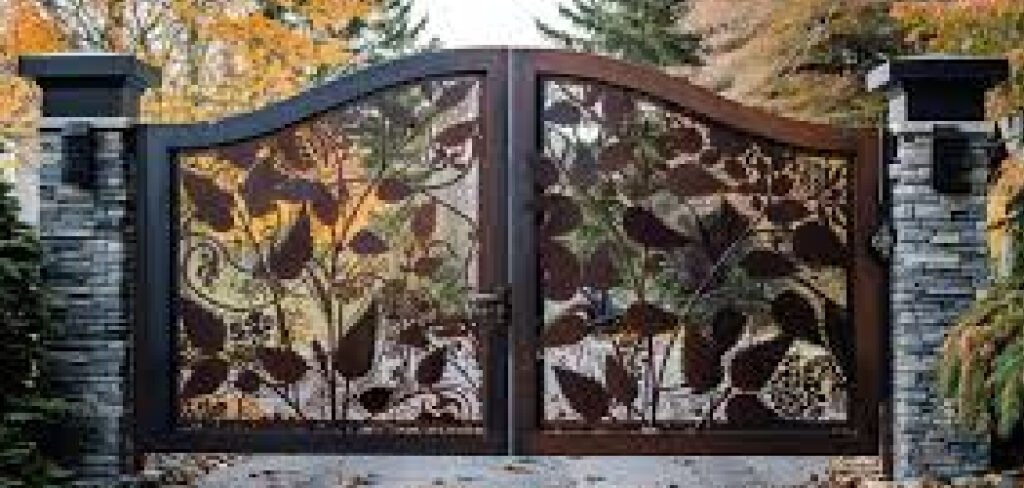
With a few standard lumber boards, basic hardware, and a free weekend, you can construct a sturdy, beautiful barrier that stands the test of time.
This guide breaks down the process into manageable steps, ensuring you have the confidence to measure, cut, and assemble a gate that functions perfectly and looks professionally made.
Why Build a Garden Gate?
Building your own gate offers significant advantages over buying a mass-produced one. First and foremost is customization. Most garden openings are not perfectly standard sizes, especially in older fences or unique landscaping layouts. A DIY approach ensures a perfect fit without awkward gaps or the need for expensive custom ordering.
Secondly, you control the quality of materials. Store-bought gates often use lower-grade lumber or staples that fail after a few seasons of weather exposure.
By selecting your own cedar or pressure-treated pine and using proper screws, you ensure longevity. Finally, there is the undeniable satisfaction of craftsmanship. Every time you unlatch that gate to water your tomatoes or welcome a guest, you will feel a sense of pride knowing you built it with your own hands.
Step-by-Step Guide on How to Make a Garden Gate
This section covers the essential phases of construction, from initial measurements to the final latch installation. Follow these prose instructions carefully to ensure a square, sag-free result.
Step 1: Measure the Rough Opening Accurately
The success of your entire project depends heavily on the accuracy of your initial measurements. You must measure the width of the opening between your two fence posts at the top, middle, and bottom, as outdoor posts can often bow or twist over time.
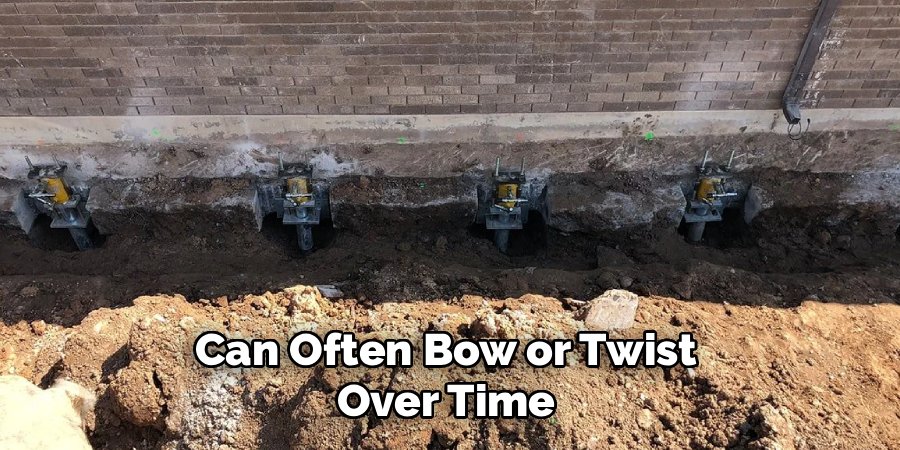
Take the smallest of these three measurements and subtract roughly one inch to determine your gate’s actual width.
This deduction is critical because you need half an inch of clearance on both the hinge side and the latch side for the hardware to operate smoothly. Without this gap, your gate will bind against the post during humid weather when the wood naturally swells.
Step 2: Select and Cut Your Lumber
Once you have your dimensions, choose a durable wood species like cedar or redwood, which naturally resists rot and insect damage. You will need two vertical boards for the sides, known as stiles, and two horizontal boards for the top and bottom rails.
Using a circular saw or miter saw, cut the vertical stiles to your desired height, typically matching the height of your existing fence. Next, cut the horizontal rails to the width you calculated in the previous step. It is helpful to sand any rough edges now before assembly begins to ensure a professional, splinter-free finish that is safe to handle.
Step 3: Assemble the Frame on a Flat Surface
Find a completely flat area, such as a driveway or garage floor, to lay out your cut pieces. Arrange the two vertical stiles and the two horizontal rails to form a rectangle. It is essential to check that the corners are perfectly square before fastening anything together.
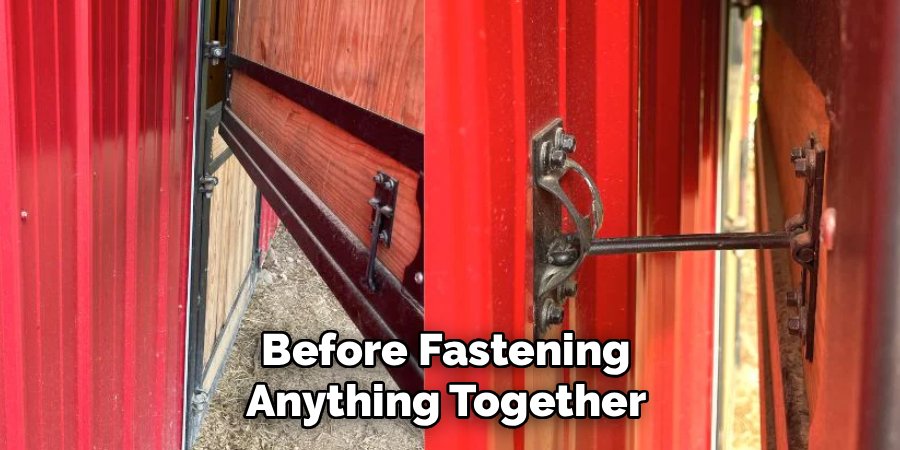
You can do this by measuring diagonally from corner to corner; if the measurements are identical, your frame is square. Apply a waterproof wood glue to the joints for added strength, then secure the rails to the stiles using decking screws. Pre-drilling pilot holes is highly recommended to prevent the wood from splitting near the edges.
Step 4: Install the Diagonal Cross-Brace
A rectangular frame without support will eventually sag and drag along the ground due to gravity and the weight of the wood. To prevent this, you must install a diagonal cross-brace. Lay a board diagonally across your frame, running from the bottom hinge corner up to the top latch corner.
This specific orientation transfers the weight of the gate back into the post structure. Mark the angles where the brace meets the frame rails and cut the board to fit snugly inside. Secure it with screws driven through the frame and into the ends of the brace, creating a rigid structure that will not distort.
Step 5: Attach the Facing Boards or Pickets
With the structural frame complete, it is time to add the decorative facing. If you are matching a privacy fence, you will likely use vertical pickets. Lay your first picket flush with the edge of the frame and secure it with screws or nails. Continue adding pickets across the width of the frame.
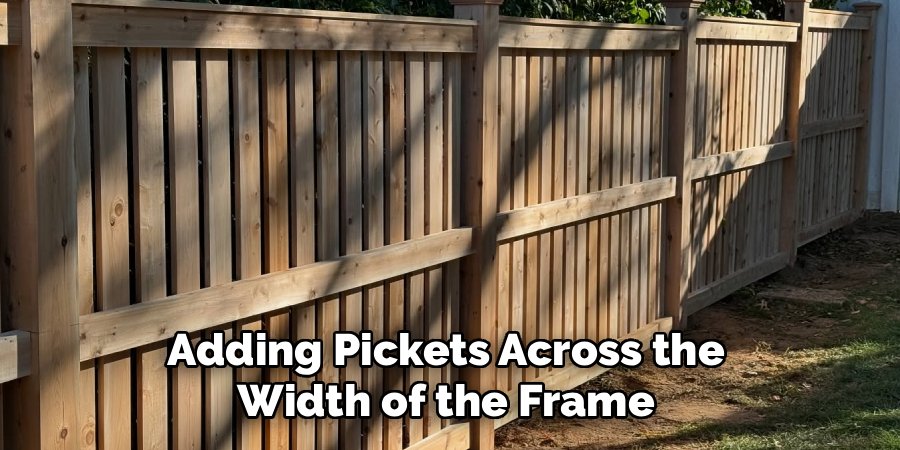
If you want gaps between them, use a scrap piece of wood as a spacer to keep the distance consistent. For a solid privacy look, butt the boards tightly against each other, remembering that they may shrink slightly as they dry. Ensure the tops are level or follow your desired design curve.
Step 6: Positioning and Mounting the Hinges
Hardware placement is crucial for long-term functionality. Place your heavy-duty exterior hinges on the horizontal rails of the gate frame, not just on the thin facing boards. Typically, one hinge goes near the top and another near the bottom. Drill pilot holes and secure the hinges with sturdy lag screws or carriage bolts.
When you are learning how to make a garden gate last for years, choosing galvanized or stainless steel hardware is vital to prevent rust streaks and mechanical failure. Position the gate in the opening, using wooden shims underneath to hold it at the correct height while you screw the hinges into the fence post.
Step 7: Installing the Latch and Handle
The final mechanical step is installing the latch and handle system. The latch should be positioned at a comfortable height, usually aligning with the top horizontal rail for secure fastening. Drill the necessary holes for the spindle or pull-string, depending on your chosen hardware style.
Attach the striker bar to the fence post and the latch mechanism to the gate itself. Test the swing several times to ensure the latch engages smoothly without requiring force. If it sticks, you may need to adjust the position slightly or sand down an area where the wood is rubbing.
Step 8: Apply a Protective Finish
To protect your handiwork from the elements, applying a finish is essential. Even rot-resistant woods like cedar will turn gray and eventually degrade without protection. You can choose a clear sealer to preserve the natural wood tone, a semi-transparent stain to add color, or an exterior-grade paint for a bold look.
Apply the finish to all surfaces, paying special attention to the end grain at the top and bottom of the boards, where water absorbs most easily. Allow the finish to dry completely according to the manufacturer’s instructions before using the gate regularly.
Step 9: Maintenance and Troubleshooting
Over time, all outdoor structures require some maintenance. Check your gate annually for signs of sagging or loose hardware. If the gate begins to drag, you may need to tighten the hinge screws or add a turnbuckle to the diagonal brace to lift the corner back up.
Inspect the finish every year or two; if water no longer beads up on the surface, it is time to clean the wood and reapply a coat of sealer. Keeping vegetation trimmed back from the gate will also prevent moisture buildup and allow air to circulate, extending the life of the wood significantly.
Frequently Asked Question (Faq)
What Is the Best Wood to Use for a Garden Gate?
The best wood choices for outdoor gates are cedar, redwood, or pressure-treated pine. Cedar and redwood contain natural oils that make them resistant to rot, decay, and insect attacks, making them ideal for long-lasting projects. They are also lighter in weight, which puts less stress on the hinges and posts.
Pressure-treated pine is a more budget-friendly option that is chemically treated to resist rot, but it is heavier and more prone to warping as it dries out. Hardwoods like teak or ipe are incredibly durable but expensive and difficult to work with for beginners.
How Much Clearance Should I Leave Under the Gate?
You should typically leave between two to three inches of clearance between the bottom of the gate and the ground. This gap allows for clearance over grass, gravel, or uneven terrain as the gate swings open.
It also prevents the wood from wicking up moisture from the ground, which can accelerate rot. In winter climates, a higher clearance (three to four inches) might be necessary to allow the gate to open over accumulated snow or ice.
Why Is My Garden Gate Sagging?
A sagging gate is usually caused by a lack of proper diagonal bracing or insufficient hinges. Without a diagonal brace running from the bottom hinge side to the top latch side, the weight of the gate pulls the square frame into a rhombus shape (a process called “racking”).
Another common cause is using screws that are too short or hinges that are too light for the weight of the wood. Using heavy-duty strap hinges and ensuring a structural cross-brace is installed will usually fix or prevent sagging.
Do I Need to Set the Posts in Concrete?
Yes, setting your gate posts in concrete is highly recommended and often necessary. The movement of the gate exerts significant leverage on the post every time it opens and closes. Simply packing dirt around the post will eventually loosen, causing the post to lean and the gate to misalign.
For a standard gate, dig a hole roughly 24 to 30 inches deep, insert the post, and fill the hole with concrete mix. Allow the concrete to cure fully (usually 24-48 hours) before hanging the heavy gate.
Can I Build a Gate Without Power Tools?
While it is technically possible to build a gate using only hand tools like a handsaw and a manual screwdriver, it will be physically demanding and time-consuming. A circular saw or miter saw ensures cleaner, straighter cuts, and a power drill makes driving long screws and boring holes for hardware much easier.
If you don’t own these tools, you might be able to rent them from a local hardware store or ask the lumber yard to cut your boards to specific lengths for a small fee, reducing the need for sawing at home.
Conclusion
Constructing your own entryway is a rewarding project that blends functionality with personal style. By following the steps outlined above, you have learned how to make a garden gate that is both durable and attractive.
From selecting the right lumber to installing the critical diagonal brace, each decision contributes to a structure that will serve your home for years. Don’t be afraid to experiment with decorative touches or hardware styles once you have mastered the basics.
With your new gate swinging smoothly on its hinges, you have not only improved your garden’s security but also added a handcrafted charm that welcomes visitors into your space.

About
Jovie Mathews is a backyard and outdoor expert writer with over 12 years of hands-on experience transforming neglected outdoor spaces into thriving gardens and functional retreats. Raised in a family where weekends meant digging in the soil and building raised beds from scratch, Jovie developed a genuine love for the outdoors long before it became a career.
She writes with a practical, no-fluff approach — always testing ideas in her own backyard before sharing them with readers. From composting systems and native plant selection to patio design and pest control, Jovie covers the full spectrum of backyard life with equal parts expertise and enthusiasm.
Education
B.Sc. in Horticulture Science
University of Florida (UF) · Gainesville, FL · 2014
IFAS College of Agricultural and Life Sciences
Minor in Environmental Studies
University of Florida (UF) · Gainesville, FL · 2014
College of Liberal Arts and Sciences
Areas of expertise
- Lawn & Garden Care
- Soil prep, planting, seasonal care
- Outdoor DIY Projects
- Raised beds, fencing, pathways
- Composting & Soil Health
- Organic methods, amendments
- Native Plants & Wildlife
- Pollinators, habitat gardening
When she is not writing, Jovie can be found testing new composting techniques, growing tomatoes in questionable quantities, or convincing her neighbors that clover lawns are actually a great idea. She currently gardens in the Pacific Northwest.




