

Have you ever watered your plants, only to see the water pool on the surface and run off the sides, never soaking in? This frustrating phenomenon is a sign of hydrophobic soil—soil that repels water instead of absorbing it. This condition starves your plants of the moisture they need to survive, leading to wilting, stress, and poor growth.
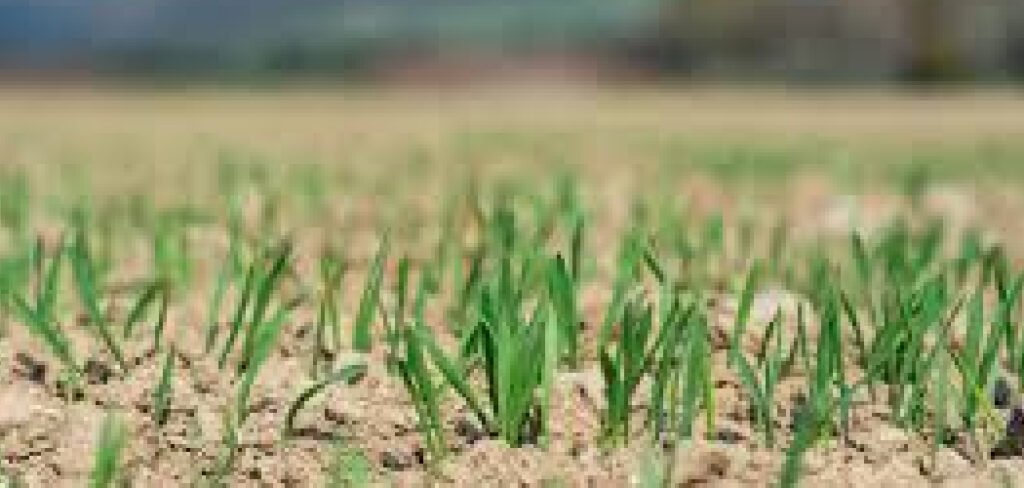
Understanding how to fix hydrophobic soil is a vital skill for any gardener, transforming dry, barren patches into a thriving, hydrated foundation for your plants. This guide will walk you through the causes and provide a clear, step-by-step plan to restore your soil’s health and ability to absorb water.
Hydrophobic soil, despite its challenging nature, can be restored with the right approach and techniques. By identifying the underlying causes and implementing effective solutions, you can rejuvenate your garden and help your plants flourish.
From understanding the role of organic matter to applying soil-wetting agents, every step contributes to rebuilding the soil’s ability to retain moisture and support life.
Why Hydrophobic Soil Occurs
Hydrophobic soil develops when organic matter in the soil breaks down and leaves behind a waxy, water-repellent coating on individual soil particles. This is a natural process, often accelerated by periods of drought, intense heat, or inconsistent watering.
The waxy substances prevent water from penetrating the soil, creating a barrier that even heavy rain can’t break. Sandy soils, potting mixes with high peat or bark content, and areas under dense plant cover like eucalyptus trees are particularly prone to becoming hydrophobic.
Over time, the soil dries out completely, making it incredibly difficult to re-wet and creating a stressful environment where plant roots cannot access essential water and nutrients.
Step-by-Step Guide to Fix Hydrophobic Soil
Revitalizing water-repellent soil requires more than just extra watering. This guide provides a detailed approach to break the cycle of dryness and restore your soil’s ability to retain moisture.
Step 1: Test Your Soil for Water Repellency
The first step is to confirm you’re dealing with hydrophobic soil. A simple test is to place a few drops of water onto the dry soil surface. If the droplets bead up and sit on the surface for more than a few seconds before slowly soaking in, your soil is hydrophobic. For a more thorough check, dig a small hole and try to fill it with water.
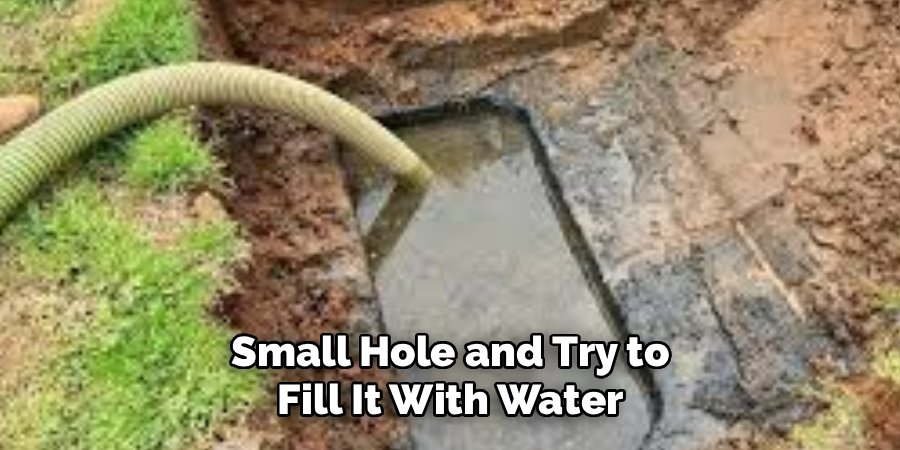
If the water drains away very slowly or not at all, sitting in the hole like a bowl, it’s a clear sign that the surrounding soil is repelling moisture. Identifying the problem areas allows you to focus your efforts where they are needed most.
Step 2: Break Up the Compacted Surface
Hydrophobic soil is often hard and compacted, which further prevents water from getting in. Before adding any amendments, you need to physically break up this crust. Use a garden fork, a sturdy rake, or a tiller to gently cultivate the top few inches of the soil.
The goal is not to perform a deep till, which can harm soil structure, but simply to break the hard, water-repellent seal on the surface. This mechanical aeration creates channels and cracks that will help water and amendments penetrate more effectively in the following steps.
Step 3: Apply a Soil Wetting Agent
Soil wetting agents are a gardener’s best friend when dealing with water-repellent soil. These products are surfactants that work like detergents, breaking down the waxy coating on soil particles and reducing the surface tension of water. This allows moisture to penetrate deeply and spread evenly throughout the root zone.
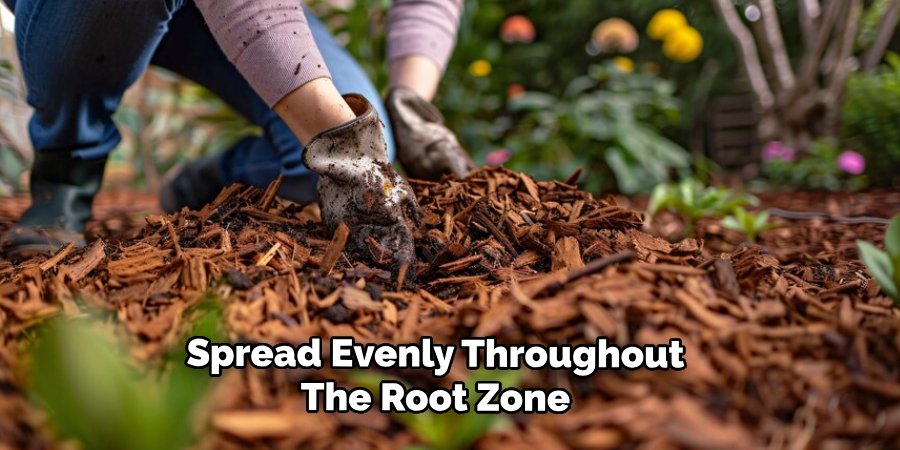
Wetting agents are available in both liquid and granular forms. Apply the product according to the package directions, watering it in thoroughly. This initial application is a crucial first aid treatment that makes all subsequent watering and amendments far more effective.
Step 4: Soil with Deep Watering
After applying a wetting agent, the next step is to rehydrate the soil with a long, slow soak. Instead of a quick spray with a hose, use a soaker hose or a drip irrigation system set to a very low output. Let it run for several hours, or even overnight.
This method delivers water slowly and consistently, giving it time to break through the remaining repellency and saturate the soil profile deeply. For potted plants, you can place the entire pot in a tub of water for an hour to allow it to soak up moisture from the bottom.
Step 5: Incorporate Rich Organic Matter
The long-term solution to hydrophobic soil is to improve its structure and water-holding capacity by adding organic matter. After the deep watering, spread a two-to-three-inch layer of high-quality compost, aged manure, or coco coir over the affected area. Organic matter acts like a sponge, absorbing and holding onto moisture.
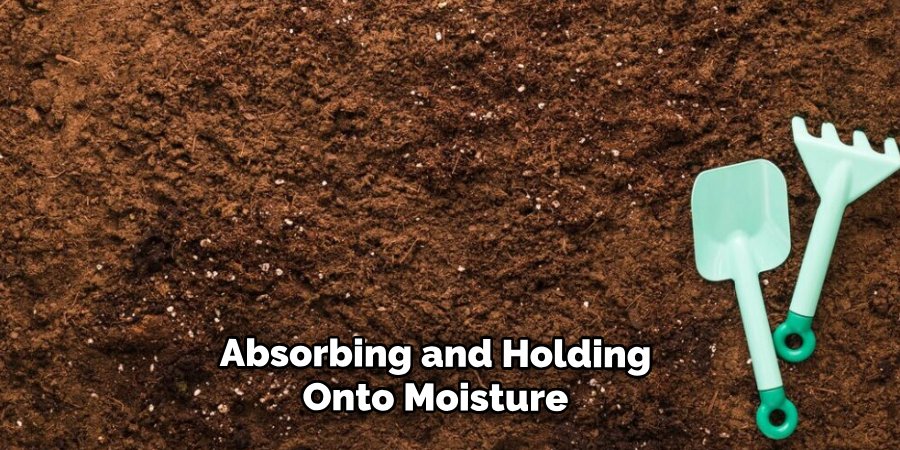
It also encourages microbial activity, which helps break down the waxy residues over time and builds a healthier soil ecosystem. Use a garden fork to gently work the compost into the top few inches of your soil, mixing it in thoroughly.
Step 6: Apply a Layer of Mulch
Mulching is a critical step to prevent the soil from drying out and becoming hydrophobic again. After amending the soil with compost, apply a two-to-three-inch layer of organic mulch, such as wood chips, straw, or shredded leaves.
Mulch helps to regulate soil temperature, suppress weeds, and, most importantly, conserve soil moisture by reducing evaporation.
As the organic mulch breaks down, it will continue to add valuable nutrients and improve the soil structure, further enhancing its ability to hold water and support healthy plant growth.
Step 7: Consistent Watering
Once you have rehydrated and amended your soil, establishing a consistent watering routine is essential to prevent the problem from returning. Avoid the cycle of letting the soil dry out completely and then flooding it. Instead, water your garden deeply and regularly, checking the soil moisture with your finger every few days.
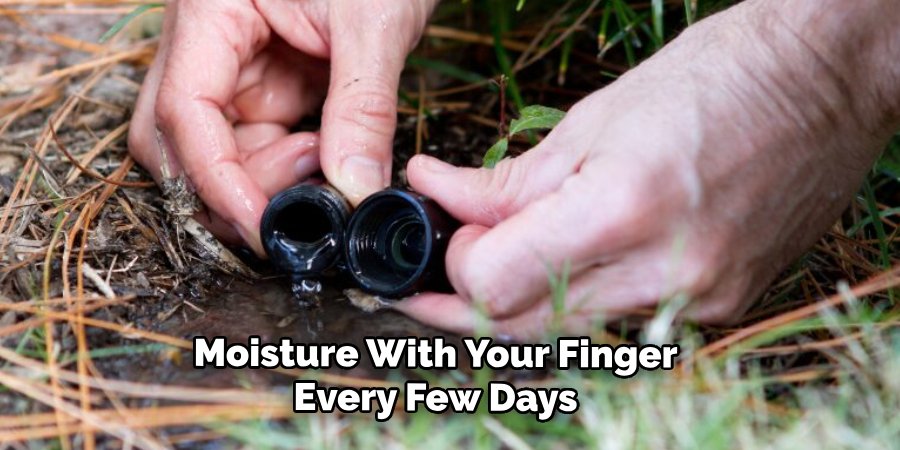
The goal is to keep the soil consistently moist but not waterlogged. Using drip irrigation or soaker hoses is ideal, as these systems deliver water directly to the root zone with minimal evaporation, maintaining optimal moisture levels.
Benefits of Healthy Soil
Healthy soil is the foundation of a thriving garden and offers numerous benefits for plants, the environment, and gardeners alike. Rich, well-structured soil provides essential nutrients and a stable environment for root systems, promoting vigorous plant growth and higher yields.
It also improves water retention, reducing the need for frequent watering and minimizing runoff into surrounding areas. Healthy soil supports a diverse range of beneficial microorganisms and insects, creating a natural ecosystem that enhances nutrient cycling and protects plants from diseases.
Additionally, maintaining healthy soil contributes to carbon sequestration, helping mitigate climate change by storing carbon dioxide effectively. By nurturing your soil, you set the stage for a sustainable and productive garden.
Frequently Asked Questions (FAQ)
Why Is My Potted Plant Soil Hydrophobic?
Potting mixes, especially those containing a high percentage of peat moss or coco coir, are prone to becoming hydrophobic when they dry out completely. These organic materials develop a waxy coating that repels water.
To fix this, submerge the entire pot in a bucket of water for about an hour. This bottom-watering technique forces the soil to slowly rehydrate from the bottom up.
Can I Use Dish Soap as a Wetting Agent?
While dish soap can temporarily break water tension, it is not recommended for garden use. Household detergents can contain degreasers, dyes, and fragrances that are harmful to beneficial soil microbes and plant roots.
It is much safer to purchase a commercial soil wetting agent specifically formulated for horticultural use, which is designed to be effective without damaging your soil ecosystem.
How Often Should I Apply a Soil Wetting Agent?
For severely hydrophobic soil, you may need to apply a wetting agent two or three times during the growing season. An initial application will provide immediate relief, and follow-up treatments can help maintain water absorption.
However, the long-term goal should be to improve soil structure with organic matter so that wetting agents are no longer necessary.
Does Aerating the Lawn Help With Hydrophobic Soil?
Yes, core aeration is an excellent way to combat hydrophobic soil in lawns. It involves removing small plugs of soil from the turf, which breaks up compaction and allows water, air, and nutrients to penetrate the root zone. After aerating, it’s a great time to top-dress with compost and apply a wetting agent to maximize the benefits.
What Is the Best Organic Matter for Hydrophobic Soil?
Well-rotted compost is the best all-around choice. It is rich in diverse microbes that improve soil health and has a spongy structure that excels at retaining moisture.
Coco coir is another fantastic option, as it holds several times its weight in water and re-wets easily. Aged manure is also beneficial, providing both moisture retention and valuable nutrients.
Conclusion
Fixing water-repellent soil is an achievable goal that pays huge dividends in plant health and water conservation. By understanding the causes and following a methodical approach—aerating the surface, using wetting agents, watering deeply, and enriching with organic matter—you can transform your garden’s foundation.
The key to lasting success is building healthy soil that is rich in organic life and consistently moist. Now that you know how to fix hydrophobic soil, you have the power to create a resilient, thriving garden that can withstand dry spells and flourish for years to come.

About
Jovie Mathews is a backyard and outdoor expert writer with over 12 years of hands-on experience transforming neglected outdoor spaces into thriving gardens and functional retreats. Raised in a family where weekends meant digging in the soil and building raised beds from scratch, Jovie developed a genuine love for the outdoors long before it became a career.
She writes with a practical, no-fluff approach — always testing ideas in her own backyard before sharing them with readers. From composting systems and native plant selection to patio design and pest control, Jovie covers the full spectrum of backyard life with equal parts expertise and enthusiasm.
Education
B.Sc. in Horticulture Science
University of Florida (UF) · Gainesville, FL · 2014
IFAS College of Agricultural and Life Sciences
Minor in Environmental Studies
University of Florida (UF) · Gainesville, FL · 2014
College of Liberal Arts and Sciences
Areas of expertise
- Lawn & Garden Care
- Soil prep, planting, seasonal care
- Outdoor DIY Projects
- Raised beds, fencing, pathways
- Composting & Soil Health
- Organic methods, amendments
- Native Plants & Wildlife
- Pollinators, habitat gardening
When she is not writing, Jovie can be found testing new composting techniques, growing tomatoes in questionable quantities, or convincing her neighbors that clover lawns are actually a great idea. She currently gardens in the Pacific Northwest.




