Building a barn is a significant undertaking, and the roof is arguably its most critical component. It protects the structure, its contents, and any animals inside from the elements. For many DIY enthusiasts and homesteaders, the final step of framing and covering the roof can feel like the most intimidating part of the project.
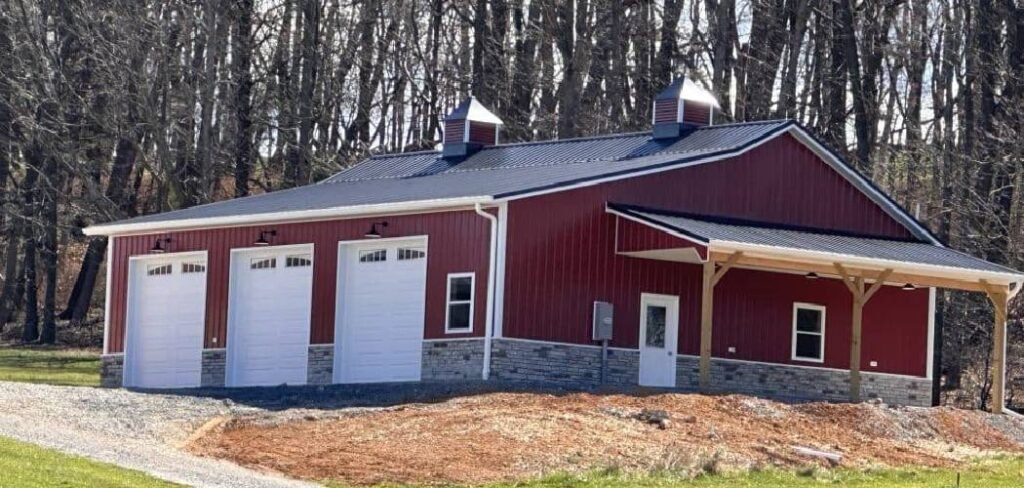
This guide is designed to demystify the process and provide a clear, manageable path forward. We will walk you through the essential steps, from planning and gathering materials to installing the final roofing panels. Learning how to build a barn roof is an achievable goal, and with careful preparation and attention to detail, you can create a sturdy, reliable structure that will stand the test of time.
Solid Roof is Crucial for Your Barn
A barn is more than just a building; it’s a workspace, a storage facility, and a shelter for livestock. The roof is the primary line of defense against rain, snow, wind, and sun. A poorly constructed roof can lead to leaks, which cause water damage to the wooden frame, ruin stored hay or equipment, and create unhealthy, damp conditions for animals. Beyond protection, a well-built roof contributes to the overall structural integrity of the barn, distributing weight and resisting uplift from strong winds. Investing the time to build it correctly ensures the longevity of your entire barn, saving you from costly repairs and providing peace of mind for years to come.
8 Step-by-Step Guide on How to Build a Barn Roof
Step 1: Design and Planning
Before you cut a single piece of wood, you need a solid plan. Decide on the style of your barn roof, such as a gambrel, gable, or monitor design. The gambrel roof is a classic choice, offering maximum loft space, while a simple gable is easier for beginners.
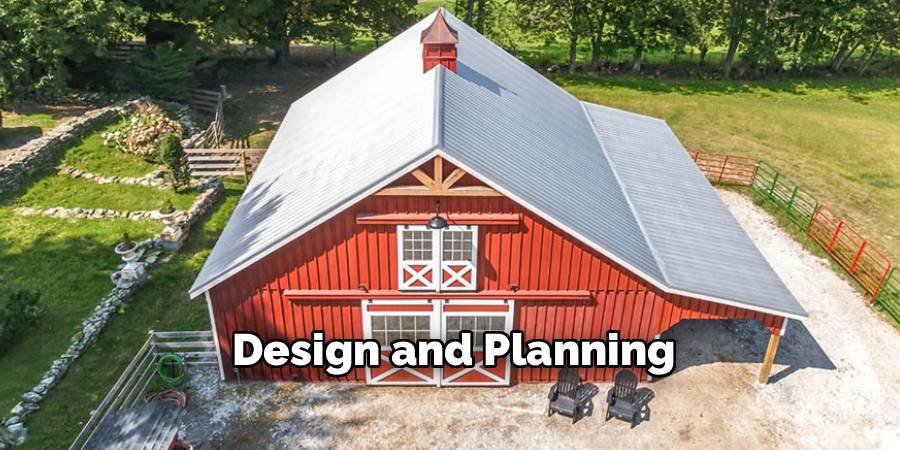
Your plan should include the roof pitch, which determines its slope and affects water runoff. Create detailed blueprints or use pre-made plans that specify the dimensions, truss design, and required materials. This stage is also the time to check local building codes and obtain any necessary permits for your construction.
Step 2: Gather Materials and Tools
With your design finalized, it’s time to compile a comprehensive list of all necessary materials and tools. This will include lumber for the trusses and purlins, sheathing like plywood or OSB, underlayment, and your chosen roofing material (e.g., metal panels, asphalt shingles). You will also need fasteners like nails, screws, and hurricane ties. Essential tools include a circular saw, measuring tape, framing square, level, chalk line, ladders or scaffolding, and safety gear such as gloves, safety glasses, and a hard hat. Ordering all your materials at once can save time and ensure you have everything on hand.
Step 3: Construct the Roof Trusses
Trusses form the skeleton of your roof, providing its shape and strength. You can either build them yourself or order pre-fabricated trusses. If building them, create a jig on a flat surface using your blueprint as a guide. This ensures every truss is identical. Carefully cut the rafters, king posts, and chords to the precise angles and lengths specified in your plan. Join the pieces using gusset plates, which are metal or plywood plates that securely fasten the joints. Building strong, uniform trusses is fundamental to the structural integrity of the entire roof.
Step 4: Hoist and Set the Trusses
Lifting and securing the trusses is a critical and challenging part of the build that requires a team of helpers or mechanical assistance like a crane or lull. Start by setting the two end trusses first. Hoist them into position on top of the barn walls and temporarily brace them so they are perfectly plumb and vertical.
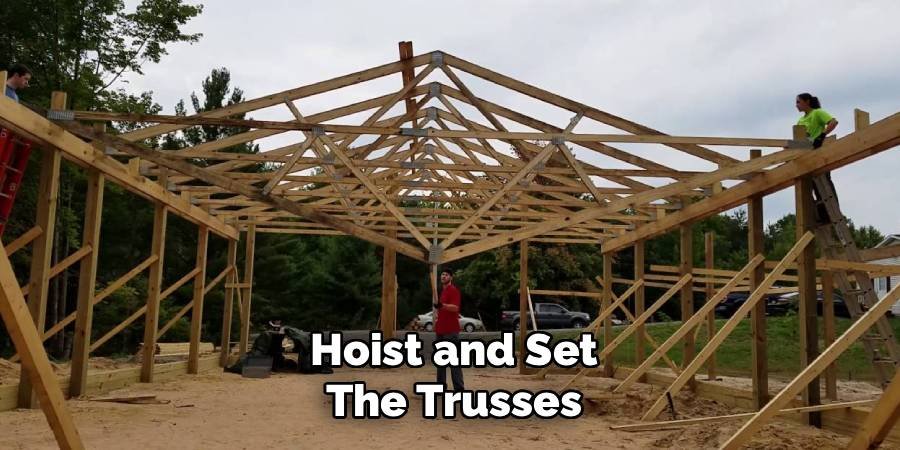
Run a string line between the tops of the two end trusses to create a guide for the remaining ones. Install the rest of the trusses at the specified spacing, typically 24 inches on center, bracing each one back to the previously set truss as you go.
Step 5: How to Build a Barn Roof with Proper Bracing
Once all the trusses are in place, they must be permanently braced to create a rigid, unified roof system. This is a crucial step in learning how to build a barn roof that can withstand wind and snow loads. Install lateral bracing that runs diagonally from the top chord of one truss to the bottom chord of another. Also, add purlins—horizontal boards that run perpendicular to the trusses across their top chords. These not only add stability but also provide the nailing surface for the roof sheathing or metal panels. Ensure all bracing is securely fastened according to your plans.
Step 6: Install the Roof Sheathing
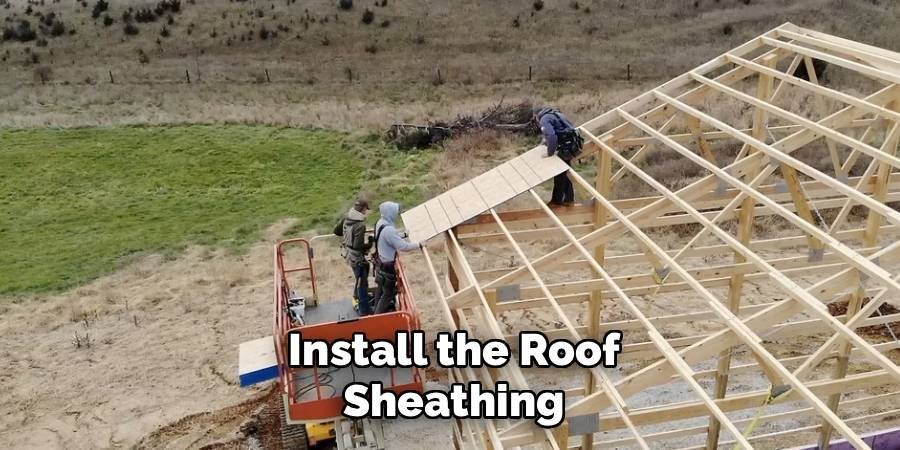
With the truss structure fully braced, the next step is to cover it with sheathing. Plywood or oriented strand board (OSB) are common choices. Start at one of the bottom corners of the roof and lay the first sheet so it is perpendicular to the trusses. Secure it with nails, following the nailing pattern recommended by the manufacturer and local building codes. Stagger the joints of the sheathing panels in subsequent rows to add strength. This solid deck is essential for creating a uniform surface and is required if you plan to install asphalt shingles.
Step 7: Apply Underlayment and Drip Edge
Before the final roofing material goes on, you must install a weather-resistant barrier. First, attach a metal drip edge along all the eaves and rakes of the roof. This helps direct water away from the fascia. Next, roll out the roofing underlayment, typically felt paper or a modern synthetic wrap, starting at the bottom edge of the roof. Overlap each subsequent row by several inches to ensure water cannot penetrate the seams. The underlayment acts as a secondary layer of protection against moisture, safeguarding the sheathing and the barn’s interior from leaks.
Step 8: Install the Final Roofing Material
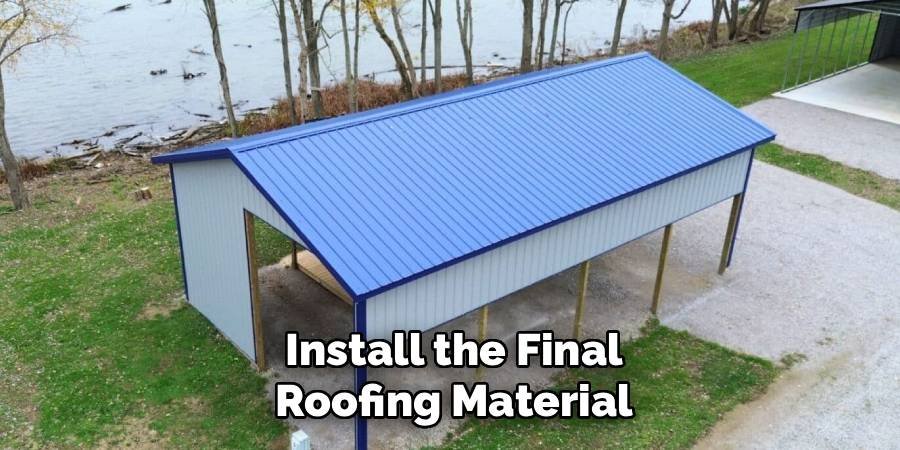
The final step is installing your chosen roofing material. For metal roofing, start by laying the first panel, ensuring it is square to the roof and overhangs the edge properly. Secure it with the recommended screws, which have rubber washers to seal the penetration. Overlap the next panel according to the manufacturer’s instructions and continue across the roof. For asphalt shingles, start with a starter strip at the eave and then install the first course, staggering the shingles as you move up the roof. Finish the job by installing the ridge cap, which covers the peak of the roof.
Frequently Asked Questions
What Is the Easiest Barn Roof to Build for a Beginner?
For a beginner, the easiest and most straightforward barn roof to build is a simple gable roof. It consists of two equally sized planes that slope down from a central ridge. The truss design is basic, involving two top chords (rafters) and a bottom chord (ceiling joist), making them easier to calculate, cut, and assemble compared to more complex designs like a gambrel or monitor roof. The simple geometry also makes sheathing and installing roofing material less complicated.
How Do You Calculate the Pitch of a Barn Roof?
Roof pitch is expressed as a ratio of “rise” over “run,” where the run is typically standardized to 12 inches. For example, a 6/12 pitch means the roof rises 6 inches vertically for every 12 inches it runs horizontally. To calculate it:
- Measure a 12-inch horizontal distance on a rafter (the run).
- From that 12-inch mark, measure the vertical distance straight up to the underside of the rafter (the rise).
- That rise measurement is the first number in your pitch ratio (e.g., if you measure 8 inches, the pitch is 8/12).
What Is the Best Roofing Material for a Barn?
Metal roofing is widely considered the best material for a barn. It is exceptionally durable, often lasting 50 years or more, and requires very little maintenance. Metal panels are highly resistant to wind, fire, and pests. They are also excellent at shedding snow and rain quickly, which is crucial for protecting the structure. While the initial cost may be higher than asphalt shingles, its longevity and resilience make it a cost-effective choice in the long run.
Should I Build My Own Trusses or Buy Them?
The decision to build or buy trusses depends on your skill level, time, and budget. Buying pre-fabricated trusses from a manufacturer saves a significant amount of time and guarantees they are engineered to meet local code requirements for snow and wind loads. Building your own trusses is more budget-friendly but requires precision, a solid understanding of structural loads, and a lot of labor. For most DIY builders, especially beginners, purchasing trusses is the safer and more efficient option.
How Far Apart Should Barn Roof Trusses Be Spaced?
The most common spacing for barn roof trusses is 24 inches on center. This measurement provides ample strength for most applications and corresponds well with standard 4×8 foot sheathing panels, minimizing waste. However, the exact spacing should always be determined by your engineered plans. Factors like the anticipated snow load in your region, the roof pitch, and the overall span of the barn can influence the required spacing. Heavier loads or wider spans may require trusses to be spaced closer together, such as 16 inches on center.
Conclusion
Constructing a barn roof is a rewarding project that puts the finishing touch on your new structure. By breaking the process down into manageable stages—from careful planning and truss construction to installing sheathing and the final roofing material—you can approach the task with confidence. Each step, from setting the trusses to applying the underlayment, plays a vital role in creating a roof that is both strong and weathertight. With this guide, you now have the knowledge and framework needed to tackle the challenge. We hope you feel empowered and ready to learn how to build a barn roof that will protect your investment for decades to come.

About
Jovie Mathews is a backyard and outdoor expert writer with over 12 years of hands-on experience transforming neglected outdoor spaces into thriving gardens and functional retreats. Raised in a family where weekends meant digging in the soil and building raised beds from scratch, Jovie developed a genuine love for the outdoors long before it became a career.
She writes with a practical, no-fluff approach — always testing ideas in her own backyard before sharing them with readers. From composting systems and native plant selection to patio design and pest control, Jovie covers the full spectrum of backyard life with equal parts expertise and enthusiasm.
Education
B.Sc. in Horticulture Science
University of Florida (UF) · Gainesville, FL · 2014
IFAS College of Agricultural and Life Sciences
Minor in Environmental Studies
University of Florida (UF) · Gainesville, FL · 2014
College of Liberal Arts and Sciences
Areas of expertise
- Lawn & Garden Care
- Soil prep, planting, seasonal care
- Outdoor DIY Projects
- Raised beds, fencing, pathways
- Composting & Soil Health
- Organic methods, amendments
- Native Plants & Wildlife
- Pollinators, habitat gardening
When she is not writing, Jovie can be found testing new composting techniques, growing tomatoes in questionable quantities, or convincing her neighbors that clover lawns are actually a great idea. She currently gardens in the Pacific Northwest.