A lush, green lawn is the pride of many homeowners, but a broken sprinkler head can quickly disrupt that perfect landscape. Puddles of water, dry patches, or a geyser shooting into the air are all signs of a problem. While calling a professional is an option, learning how to replace a broken sprinkler head is a simple, cost-effective skill that every homeowner can master.
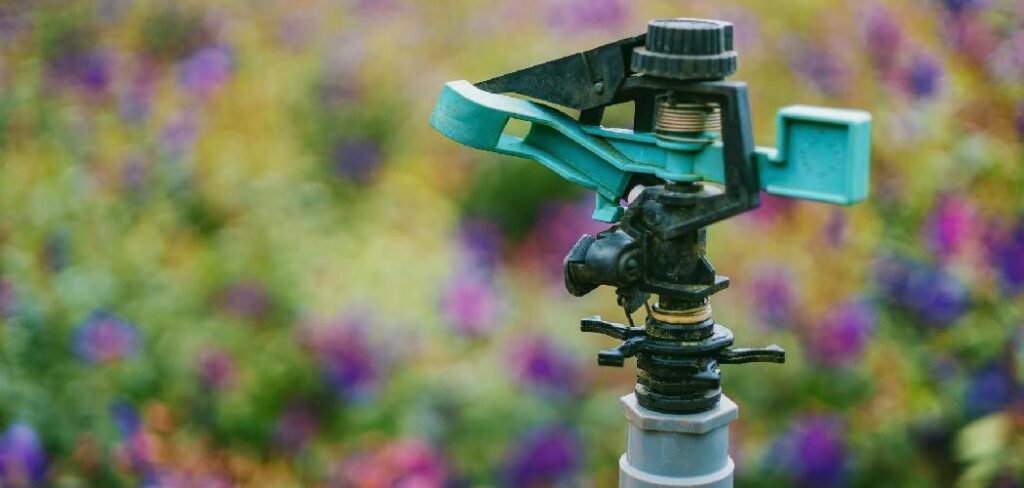
This guide will walk you through the entire process, from identifying the problem to testing your new sprinkler. With a few basic tools and a little bit of time, you can have your irrigation system running smoothly again, ensuring your lawn gets the even, consistent watering it needs to thrive. This DIY project saves you money and empowers you to handle minor lawn care repairs with confidence.
Broken Sprinkler Head Needs Your Attention
A malfunctioning sprinkler head is more than just a minor annoyance; it can lead to significant issues for your lawn and your water bill. An unrepaired break often results in overwatering in one area and underwatering in another. This imbalance creates brown, dry spots while also drowning other sections, which can cause root rot and fungal diseases. Furthermore, a broken head wastes a tremendous amount of water, leading to a noticeable spike in your utility costs and contributing to environmental waste.
Addressing the problem promptly ensures your entire lawn receives the correct amount of water, promoting healthy growth and conserving a valuable resource. Fixing it yourself also avoids the cost and scheduling hassle of hiring a professional landscaper for a relatively simple task.
8 Step-by-Step Guide: How to Replace a Broken Sprinkler Head
Step 1: Turn Off the Water Supply
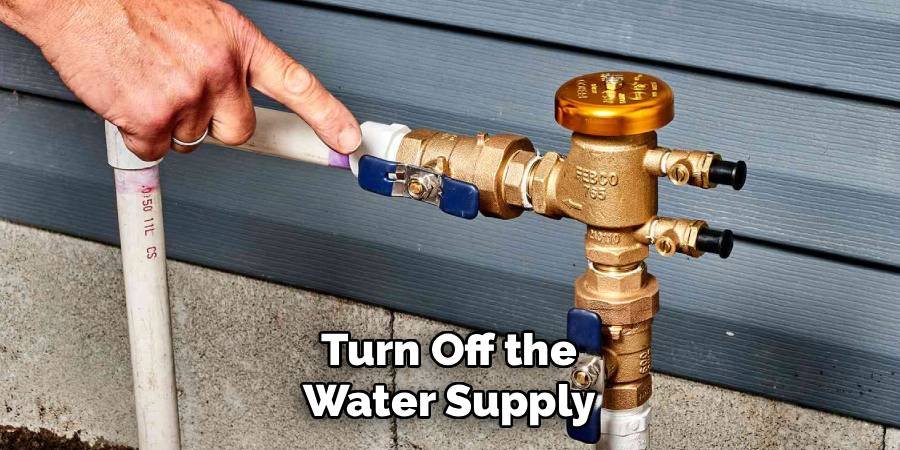
Before you begin any work, it is crucial to shut off the water to your irrigation system. Locate the main shut-off valve for your sprinklers, which is often found in a basement, crawl space, or an underground valve box in your yard. The valve box usually has a green lid that sits flush with the ground. Turning this valve clockwise will stop the flow of water, preventing a muddy mess while you work. If you cannot find the specific sprinkler valve, you can turn off the main water supply to your entire house, but remember to turn it back on once the repair is complete.
Step 2: Dig Carefully Around the Broken Head
With the water off, you can safely begin excavating the area around the broken sprinkler. Use a small garden spade or trowel to carefully dig a circle about one foot in diameter around the faulty head. The goal is to expose the sprinkler body and the riser it’s connected to without damaging the underground water line. Dig down until you can see the fitting where the sprinkler screws onto the pipe, which is typically about six to twelve inches deep. Place the excavated soil onto a tarp or piece of cardboard to make backfilling easier and keep your lawn clean.
Step 3: Unscrew and Remove the Old Sprinkler Head
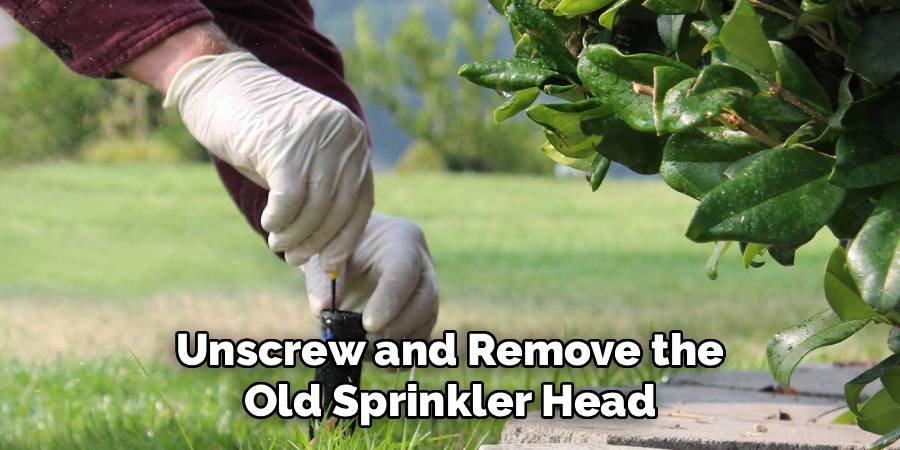
Once you have cleared enough soil, you can remove the old sprinkler. Grasp the sprinkler head firmly with your hands and twist it counter-clockwise to unscrew it from the riser below. If it is stuck due to dirt and age, you may need to use a pair of channel-lock pliers for extra leverage. Be careful to hold the riser steady with your other hand or another pair of pliers to prevent it from breaking or twisting the pipe fitting beneath the soil. After unscrewing it, lift the old unit straight out of the ground.
Step 4: Purchase the Correct Replacement Head
Take the old sprinkler head with you to your local hardware or home improvement store. This ensures you buy an exact or compatible replacement. Sprinkler heads come in various types, including pop-up, rotary, and fixed spray models, with different spray patterns and thread sizes. Matching the make and model is the easiest way to guarantee a perfect fit and function. If the exact model is unavailable, a store associate can help you find a suitable alternative with the same thread size, pop-up height, and spray nozzle specifications for your lawn’s needs.
Step 5: Clean the Riser and Threads
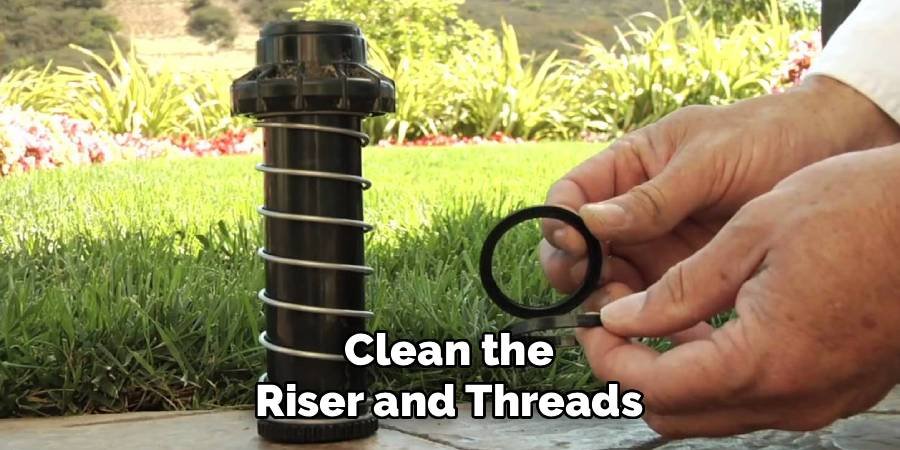
Before installing the new sprinkler, it is important to clean any dirt, sand, or debris from the exposed riser and its threads. Debris can prevent a watertight seal and may even clog the new sprinkler head as soon as you turn the water back on. Use a clean cloth or rag to wipe the threads thoroughly. You can briefly turn the water supply on for a few seconds to flush out any dirt from inside the pipe, but be prepared for a small gush of water. This flushing step ensures a clean connection for the new head.
Step 6: How to Replace a Broken Sprinkler Head by Installing the New Unit
Now it’s time to install your new sprinkler. For a better seal, you can wrap the male threads of the riser with a few layers of plumber’s tape (Teflon tape) in a clockwise direction. This helps prevent leaks at the connection point. Carefully screw the new sprinkler head onto the riser, turning it clockwise. Hand-tighten it until it is snug. Avoid over-tightening with tools, as this can crack the plastic fittings on either the sprinkler body or the riser, creating another leak you’ll need to repair. The head should feel secure but not strained.
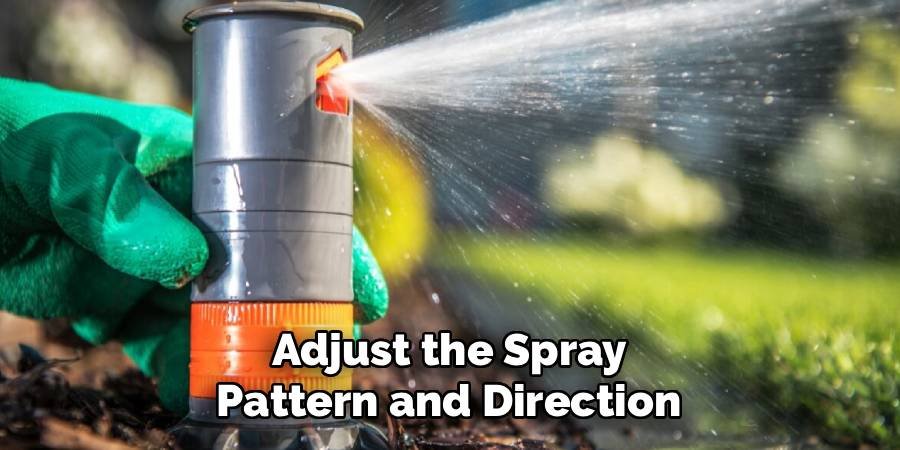
Step 7: Adjust the Spray Pattern and Direction
Before you backfill the hole, it is wise to adjust the spray nozzle. Many sprinkler heads require you to align the nozzle to spray in the correct direction and set the arc or radius to cover the intended area. For pop-up spray heads, you can often pull up the stem and twist the nozzle to aim it. For rotors, there are usually adjustment screws on top to set the spray distance and rotation pattern. Refer to the manufacturer’s instructions that came with your new sprinkler head, as adjustment methods can vary significantly between different brands and models.
Step 8: Backfill the Soil and Test the System
With the new head installed and adjusted, it’s time to fill the hole. Carefully place the soil you set aside back into the excavated area around the sprinkler. Pack the dirt down gently but firmly to secure the sprinkler and prevent it from shifting. Ensure the top of the sprinkler head is flush with the ground to avoid it being damaged by a lawnmower. Once everything is back in place, turn the water supply back on at the main valve. Manually run the sprinkler zone you just repaired to check for leaks and confirm the spray pattern is correct.
Frequently Asked Questions
What Tools Do I Need to Replace a Sprinkler Head?
You only need a few basic tools for this job. The essentials include:
- A small shovel or garden trowel to dig around the head.
- A pair of channel-lock pliers to help unscrew a stubborn old head.
- A rag or cloth for cleaning threads.
- Plumber’s tape (Teflon tape) to ensure a watertight seal.
Having a tarp or piece of cardboard is also helpful for holding the excavated dirt and keeping your lawn tidy during the process.
How Do I Know if My Sprinkler Head Is Broken?
There are several clear signs of a broken sprinkler head. You might see a small geyser of water shooting straight up, indicating a completely sheared-off head. Puddling or swampy areas around a sprinkler suggest a crack in the body or a bad seal. Conversely, dry, brown patches in your lawn can mean a head is clogged, stuck, or not popping up at all. Finally, if a sprinkler head is visibly damaged from a lawnmower or other impact, it should be inspected and likely replaced.
Can I Replace a Sprinkler Head With a Different Brand?
Yes, you can often replace a sprinkler head with one from a different brand, but you must ensure it is compatible. The most critical factor is the thread size of the inlet, which is typically either 1/2-inch or 3/4-inch. You also need to match the type of sprinkler (e.g., pop-up spray, rotor) and its pop-up height to ensure it rises above the grass. Finally, select a nozzle that provides the same spray pattern (e.g., full circle, half circle) and flow rate to maintain even coverage across your lawn.
How Much Does It Cost to Replace a Sprinkler Head Myself?
Replacing a sprinkler head yourself is very affordable. The primary cost is the replacement head itself, which can range from $3 for a simple fixed spray head to $20 or more for an advanced gear-driven rotor. Other materials, like a small roll of plumber’s tape, cost only a few dollars. Compared to hiring a professional, which can cost $75 to $150 for a service call, the DIY approach offers significant savings. You can complete the entire project for under $25 in most cases.
Should I Use Plumber’s Tape on the Threads?
Using plumber’s tape (also known as Teflon tape) is highly recommended. While some installers skip this step, wrapping the male threads on the riser creates a more reliable, leak-proof seal. It acts as a lubricant to help you screw the new head on smoothly and fills any tiny gaps in the threads that could cause slow drips. Apply two to three wraps of tape in a clockwise direction. This simple step only takes a few seconds and can prevent future leaks and headaches down the road.
Conclusion
Replacing a broken sprinkler head is a manageable and rewarding DIY task that protects your lawn and conserves water. By following the steps outlined—from turning off the water and digging around the head to installing and testing the new unit—you can complete the repair in under an hour. This small effort prevents water waste, ensures your grass stays healthy, and saves you the expense of a professional service call. Now that you understand how to replace a broken sprinkler head, you are better equipped to maintain your irrigation system and keep your yard looking its best all season long.

About
Jovie Mathews is a backyard and outdoor expert writer with over 12 years of hands-on experience transforming neglected outdoor spaces into thriving gardens and functional retreats. Raised in a family where weekends meant digging in the soil and building raised beds from scratch, Jovie developed a genuine love for the outdoors long before it became a career.
She writes with a practical, no-fluff approach — always testing ideas in her own backyard before sharing them with readers. From composting systems and native plant selection to patio design and pest control, Jovie covers the full spectrum of backyard life with equal parts expertise and enthusiasm.
Education
B.Sc. in Horticulture Science
University of Florida (UF) · Gainesville, FL · 2014
IFAS College of Agricultural and Life Sciences
Minor in Environmental Studies
University of Florida (UF) · Gainesville, FL · 2014
College of Liberal Arts and Sciences
Areas of expertise
- Lawn & Garden Care
- Soil prep, planting, seasonal care
- Outdoor DIY Projects
- Raised beds, fencing, pathways
- Composting & Soil Health
- Organic methods, amendments
- Native Plants & Wildlife
- Pollinators, habitat gardening
When she is not writing, Jovie can be found testing new composting techniques, growing tomatoes in questionable quantities, or convincing her neighbors that clover lawns are actually a great idea. She currently gardens in the Pacific Northwest.