

A beautiful paver patio can be the centerpiece of your backyard, providing a durable and attractive space for relaxing and entertaining. However, over time, you may notice pavers starting to shift, sink, or become uneven. This not only detracts from the patio’s appearance but can also create dangerous tripping hazards.
If you’re wondering how to keep patio pavers from moving, the solution often lies in proper installation and maintenance. By addressing the root causes of movement, such as an unstable base or missing joint sand, you can restore your patio’s integrity.
This guide will provide clear, actionable steps to stabilize your pavers and ensure your outdoor space remains safe and beautiful for years to come.
A well-maintained patio not only enhances the aesthetic appeal of your outdoor space but also ensures its functionality and safety. Loose or shifting pavers can disrupt the uniform surface, making it uncomfortable to walk on and diminishing the overall value of your patio.
However, with the right approach, you can identify and tackle the underlying issues effectively. Whether you’re dealing with uneven ground, weather-related wear, or the natural settling of materials, a few strategic steps can make all the difference in preserving the beauty and durability of your paver patio.
Why Pavers Shift and Sink
Understanding the forces that cause pavers to move is the first step toward a lasting solution. The primary culprit is almost always an inadequate or improperly prepared base. Without a solid, well-compacted foundation of gravel and sand, the pavers have nothing to support them. Water is another major enemy.
Poor drainage allows water to get beneath the pavers, eroding the base material and causing sinking or heaving, especially during freeze-thaw cycles. Finally, the loss of sand between the paver joints is a significant factor.
This jointing sand creates an interlocking effect that locks the pavers together, and when it washes away, the pavers lose their lateral support and begin to drift apart.
Step-by-Step Guide: How to Keep Patio Pavers from Moving
Step 1: Assess and Clear the Affected Area
Begin by identifying the problem areas on your patio. Look for pavers that have sunk, shifted sideways, or become uneven. Once you have located the unstable sections, remove all furniture, planters, and other items to give yourself a clear workspace. This will also give you a better overall view of the extent of the problem.

It is helpful to take photos before you start so you have a reference for the paver pattern. Carefully inspect the perimeter of the patio to check the condition of the edge restraints, as failing restraints are a common cause of pavers moving outward.
Step 2: Carefully Remove the Unstable Pavers
Using a pair of paver extractors or two flathead screwdrivers, carefully lift out the shifting pavers. Start with the paver that seems loosest and work your way outward. As you remove them, be gentle to avoid chipping or breaking the edges. It is a good idea to clean off any old sand or debris clinging to the sides of each paver as you go.
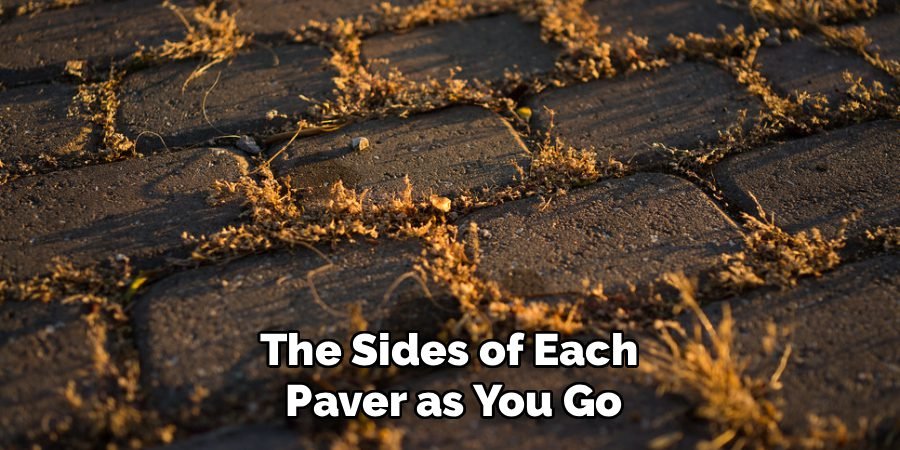
Set the removed pavers aside in the order you took them out. This will make it much easier to put them back in the correct pattern later, ensuring a seamless repair that blends in with the rest of the patio.
Step 3: Excavate and Inspect the Base Material
With the pavers removed, you will expose the bedding sand and the gravel base beneath it. Excavate the old bedding sand from the problem area. You will likely find that it has eroded or become uneven. Continue digging down to the gravel base layer. Inspect this foundation for any soft spots, voids, or areas where water may have pooled.
An unstable gravel base is the root cause of most paver movement. If the base is compromised, you will need to add more material to fix it properly and create a stable foundation for the pavers.
Step 4: Re-level and Compact the Gravel Base
Now you will rebuild the foundation. Add new paver base gravel to the excavated area, ensuring it matches the depth of the surrounding base, which should typically be at least four to six inches deep for a standard patio. Spread the gravel evenly with a rake. Using a hand tamper, compact the gravel thoroughly until you have a solid, unyielding surface.

This is one of the most important steps in learning how to keep patio pavers from moving. A well-compacted base provides the stable support necessary to prevent future sinking and shifting.
Step 5: Add and Screed a New Sand Layer
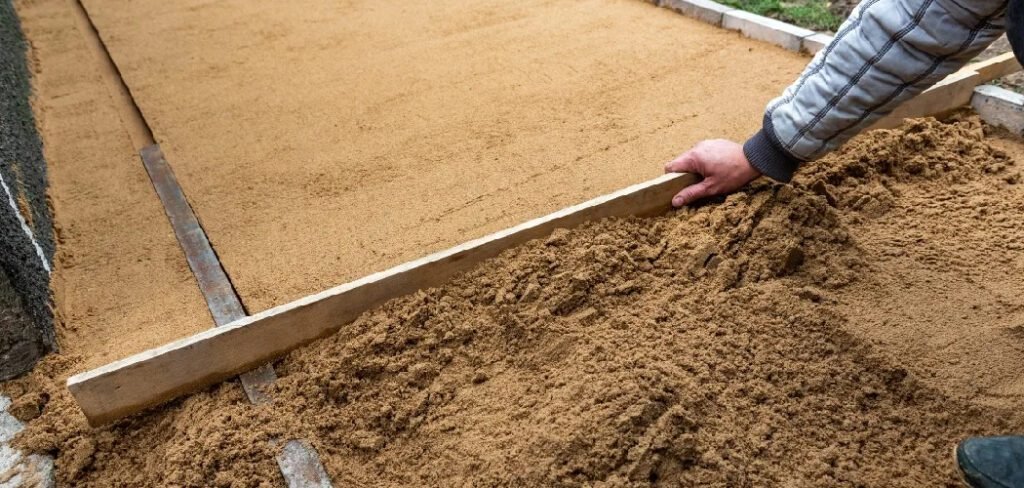
Once the gravel base is solid and level, you can add the bedding sand. Spread about one inch of coarse concrete sand over the compacted gravel. To create a perfectly flat and smooth surface for the pavers to sit on, you will need to screed the sand.
Use a straight 2×4 board or a long level, resting it on the surrounding, stable pavers. Drag the board across the sand toward you in a sawing motion. This will remove any excess sand and fill in any low spots, creating a uniform bed.
Step 6: Reinstall the Pavers and Check for Level
Carefully place the pavers you removed back into position on top of the new sand bed. Follow the original pattern, tapping each paver gently with a rubber mallet to set it into the sand.
Make sure to leave a consistent, small gap (about 1/8 inch) between each paver for the jointing sand. Use a level to check that the newly laid pavers are flush with the surrounding patio surface. If a paver is too high, tap it down more firmly. If it is too low, lift it and add a small amount of sand underneath.
Step 7: Fill the Joints with Polymeric Sand
With the pavers back in place and level, the final step is to lock them together. This is the secret to how to keep patio pavers from moving long-term. Sweep polymeric sand across the surface of the dry pavers, allowing it to fall into the joints between them. Use a push broom to work the sand into every gap until the joints are completely full.
Polymeric sand contains polymers that harden when activated with water, creating a firm yet flexible grout that prevents weed growth, insect infestation, and erosion from rain.
Step 8: Compact and Activate the Polymeric Sand
After filling the joints, run a plate compactor over the newly laid pavers to settle the sand and lock the pavers tightly together. This vibration helps the sand completely fill the joints from top to bottom. Once compacted, use a leaf blower on a low setting or a soft broom to remove all excess sand from the paver surfaces.
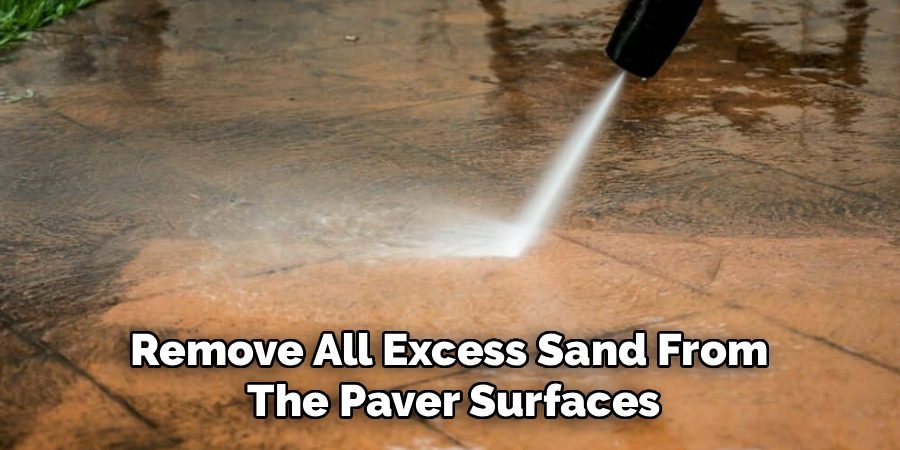
Any sand left on top will harden and create a hazy film. Finally, lightly mist the patio with a garden hose to activate the polymers. Follow the manufacturer’s specific instructions for watering and curing times.
Common Patio Installation Mistakes
When installing a patio, avoiding common mistakes is crucial to ensure a durable and visually appealing result. One frequent error is inadequate site preparation. If the ground is not properly excavated or leveled, the patio may develop uneven surfaces or experience poor drainage over time.
Another common oversight is neglecting to compact the base layers thoroughly. A loosely packed base can lead to paver shifting and sinking. Additionally, skipping the step of using the correct type or amount of sand for joint filling can compromise the stability of the entire installation.
Failing to account for proper slope to direct water away from structures is another issue that can result in water pooling or damage. Lastly, not following manufacturer recommendations for materials or curing times can cause premature wear or discoloration.
Taking time to address these potential pitfalls can significantly improve the longevity and quality of a patio installation.
Frequently Asked Questions (FAQ)
What Is the Best Base for Patio Pavers?
The best base consists of at least four to six inches of compacted aggregate (like crushed stone or paver base gravel) topped with a one-inch layer of coarse bedding sand. This layered system provides excellent drainage and a stable foundation that resists shifting and sinking from weather and use.
How Does Polymeric Sand Prevent Pavers From Moving?
Polymeric sand hardens when activated with water, creating a strong, flexible bond in the joints between pavers. This essentially locks all the individual pavers together into a single, cohesive surface. This interlock prevents them from shifting sideways or wobbling underfoot, maintaining the patio’s integrity against traffic and weather.
Can I Just Add More Sand on Top of Sunken Pavers?
No, simply adding more sand on top is a temporary fix at best. The pavers will continue to sink because the underlying base is the real problem. You must remove the pavers, rebuild the compacted gravel and sand base correctly, and then reinstall the pavers for a permanent, lasting solution.
How Important Are Edge Restraints for a Paver Patio?
Edge restraints are absolutely critical. They act like a frame, holding the entire paver system together and preventing the outside pavers from spreading and shifting outward under pressure. Without strong edging made of plastic, metal, or concrete, the entire patio is likely to fail over time.
How Often Should I Resand My Paver Patio?
If you use regular joint sand, you may need to top it off every one to two years as it erodes. However, if you use high-quality polymeric sand, the joints can last for many years, often up to a decade, before needing any significant reapplication or repair, saving time and effort.
Conclusion
By understanding the fundamentals of paver installation, you now have the knowledge of how to keep patio pavers from moving effectively. The stability of any paver patio is not in the stones themselves, but in the carefully prepared foundation beneath them and the interlocking strength of the jointing sand between them.
Taking the time to properly rebuild the base, level the pavers, and lock them in with polymeric sand will ensure your repair is not just a quick fix but a long-term solution.
This project is well within the reach of a determined DIYer and provides immense satisfaction. A stable, even patio is safer, looks more professional, and enhances the value of your home.
By investing your effort now, you can prevent future headaches and enjoy a solid, beautiful outdoor space for countless seasons of relaxation and entertainment. Your hard work will pay off every time you walk across your perfectly smooth and secure patio.

About
Jovie Mathews is a backyard and outdoor expert writer with over 12 years of hands-on experience transforming neglected outdoor spaces into thriving gardens and functional retreats. Raised in a family where weekends meant digging in the soil and building raised beds from scratch, Jovie developed a genuine love for the outdoors long before it became a career.
She writes with a practical, no-fluff approach — always testing ideas in her own backyard before sharing them with readers. From composting systems and native plant selection to patio design and pest control, Jovie covers the full spectrum of backyard life with equal parts expertise and enthusiasm.
Education
B.Sc. in Horticulture Science
University of Florida (UF) · Gainesville, FL · 2014
IFAS College of Agricultural and Life Sciences
Minor in Environmental Studies
University of Florida (UF) · Gainesville, FL · 2014
College of Liberal Arts and Sciences
Areas of expertise
- Lawn & Garden Care
- Soil prep, planting, seasonal care
- Outdoor DIY Projects
- Raised beds, fencing, pathways
- Composting & Soil Health
- Organic methods, amendments
- Native Plants & Wildlife
- Pollinators, habitat gardening
When she is not writing, Jovie can be found testing new composting techniques, growing tomatoes in questionable quantities, or convincing her neighbors that clover lawns are actually a great idea. She currently gardens in the Pacific Northwest.




