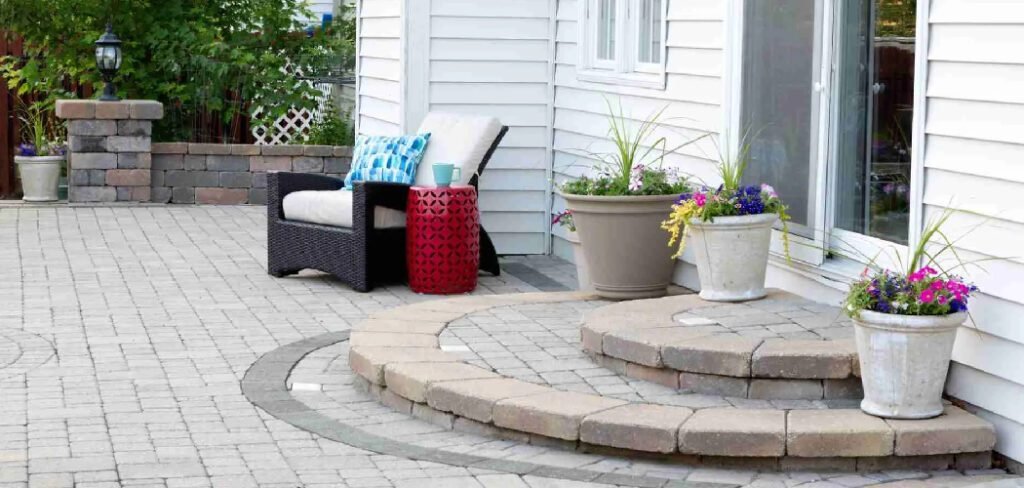
A flagstone patio is a timeless addition to any backyard, offering a natural, rugged beauty that concrete pavers simply cannot match. However, the irregular shapes and organic nature of these stones mean that maintaining the spaces between them is crucial for both aesthetics and structural integrity.
Over time, rain, wind, and foot traffic can erode the filler material, leaving you with unsightly crevices that invite weeds, ants, and tripping hazards. Ignoring these empty joints can even lead to shifting stones and water damage underneath the patio base.
Fortunately, restoring these spaces is a manageable DIY project that can dramatically improve the look of your outdoor living area. Whether you prefer the solid look of mortar, the permeability of stone dust, or the locking power of polymeric sand, the process is straightforward.
This guide is designed to teach you how to fill gaps in flagstone patio surfaces effectively, ensuring your outdoor sanctuary remains safe, stable, and beautiful for years to come.
Step-by-Step Guide: How to Fill Gaps in Flagstone Patio
Step 1: Remove Old Debris and Weeds
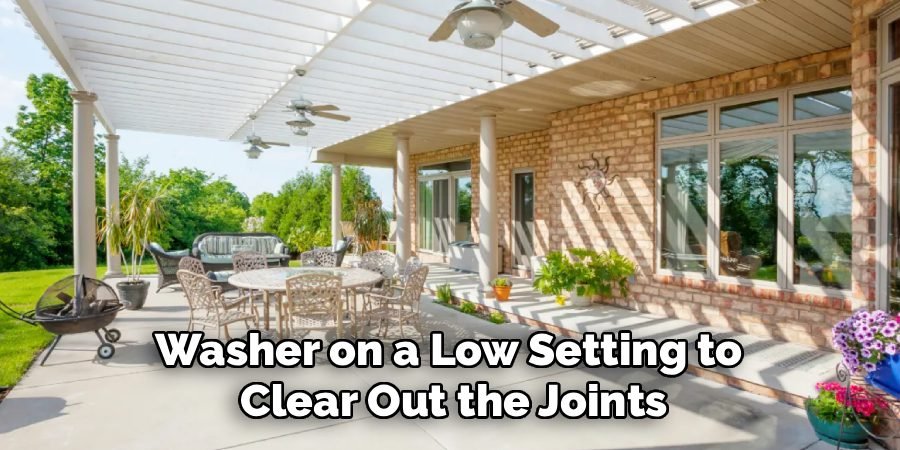
The first and most critical phase of this restoration project involves preparing the canvas. You simply cannot add new filler material on top of old, crumbling mortar or dirt-packed crevices because it will not adhere properly. Start by using a stiff wire brush, a specialized weeding tool, or even a pressure washer on a low setting to clear out the joints.
You need to dig down at least an inch, or ideally the full depth of the stone, to create enough space for the new material to grip. Be thorough in removing organic matter like moss and stubborn roots, as leaving them behind guarantees they will grow back through your fresh work.
This deep cleaning process ensures a strong bond and a long-lasting repair that won’t flake away after the first rainstorm.
Step 2: Choose the Right Filler Material
Selecting the correct material depends entirely on how your patio was originally constructed and the look you desire. If your stones are set in a concrete base, you will likely need mortar or cement to maintain that rigid, permanent structure.
However, if your stones are “dry-laid” on a bed of sand or gravel, using a flexible filler like polymeric sand, stone dust, or decomposed granite is the superior choice. Flexible fillers allow the ground to heave with freeze-thaw cycles without cracking the joints. Take a moment to inspect your patio’s foundation before heading to the hardware store.
Making the right choice at this stage is a pivotal part of learning how to fill gaps in flagstone patio correctly, preventing future cracks and reducing maintenance down the road.
Step 3: Level and Stabilize Loose Stones
Before you start filling the joints, you must address any stones that are wobbling or sunken. If a flagstone rocks back and forth when you step on it, the new filler will eventually crack or pop out due to the movement. Lift up any unstable stones and add a layer of sand or stone dust underneath them to level the surface.
Tamp the base material down firmly to create a solid bed, then replace the stone and wiggle it until it sits flush with its neighbors.
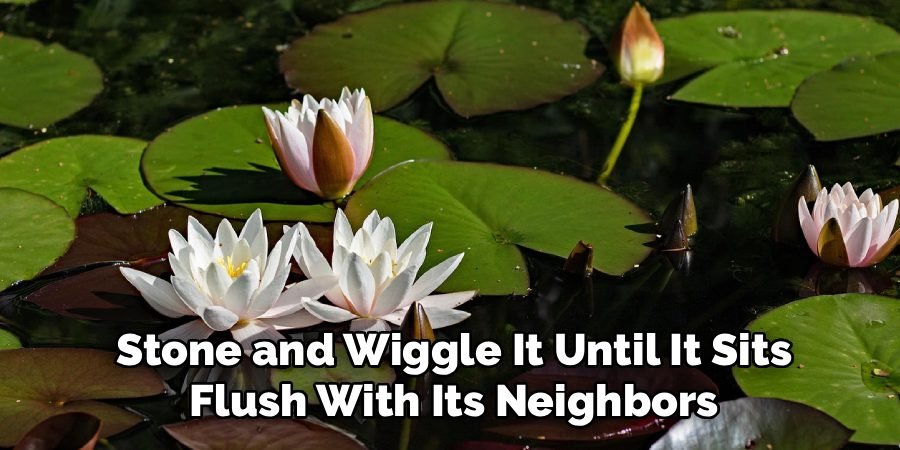
This stabilization step is often overlooked by beginners, but it is essential for the longevity of your repair. A stable surface ensures that the filler material only has to deal with weather expansion, not the mechanical stress of shifting rocks.
Step 4: Applying the Filler
Once your preparation is complete and the patio is completely dry, it is time to apply your chosen material. If you are using dry material like stone dust or polymeric sand, pour it generously over the surface of the stones. Using a push broom with stiff bristles, sweep the material back and forth across the patio at a 45-degree angle to the joints.
This diagonal sweeping motion forces the grains deep into the crevices without scooping them back out. Continue sweeping until every gap is filled flush with the surface of the stone.
If you are using wet mortar, you will need a piping bag or a trowel to carefully inject the mix into the joints, smoothing it afterwards with a jointing tool to prevent staining the stone face.
Step 5: Compact the Material into the Joints
Simply sweeping the material into the cracks is not enough; you must eliminate air pockets to prevent sinking later. If using dry filler, tap the surrounding stones gently with a rubber mallet. The vibration helps the sand or dust settle deeper into the narrow spaces. After tamping, you will likely notice that the level of the filler has dropped.
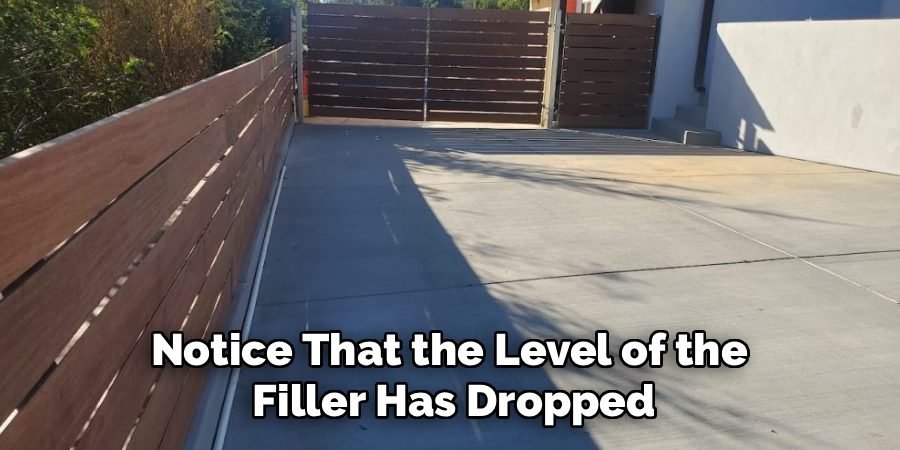
Sweep more material into the joints to top them off. Repeat this cycle of sweeping and vibrating until the material refuses to settle any further. This compaction process is vital for locking the stones together. It creates a dense barrier that is difficult for weeds to penetrate and resistant to being washed away by heavy rainfall or garden hoses.
Step 6: Clean the Stone Surface Thoroughly
Before you activate any binding agents, you must ensure the top of the flagstones is perfectly clean. If you leave polymeric sand or mortar residue on the textured surface of the stone, it will harden and leave a permanent, unsightly haze that is extremely difficult to remove.
Use a leaf blower on a low idle setting or a soft-bristled broom to gently dust off the patio. The goal is to remove every grain of dust from the slate or sandstone without blowing the filler out of the crevices you just worked so hard to fill.
Pay close attention to the edges and natural clefts in the stone where dust likes to hide. This attention to detail separates a professional-looking job from a messy DIY attempt.
Step 7: Activate the Filler with Water
The final step for polymeric sand or stone dust is hydration, which activates the binding polymers and hardens the mixture. Using a garden hose with a nozzle set to a fine mist, gently spray the patio. You want to dampen the joints without flooding them, as a heavy stream of water can displace the sand before it sets.
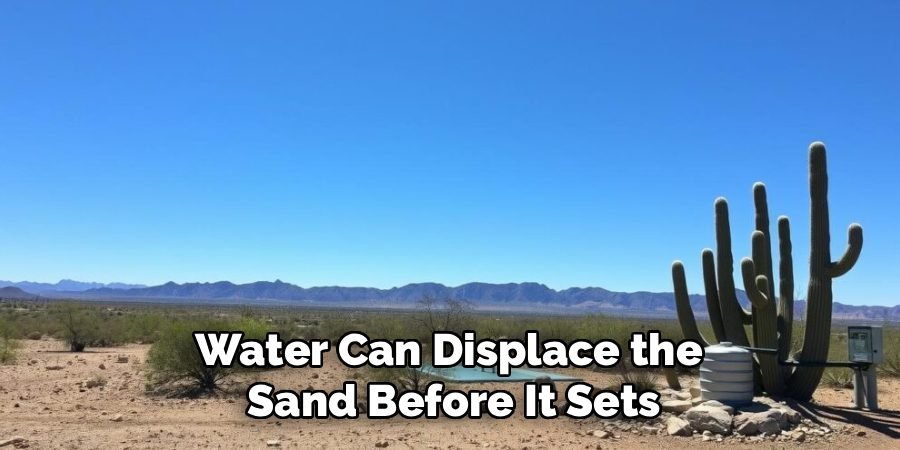
Mist a small section at a time, wait a few minutes, and then mist again to ensure the water penetrates deep into the joint. Do not allow water to pool on the surface.
Once the entire patio has been watered, let it cure undisturbed for at least 24 to 48 hours. This curing period allows the filler to solidify into a durable, weed-resistant seal that completes your project.
Frequently Asked Questions (FAQ)
What Is the Best Material for Large Gaps?
For gaps wider than two or three inches, standard polymeric sand might not be stable enough.
- Gravel: Use small pea gravel or decorative crushed stone for a permeable, rustic look.
- Planting: Consider planting “steppable” ground covers like creeping thyme or moss, which thrive in wide joints and add greenery.
- Mortar: If the base is concrete, a traditional mortar mix is best for spanning wide distances securely.
Can I Use Regular Beach Sand?
It is not recommended to use regular play sand or beach sand for flagstone joints.
- Erosion: Regular sand washes away very easily in the rain and is quickly blown out by wind.
- Insects: It provides a perfect home for ants and burrowing insects.
- Weeds: Unlike polymeric sand, regular sand has no binding agents to stop weed growth.
How Do I Prevent Weeds from Returning?
Preventing weeds is a multi-step defense strategy.
- Polymeric Sand: This material hardens like grout, creating a physical barrier that makes it difficult for roots to establish.
- Depth: Ensure you fill the gaps to the full depth of the stone so there is no soil near the surface for seeds to germinate in.
- Maintenance: Keep the patio clean of organic debris (leaves, dirt) that decomposes and creates a soil layer on top of your filler.
How Long Does Polymeric Sand Last?
With proper installation, high-quality polymeric sand can last significantly longer than regular sand.
- Lifespan: You can expect it to last anywhere from 10 to 15 years before it needs major touch-ups.
- Conditions: Harsh winters with frequent freeze-thaw cycles or power washing can reduce its lifespan.
- Repair: The good news is that you can often top up specific areas without redoing the entire patio.
Why Is My Polymeric Sand Not Hardening?
If your sand isn’t setting, a few factors could be to blame.
- Moisture: You may have applied too much water (washing away the polymers) or too little water (failing to activate them deep down).
- Temperature: Most brands require temperatures above 32°F (0°C) to cure properly; applying it in freezing weather will cause failure.
- Drainage: If the patio base doesn’t drain well and the sand stays constantly soggy, it may never fully cure.
Conclusion
Restoring the joints in your flagstone patio is one of the most rewarding weekend projects you can undertake as a homeowner. It transforms a weathered, neglected surface into a pristine, functional feature that enhances the value of your property.
By taking the time to clean the joints properly, level unstable stones, and apply the correct filler material, you protect your investment from water damage and shifting. The result is a clean, crisp appearance that highlights the natural beauty of the stone rather than the weeds growing between them.
Remember that maintenance is key; a little attention every few years prevents the need for major overhauls. Now that you understand the process of how to fill gaps in flagstone patio surfaces, you can confidently reclaim your outdoor space and enjoy a stable, beautiful foundation for your next backyard barbecue.
About
Jovie Mathews is a backyard and outdoor expert writer with over 12 years of hands-on experience transforming neglected outdoor spaces into thriving gardens and functional retreats. Raised in a family where weekends meant digging in the soil and building raised beds from scratch, Jovie developed a genuine love for the outdoors long before it became a career.
She writes with a practical, no-fluff approach — always testing ideas in her own backyard before sharing them with readers. From composting systems and native plant selection to patio design and pest control, Jovie covers the full spectrum of backyard life with equal parts expertise and enthusiasm.
Education
B.Sc. in Horticulture Science
University of Florida (UF) · Gainesville, FL · 2014
IFAS College of Agricultural and Life Sciences
Minor in Environmental Studies
University of Florida (UF) · Gainesville, FL · 2014
College of Liberal Arts and Sciences
Areas of expertise
- Lawn & Garden Care
- Soil prep, planting, seasonal care
- Outdoor DIY Projects
- Raised beds, fencing, pathways
- Composting & Soil Health
- Organic methods, amendments
- Native Plants & Wildlife
- Pollinators, habitat gardening
When she is not writing, Jovie can be found testing new composting techniques, growing tomatoes in questionable quantities, or convincing her neighbors that clover lawns are actually a great idea. She currently gardens in the Pacific Northwest.