Transforming a dull patch of grass into a stunning, functional outdoor living space is a dream for many homeowners. A natural stone surface offers a timeless, rustic appeal that concrete pavers simply cannot match. Whether you envision morning coffees surrounded by flowers or evening barbecues with friends, building your own terrace is a rewarding project that adds significant value to your property. While working with irregular stones might seem intimidating at first, the process is actually quite forgiving for beginners who are willing to put in a little sweat equity.
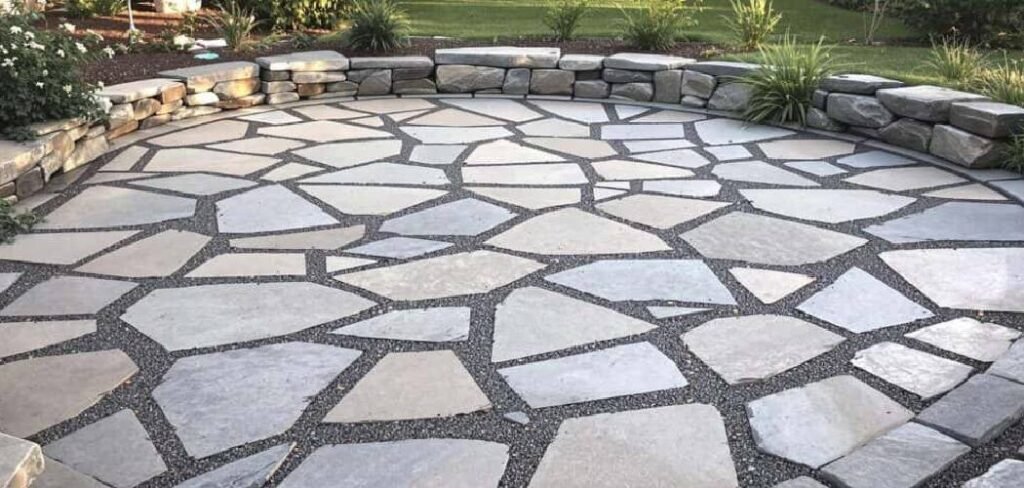
This project allows you to be creative with patterns and shapes, making your garden truly unique. By following a clear plan and using the right materials, you can achieve professional-looking results without the high cost of hiring a contractor. In this guide, we will walk you through every necessary action to ensure your success. We will cover everything from the initial ground preparation to the final touches that lock your stones in place. If you are ready to roll up your sleeves and learn how to lay flagstone patio surfaces that stand the test of time, you are in the right place to get started.
Why Choose Natural Flagstone for Your Garden
Choosing the right material for your hardscaping project is crucial, and natural flagstone stands out for several compelling reasons. Unlike uniform manufactured pavers, each piece of flagstone carries a unique shape, texture, and color variation that comes directly from the earth. This natural irregularity creates a softer, more organic look that blends seamlessly with garden beds, lawns, and existing landscape features. It does not look like a rigid addition to your yard but rather an extension of the natural environment.
7 Step-by-Step Guide on How to Lay Flagstone Patio
Step 1: Design and Mark Your Layout
Before you pick up a shovel, you must have a clear vision of your new outdoor space. Start by using garden hoses or rope to outline the shape of your desired patio directly on the ground. This allows you to visualize the footprint and make adjustments to the size or curvature before committing to the work. Once you are satisfied with the design, use marking paint to trace the outline onto the grass.
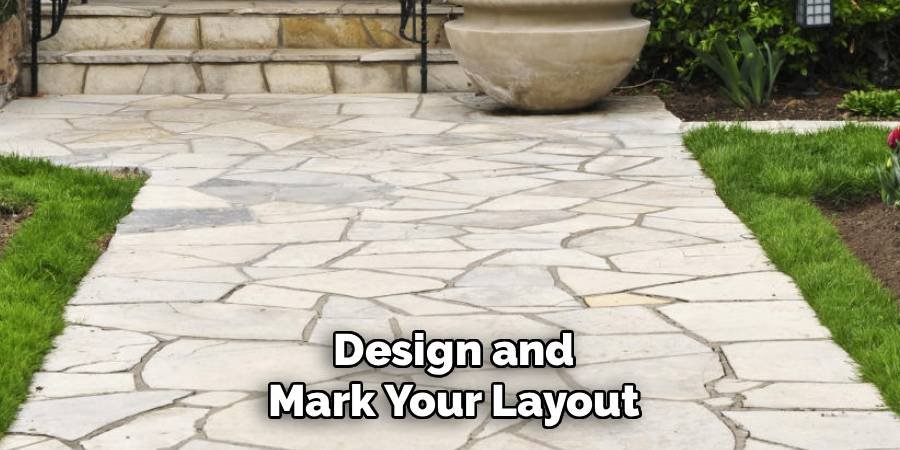
It is helpful to drive wooden stakes into the ground at the corners and run a mason’s line between them to establish a fixed reference point for the finished height. You want to ensure the final surface will sit about an inch above the surrounding ground level to prevent soil from washing onto the stones during heavy rainstorms. Taking time during this planning phase prevents headaches later.
Step 2: Excavate the Soil and Sod
With your outline clearly marked, the physical work begins. You need to dig out the entire area to a depth of roughly six inches. This depth accommodates the layers of gravel and sand that will form a stable foundation for your stones. As you dig, it is critical to create a slight slope away from your house or any other structures to ensure proper water drainage.
A good rule of thumb is to drop the elevation by about one-quarter inch for every foot of distance. Use a flat shovel to remove the sod and soil, checking the depth frequently with a tape measure. If the soil at the bottom of your excavation feels loose or soft, you should compact it using a hand tamper to prevent future settling that could cause your patio to become uneven over time.
Step 3: Install a Weed Barrier
Once the soil is excavated and tamped down firmly, you should install a layer of landscaping fabric. This step is often overlooked by beginners, but it is vital for the longevity of your project. The fabric serves two main purposes: it prevents stubborn weeds from growing up through your new patio, and it separates the native soil from the gravel base you are about to add.
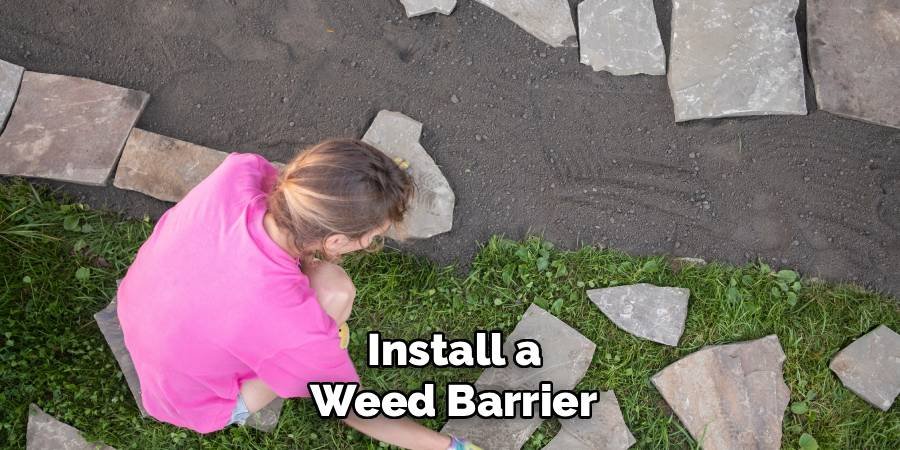
Without this barrier, the gravel can slowly sink into the dirt over time, causing the patio surface to dip and become uneven. Roll the fabric out across the entire excavated area, overlapping any seams by at least six inches. You can use landscape staples to pin the fabric in place so it does not shift around while you are wheeling in the heavy base materials in the next steps.
Step 4: Add and Compact the Gravel Base
The structural integrity of your patio relies heavily on this layer. You need to fill the excavated area with “crusher run” or 3/4-inch minus gravel. This type of gravel includes stone dust, which helps it lock together tightly. Spread the gravel evenly to a depth of about four inches. It is best to add the gravel in two separate two-inch lifts rather than all at once.
Spread the first layer, rake it smooth, and then use a plate compactor or a heavy hand tamper to pack it down until it is rock-hard. Then add the second layer and repeat the process. The goal is to create a solid, non-moving surface that retains the drainage slope you established during excavation. A well-compacted base ensures that your stones will not shift or sink when you walk on them.
Step 5: Create the Sand Bedding Layer
On top of your compacted gravel, you will add a layer of coarse sand or stone dust. This layer acts as the bedding that allows you to level out the irregular thicknesses of the flagstones. Spread about one to two inches of sand over the gravel base. To get this perfectly smooth, you can place two long pipes or wooden rails parallel to each other on the gravel, checking that they are level and follow your slope.
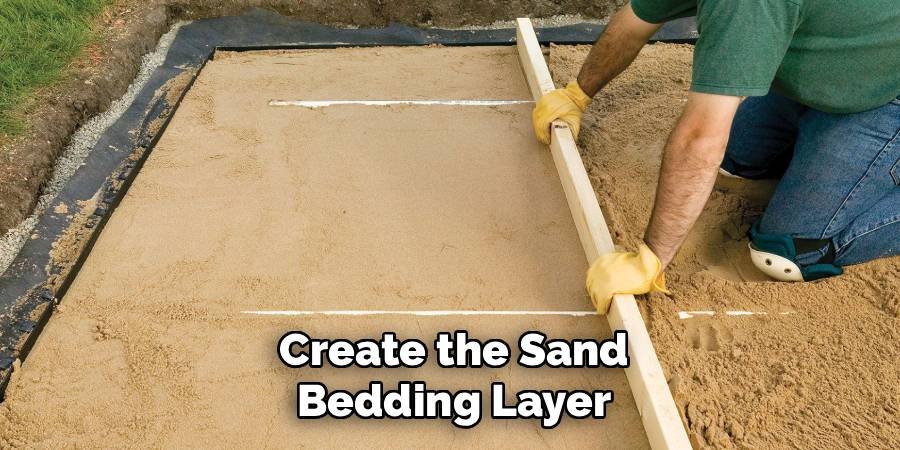
Fill the space between them with sand, then drag a straight 2×4 board across the pipes to “screed” the sand flat. Do not compact this sand layer; it needs to remain loose so you can wiggle the stones into it. This soft bed is the secret to learning how to lay flagstone patio stones securely, as it accommodates the natural bumps on the bottom of the rocks.
Step 6: Arrange and Place the Stones
This is the creative part of the process where you assemble your puzzle. Start laying your flagstones on top of the screeded sand, beginning at a corner or against the house and working your way outward. Fit the stones together like a giant mosaic, leaving gaps of roughly one to two inches between them for the joint material.
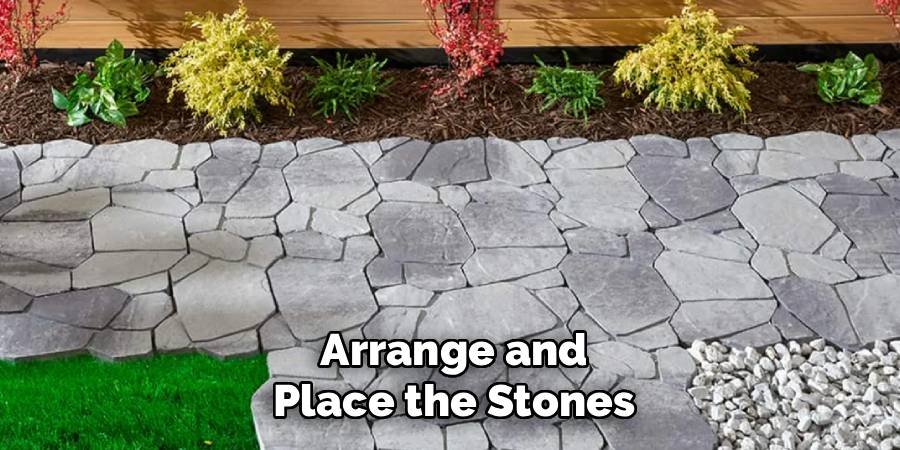
Avoid creating long, straight lines running across the patio; instead, stagger the joints for a more natural appearance and better structural strength. Since natural stones vary in thickness, you will need to adjust the sand underneath each one. If a stone sits too low, lift it and add a handful of sand. If it sits too high, scoop some sand away. Take your time to find the best arrangement where the shapes complement each other.
Step 7: Level and Stabilize the Stones
Simply placing the stones on the sand is not enough; you must set them firmly. Use a rubber mallet to tap each stone down into the sand bed. This eliminates any wobbles and ensures the entire surface of the stone is supported. As you hammer them down, use a carpenter’s level to check that each stone is even with its neighbors.
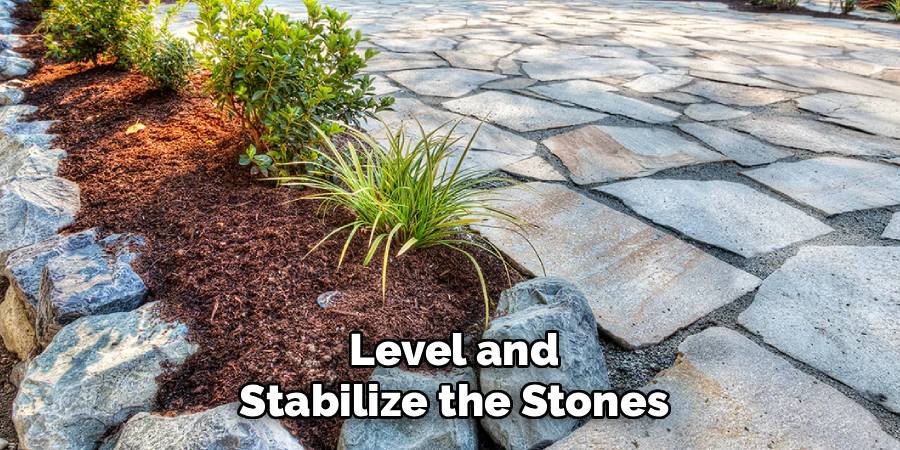
You do not want “toe-stubbers”—edges that stick up higher than the surrounding rocks. Place the level across multiple stones to ensure the overall slope for drainage is maintained. If a stone rocks back and forth when you step on it, lift it up and adjust the sand bedding again. This step requires patience, but ensuring stability now prevents loose stones that could cause accidents later.
Frequently Asked Questions (FAQ)
What Is The Best Base For A Flagstone Patio?
The most reliable base for a dry-laid patio consists of a combination of crushed gravel and coarse sand. Specifically, you should use a four-inch layer of 3/4-inch minus gravel (often called crusher run) for the foundation, followed by a one-to-two-inch layer of coarse sand or stone dust for the bedding. This combination provides a stable, solid platform that supports the weight of the heavy stones while still allowing for necessary water drainage. Using soil alone is not recommended because it shifts with moisture changes and freeze-thaw cycles, leading to an uneven surface.
Do I Need To Use Concrete For My Patio?
You do not strictly need concrete for a residential garden patio. The method described in this guide is known as “dry-laying,” which relies on gravity and friction within the sand and gravel base to hold the stones in place. Dry-laying is generally easier for beginners because it allows for adjustments if stones settle over time. However, “wet-laying” involves setting the stones into a wet concrete slab. While wet-laying is incredibly durable and permanent, it is significantly more labor-intensive, expensive, and difficult to repair if cracks appear. For most DIYers, the dry-lay method is the superior choice.
How Thick Should The Flagstones Be?
When selecting materials for a sand-set patio, you should look for flagstones that are at least one-and-a-half to two inches thick. Thinner stones, often referred to as veneer stone, are designed to be mortared onto concrete walls or walkways and are prone to cracking under the weight of foot traffic when laid only on sand. Thicker stones have enough mass to stay in place without rocking and are strong enough to support the weight of patio furniture and guests. Always check the thickness specification with your landscape supplier before purchasing to ensure durability.
Can I Cut Flagstone To Fit Better?
Yes, you can absolutely cut flagstone to achieve tighter joints or specific shapes. The simplest way to do this is by using a hammer and a stone chisel. Score a line across the stone where you want the cut to be, and then strike the chisel firmly along that line until the stone snaps. For cleaner, more precise cuts, you can use a circular saw fitted with a diamond masonry blade. If you use a saw, be sure to wear proper safety gear, including eye protection and a dust mask, as cutting stone generates significant silica dust.
How Do I Maintain My Flagstone Patio?
Maintenance for a dry-laid flagstone patio is relatively simple and low-cost. You should sweep it regularly to prevent organic debris like leaves and dirt from accumulating in the joints, which can encourage weed growth. If you used polymeric sand, check the joints annually and top them up if any material has washed away or settled. You can clean the stones with a mild detergent and water if they become stained. Avoid using high-pressure power washers directly on the joints, as this can blast away the sand packing. Sealing the stones is optional but can help enhance their color and protect against stains.
Conclusion
Building your own natural stone patio is a substantial project, but the results are undeniably worth the effort. By following the preparation steps carefully—digging the right depth, compacting your base, and leveling your stones—you create a durable extension of your home that blends beautifully with the outdoors. It provides a perfect setting for relaxation and entertainment, adding charm and functionality to your garden. Remember that patience is your best tool; taking the time to fit the stones snugly and prepare the base properly will prevent maintenance issues down the road.
If you have been hesitant to start, let this guide serve as your motivation. The materials are readily available, and the skills required are very learnable for any enthusiastic beginner. There is a deep sense of satisfaction that comes from standing on a solid, beautiful surface that you built with your own hands. Gather your tools, order your stones, and start planning your layout today. Now that you know how to lay flagstone patio areas like a pro, your dream backyard is just a few weekends away from becoming a reality.

About
Jovie Mathews is a backyard and outdoor expert writer with over 12 years of hands-on experience transforming neglected outdoor spaces into thriving gardens and functional retreats. Raised in a family where weekends meant digging in the soil and building raised beds from scratch, Jovie developed a genuine love for the outdoors long before it became a career.
She writes with a practical, no-fluff approach — always testing ideas in her own backyard before sharing them with readers. From composting systems and native plant selection to patio design and pest control, Jovie covers the full spectrum of backyard life with equal parts expertise and enthusiasm.
Education
B.Sc. in Horticulture Science
University of Florida (UF) · Gainesville, FL · 2014
IFAS College of Agricultural and Life Sciences
Minor in Environmental Studies
University of Florida (UF) · Gainesville, FL · 2014
College of Liberal Arts and Sciences
Areas of expertise
- Lawn & Garden Care
- Soil prep, planting, seasonal care
- Outdoor DIY Projects
- Raised beds, fencing, pathways
- Composting & Soil Health
- Organic methods, amendments
- Native Plants & Wildlife
- Pollinators, habitat gardening
When she is not writing, Jovie can be found testing new composting techniques, growing tomatoes in questionable quantities, or convincing her neighbors that clover lawns are actually a great idea. She currently gardens in the Pacific Northwest.