Discovering unsightly trenches across your beautiful lawn can be disheartening for any homeowner. Whether caused by heavy machinery, vehicle traffic during wet weather, or repeated mowing in the same pattern, deep ruts are both an eyesore and a hazard. Fortunately, learning how to fix deep ruts in yard areas is a manageable project that doesn’t necessarily require professional help.
This guide is designed to walk you through the process of restoring your lawn to its former smooth, green glory. By addressing these depressions promptly, you prevent further damage to your grass and soil structure. We will cover the essential tools, materials, and techniques needed to fill these gaps effectively, ensuring your outdoor space remains safe and visually appealing for years to come.
Dealing with uneven areas or deep ruts in your yard can feel overwhelming, but with the right approach, it’s a task that anyone can tackle.
These imperfections not only detract from the appearance of your lawn but can also pose a safety hazard. Fortunately, with some preparation and effort, you can restore your yard’s even surface and promote healthy grass growth. This guide will provide you with simple, actionable steps to make your lawn look its best again.
Why It Matters
Ignoring deep ruts in your lawn is more than just a cosmetic issue; it affects the overall health and safety of your property. Deep depressions can become tripping hazards for children, pets, and guests, leading to potential injuries. From a maintenance perspective, ruts make mowing difficult and can even damage your lawn mower blades if they strike the uneven ground.
Furthermore, these low spots often collect water, leading to poor drainage. Standing water can drown grass roots, encourage fungal diseases, and become a breeding ground for mosquitoes. By leveling the ground, you improve soil drainage and aeration, which promotes a thicker, healthier turf.
Taking the time to repair these areas also restores the curb appeal of your home, maintaining your property value and pride of ownership.
Step-by-Step Guide how to fix deep ruts in yard
Step 1: Assess the Damage and Gather Supplies
Before you begin any physical work, it is crucial to evaluate the severity of the ruts to determine the best approach. Minor tire tracks might only need a simple lift, while deep trenches require filling. Walk your property and measure the depth and length of the affected areas.

Once you know the scope, head to your local garden center. You will need a square-edged spade or edger, a garden fork, and a high-quality soil mixture. A 50/50 blend of topsoil and sand or compost works best for most lawns. Having all your materials ready beforehand ensures the process goes smoothly and prevents unnecessary interruptions once you start digging.
Step 2: Prepare the Rut for Repair
To ensure a seamless repair that blends with the rest of your lawn, you need to prepare the damaged area properly. Start by removing any debris, rocks, or dead vegetation from the rut. If the grass at the bottom of the rut is still alive but matted down, try to pry it up gently.
However, for deep ruts, the existing grass is usually damaged beyond saving or will be buried. In this case, use your spade to cut a clean edge along the borders of the rut. This creates a neat pocket for your new soil mixture and helps prevent the repair material from spilling over onto the healthy surrounding grass.
Step 3: Loosen the Compacted Soil
The soil at the bottom of a deep rut is often severely compacted due to the weight that caused the depression. This compaction prevents new grass roots from penetrating deep into the ground and hinders proper drainage. Use a garden fork or a spade to dig into the bottom of the rut.
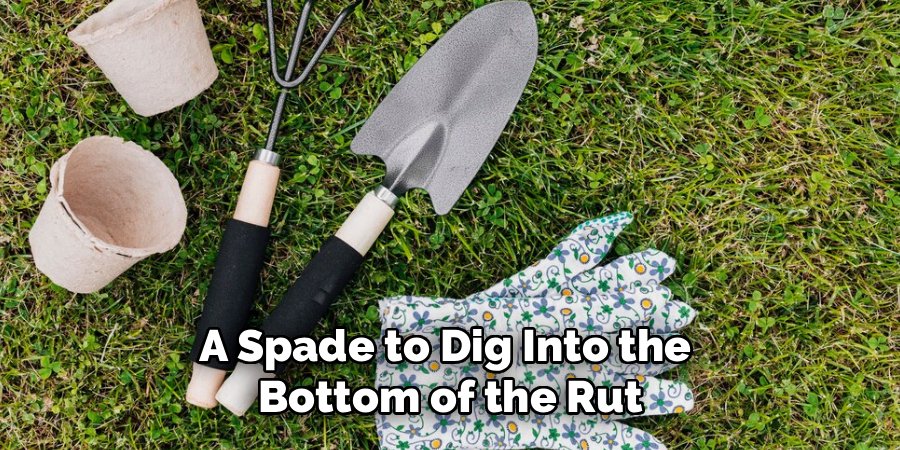
Turn the soil over and break up any large clumps. You want to loosen the earth to a depth of at least a few inches. This step is vital because it integrates the existing subsoil with the new filler material you are about to add, preventing a distinct layer barrier that could stop water and root movement later on.
Step 4: Mix and Add the Soil Blend
Now it is time to fill the void. Take your pre-mixed blend of topsoil and sand or compost and begin shoveling it into the rut. It is important not to just dump it in all at once. Add the soil in layers of about one or two inches at a time. Between each layer, lightly water the soil or step on it gently to settle it.

You want to eliminate large air pockets without re-compacting the soil into a hardpan. Continue filling until the soil level is slightly higher than the surrounding ground—about an inch or so. This overfilling accounts for the natural settling that will occur over the next few weeks.
Step 5: Level and Grade the Area
Once the rut is filled, you need to shape the surface to match the contour of your lawn. Use the back of a garden rake or a straight board to smooth out the mound of new soil. The goal is to feather the edges so they transition seamlessly into the existing turf.
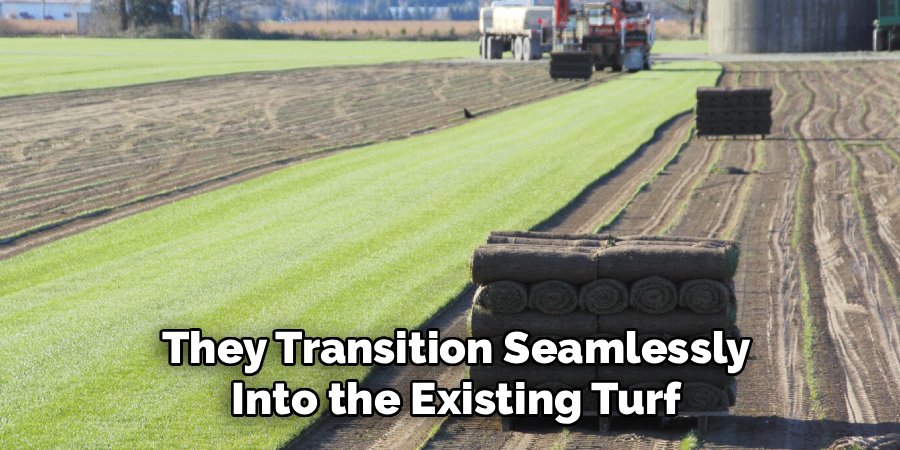
While you left the center slightly high to account for settling, the edges should be flush with the surrounding ground. Take a step back and look at the repair from different angles to ensure it looks natural. Proper grading ensures that when you eventually mow over this spot, the mower will glide smoothly without scalping the new grass or dipping into a hole.
Step 6: Seed the Repaired Area
With the ground leveled, you are ready to reintroduce grass to the bare soil. Choose a high-quality grass seed that matches your existing lawn type, whether it is Bermuda, Fescue, or Kentucky Bluegrass. Sprinkle the seed generously over the repaired area, ensuring good coverage but avoiding piles of seeds which can rot.
To improve germination rates, gently rake the seeds into the top quarter-inch of the soil. This soil contact is essential for the seeds to sprout. You may also want to apply a starter fertilizer at this stage to give the young seedlings a nutritional boost as they begin to develop their root systems.
Step 7: Protect and Maintain the New Grass
The final step is to nurture the repair until it is fully established. Cover the seeded area with a light layer of straw or a biodegradable erosion control blanket. This protects the seeds from birds, wind, and heavy rain while retaining moisture. Water the area gently but frequently—usually once or twice a day—to keep the soil moist but not soggy.
Avoid walking or mowing over the new patch until the grass is at least three inches tall and has been mowed a couple of times. This patience ensures the new turf knits firmly with the surrounding lawn, completing the process of how to fix deep ruts in yard permanently.
Common Mistakes to Avoid
One of the most frequent errors homeowners make is simply filling deep ruts with fresh dirt without loosening the compacted soil underneath. If you skip this step, the new soil will just sit on top of a hard layer, preventing drainage and root growth. The new grass will likely struggle or die during the first hot spell.
Another common mistake is using the wrong type of fill dirt. Using heavy clay soil can create drainage problems, while using only peat moss or organic matter will eventually decompose and cause the rut to sink again.
Always use a balanced mix of topsoil and sand. Finally, failing to overfill the rut slightly is a classic error. All loose soil settles over time; if you level it perfectly flush immediately, you will likely end up with a shallow dip a month later.
Frequently Asked Questions (FAQ)
Can I Fix Ruts Without Buying New Soil?
If the ruts are shallow (less than 4 inches), you might be able to fix them without new soil by “lifting” the turf. Insert a garden fork at a 45-degree angle under the sod near the rut’s edge and gently pry the grass upward. Repeat this along the rut until the surface is level, then water deeply.
How Long Does It Take For The Grass To Grow Back?
Grass germination depends on the seed type and weather conditions, but you typically see sprouts within 7 to 21 days. It usually takes another 4 to 6 weeks for the grass to become established enough to mow. During this time, it is critical to keep foot traffic off the repaired area.
What Is The Best Time Of Year To Fix Lawn Ruts?
The best time to repair ruts is during the active growing season for your specific grass type. For cool-season grasses, early fall or spring is ideal. For warm-season grasses, late spring or early summer works best. Avoiding repairs during extreme heat or drought ensures the new grass has the best chance of survival.
Can I Drive Over The Repaired Area?
No, you should strictly avoid driving over the repaired area until the new sod is fully established and the soil has completely settled. This can take several months. Driving on it too soon will re-compact the soil and create new ruts, undoing all your hard work and wasting your materials.
Will Rolling The Lawn Fix Deep Ruts?
Lawn rollers are generally not effective for fixing deep ruts and can actually cause more harm than good by compacting the soil further. Rollers are better suited for smoothing out minor bumps or ensuring seed-to-soil contact. For deep depressions, filling and reseeding is the only effective long-term solution.
Conclusion
Repairing deep ruts is a satisfying project that restores the safety and beauty of your landscape. By assessing the damage, loosening the compacted earth, and filling the void with the correct soil mixture, you ensure a long-lasting fix. Remember that patience is key—allowing the soil to settle and the new grass to establish is just as important as the physical labor.
With these steps, you now know how to fix deep ruts in yard areas effectively, turning those hazardous trenches into smooth, lush green turf. Regular maintenance and careful use of heavy equipment will help keep your lawn pristine for years to come.

About
Jovie Mathews is a backyard and outdoor expert writer with over 12 years of hands-on experience transforming neglected outdoor spaces into thriving gardens and functional retreats. Raised in a family where weekends meant digging in the soil and building raised beds from scratch, Jovie developed a genuine love for the outdoors long before it became a career.
She writes with a practical, no-fluff approach — always testing ideas in her own backyard before sharing them with readers. From composting systems and native plant selection to patio design and pest control, Jovie covers the full spectrum of backyard life with equal parts expertise and enthusiasm.
Education
B.Sc. in Horticulture Science
University of Florida (UF) · Gainesville, FL · 2014
IFAS College of Agricultural and Life Sciences
Minor in Environmental Studies
University of Florida (UF) · Gainesville, FL · 2014
College of Liberal Arts and Sciences
Areas of expertise
- Lawn & Garden Care
- Soil prep, planting, seasonal care
- Outdoor DIY Projects
- Raised beds, fencing, pathways
- Composting & Soil Health
- Organic methods, amendments
- Native Plants & Wildlife
- Pollinators, habitat gardening
When she is not writing, Jovie can be found testing new composting techniques, growing tomatoes in questionable quantities, or convincing her neighbors that clover lawns are actually a great idea. She currently gardens in the Pacific Northwest.