Over time, even the most beautifully painted wooden decks can succumb to the elements. Sun, rain, and foot traffic eventually cause paint to crack, peel, and flake, turning your backyard oasis into an eyesore.
If you are staring at a patchy, weathered surface and wondering where to begin, you might be dreading the thought of hours spent on your hands and knees with a sander. Fortunately, there is a faster, more efficient solution. Using high-pressure water streams can strip away old coatings significantly faster than manual scraping.
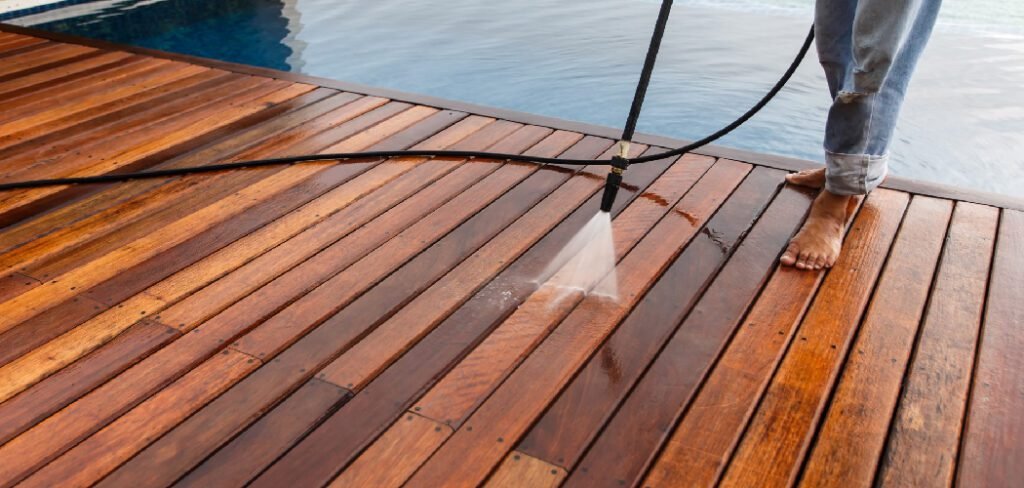
While it requires care to avoid damaging the wood fibers, mastering this technique can save you weekends of hard labor. This guide is designed to walk you through the process safely, ensuring you strip away the old layers without gouging or fuzzying the timber underneath.
We will teach you exactly how to remove paint from wood deck with pressure washer equipment, transforming a daunting renovation project into a satisfying weekend task that prepares your outdoor space for a stunning new finish.
Step-by-Step Guide: How to Remove Paint from Wood Deck with Pressure Washer
Step 1: Clear the Deck and Prepare the Area
Before you even touch the power equipment, you must create a safe and empty workspace. Remove all furniture, potted plants, grills, and decorative items from the deck surface to ensure nothing gets damaged or trips you up during the process.
You should also take time to sweep away loose debris like leaves, dirt, and twigs that have accumulated in the corners or between the boards. Cover any nearby delicate plants or landscaping with plastic tarps to protect them from paint chips and high-pressure spray.
Securing the perimeter ensures that once you start cleaning, you can focus entirely on the task without stopping to move obstacles. This preparation phase is critical for safety and efficiency.
Step 2: Choose the Right Pressure Washer Tip and Settings
Selecting the correct nozzle is the most critical safety step when learning how to remove paint from wood deck with pressure washer tools. You should never use the zero-degree red tip, as it concentrates the water into a laser-like beam that will instantly gouge the wood.
Instead, opt for a fan tip, typically yellow (15 degrees) or green (25 degrees), which spreads the water out over a wider area. Set your machine to a pressure setting between 1500 and 2500 PSI. Anything higher risks damaging softwoods like cedar or pine.
If your machine allows, test the pressure on a small, inconspicuous area or a scrap piece of lumber first. This calibration ensures you have enough power to lift the paint but not enough to ruin the timber grain.
Step 3: Apply a Paint Stripper
While water pressure alone can remove loose flakes, stubborn adhered paint often requires chemical assistance to soften it first. Apply a high-quality deck paint stripper generously across the boards using a roller or a garden sprayer.
Let the chemical sit on the surface for the manufacturer’s recommended time, usually between 15 and 30 minutes, but do not let it dry out completely. Keep the surface misted with water if necessary.
The chemicals work to break the bond between the paint and the wood fibers, making the subsequent washing process much easier and gentler on the wood. This step significantly reduces the amount of pressure you need to apply later, minimizing the risk of furring or splintering the deck boards during the main removal phase.
Step 4: Technique for Pressure Washer
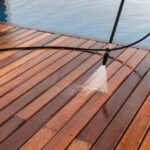
Now begins the actual stripping process. Hold the wand tip approximately 12 to 18 inches away from the surface of the wood. Trigger the spray and slowly lower it until you see the paint lifting, but never get closer than 6 inches. Move the wand in a consistent, sweeping motion that follows the grain of the wood.
Spraying against the grain can tear the wood fibers and leave permanent marks. Work in small, manageable sections, focusing on one or two boards at a time. Maintain a steady pace and keep the nozzle moving constantly; lingering in one spot for too long can dig a hole into the lumber.
Patience is key here, as rushing or forcing the spray will result in an uneven, damaged surface.
Step 5: Feather the Edges and Overlap Strokes
To avoid leaving visible start and stop marks, you must use a feathering technique. Start the spray while the nozzle is pointed away from the wood, then swing it over the cleaning path, and release the trigger only after you have moved off the target area. Each pass should overlap the previous one by about 50 percent to ensure uniform cleaning.
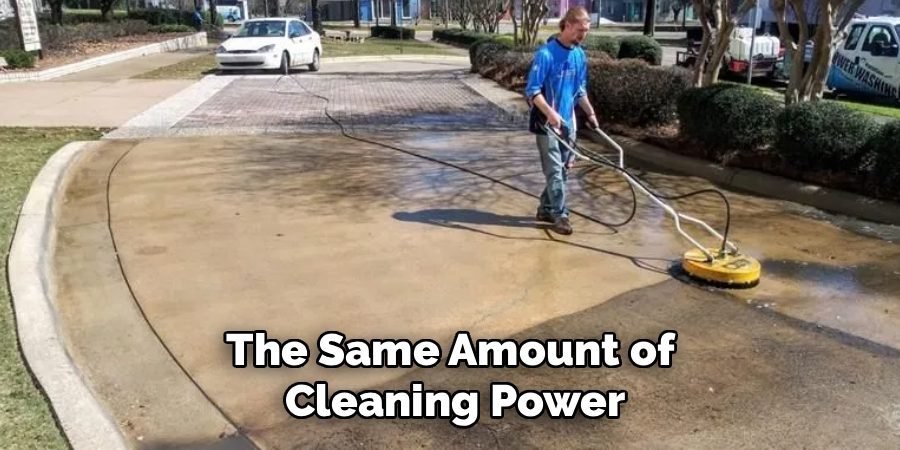
This method prevents the “zebra stripe” effect often seen on amateur pressure washing jobs. Consistent overlapping ensures that every inch of the board receives the same amount of cleaning power.
If you encounter a particularly stubborn spot of paint, resist the urge to blast it up close. Instead, make multiple passes from a safe distance or plan to tackle it with a scraper later.
Step 6: Rinse and Neutralize the Wood Surface
Once the bulk of the paint has been stripped away, switch to a wider spray tip, such as the white 40-degree nozzle, to rinse the entire deck. This step washes away the slushy paint residue, chemical stripper, and dirty water. If you used a chemical stripper, you must also apply a wood brightener or neutralizer at this stage.
Strippers often have a high pH that darkens the wood, and a neutralizer restores the natural pH balance and brings back the original color of the timber.
Thorough rinsing is vital because any leftover chemical residue can prevent your new stain or paint from adhering properly. Wash from the house outwards to push debris off the edge of the deck.
Step 7: Allow the Wood to Dry and Sand Remaining Spots
After the pressure washing is complete, the wood will be saturated with water. You must allow the deck to dry completely for at least 48 hours, or longer depending on the weather. Once dry, inspect the surface for any remaining stubborn paint patches or raised wood fibers (fuzz) caused by the water pressure.
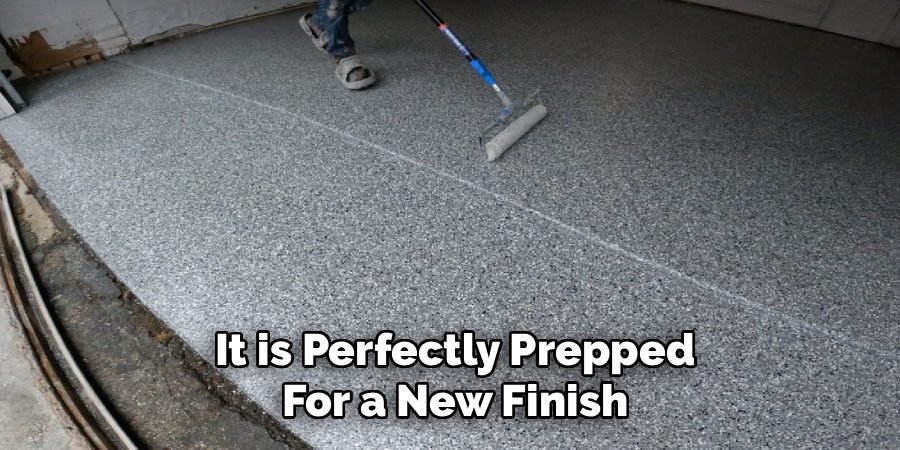
Use a hand scraper for the leftover paint and an orbital sander with 80-grit paper to smooth out the entire deck. Sanding is the final polish that removes imperfections and opens the wood pores, ensuring it is perfectly prepped for a new finish.
Do not skip this step, as painting over damp or rough wood will lead to premature failure of your new coating.
Frequently Asked Questions (FAQ)
Can I Use a Pressure Washer on Any Type of Wood?
Not all wood handles high pressure equally well.
- Hardwoods: Woods like Ipe or Teak are very dense and can withstand higher pressure settings without damage.
- Softwoods: Cedar, Pine, and Redwood are much softer. They require lower pressure (around 1200-1500 PSI) and a wider spray angle to prevent gouging or splintering.
- Rotting Wood: Never pressure wash wood that shows signs of rot or decay, as the water will disintegrate it further.
What Safety Gear Do I Need for This Project?
Safety is paramount when operating high-pressure equipment.
- Eye Protection: Always wear safety goggles to protect your eyes from flying paint chips and debris.
- Footwear: Wear sturdy, closed-toe boots. The water jet is powerful enough to slice through skin or canvas shoes.
- Clothing: Long pants and long sleeves protect your skin from debris and chemical strippers.
- Hearing Protection: Gas-powered washers are loud, so earplugs or earmuffs are recommended.
Will Pressure Washing Remove All the Paint?
Pressure washing removes the vast majority of peeling and loose paint, but it is rarely 100% perfect on its own.
- Adhesion: Paint that is still firmly bonded to the wood grain may not come off without damaging the wood.
- Chemical Helper: This is why using a stripping agent is suggested.
- Sanding: You should expect to do some light sanding or scraping after the deck dries to remove the final stubborn bits.
How Long Do I Wait Before Repainting?
Patience is crucial for a lasting finish.
- Drying Time: The wood needs to be bone dry. This typically takes 48 to 72 hours of dry, sunny weather.
- Moisture Content: If you paint while moisture is trapped inside the wood, the water will try to escape as vapor, causing your new paint to blister and peel almost immediately.
- Test: You can use a moisture meter to be sure the wood moisture content is below 15%.
Is It Better to Use an Electric or Gas Pressure Washer?
Both can work, but they have different strengths.
- Gas: These offer higher PSI and GPM (gallons per minute), making them faster and more effective for stripping paint.
- Electric: These are generally quieter and lighter but may struggle to maintain the consistent high pressure needed for tough paint removal jobs.
- Recommendation: For paint stripping, a gas unit or a high-end electric unit rated for at least 2000 PSI is usually preferred.
Conclusion
Restoring a weathered deck is one of the most rewarding home improvement projects you can undertake. It takes a tired, peeling surface and reveals the natural beauty of the wood hidden underneath, ready for a fresh start.
While the power of a water jet makes the job significantly faster than manual scraping, it demands respect and careful technique to avoid damage. By following the proper steps—preparing the area, using the right chemicals, and handling the wand with care—you can achieve professional-looking results without the professional price tag.
Remember that the goal is not just to strip the old finish, but to preserve the integrity of the lumber for years to come. Now that you understand how to remove paint from wood deck with pressure washer equipment properly, you can confidently reclaim your outdoor living space and look forward to summer barbecues on a surface that looks brand new.

About
Jovie Mathews is a backyard and outdoor expert writer with over 12 years of hands-on experience transforming neglected outdoor spaces into thriving gardens and functional retreats. Raised in a family where weekends meant digging in the soil and building raised beds from scratch, Jovie developed a genuine love for the outdoors long before it became a career.
She writes with a practical, no-fluff approach — always testing ideas in her own backyard before sharing them with readers. From composting systems and native plant selection to patio design and pest control, Jovie covers the full spectrum of backyard life with equal parts expertise and enthusiasm.
Education
B.Sc. in Horticulture Science
University of Florida (UF) · Gainesville, FL · 2014
IFAS College of Agricultural and Life Sciences
Minor in Environmental Studies
University of Florida (UF) · Gainesville, FL · 2014
College of Liberal Arts and Sciences
Areas of expertise
- Lawn & Garden Care
- Soil prep, planting, seasonal care
- Outdoor DIY Projects
- Raised beds, fencing, pathways
- Composting & Soil Health
- Organic methods, amendments
- Native Plants & Wildlife
- Pollinators, habitat gardening
When she is not writing, Jovie can be found testing new composting techniques, growing tomatoes in questionable quantities, or convincing her neighbors that clover lawns are actually a great idea. She currently gardens in the Pacific Northwest.