Chicken wire, also known as poultry netting, is a staple in the world of gardening and homesteading. Its flexible, hexagonal mesh design makes it perfect for everything from protecting vegetable patches to building sturdy enclosures for small animals. However, despite its versatility, many beginners find themselves struggling when it comes time to resize or shape this material.
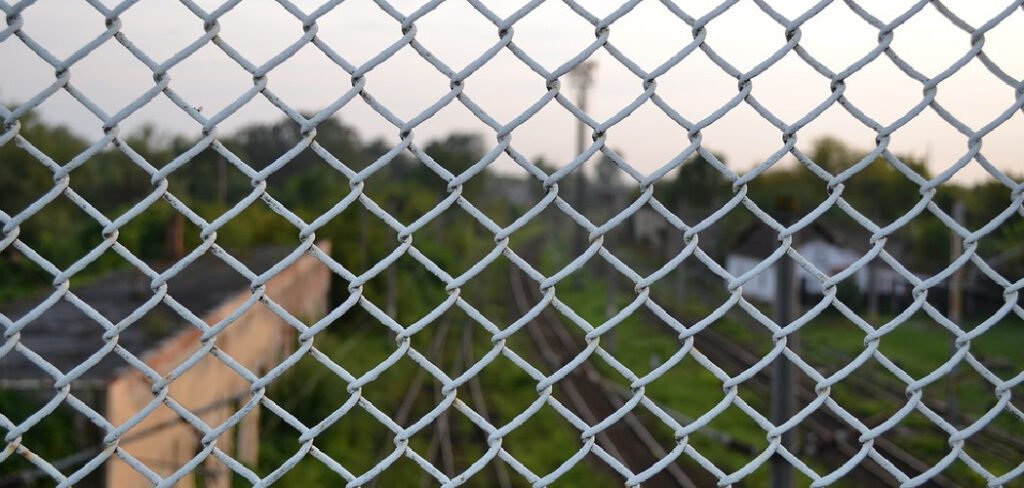
Without the right technique or tools, you can end up with jagged edges, ruined gloves, and a lot of frustration. Learning how to cut chicken wire properly is a fundamental skill that will save you time and prevent unnecessary injuries.
This guide is designed to take the intimidation out of the process. Whether you are building a simple compost bin or a complex trellis system, mastering the art of cutting this wire mesh is essential. We will walk you through the safety precautions, the best tools for the job, and the specific techniques that ensure a clean, smooth cut every time. By the end of this article, you will feel confident handling this common material, allowing you to focus on the joy of building and growing rather than fighting with your fencing.
Why Proper Cutting Techniques Matter
Understanding the nuances of working with poultry netting goes beyond just getting the job done; it is about safety and longevity. Chicken wire is typically made of thin, galvanized steel wire that is twisted into a mesh. When cut improperly, these wires leave behind razor-sharp points that can easily slice through clothing and skin.
These jagged edges are not only a hazard to you during installation but can also injure the animals you are trying to protect or snag the delicate stems of your plants. A clean cut ensures that the finished edge is manageable and safe to handle.
Step-by-Step Guide on How to Cut Chicken Wire
Navigating the process of resizing wire mesh does not have to be a battle. By following a methodical approach, you can achieve precise results without the headache. This section outlines the essential steps to ensure your project is a success.
Step 1: Gather the Necessary Safety Gear and Tools
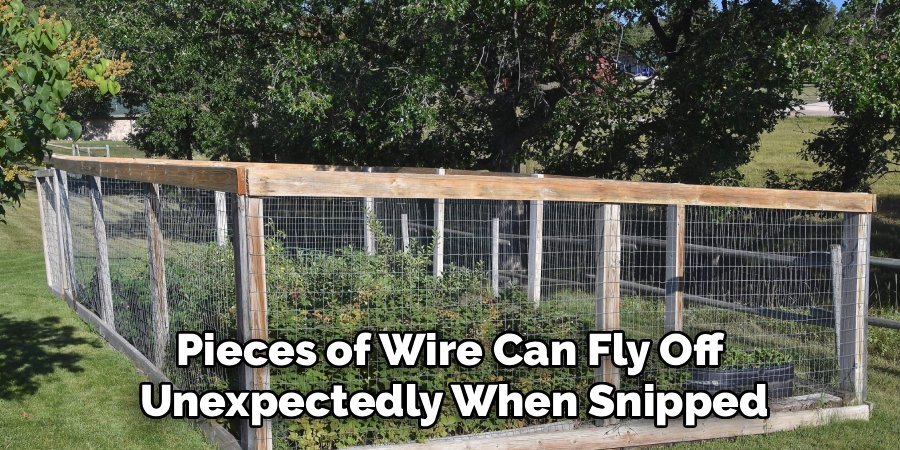
Before you even unroll the wire, prioritizing your safety is the absolute first step in this process. You need to equip yourself with heavy-duty leather gloves because the cut ends of the wire are incredibly sharp and can easily puncture standard gardening gloves or bare skin. Eye protection is also non-negotiable, as small pieces of wire can fly off unexpectedly when snipped.
For the actual cutting, a high-quality pair of wire cutters, tin snips, or lineman’s pliers is essential. Attempting to use standard household scissors will only ruin the blades and frustrate you. Having the right equipment laid out and ready ensures that you can focus entirely on the task at hand without scrambling for protection or tools mid-project.
Step 2: Measure and Mark Your Cutting Line
Precision is key to avoiding waste and ensuring your fencing fits perfectly. Unroll the chicken wire on a flat, stable surface like a driveway or a large workbench. Use a measuring tape to determine the exact length you need for your project. Once measured, it is helpful to mark your cutting line directly on the wire.
You can use a permanent marker to color the specific twist you intend to cut, or weave a piece of bright masking tape through the mesh along the line. This visual guide is crucial because the hexagonal pattern can be visually confusing, and it is very easy to accidentally drift off-course and cut a crooked line if you are relying solely on your eyes.
Step 3: Secure the Wire to Prevent Recoil
One of the most challenging aspects of working with poultry netting is its tendency to roll back up on itself. To maintain control, place heavy objects like bricks, rocks, or scrap lumber on the corners and edges of the unrolled wire. This keeps the material flat and prevents it from springing back and hitting you while you work.
If you are cutting a very long piece, you might need a helper to hold the other end steady. keeping the mesh taut and flat allows you to make cleaner cuts and ensures that your measurements remain accurate throughout the process. A stable workpiece is the foundation of a safe and effective cutting session.
Step 4: Technique for How to Cut Chicken Wire Cleanly
Now that your material is prepped, take your wire cutters and position them at the starting point of your marked line. The trick is to cut the wire at the single strand sections rather than the twisted junctions whenever possible, as this requires less force and leaves a cleaner edge.
Apply steady, firm pressure to the handles of your tool to snap through the metal. If you are using tin snips, the motion will feel similar to cutting thick cardboard. Move systematically along your marked line, cutting one mesh cell at a time. Do not rush this step; patience ensures that you follow your guide accurately and avoid leaving jagged, uneven spikes that could cause injury later.
Step 5: Managing the Sharp Edges Immediately
As you progress through the cut, you will inevitably create a raw edge filled with sharp points. It is vital to address these hazards immediately rather than waiting until the end of the project. Using your pliers, bend these sharp cut ends back onto themselves or fold them over the adjacent wire twist.
This process, often called “turning the edge,” blunts the sharp points and creates a smoother perimeter that is safer to handle during installation. If you plan to attach the wire to a wooden frame, you can leave the points straight to staple them down, but be extremely cautious. Managing these edges right away prevents accidental scratches and snags on your clothes or skin.
Step 6: Using the Proper Technique
Sometimes your project requires more than just a straight line, necessitating cuts at specific angles or around obstacles. When cutting curves or angles, the hexagonal pattern can make it tricky to maintain a straight visual reference. In these instances, cutting individual wire strands one by one is even more critical. Follow the natural geometry of the mesh where possible, stepping the cut up or down to approximate the angle you need.
It is often better to cut the piece slightly larger than necessary and trim it down bit by bit. This conservative approach allows for adjustments and ensures you don’t accidentally remove too much material, which would render the piece useless for your specific frame or enclosure.
Step 7: Final Inspection and Cleanup
Once you have completed your cut, take a moment to inspect the entire length of the new edge. Run your gloved hand gently along the wire to detect any missed sharp points or protruding barbs that could cause injury. Use your pliers to flatten any rogue wires you find. After the piece is safe, turn your attention to the work area.
Small snippets of galvanized wire are notorious for disappearing into grass or gravel, only to be found later by a lawnmower or a bare foot. Use a strong magnet or a broom to meticulously sweep up every scrap of metal. Proper cleanup is the final mark of a professional job and ensures the safety of your family and pets.
Frequently Asked Questions (FAQ)
What Is the Best Tool for Cutting Chicken Wire?
The best tool for cutting chicken wire is a pair of high-quality wire cutters specifically designed for metal, such as diagonal cutting pliers or tin snips. While some people attempt to use heavy-duty scissors, this will quickly dull the blades and ruin the tool. For thicker gauges of poultry netting, lineman’s pliers are excellent because they offer superior leverage and durability. Avoid using standard household scissors or knives, as they are ineffective and dangerous for this task.
Can I Cut Chicken Wire With Standard Scissors?
No, you should not use standard household scissors to cut chicken wire. The galvanized steel wire is much harder than the materials scissors are designed to cut, such as paper or fabric. Attempting this will almost certainly nick the blades, ruin the alignment of the scissors, and require excessive hand force that could lead to injury or blisters. Always use tools intended for metalworking, like wire snips or side cutters, to ensure a clean, safe cut without damaging your equipment.
How Do I Prevent the Wire From Rolling Back Up?
Chicken wire has a strong “memory” and will naturally try to curl back into a roll. To prevent this, unroll the wire on a flat surface and weigh down the corners and edges with heavy objects like bricks, rocks, or bags of soil. Alternatively, you can “back-roll” the wire by rolling it in the opposite direction of the curl to help relax the tension. Having a partner hold the other end while you measure and cut is also a very effective method for managing the recoil.
Is Galvanized Chicken Wire Harder to Cut?
Galvanized chicken wire is slightly harder to cut than non-galvanized wire because it has a protective coating of zinc that adds thickness and durability. However, the difference is negligible if you are using the correct tools. The galvanization protects the metal from rust and corrosion, making it suitable for outdoor use. Standard wire cutters or tin snips are more than capable of slicing through galvanized mesh without issue. The key is to use sharp tools and apply firm, steady pressure.
How Do I Protect My Hands While Cutting?
Protecting your hands is critical because the cut ends of chicken wire are extremely sharp and can easily puncture skin. You should always wear thick, heavy-duty leather gloves whenever handling or cutting the mesh. Avoid thin fabric or latex gardening gloves, as the wire can poke right through them. Additionally, be mindful of where you place your hands relative to the cut zone to avoid pinching. After cutting, use pliers to bend any sharp protruding edges back to prevent scratches during installation.
Conclusion
Mastering the skill of resizing poultry netting opens up a world of possibilities for your garden and home projects. It transforms a frustrating chore into a manageable task, allowing you to build durable compost bins, protect your prized vegetables, or create safe runs for your pets with confidence. By prioritizing safety with the right gear, using the appropriate tools, and following a methodical cutting process, you ensure that your materials are used efficiently and your hands remain scratch-free.
Remember that patience is your best ally when working with this springy, sometimes stubborn material. Taking the time to measure twice, secure the mesh properly, and manage those sharp edges will result in a professional finish that you can be proud of. Now that you understand how to cut chicken wire correctly, you are ready to tackle your next outdoor project with the expertise of a seasoned gardener. Grab your gloves and snips, and start building something great today.

About
Jovie Mathews is a backyard and outdoor expert writer with over 12 years of hands-on experience transforming neglected outdoor spaces into thriving gardens and functional retreats. Raised in a family where weekends meant digging in the soil and building raised beds from scratch, Jovie developed a genuine love for the outdoors long before it became a career.
She writes with a practical, no-fluff approach — always testing ideas in her own backyard before sharing them with readers. From composting systems and native plant selection to patio design and pest control, Jovie covers the full spectrum of backyard life with equal parts expertise and enthusiasm.
Education
B.Sc. in Horticulture Science
University of Florida (UF) · Gainesville, FL · 2014
IFAS College of Agricultural and Life Sciences
Minor in Environmental Studies
University of Florida (UF) · Gainesville, FL · 2014
College of Liberal Arts and Sciences
Areas of expertise
- Lawn & Garden Care
- Soil prep, planting, seasonal care
- Outdoor DIY Projects
- Raised beds, fencing, pathways
- Composting & Soil Health
- Organic methods, amendments
- Native Plants & Wildlife
- Pollinators, habitat gardening
When she is not writing, Jovie can be found testing new composting techniques, growing tomatoes in questionable quantities, or convincing her neighbors that clover lawns are actually a great idea. She currently gardens in the Pacific Northwest.