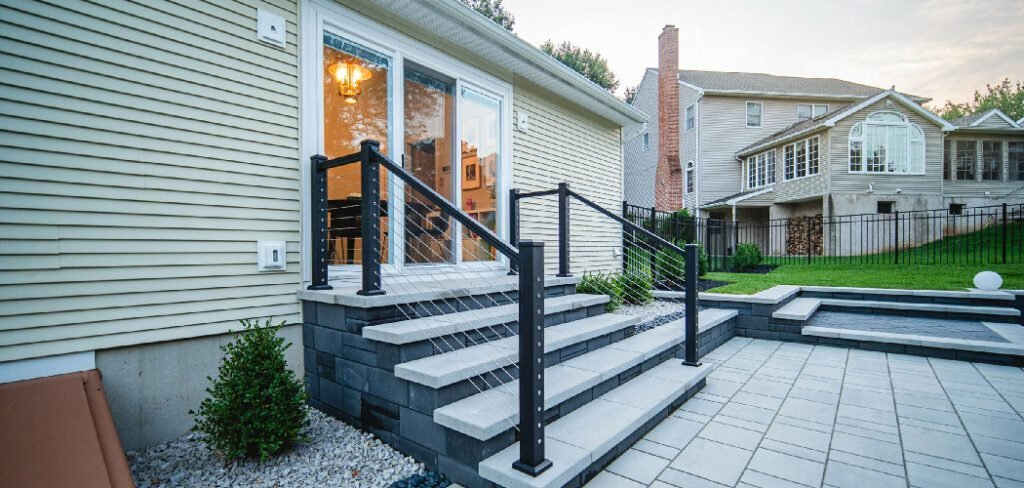
A beautiful patio is the heart of any backyard, but if it sits higher than the surrounding landscape, the transition can feel awkward or unsafe. Natural stone steps offer a timeless and durable solution, seamlessly blending your home’s architecture with the natural beauty of your garden.
Building them yourself might seem like a monumental task reserved for professional landscapers, but it is a surprisingly achievable DIY project. With careful planning and the right techniques, you can create a stunning and sturdy entryway that adds significant value and charm to your property.
This guide will provide clear, actionable instructions, breaking down exactly how to build stone steps for a patio so you can tackle this project with confidence and create a feature that will last for decades.
Building stone steps for your patio not only enhances the functionality of your outdoor space but also adds a touch of timeless beauty to your landscaping. Whether you’re looking to improve access to a patio area or simply elevate the aesthetic appeal of your property, constructing stone steps is a rewarding project.
By combining practical techniques with a thoughtful design approach, you can achieve a durable and visually striking result that complements your home and garden.
Step-by-Step Guide on How to Build Stone Steps for a Patio
Step 1: Plan Your Design and Measure the Space
Before you lift a single stone, you need a solid plan. The first step is to determine the exact location, width, and height of your steps. Use a tape measure to find the total rise, which is the vertical distance from the ground to the patio surface. Divide this number by your desired step height (typically 6-7 inches) to figure out how many steps you will need.

Next, determine the tread depth, which is the front-to-back length of each step, usually around 12-14 inches for comfortable footing. Use stakes and string to mark out the footprint of your staircase on the ground. This visual guide will be invaluable as you begin excavating and ensures your final structure is perfectly aligned and proportioned.
Step 2: Excavate the Area and Create a Solid Foundation
A stable staircase starts with a proper foundation. Using your string lines as a guide, begin digging out the area for your steps with a shovel. You will need to excavate deep enough to accommodate a thick base of gravel—at least 4-6 inches—plus the height of your first stone.
As you dig, create a rough terraced shape that mimics the rise and run of your planned steps. Use a hand tamper to compact the soil firmly at each level to prevent future settling.
This compacted earth, combined with the gravel base you will add next, creates a solid footing that can withstand seasonal freezing and thawing, ensuring your steps remain level and secure for years to come.
Step 3: Add and Compact the Gravel Base
With the area excavated and the soil compacted, it is time to build the foundation that will support the immense weight of the stone. Fill the entire excavated area with a 4- to 6-inch layer of crushed gravel or paver base. Spread the material evenly with a rake, ensuring it fills every corner of your terraced layout.
Use a hand tamper to vigorously compact the gravel until it forms a hard, level surface. This step is critical because it provides drainage and prevents the stones from shifting over time.

A poorly compacted base is the number one cause of wobbly, unsafe steps. Taking your time here is a core principle for learning how to build stone steps for a patio that will endure.
Step 4: Lay the First Course
The first step is the most important, as it sets the standard for the entire staircase. Select your largest, flattest, and heaviest stones for this bottom course. Place a thin layer of sand or stone dust over the compacted gravel to help you level the stones precisely.
Carefully set the first stone in place, wiggling it back and forth until it feels solid and does not rock. Use a level to ensure it is level from side to side and has a slight downward slope from back to front (about 1/4 inch per foot) to encourage water runoff.
Lay the adjacent stones for the first step, ensuring they fit tightly together. Fill any gaps with smaller stones or shims.
Step 5: Build Subsequent Steps with an Overlap
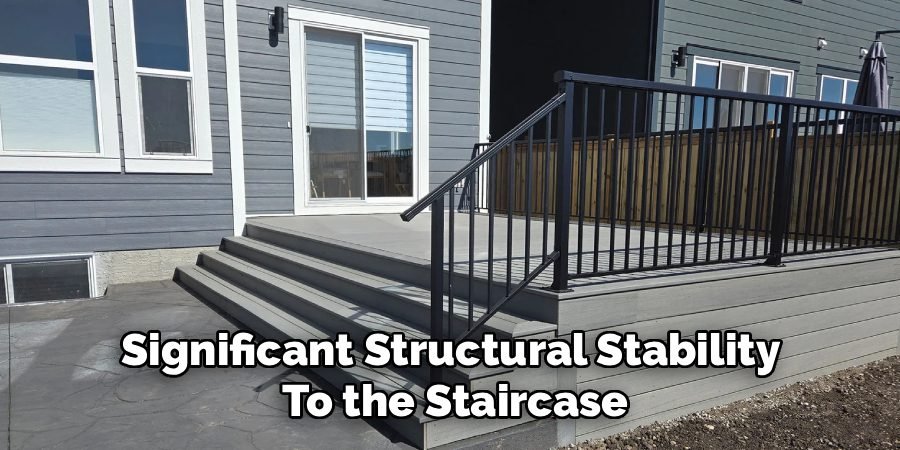
Now you can begin building upwards. Before placing the second step, backfill the area behind the first course with more compacted gravel, creating a solid base for the next level of stones. When you set the stones for the second step, ensure they overlap the stones of the first step by at least a few inches.
This overlapping technique, similar to how bricks are laid, locks the courses together and adds significant structural stability to the staircase.
Continue this process for each subsequent step: backfill, compact the gravel, and lay the next course of stones with a proper overlap. Always check for level and stability as you go, making small adjustments as needed.
Step 6: Use Landscape Adhesive for Added Security
While the weight of the stones and the overlapping design provide a great deal of stability, using a construction-grade landscape adhesive will make your steps virtually indestructible. After you have dry-fitted a stone and are happy with its position, lift it up and apply several beads of adhesive to the top of the stone course below it.
Carefully set the top stone back into place, pressing down firmly to bond it to the lower course. This is particularly important for the capstones or the final top step. The adhesive prevents any rocking or shifting from heavy foot traffic, adding a professional level of security to your DIY project.
Step 7: Finish by Filling Gaps and Landscaping
The final step is to fill in all the joints and gaps between your stones. You can use polymeric sand, which hardens when wet, or small gravel to lock everything tightly in place. Sweep the filler material into the gaps, then gently mist it with water to activate the binding agents if using polymeric sand.
Finally, grade the soil around the sides of your new staircase to blend it into the surrounding landscape. You can plant ground cover or add mulch to soften the edges and give your project a polished, natural look.
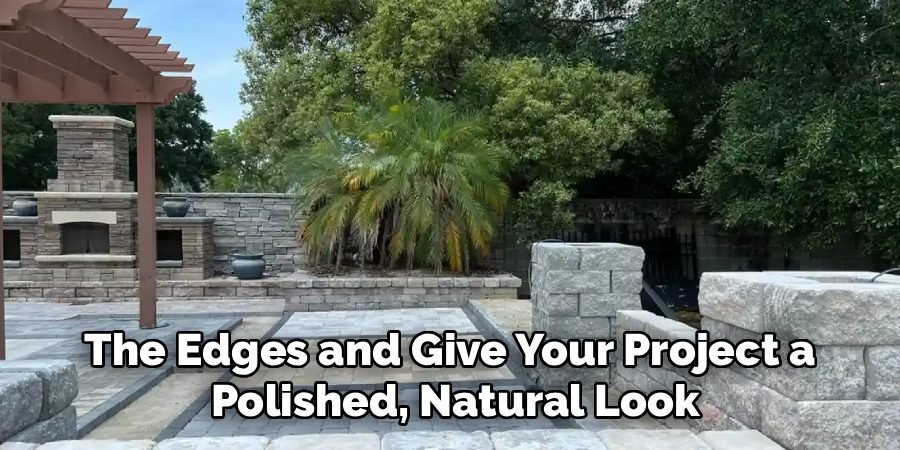
This finishing touch is what transforms a simple construction project into a beautiful garden feature, completing your guide on how to build stone steps for a patio.
Frequently Asked Questions (FAQ)
What Is the Best Type of Stone to Use for Steps?
The best stones are large, flat, and heavy, with a naturally non-slip texture.
- Flagstone: Materials like bluestone, limestone, or sandstone are popular choices because they come in large, flat slabs.
- Fieldstone: Large, weathered fieldstones can create a more rustic, natural look.
- Safety: Whatever you choose, ensure the walking surface is relatively flat and not polished, as smooth stone can become dangerously slippery when wet.
How Do I Calculate the Amount of Stone and Gravel I Need?
First, calculate the total volume of your excavated area for the gravel base (Length x Width x Depth). Then, calculate the approximate volume of each step (Tread Depth x Step Width x Stone Thickness) and multiply by the number of steps.
It is always wise to order about 10-15% more material than you calculate to account for waste, odd-shaped stones, and any mistakes. Your local landscape supply yard can help you with these calculations.
Do I Need to Use Mortar Between the Stones?
For a natural, rustic look, you do not need to use mortar. This is called “dry-stacking.” The weight of the stones, a solid gravel base, and the use of landscape adhesive provide plenty of stability for most residential patio steps.
Using mortar is a more advanced technique that creates a formal, permanent structure but is less forgiving of mistakes and requires more specialized masonry skills.
What Is the Ideal Rise and Run for Outdoor Steps?
Comfortable and safe outdoor steps typically have a rise (height) of 6 to 7 inches and a run (tread depth) of 12 to 14 inches. Unlike indoor stairs, outdoor steps should be longer and shorter to accommodate a more leisurely walking pace.
Consistency is key; every step should have the same rise to prevent tripping. Always check your local building codes, as some areas have specific requirements for outdoor staircases.
How Do I Move Very Heavy Stones by Myself?
Moving large stones can be challenging and dangerous if done improperly.
- Leverage: Use a long pry bar or a sturdy piece of wood to act as a lever to lift and pivot heavy stones into place.
- Rollers: Place several sturdy pipes or round logs underneath a stone to roll it across the ground.
- Teamwork: The safest method is always to ask for help. A second person can make the job significantly easier and reduce the risk of injury.
Conclusion
Building your own stone steps is a rewarding project that marries form and function, creating a beautiful and practical addition to your home’s landscape. The process relies on fundamental principles: a solid, compacted foundation, the strategic placement of heavy materials, and careful attention to level and stability.
By taking your time and refusing to cut corners, especially during the crucial excavation and base preparation stages, you can create a feature that is as durable as it is attractive.
Now that you have a comprehensive understanding of how to build stone steps for a patio, you are equipped with the knowledge to transform your backyard and create an inviting transition that you and your family will enjoy for years to come.
About
Jovie Mathews is a backyard and outdoor expert writer with over 12 years of hands-on experience transforming neglected outdoor spaces into thriving gardens and functional retreats. Raised in a family where weekends meant digging in the soil and building raised beds from scratch, Jovie developed a genuine love for the outdoors long before it became a career.
She writes with a practical, no-fluff approach — always testing ideas in her own backyard before sharing them with readers. From composting systems and native plant selection to patio design and pest control, Jovie covers the full spectrum of backyard life with equal parts expertise and enthusiasm.
Education
B.Sc. in Horticulture Science
University of Florida (UF) · Gainesville, FL · 2014
IFAS College of Agricultural and Life Sciences
Minor in Environmental Studies
University of Florida (UF) · Gainesville, FL · 2014
College of Liberal Arts and Sciences
Areas of expertise
- Lawn & Garden Care
- Soil prep, planting, seasonal care
- Outdoor DIY Projects
- Raised beds, fencing, pathways
- Composting & Soil Health
- Organic methods, amendments
- Native Plants & Wildlife
- Pollinators, habitat gardening
When she is not writing, Jovie can be found testing new composting techniques, growing tomatoes in questionable quantities, or convincing her neighbors that clover lawns are actually a great idea. She currently gardens in the Pacific Northwest.