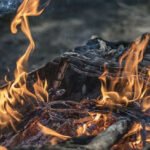
There is nothing quite like gathering around a crackling fire pit on a cool evening, sharing stories and enjoying the warmth. But building a fire that burns brightly and lasts for hours is an art form, and it starts long before you strike a match. The secret lies in the structure.
A haphazard pile of logs will produce more smoke than flames and will require constant attention. Learning how to stack firewood in fire pit is the most important skill for achieving a long-lasting, low-smoke fire that lets you relax and enjoy the ambiance.
This guide will walk you through the essential techniques, from selecting the right wood to building classic fire structures that ensure proper airflow and an efficient burn. With these simple methods, you can transform your fire-building experience from a frustrating chore into a satisfying ritual.
Building a great fire begins with understanding the role each component plays in the process. From choosing the best type of wood to mastering the arrangement of logs, every detail matters.
A well-constructed fire not only provides warmth but also sets the stage for memorable moments, whether you’re gathered around with friends or enjoying a quiet evening solo. With a bit of preparation and care, anyone can create the perfect fire, free of unnecessary smoke and frustration.
A Step-by-Step Guide on How to Stack Firewood in a Fire Pit
Follow these detailed instructions to build a fire that not only looks impressive but also burns efficiently, providing hours of enjoyment with minimal effort.
Step 1: Prioritize Safety and Prepare the Pit
Before you even think about building your fire, safety must come first. Ensure your fire pit is on a level, non-flammable surface like stone, gravel, or dirt, and is at least ten to fifteen feet away from your house, trees, or any other combustible structures. Clear away any dry leaves, grass, or debris from the immediate area.

It is also wise to have a bucket of water, a garden hose, or a fire extinguisher nearby just in case of an emergency. Once the area is secure, clean out any old ashes from the bottom of your fire pit to ensure there is clear airflow from underneath, which is critical for a healthy fire.
Step 2: Gather the Three Essential Fire Components
A successful fire requires three distinct types of fuel, each playing a critical role. First, you need tinder, which is any small, dry material that ignites instantly with a spark or flame. Think of cotton balls, dryer lint, or commercial fire starters. Next, you need kindling.
This consists of small, thin sticks, typically no thicker than your thumb, that will catch fire from the tinder. Lastly, you need your main fuel wood, which should be properly seasoned (dried) hardwood logs that are split into manageable sizes.
Having ample amounts of all three ready before you start stacking will make the entire process smooth and successful.
Step 3: Begin with a Solid Base of Tinder and Kindling
Regardless of the stacking method you choose, the foundation is always the same. Start by placing a loose, golf-ball-sized bundle of tinder in the very center of your fire pit. Do not pack it down tightly, as it needs oxygen to ignite properly. Around and over this tinder, create a small, loose structure with your kindling.

You can form a small tepee or simply crisscross the sticks over the tinder bundle. The goal is to create a small, airy structure that will easily catch the flame from the tinder and burn hot enough to ignite the larger logs you will add next.
Step 4: The Classic Teepee Method
The teepee (or cone) structure is one of the most popular and effective methods for starting a fire quickly. It creates a chimney effect that draws air up from the bottom, fanning the flames and producing a hot, fast burn. To build it, lean your pieces of kindling against each other over your tinder bundle, forming a cone shape.
Leave a small opening on the side that faces the wind to allow you to light the tinder easily. Once your kindling teepee is stable, begin leaning your larger firewood logs against it in the same cone formation. Continue adding logs until you have a sturdy structure.
Step 5: Log Cabin Method
The log cabin method is known for creating a stable, long-lasting fire that is excellent for cooking or for a fire that requires less maintenance. Start by placing two of your larger firewood logs parallel to each other on opposite sides of your tinder and kindling base.

Then, place two more logs on top of the first pair, but perpendicular to them, forming a square or “log cabin” shape. Continue building up the walls of your cabin, leaving space in the center for the flames to grow. This structure creates a self-feeding fire that collapses inward as it burns.
Step 6: The Upside-Down Fire (Pyramid Method)
For the ultimate low-maintenance fire, try the upside-down or pyramid method. This technique inverts the traditional fire structure by placing the largest logs at the bottom and the smallest kindling at the top. Start by creating a solid, flat base with three or four of your largest logs.
Then, add another layer of slightly smaller logs on top, placed perpendicularly. Continue this pattern, with each layer getting smaller, until you have a small platform of kindling and tinder at the very peak. When you light the tinder at the top, the fire slowly burns its way down, requiring almost no attention for hours.
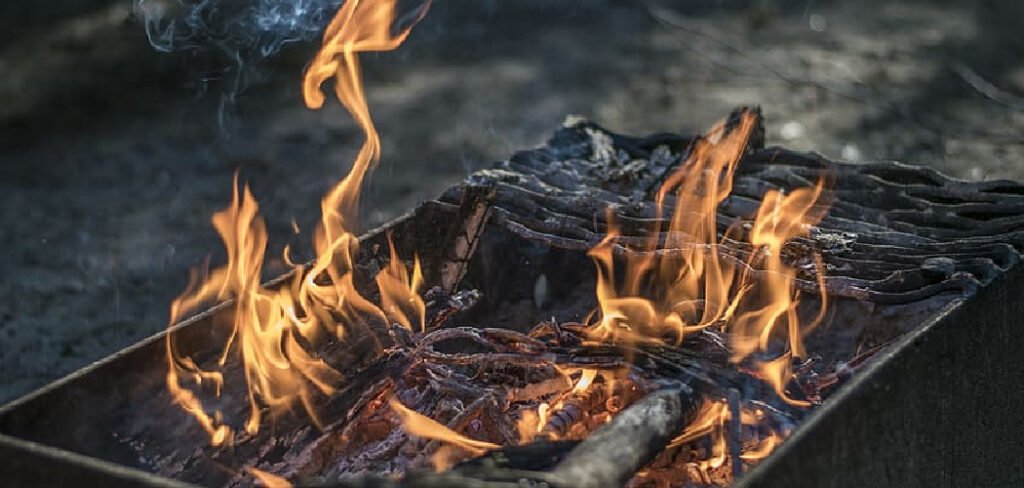
Step 7: Lighting the Fire and Managing Airflow
Once your structure is built, it is time to light the tinder. Use a long-handled lighter or a match to ignite the tinder bundle through the opening you left. The tinder should catch quickly and ignite the surrounding kindling. A key part of understanding how to stack firewood in fire pit is managing airflow.
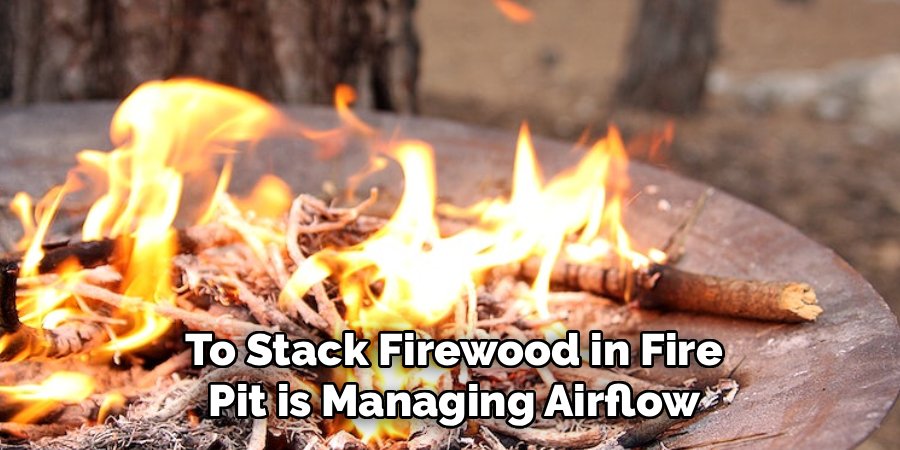
As the kindling catches, you may need to gently blow at the base of the fire to provide extra oxygen. Avoid smothering the young fire by adding too much wood too soon. Let the initial structure catch and establish a strong bed of embers before adding more logs.
Step 8: Maintaining the Fire for Lasting Warmth
Once you have a bed of glowing embers and your initial structure is burning well, you can begin to add more firewood to keep it going. Add new logs one or two at a time, placing them in a way that allows for airflow between them. Do not simply toss them on top, as this can smother the flames.
Instead, try to place them so they can rest on the hot embers, which will help them ignite more quickly. Periodically, use a fire poker to gently shift the logs, exposing new surfaces to the flames and ensuring an even burn.
Frequently Asked Questions (FAQ)
What Is the Best Type of Wood to Use in a Fire Pit?
Hardwoods like oak, maple, hickory, and birch are the best choices for a fire pit. They are dense, burn hotter, and last much longer than softwoods. They also produce less smoke and fewer sparks, creating a more pleasant experience.
Softwoods like pine and fir are great for kindling because they ignite quickly, but they burn too fast and create a lot of smoke for a main fuel source.
How Do I Know If My Firewood Is Seasoned?
Properly seasoned (dried) firewood is crucial for a good fire. Seasoned wood is typically darker in color, has cracks on the ends, and feels lighter than “green” or fresh wood.
When you knock two pieces together, they should make a sharp, hollow “clack” sound rather than a dull thud. Green wood is full of moisture, making it extremely difficult to light and producing a lot of smoke.
Should I Use Lighter Fluid to Start My Fire?
No, you should never use lighter fluid, gasoline, or any other flammable liquid in your fire pit. These can cause dangerous flare-ups and explosions. They also release harmful chemical fumes that you do not want to be breathing in.
A good fire is built with natural tinder and kindling, which, when properly arranged, will light easily without the need for chemical accelerants.
Why Is My Fire So Smoky?
Excessive smoke is almost always caused by one of three things:
- Wet Wood: The firewood is not properly seasoned and the fire is using its energy to boil off moisture instead of burning cleanly.
- Poor Airflow: The wood is stacked too tightly, preventing oxygen from reaching the heart of the fire for complete combustion.
- Green Debris: You are burning leaves, yard clippings, or other green materials which contain a lot of water.
How Do I Safely Extinguish a Fire Pit?
Never leave a fire unattended. When you are ready to call it a night, the safest way to extinguish the fire is with water. Pour water slowly and evenly over the embers, listening for the hissing to stop.
Use a poker to stir the ashes and ensure all embers are wet and cool. Even if it looks out, the coals can remain hot for hours. Always make sure the fire is completely out and cool to the touch before leaving the area.
Conclusion
Building a great fire is a skill that blends science and art, turning a simple backyard gathering into a memorable event. The foundation of this skill is not about luck, but about structure.
By understanding the roles of tinder, kindling, and fuel wood, and by mastering stacking methods like the teepee and the log cabin, you gain control over your fire’s performance. Proper airflow, achieved through thoughtful placement, is the secret to a bright, low-smoke burn that provides consistent warmth.
Do not be afraid to experiment with different structures to see what works best for your pit and your wood. With a little practice, you will move beyond simply making fire to truly building it with purpose.
Now that you have learned how to stack firewood in fire pit, you are equipped with the knowledge to create safer, more efficient, and more enjoyable fires for all your future outdoor adventures.
About
Jovie Mathews is a backyard and outdoor expert writer with over 12 years of hands-on experience transforming neglected outdoor spaces into thriving gardens and functional retreats. Raised in a family where weekends meant digging in the soil and building raised beds from scratch, Jovie developed a genuine love for the outdoors long before it became a career.
She writes with a practical, no-fluff approach — always testing ideas in her own backyard before sharing them with readers. From composting systems and native plant selection to patio design and pest control, Jovie covers the full spectrum of backyard life with equal parts expertise and enthusiasm.
Education
B.Sc. in Horticulture Science
University of Florida (UF) · Gainesville, FL · 2014
IFAS College of Agricultural and Life Sciences
Minor in Environmental Studies
University of Florida (UF) · Gainesville, FL · 2014
College of Liberal Arts and Sciences
Areas of expertise
- Lawn & Garden Care
- Soil prep, planting, seasonal care
- Outdoor DIY Projects
- Raised beds, fencing, pathways
- Composting & Soil Health
- Organic methods, amendments
- Native Plants & Wildlife
- Pollinators, habitat gardening
When she is not writing, Jovie can be found testing new composting techniques, growing tomatoes in questionable quantities, or convincing her neighbors that clover lawns are actually a great idea. She currently gardens in the Pacific Northwest.