

Have you ever marveled at the intricate, paper-like structure of a hornet nest? These natural wonders are architectural marvels, and preserving one can be a fascinating project.
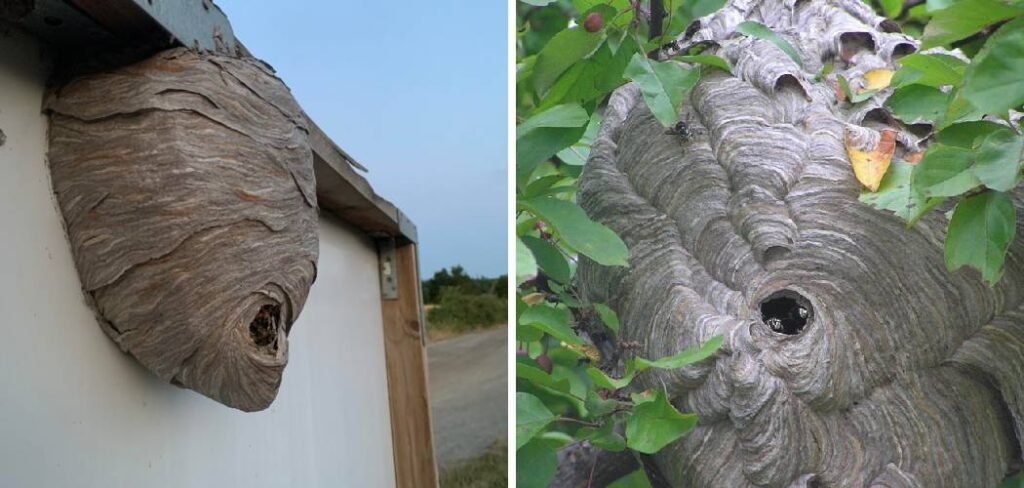
While it may seem daunting, learning how to preserve a hornet nest is a straightforward process that allows you to safely turn a piece of nature into a unique decorative or educational item. This guide will walk you through every step, ensuring you can successfully preserve this incredible creation for years of admiration.
Why Preserve a Hornet Nest?
Preserving a hornet nest offers a unique window into the natural world. These structures are not just random constructions; they are complex, layered homes built with precision by a colony of insects. By preserving one, you create a lasting educational tool. It can be used to teach children and adults about insect architecture, social structures, and the materials hornets use—a mixture of wood pulp and saliva that forms a sturdy, lightweight paper.
Beyond its educational value, a well-preserved hornet nest is a stunning piece of natural art. The swirling patterns, muted colors, and delicate texture make it a captivating decorative object for a home, office, or classroom. It serves as a conversation starter and a constant reminder of the complexity and beauty found in nature. Preserving a nest also honors the labor of the colony that built it, turning a temporary structure into a permanent display.
9 Step-by-Step Guide on How to Preserve a Hornet Nest
Step 1: Confirm the Nest is Inactive
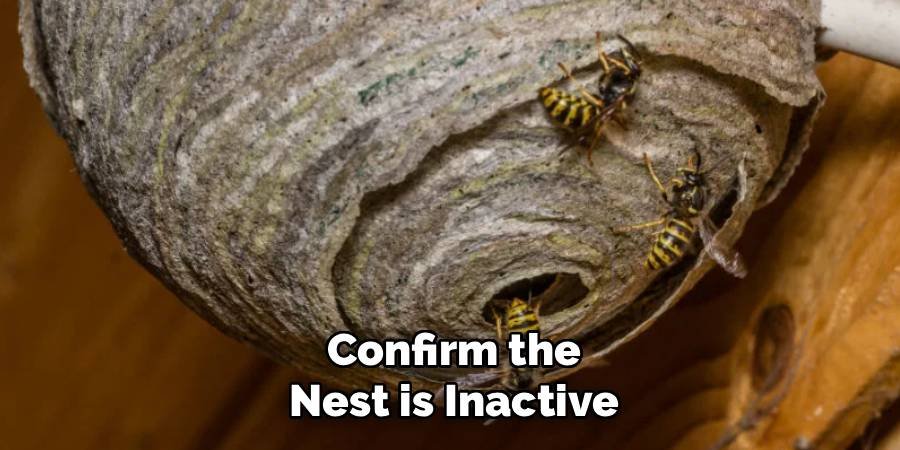
Before you even think about touching a nest, you must be absolutely certain it is abandoned. Hornet colonies die off in the late fall after the first hard frosts, leaving the queen to overwinter elsewhere. The old nest is never reused. The safest time to collect a nest is during the winter, typically from late November to February. Observe it from a distance for several days. If you see no activity—no hornets flying in or out—it is likely safe. Never attempt to remove an active nest yourself; this is extremely dangerous and requires a professional.
Step 2: Gather Your Supplies
Proper preparation makes the process smooth and successful. You will need a few key items. First, get a sturdy pair of pruning shears or a long-handled saw for detaching the nest from its anchor point. You’ll also need a large, sturdy box and soft packing material like old towels or bubble wrap to transport it without damage. For the preservation itself, acquire a few cans of clear, low-odor spray polyurethane or acrylic sealer in a matte or satin finish. Lastly, have a well-ventilated space ready, like a garage or outdoor shed, where you can work.
Step 3: Carefully Detach the Nest
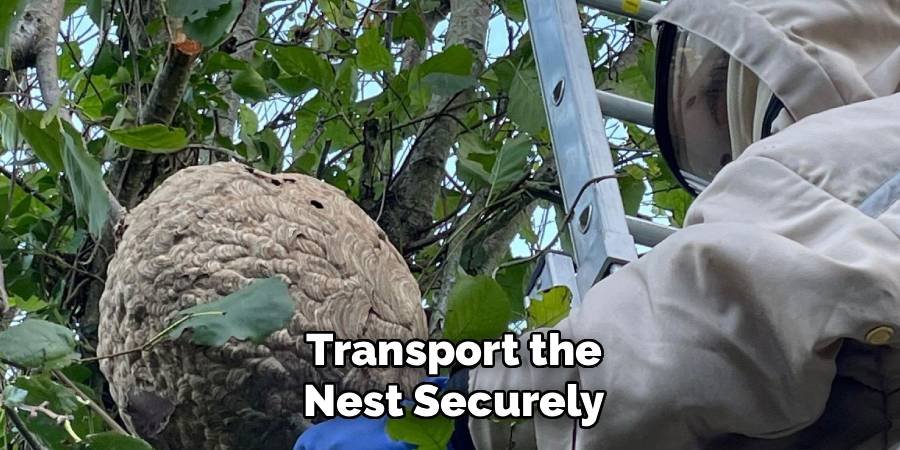
Once you have confirmed the nest is inactive and have your tools ready, it’s time to remove it. Approach the nest carefully, as it can be fragile. Identify the branch or structure it’s attached to. Using your pruning shears or saw, carefully cut the branch on either side of the nest, leaving a few inches of the branch attached. This provides a natural handle and a stable base for the nest, minimizing the risk of it crumbling. If it’s attached to a building, use a putty knife to gently pry it loose.
Step 4: Transport the Nest Securely
Transporting the nest is a delicate operation. Place your soft packing material at the bottom of your large box to create a cushioned base. Gently set the nest inside, using the attached branch as a handle. Make sure it is stable and won’t roll around during movement. If needed, add more packing material around the sides to secure it in place. Handle the box with care as you move it to your designated workspace. Avoid any sudden jolts or bumps that could cause the delicate paper-like structure to break or crack.
Step 5: Clean the Nest of Debris
Before you begin the preservation process, the nest needs a gentle cleaning. It will likely contain dust, old insect carcasses, and other debris from its time outdoors. Take the nest to your ventilated workspace and gently shake it to dislodge any loose particles. You can also use a can of compressed air, held at a distance, to blow out dust from the interior chambers through the main opening. Be very gentle during this step; aggressive shaking or a powerful blast of air can easily damage the delicate paper walls.
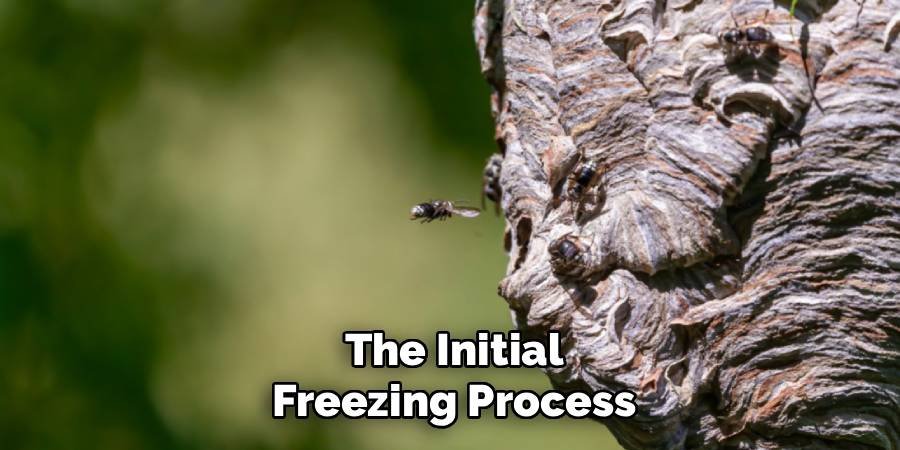
Step 6: The Initial Freezing Process
To ensure no living insects or eggs remain, freezing the nest is a crucial step. This eliminates any risk of a surprise hatching later on. Carefully place the nest into a large plastic bag and seal it tightly. Put the sealed bag in a chest freezer or the coldest part of your regular freezer. Leave it there for at least 48 to 72 hours. This extended period of deep cold will effectively kill any surviving organisms, including larvae, pupae, or other small bugs that may have taken up residence.
Step 7: Applying the Preservative Sealant
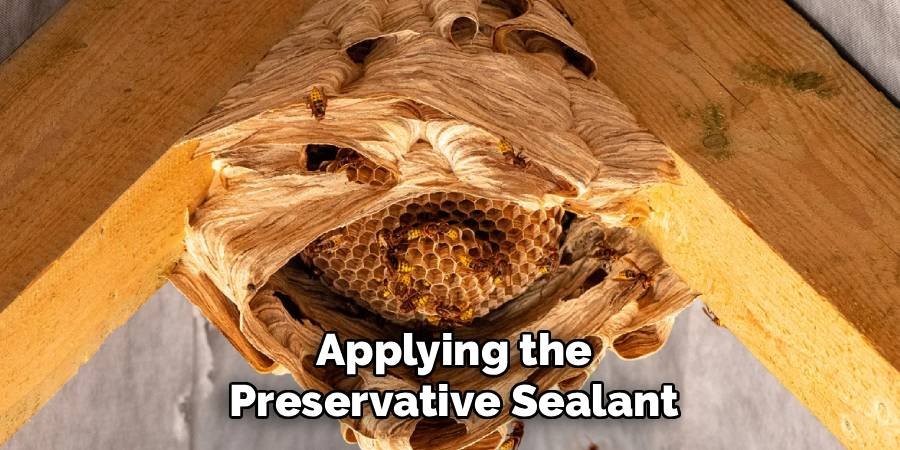
This is the core of the preservation. After thawing the nest to room temperature, take it to your well-ventilated area. Place it on a piece of cardboard or newspaper to protect the surface underneath. Holding a can of clear acrylic or polyurethane spray about 10-12 inches away, apply a light, even coat over the entire exterior surface. The goal is to lightly saturate the paper, not to drench it. A light coat will soak in and strengthen the structure without causing it to become heavy and collapse.
Step 8: Apply Additional Coats and Allow to Cure
Patience is key to creating a durable, long-lasting display. After the first coat, let the nest dry completely, which can take several hours depending on humidity. Once dry, apply a second light coat to ensure full coverage. Repeat this process for a total of three to five coats, allowing ample drying time between each one. This layering method is a fundamental part of learning how to preserve a hornet nest properly, as it builds strength gradually. After the final coat, let the nest cure for at least 24-48 hours before handling it.
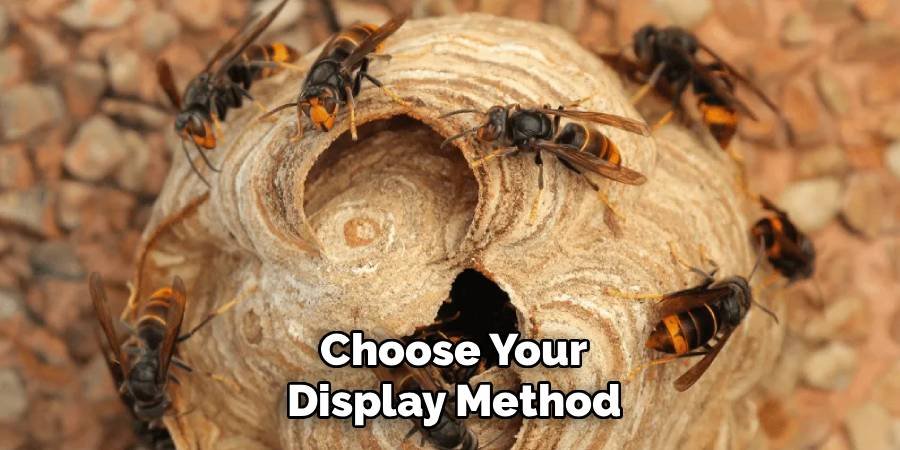
Step 9: Choose Your Display Method
With your nest fully preserved and cured, it’s time to decide how you want to display your masterpiece. If you left a piece of the branch attached, you can use it to hang the nest from a hook in the ceiling for a natural, suspended look. Alternatively, you can place it inside a shadow box or a glass display case to protect it from dust and accidental bumps. Another option is to mount it on a wooden plaque or stand, creating a stable and elegant base for display on a shelf or mantelpiece.
Frequently Asked Questions (FAQ)
Is It Safe to Bring a Hornet Nest Into My Home?
Yes, it is completely safe to bring a hornet nest into your home, but only after you have confirmed it is inactive and have properly preserved it. The crucial step is freezing the nest for at least 48 hours to eliminate any remaining insects or larvae. Once cleaned and sealed with polyurethane, the nest is simply a paper sculpture and poses no threat. It will not attract new hornets, as they do not reuse old nests.
What Is the Best Time of Year to Find an Abandoned Hornet Nest?
The best time to find and collect an abandoned hornet nest is during the winter months, from late autumn to early spring. In most climates, the first hard frost kills off the worker hornets, and the queen leaves to find a safe place to overwinter. By winter, the nest is fully abandoned and has been exposed to the elements, making it less likely to house any living creatures. Waiting until this time is the safest approach for collection.
Can I Preserve a Wasp Nest the Same Way?
Absolutely. The method described for preserving a hornet nest works equally well for the nests of other paper-making wasps, such as yellow jackets and paper wasps. These nests are constructed from similar materials—a mixture of wood fibers and saliva—and will benefit from the same process of freezing and sealing. The key is to ensure the nest is inactive before collection and to apply the sealant in light, even coats to strengthen the delicate paper structure without damaging it.
How Do I Keep the Preserved Nest From Crumbling?
The preservation process itself is designed to prevent crumbling. Applying multiple thin coats of a clear acrylic or polyurethane sealant is the most important step. The sealant soaks into the paper fibers, essentially turning the fragile structure into a more durable, plasticized object. Keeping the finished nest in a low-traffic area or inside a display case will further protect it from physical damage, dust, and humidity, ensuring it remains intact for many years.
What Should I Do If I Find an Active Nest?
If you discover an active hornet nest on your property, do not attempt to remove or preserve it yourself. Active nests are dangerous, and hornets will aggressively defend their colony when they feel threatened. Their stings are painful and can cause severe allergic reactions in some individuals. The safest course of action is to contact a professional pest control service. They have the proper equipment and expertise to safely remove the active nest and its inhabitants.
Conclusion
Preserving a hornet nest is a rewarding project that combines nature, science, and art. By following these steps, you can safely transform an abandoned nest into a durable and fascinating display piece. From confirming the nest’s inactivity to applying the final coat of sealant, each part of the process contributes to creating a lasting tribute to the ingenuity of these insects. Now that you understand how to preserve a hornet nest, you can confidently embark on this unique craft and create a beautiful conversation starter for your home or classroom.

About
Jovie Mathews is a backyard and outdoor expert writer with over 12 years of hands-on experience transforming neglected outdoor spaces into thriving gardens and functional retreats. Raised in a family where weekends meant digging in the soil and building raised beds from scratch, Jovie developed a genuine love for the outdoors long before it became a career.
She writes with a practical, no-fluff approach — always testing ideas in her own backyard before sharing them with readers. From composting systems and native plant selection to patio design and pest control, Jovie covers the full spectrum of backyard life with equal parts expertise and enthusiasm.
Education
B.Sc. in Horticulture Science
University of Florida (UF) · Gainesville, FL · 2014
IFAS College of Agricultural and Life Sciences
Minor in Environmental Studies
University of Florida (UF) · Gainesville, FL · 2014
College of Liberal Arts and Sciences
Areas of expertise
- Lawn & Garden Care
- Soil prep, planting, seasonal care
- Outdoor DIY Projects
- Raised beds, fencing, pathways
- Composting & Soil Health
- Organic methods, amendments
- Native Plants & Wildlife
- Pollinators, habitat gardening
When she is not writing, Jovie can be found testing new composting techniques, growing tomatoes in questionable quantities, or convincing her neighbors that clover lawns are actually a great idea. She currently gardens in the Pacific Northwest.




