

Adding a sturdy railing to your front steps or deck improves safety and instantly boosts curb appeal. Many homeowners feel intimidated by carpentry projects, assuming they need professional contractors or expensive tools to get the job done right. However, creating a custom rail system is a manageable weekend project that offers immense satisfaction and significant cost savings. You do not need to be a master carpenter to achieve professional-looking results that will stand the test of time.
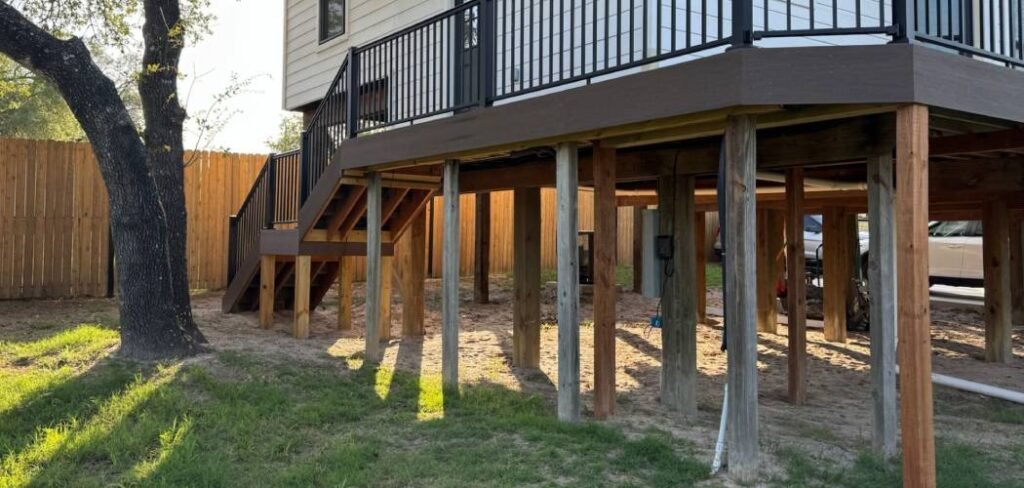
This guide simplifies the entire process into manageable actions, ensuring you feel confident picking up a drill and saw. We focus on straightforward techniques using standard lumber available at any local hardware store. By following these instructions carefully, you will learn exactly how to build porch handrails that are safe, code-compliant, and aesthetically pleasing. Whether you want to replace a rotting structure or add a finishing touch to a new deck, this project is the perfect entry point for DIY enthusiasts looking to enhance their home’s exterior.
Why Quality Railings Matter for Your Home
Installing proper railings is about much more than just ticking a box for building codes or satisfying a home insurance requirement. A well-constructed barrier serves as a critical safety feature for your family and guests, particularly for children and elderly visitors who rely on stability when navigating stairs. Slippery conditions from rain, snow, or morning dew can turn a short flight of steps into a hazard, making a reliable grip essential for preventing accidents.
Beyond safety, the visual impact of a custom wooden rail cannot be overstated. It frames your entryway, adding architectural interest and defining the boundary between your living space and the yard. It transforms a basic platform into a finished, welcoming porch that invites relaxation. Investing time in this project adds tangible value to your property while providing peace of mind every time you walk out your front door.
7 Step-by-Step Guide on How to Build Porch Handrails
Step 1: Measure and Mark Post Locations
Before you purchase a single piece of lumber, you must determine exactly where your support posts will sit on the porch surface. Accurate measurements are the foundation of a successful build, so take your time with a tape measure and a pencil. You need to identify the corners and any intermediate points where support is necessary to prevent sagging.
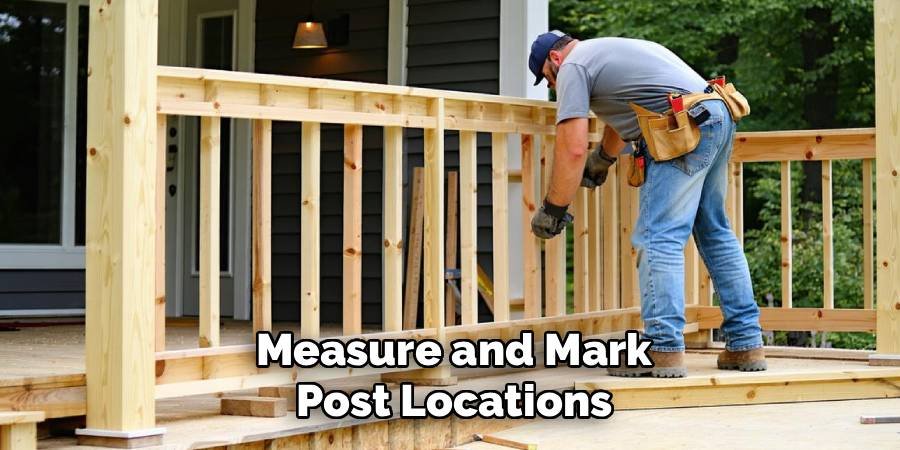
Most building codes require posts to be spaced no more than six to eight feet apart for adequate structural integrity. Mark the center of each post location clearly on the decking, ensuring they are aligned perfectly with the edge of the porch. Double-check your distances to ensure symmetry, as uneven spacing will be noticeable later. Visualizing the layout now prevents costly mistakes and wasted materials once you start cutting wood.
Step 2: Install the Structural Support Posts
Securely fastening the posts is the most critical part of the construction process because they bear the weight of the entire system. You will likely use 4×4 pressure-treated lumber for these vertical supports, which offers excellent durability against weather. If you are attaching them to the surface, you must use galvanized metal post bases or specialized anchors bolted through the decking into the framing below.
Using lag screws provides the necessary strength to keep the posts rigid. Use a level on two adjacent sides of each post to ensure they are perfectly vertical, or plumb, before tightening the bolts completely. If the posts are wobbly now, the entire railing will be unstable, so ensure this connection is rock-solid before moving forward.
Step 3: Cut the Top and Bottom Rails
With your posts securely in place, measure the distance between the inside faces of each post pair to determine the length of your horizontal rails. You will need two pieces of 2×4 lumber for each section: one for the top and one for the bottom. Measure twice to account for any slight variations in post alignment, as they may not be perfectly parallel.
Cut the lumber to length using a miter saw for a clean, square edge. It is helpful to label each piece corresponding to its specific section to avoid confusion during assembly. These horizontal members form the framework that will hold your balusters, so accuracy here ensures a tight fit that looks professional and adds structural rigidity to the overall design.
Step 4: Layout and Mark Baluster Spacing
Calculating the spacing for your vertical spindles, or balusters, requires a bit of math to ensure they look uniform and meet safety regulations. Most building codes dictate that a four-inch sphere should not be able to pass between balusters, meaning you typically space them about three and a half inches apart. Clamp your top and bottom 2×4 rails together side-by-side so you can mark them simultaneously.
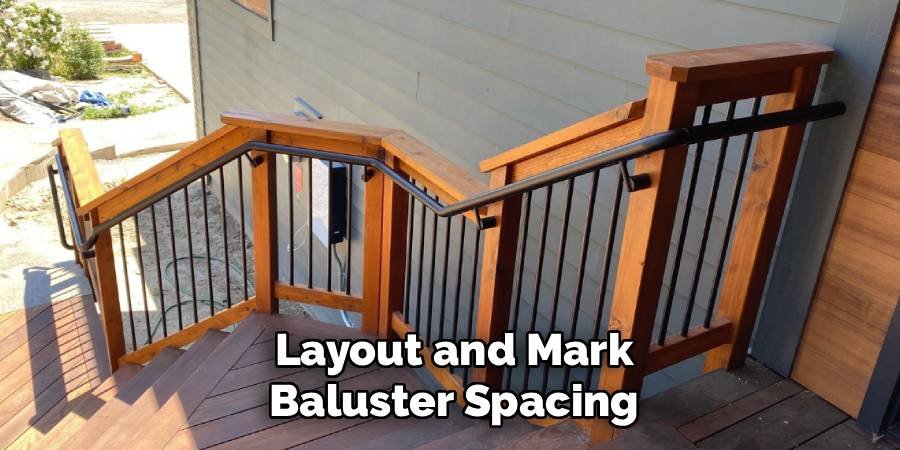
This trick ensures that your vertical spindles will be perfectly plumb when installed. Start from the center of the rail and work your way out to the ends to ensure the gaps at the posts are equal. Use a speed square to draw lines across both boards where each baluster will be attached.
Step 5: Pre-Drill and Attach the Balusters
To prevent the wood from splitting, especially near the ends of the balusters, you should pre-drill holes for your screws. Separate the top and bottom rails you marked in the previous step and place them on a flat work surface. Align your balusters with the marks you made, ensuring they are centered on the width of the 2×4. Drive deck screws through the rails and into the ends of the balusters.
It is often easier to attach the balusters to the rails while the section is laying flat on the ground rather than trying to hold them in place vertically. This method creates a pre-assembled panel that is much easier to manage. Ensure every spindle is tight and square to the rails for a neat appearance.
Step 6: Install the Assembled Rail Sections
Now that you have constructed the railing panels, it is time to fit them between your installed posts. You will need to support the bottom rail off the deck surface, typically about three to four inches, to allow for sweeping and water drainage. Cut small scrap blocks of wood to this height and place them under the bottom rail to hold the section in place while you work.
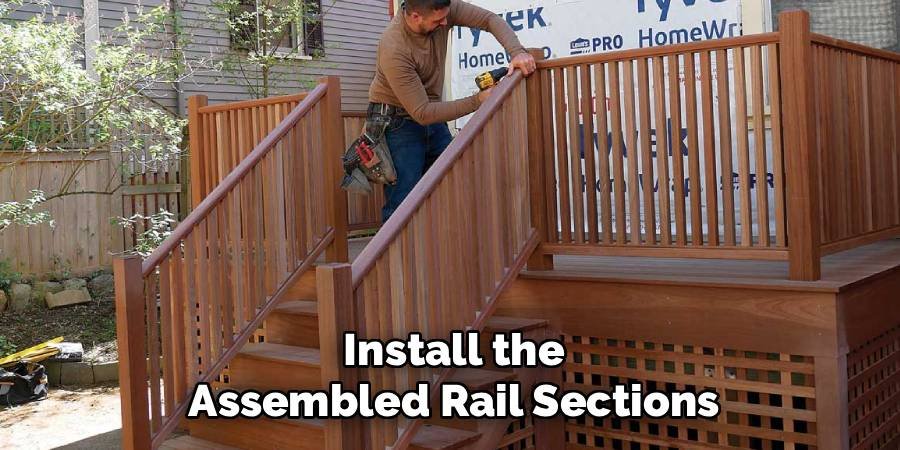
Once the section is positioned correctly, attach the rails to the posts using angle brackets or by toe-screwing through the rail into the post. Ensure the section is level before driving the final screws. This step brings the structure together and you will finally see the shape of your project knowing how to build porch handrails effectively.
Step 7: Add the Top Cap for Comfort
The structural top rail you installed earlier is strong, but a decorative cap makes the railing comfortable to touch and visually complete. A 2×6 or a specialized handrail profile board is typically used for this purpose. This cap board should span across the tops of the posts and the upper 2×4 rail, tying everything together into a cohesive unit.
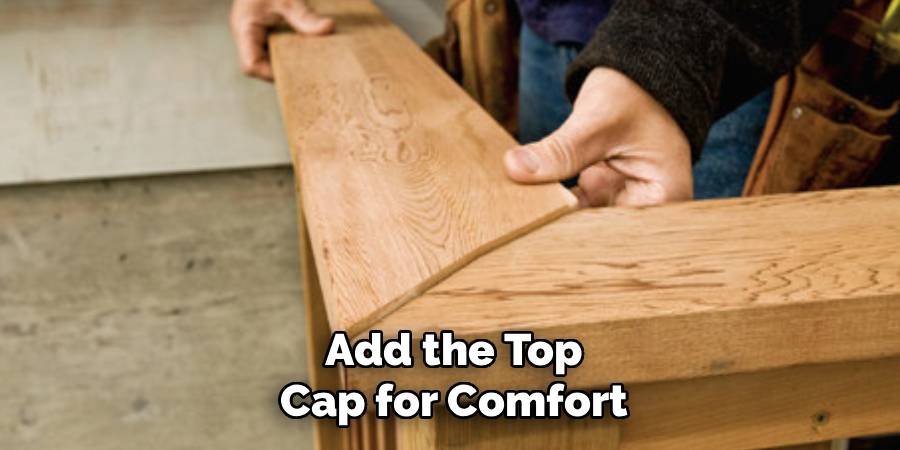
Measure the total length required, allowing for overhangs if desired for aesthetic appeal. Screw this cap board directly into the top of the posts and the underlying 2×4 rail. Sand any sharp edges to ensure it is smooth to the hand. This piece also protects the end grain of the posts and balusters from direct rain, prolonging the life of the wood.
Sand and Apply Protective Finish
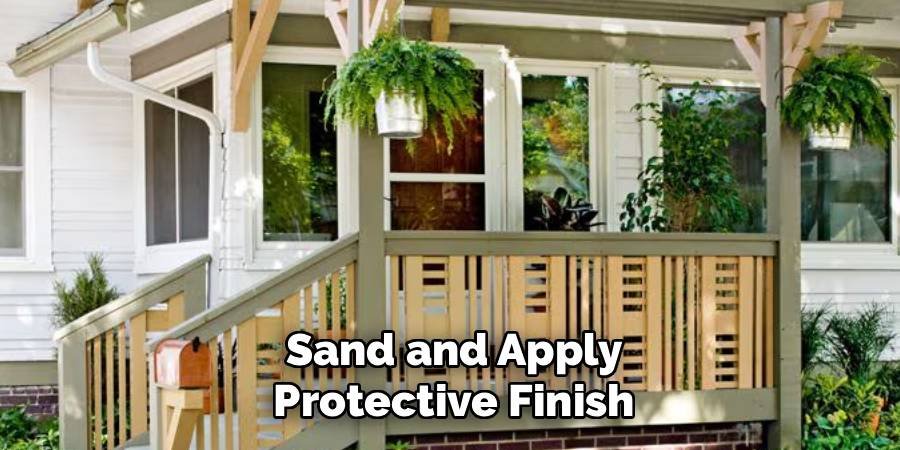
The final step in construction involves preparing the wood to withstand the elements and look beautiful for years. Go over the entire railing with sandpaper to remove any rough spots, splinters, or pencil marks left over from the layout process. Pay special attention to the handrail cap where people will be placing their hands.
Once the dust is cleaned off, apply a high-quality exterior wood sealer, stain, or paint. This coating is vital for protecting the lumber from moisture, UV rays, and rot. Follow the manufacturer’s instructions regarding drying times and the number of coats required. A well-applied finish not only enhances the color of the wood but drastically reduces maintenance needs in the future.
Frequently Asked Questions (FAQ)
What Is The Best Wood For Porch Railings?
Pressure-treated pine is the most popular choice for porch railings due to its affordability and resistance to rot and insect damage. However, for a more premium look, cedar and redwood are excellent options because they are naturally resistant to decay and have superior stability, meaning they warp less over time. If you plan to paint the railing, pressure-treated wood is sufficient, but it must dry completely before painting. For a natural wood finish, cedar offers a beautiful grain and rich color that ages gracefully.
How High Should A Porch Handrail Be?
Residential building codes typically require porch handrails to be between 36 and 42 inches high measured from the deck surface. This height ensures safety for adults while preventing accidental falls. It is crucial to check with your local building department before starting, as specific requirements can vary by municipality. If you are building a handrail for stairs specifically, the height is usually measured vertically from the nose of the stair tread and generally falls within the 34 to 38-inch range to comfortably assist people walking up and down.
Do I Need A Permit To Build Railings?
In many cases, yes, you will need a building permit to install or replace porch railings, especially if the porch is a certain height off the ground, usually 30 inches or more. Even for lower porches, structural changes often trigger the need for inspection to ensure safety compliance. It is always safer to call your local building permit office to verify the rules in your area. skipping this step could result in fines or issues when you eventually try to sell your home.
Can I Use Screws Instead Of Nails?
Using screws is generally recommended over nails for building outdoor railings. Exterior-grade deck screws or structural screws provide much better holding power and will not pull out over time as the wood expands and contracts with weather changes. Nails can loosen over the years, leading to wobbly and unsafe railings. Additionally, if you ever need to replace a damaged baluster or rail section, screws are much easier to back out and remove without destroying the surrounding wood components.
How Far Apart Should Posts Be Spaced?
Structural posts for a porch railing should typically be spaced no more than six to eight feet apart. If the span is too long, the top and bottom rails may sag under their own weight or bow when someone leans against them. For purely decorative railings that do not serve a safety function on high decks, you might stretch this slightly, but for safety railings, sticking to a maximum of six feet ensures a rigid, sturdy barrier that meets most residential code requirements.
Conclusion
Building your own porch railing is a rewarding project that combines creativity with practical home improvement. By following the steps outlined above, you have transformed raw lumber into a beautiful, functional safety feature that enhances your home’s character. You navigated measuring, cutting, and assembly, proving that you have the skills necessary to tackle exterior renovations. Remember that maintenance is key; regular cleaning and re-sealing will keep your handiwork looking fresh for years to come.
Now that you understand the process, look at your entryway with a fresh perspective. Is it time to finally replace that shaky old banister or finish off your new deck? Gather your materials, set aside a weekend, and use this guide on how to build porch handrails to create something lasting. Your home will be safer, your curb appeal will skyrocket, and you will have the pride of knowing you built it yourself.

About
Jovie Mathews is a backyard and outdoor expert writer with over 12 years of hands-on experience transforming neglected outdoor spaces into thriving gardens and functional retreats. Raised in a family where weekends meant digging in the soil and building raised beds from scratch, Jovie developed a genuine love for the outdoors long before it became a career.
She writes with a practical, no-fluff approach — always testing ideas in her own backyard before sharing them with readers. From composting systems and native plant selection to patio design and pest control, Jovie covers the full spectrum of backyard life with equal parts expertise and enthusiasm.
Education
B.Sc. in Horticulture Science
University of Florida (UF) · Gainesville, FL · 2014
IFAS College of Agricultural and Life Sciences
Minor in Environmental Studies
University of Florida (UF) · Gainesville, FL · 2014
College of Liberal Arts and Sciences
Areas of expertise
- Lawn & Garden Care
- Soil prep, planting, seasonal care
- Outdoor DIY Projects
- Raised beds, fencing, pathways
- Composting & Soil Health
- Organic methods, amendments
- Native Plants & Wildlife
- Pollinators, habitat gardening
When she is not writing, Jovie can be found testing new composting techniques, growing tomatoes in questionable quantities, or convincing her neighbors that clover lawns are actually a great idea. She currently gardens in the Pacific Northwest.




