Creating a garden pond adds a beautiful and dynamic element to your landscape, attracting wildlife and providing a sense of tranquility. However, a common challenge is ensuring the pond retains water without relying on synthetic liners.

Fortunately, there are effective, eco-friendly methods to achieve this. This guide will walk you through the process of how to make a pond hold water naturally, using materials and techniques that work in harmony with your environment. It’s a rewarding project that results in a more sustainable and authentic water feature for your garden.
Why Natural Pond Sealing Matters
Sealing a pond naturally, rather than using plastic or rubber liners, offers significant benefits for your garden’s ecosystem. A natural seal promotes a healthier environment for aquatic plants and wildlife by allowing beneficial microorganisms to thrive in the soil. This method creates a more integrated feature that blends seamlessly into the landscape. It avoids the potential for chemicals to leach from synthetic materials and eliminates the risk of punctures or tears that can plague artificial liners. By choosing a natural approach, you are building a self-sustaining habitat that is both beautiful and environmentally responsible.
8 Step-by-Step Guide on How to Make a Pond Hold Water Naturally
Step 1: Select and Mark Your Pond’s Location
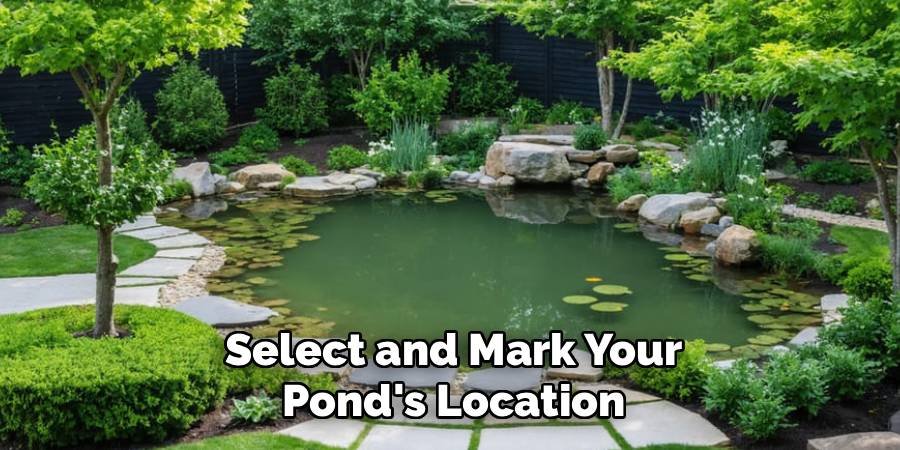
The first crucial step is choosing the right spot. Your pond should be situated away from large trees to prevent an excess of falling leaves, which can disrupt the water’s balance. Ensure the location receives at least four to six hours of direct sunlight daily if you plan to grow aquatic plants. The ground should be relatively level to simplify the excavation process. Once you’ve found the perfect location, use a rope, garden hose, or spray paint to outline the desired shape of your pond on the ground.
Step 2: Excavate the Pond Basin
Begin digging out the pond area within your marked outline. The ideal depth for a small wildlife pond is at least two feet at its deepest point to protect aquatic life from temperature extremes. Create gently sloping sides rather than steep, vertical walls. This design is safer for wildlife, allowing animals to easily enter and exit the water. It also helps with soil stability. As you dig, remove any sharp rocks, roots, or debris that could compromise the natural sealing layer you will create later.
Step 3: Source and Prepare Your Clay
The key to a naturally sealed pond is clay. You will need a significant amount of clay-rich soil. You can often source this material directly from your property, especially if your soil has a high clay content. To test it, take a handful of moist soil and try to roll it into a ball and then a sausage shape. If it holds together without crumbling, it has good clay content. If you need to source clay externally, look for local suppliers of bentonite or find a natural source for an appropriate clay subsoil.
Step 4: Add and Compact the First Clay Layer
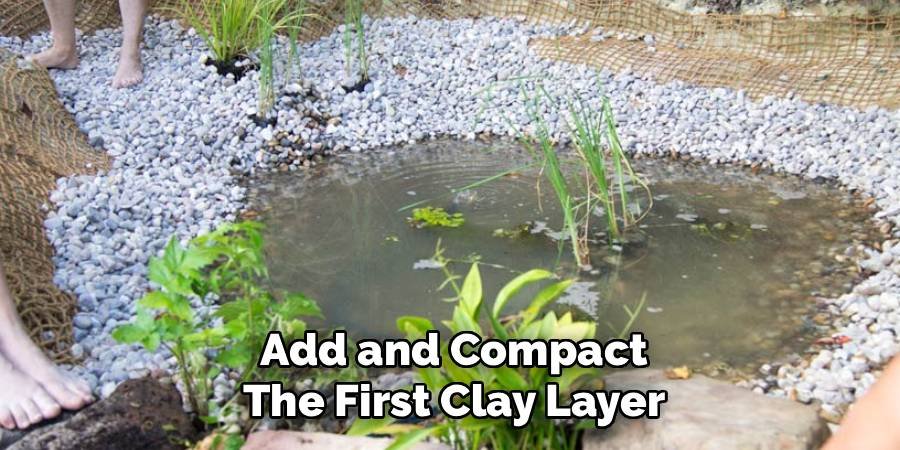
Start by adding a layer of your clay soil, about six inches thick, across the entire excavated basin, including the sloped sides. It’s important to moisten the clay just enough to make it pliable but not muddy. Use a hand tamper or the back of a shovel to firmly compact this layer. The goal is to press the clay particles tightly together, removing air pockets and creating a dense, impermeable barrier. Pay close attention to corners and edges to ensure consistent coverage and compaction throughout the pond base.
Step 5: Incorporate Bentonite for Enhanced Sealing
For an even more reliable seal, consider using bentonite clay. This is a super-absorbent clay that swells dramatically when it comes in contact with water, filling any remaining gaps. Sprinkle a layer of powdered or granular bentonite over your compacted clay base. The recommended application rate is typically two to three pounds per square foot. This material is a powerful natural sealant that significantly improves your pond’s ability to hold water, providing an extra layer of security for your project.
Step 6: Add a Second Layer of Clay
After applying the bentonite, add another six-inch layer of your clay-rich soil on top. Just as with the first layer, moisten this new soil and compact it thoroughly. This second layer serves to sandwich the bentonite, keeping it securely in place and providing a stable foundation for the pond. This step is a key part of learning how to make a pond hold water naturally, as it builds a robust, multi-layered seal that mimics the way natural ponds and lakes form over time.
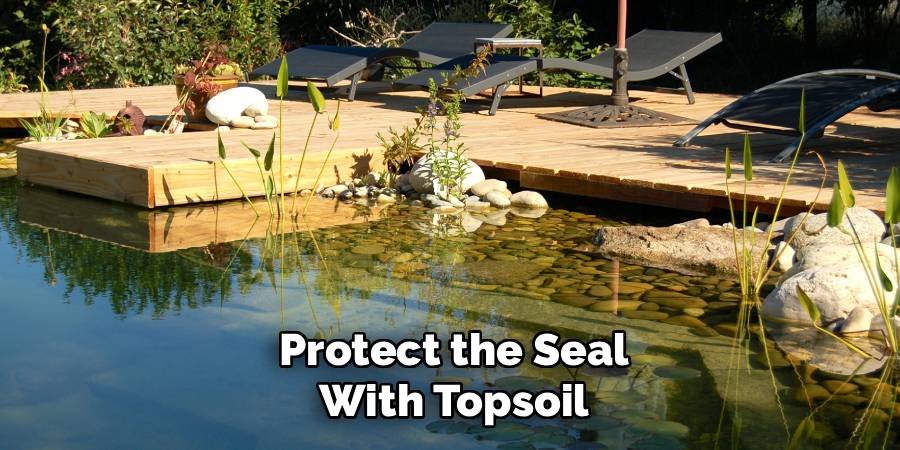
Step 7: Protect the Seal with Topsoil
With your compacted clay layers in place, it’s time to add a final protective covering. Add a two-to-three-inch layer of topsoil or a soil-and-gravel mix over the entire surface of the clay seal. This top layer shields the clay from being disturbed by water currents, planting activities, or wildlife. It also provides a substrate for aquatic plants to root into, helping to establish a healthy and balanced ecosystem within your new pond. Gently press this final layer down, but avoid heavy compaction.
Step 8: Slowly Fill the Pond with Water
The final step is to fill your pond. Do this slowly to avoid eroding the newly placed soil layers. Place a hose at the bottom of the pond on top of a flat stone or piece of plastic to diffuse the water pressure. As the pond fills, the water will saturate the clay and bentonite, causing them to swell and complete the sealing process. It is normal for the water to appear cloudy at first; this will settle over a few days as sediment sinks to the bottom.
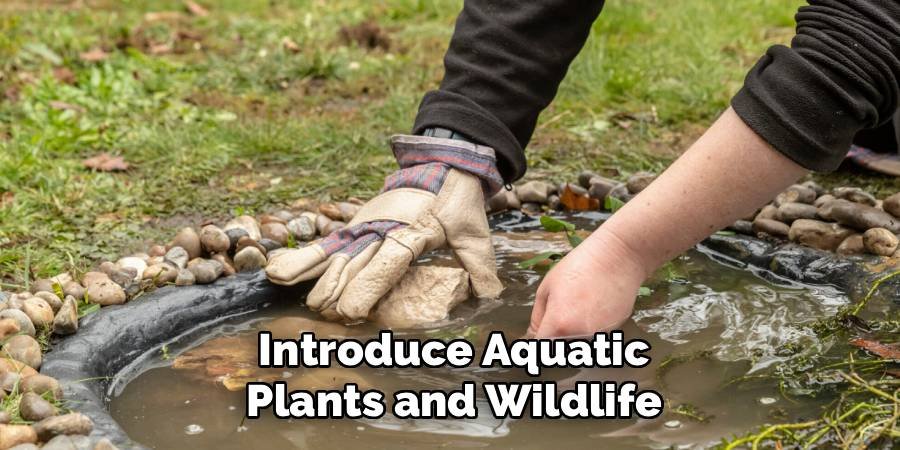
Step 9: Introduce Aquatic Plants and Wildlife
Once the pond is filled and the water has settled, it’s time to introduce aquatic plants and wildlife. Adding plants such as water lilies, cattails, or submerged oxygenators will not only enhance the visual appeal of the pond but also improve water quality by oxygenating and filtering the water naturally. If desired, you can introduce fish or other aquatic creatures, but ensure that the ecosystem is balanced to support their needs. Allow time for the pond environment to stabilize before adding wildlife, as this will give beneficial bacteria and microorganisms a chance to establish.
Frequently Asked Questions (FAQ)
What Is the Best Natural Material for Sealing a Pond?
Clay is the most effective and widely used natural material for sealing a pond. Bentonite clay, in particular, is highly recommended due to its exceptional swelling properties. When hydrated, it expands to many times its dry size, creating an incredibly dense and impermeable barrier. Using a combination of local clay-rich soil and a layer of bentonite provides a powerful, long-lasting, and completely natural seal for your pond.
How Deep Should a Natural Pond Be?
For a healthy wildlife pond, aim for a varied depth. Include shallow areas around the edges (about 6-12 inches) for easy access and for marginal plants. The deepest section should be at least 24 inches. This depth provides a refuge for fish and amphibians during hot summers and prevents the pond from freezing solid in colder climates, protecting the overwintering wildlife that depends on the water.
Will My Naturally Sealed Pond Lose Water?
All ponds, whether natural or lined, will lose some water to evaporation, especially during hot and windy weather. A properly sealed natural pond should not lose water due to seepage. You can monitor the water level by placing a marked stick in the pond. If you notice a rapid drop that isn’t explained by evaporation, you may need to check for a leak and potentially add more bentonite to the affected area.
Can I Add Fish to My Natural Pond?
Yes, you can add fish to a natural pond, but it’s best to wait until the ecosystem is established. Allow a few weeks for the water to clear, for beneficial bacteria to colonize, and for aquatic plants to take root. Start with a small number of hardy native fish. They will contribute to the pond’s health by controlling mosquito larvae, but be careful not to overstock, as this can strain the natural filtration system.
How Long Does It Take for a Natural Pond to Settle?
It typically takes a few days for the initial cloudiness to settle after filling. However, for the pond to become a fully balanced ecosystem, it can take several months to a year. During this time, plants will grow, microorganisms will multiply, and the water chemistry will stabilize. Be patient and allow nature to take its course. This maturation period is crucial for the long-term health and clarity of your pond.
Conclusion
Building a pond that holds water without a synthetic liner is a deeply gratifying project that connects your garden more closely with nature. By following these steps—from careful site selection and excavation to the methodical layering and compaction of clay—you can create a beautiful, self-sustaining aquatic habitat. This process requires patience and effort, but the result is a durable, eco-friendly feature that will bring life and beauty to your landscape for years. Embrace the challenge, and you’ll soon understand how to make a pond hold water naturally.

About
Jovie Mathews is a backyard and outdoor expert writer with over 12 years of hands-on experience transforming neglected outdoor spaces into thriving gardens and functional retreats. Raised in a family where weekends meant digging in the soil and building raised beds from scratch, Jovie developed a genuine love for the outdoors long before it became a career.
She writes with a practical, no-fluff approach — always testing ideas in her own backyard before sharing them with readers. From composting systems and native plant selection to patio design and pest control, Jovie covers the full spectrum of backyard life with equal parts expertise and enthusiasm.
Education
B.Sc. in Horticulture Science
University of Florida (UF) · Gainesville, FL · 2014
IFAS College of Agricultural and Life Sciences
Minor in Environmental Studies
University of Florida (UF) · Gainesville, FL · 2014
College of Liberal Arts and Sciences
Areas of expertise
- Lawn & Garden Care
- Soil prep, planting, seasonal care
- Outdoor DIY Projects
- Raised beds, fencing, pathways
- Composting & Soil Health
- Organic methods, amendments
- Native Plants & Wildlife
- Pollinators, habitat gardening
When she is not writing, Jovie can be found testing new composting techniques, growing tomatoes in questionable quantities, or convincing her neighbors that clover lawns are actually a great idea. She currently gardens in the Pacific Northwest.