

Building a backyard pond is one of the most rewarding DIY projects a gardener can undertake. It transforms a simple lawn into a tranquil oasis filled with water lilies and goldish. However, the success of your water feature depends almost entirely on the foundation you lay beneath the surface. If you don’t get the liner right, you risk leaks, soil erosion, and a lot of future headaches.
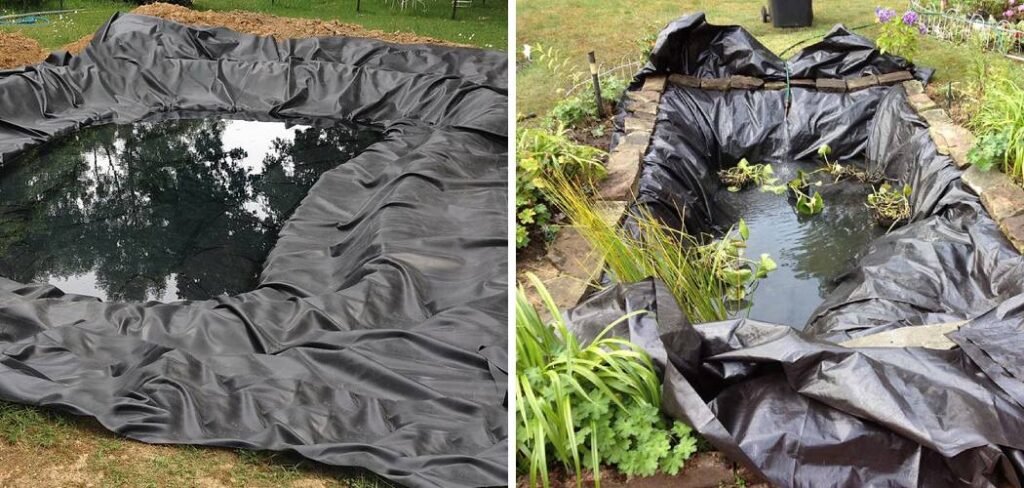
Fortunately, the process is straightforward when you have a clear plan. You do not need professional contracting experience to create something durable and beautiful. With the right tools and a bit of patience, anyone can master this essential skill. In this guide, we will walk you through exactly how to install a pond liner so you can enjoy your water garden for years to come without worrying about punctures or shifting soil.
Why Proper Installation Matters for Your Pond
Many beginners underestimate the importance of the liner installation phase. It is tempting to dig a hole, throw in some plastic, and fill it with a hose, but this approach rarely lasts. The liner is the waterproof skin of your pond. It must withstand water pressure, root intrusion, and the shifting of the earth during freeze-thaw cycles. A poorly installed liner can lead to catastrophic water loss, which endangers aquatic life and can damage the surrounding landscape foundation.
Taking the time to install your liner correctly ensures the longevity of your investment. It prevents unsightly wrinkles that trap sludge and debris, making maintenance much easier down the road. Furthermore, a correct installation protects the liner from sharp rocks and roots that could cause tears. By focusing on quality during this stage, you are essentially purchasing an insurance policy for your garden’s newest feature. It is the difference between a high-maintenance mud puddle and a pristine, self-sustaining ecosystem that adds value and beauty to your home.
7 Step-by-Step Guide on How to Install a Pond Liner
Step 1: Design and Excavate Your Pond Shape
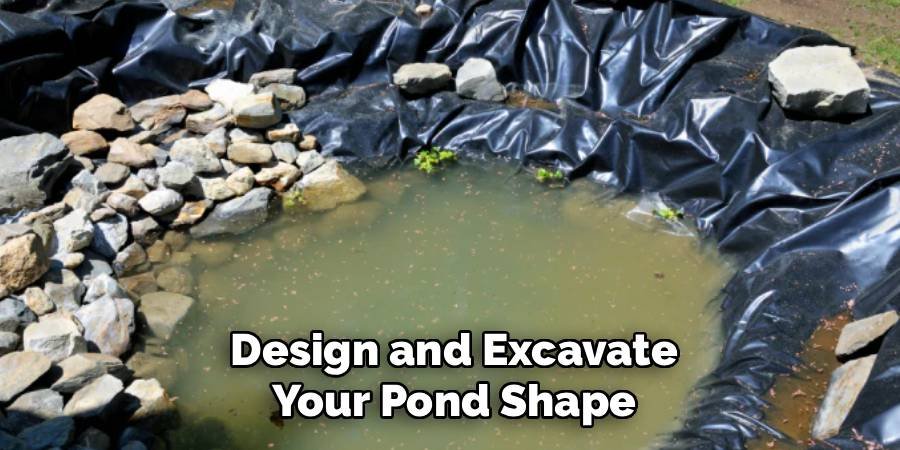
The first physical step in your journey is digging the hole, but this requires careful planning. You should outline the shape of your future water feature using a garden hose or spray paint directly on the grass. Once you are satisfied with the curves and size, begin excavating the soil. You need to create shelves or terraces at different depths for aquatic plants. Aim for a marginal shelf about one foot deep and a deeper zone of at least two feet for fish to overwinter safely. As you dig, check your levels frequently with a straight board and a spirit level to ensure the water will sit evenly.
Step 2: Inspect and Clean the Excavated Area
Once you have removed the bulk of the dirt, you must meticulously inspect the interior surface of the hole. This is a critical preparation phase that prevents future punctures. Go over every inch of the bottom and sides, removing any sharp stones, roots, sticks, or glass shards that might be protruding from the soil. Even small pebbles can eventually work their way through a liner under the immense weight of water. Smooth out the soil as much as possible. If you encounter large roots from nearby trees, cut them back and seal them if necessary to prevent them from growing back and piercing your new installation.
Step 3: Add a Protective Underlayment Layer
Never skip the underlayment, as it acts as a cushion between the harsh ground and your waterproof membrane. You can purchase specific geotextile fabric made for ponds, or in a pinch, old carpet or specialized sand can work. Lay the material thickly across the entire excavated area, ensuring it conforms to every shelf and corner. If you are using sand, pack it down damp to keep it in place on vertical walls. This soft barrier absorbs ground movement and neutralizes sharp objects you might have missed during the cleaning phase. It is the best defense against leaks and extends the lifespan of the liner significantly.
Step 4: Position the Pond Liner in the Hole
Now comes the main event. Carefully unfold your liner next to the pond, preferably on a warm sunny day which makes the material more pliable. With the help of a friend, lift the liner and drape it loosely over the excavation.
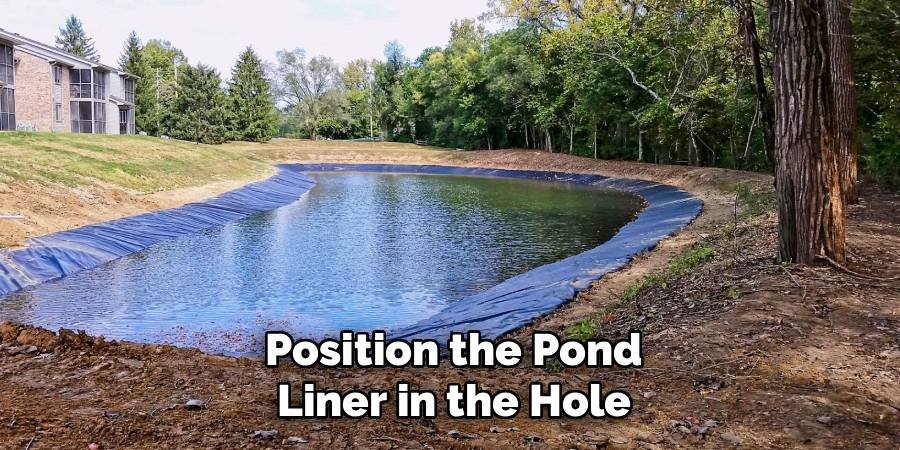
Do not try to stretch it tight; it needs to settle naturally into the depths. Ensure you have equal overlap on all sides of the pond edge—usually at least one to two feet of excess material. Ideally, you should walk barefoot on the liner if you need to adjust it from the inside to avoid damaging it with shoe treads or stones stuck in your soles.
Step 5: Begin Filling with Water to Settle the Liner
Start filling the pond slowly with a garden hose placed at the deepest point. As the water level rises, the weight of the water will pull the liner down and conform it to the shape of your hole. This is the moment where you learn how to install a pond liner effectively by managing the folds. As the water rises, gently tug and pull the liner to smooth out large wrinkles. You cannot eliminate every fold, especially in a curved pond, but you can neatly pleat them. Fold the excess material over itself like wrapping a present to keep the surface as smooth as possible for debris removal later.
Step 6: Secure the Liner Around the Edges
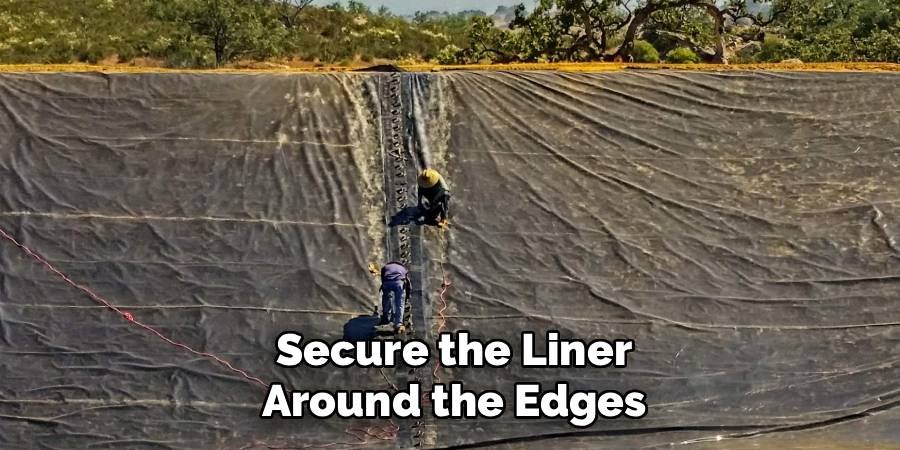
Stop filling the pond when the water level is about three or four inches from the top edge. Now you must secure the liner so it doesn’t slip down when the pond is full. You can temporarily weigh down the edges with heavy, smooth rocks or bricks. This allows the liner to settle further over the next day or two. The soil beneath the liner will compress under the weight of the water, pulling a little more material into the hole. Leaving it to settle ensures you don’t trim it too short prematurely, which is a disastrous and often unfixable mistake for new pond builders.
Step 7: Create a Rock Coping or Edge Treatment
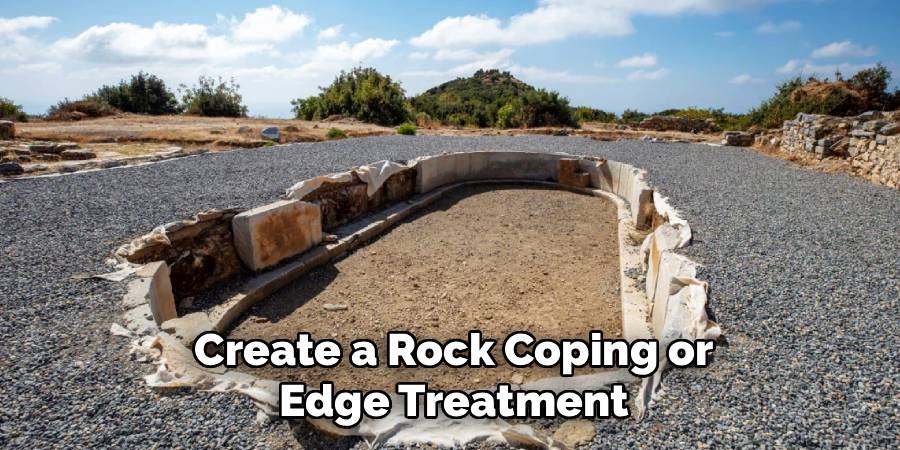
After the liner has fully settled, you need to create a permanent edge that hides the black plastic and looks natural. Excavate a shallow trench around the perimeter of the pond to tuck the liner flap into, or build a rock shelf. Place large, flat flagstones or river rocks around the edge, overhanging the water slightly to conceal the liner from view. This coping protects the liner from UV degradation caused by the sun. Ensure the rocks are stable and won’t tumble into the water. This step is vital for aesthetics, transitioning your pond seamlessly into the surrounding garden landscape.
Trim the Excess Liner Material
Once your rock work is complete and you are absolutely certain the liner has no more room to settle, it is time to trim the excess. Using a sharp utility knife or heavy-duty scissors, cut away the extra liner material, leaving about six inches of overlap behind your rock coping. You can bury this remaining flap under soil or mulch to hide it completely. Be incredibly careful not to cut below the water line or damage the main body of the liner. Once this excess is removed, your installation is structurally complete, leaving you with a professional-looking finish ready for planting.
Frequently Asked Questions
What is the Best Type of Liner to Use?
The best material for most backyard ponds is EPDM (ethylene propylene diene monomer) rubber.
- Durability: It is highly resistant to UV rays and temperature fluctuations.
- Flexibility: It stretches easily to fit irregular shapes.
- Safety: It is non-toxic to fish and plants.
PVC liners are cheaper but tend to become brittle and crack over time, leading to leaks.
How Thick Should My Pond Liner Be?
For most residential garden ponds, a thickness of 45 mil is the industry standard and highly recommended.
- 45 mil: Offers excellent puncture resistance and durability for rocky soil.
- 20-30 mil: Acceptable for very small, smooth ponds without fish.
Thicker liners are heavier and harder to work with, but the 45 mil strikes the perfect balance between protection and manageability.
Do I Really Need Underlayment?
Yes, underlayment is absolutely essential for a long-lasting pond.
- Protection: It guards against sharp rocks, roots, and glass that can puncture the liner from below.
- Gas Venting: It allows earth gases to escape rather than bubbling up under the liner.
Skipping this step is the most common cause of mysterious leaks that appear months after installation.
How Much Overlap Do I Need at the Edges?
You should always calculate for at least 12 to 24 inches (1 to 2 feet) of overlap on all sides of your pond.
- Settling Allowance: The liner will pull inward as the pond fills with water.
- Anchoring: You need enough material to securely anchor the liner under rocks or soil.
It is always better to cut off excess later than to have a liner that is too short.
Can I Join Two Pieces of Liner Together?
Yes, you can join two pieces of EPDM liner, but it requires specific materials.
- Seaming Tape: You must use double-sided seam tape designed for EPDM.
- Primer: A primer is usually required to prepare the rubber surface.
- Difficulty: Seaming can be tricky for beginners; it is often safer and easier to buy a single piece large enough for the whole project.
Conclusion
Installing a pond liner correctly is the secret to a low-maintenance and long-lasting water feature. By taking the time to excavate properly, using a quality underlayment, and carefully pleating the material as you fill the pond, you ensure a watertight seal that protects your garden ecosystem. It might seem like a heavy task initially, but breaking it down into manageable steps makes the process achievable for any DIY enthusiast.
Now that you understand the mechanics of the installation, you are ready to pick up a shovel and start digging. Imagine the sound of running water and the flash of colorful fish in your own backyard—it is all within reach. Remember, knowing how to install a pond liner is a skill that pays off for decades, giving you a beautiful, tranquil retreat right outside your back door.

About
Jovie Mathews is a backyard and outdoor expert writer with over 12 years of hands-on experience transforming neglected outdoor spaces into thriving gardens and functional retreats. Raised in a family where weekends meant digging in the soil and building raised beds from scratch, Jovie developed a genuine love for the outdoors long before it became a career.
She writes with a practical, no-fluff approach — always testing ideas in her own backyard before sharing them with readers. From composting systems and native plant selection to patio design and pest control, Jovie covers the full spectrum of backyard life with equal parts expertise and enthusiasm.
Education
B.Sc. in Horticulture Science
University of Florida (UF) · Gainesville, FL · 2014
IFAS College of Agricultural and Life Sciences
Minor in Environmental Studies
University of Florida (UF) · Gainesville, FL · 2014
College of Liberal Arts and Sciences
Areas of expertise
- Lawn & Garden Care
- Soil prep, planting, seasonal care
- Outdoor DIY Projects
- Raised beds, fencing, pathways
- Composting & Soil Health
- Organic methods, amendments
- Native Plants & Wildlife
- Pollinators, habitat gardening
When she is not writing, Jovie can be found testing new composting techniques, growing tomatoes in questionable quantities, or convincing her neighbors that clover lawns are actually a great idea. She currently gardens in the Pacific Northwest.




