

A new paver patio or walkway can transform your outdoor space, adding both beauty and function. While it might seem like a job for professionals, learning how to install concrete pavers is a rewarding DIY project that many homeowners can tackle.

With the right tools, materials, and a bit of patience, you can create a durable and attractive surface that enhances your landscape for years to come. This guide will walk you through every step, from planning your project to laying the final paver, ensuring you have the confidence and knowledge to succeed.
Why Install Concrete Pavers?
Choosing concrete pavers for your next outdoor project comes with a host of benefits that make them a popular choice among homeowners. First and foremost is their durability. Concrete pavers are manufactured to withstand heavy foot traffic and the harsh effects of weather, from scorching sun to freezing ice. Unlike a solid slab of poured concrete, which can crack under pressure, individual pavers can shift slightly with ground movement, reducing the risk of large-scale damage.
Beyond their strength, pavers offer incredible design flexibility. They come in a vast array of shapes, sizes, colors, and textures, allowing you to create a truly custom look that complements your home’s style. You can arrange them in classic patterns like herringbone or basketweave, or design something entirely unique. Maintenance is also straightforward. If a paver becomes stained or damaged, you can simply lift it out and replace it, a much simpler fix than repairing a large concrete slab. This combination of strength, style, and easy upkeep makes concrete pavers an excellent long-term investment for any property.
7 Step Methods Guide on How to Install Concrete Pavers
Step 1: Plan and Outline Your Project Area
Before you dig, you need a solid plan. Decide on the shape and dimensions of your patio or walkway. Use a tape measure, stakes, and string to outline the perimeter of the project area. For curved designs, a flexible garden hose can help you visualize the shape before marking it with landscape paint.
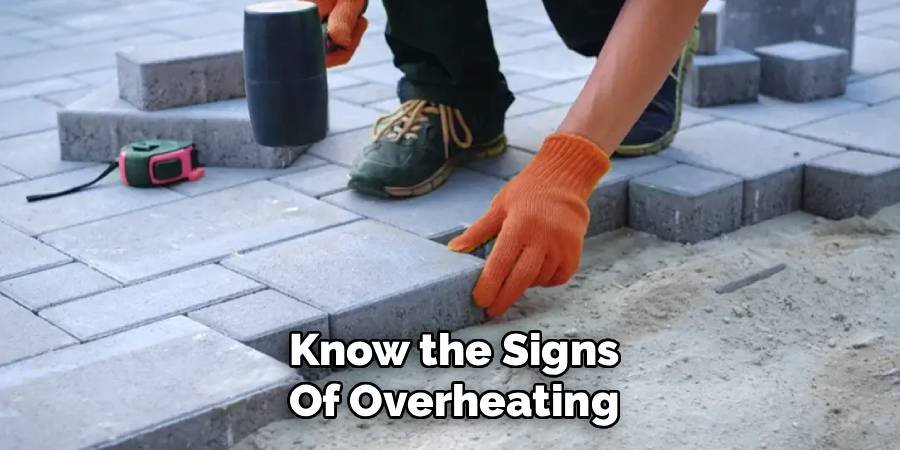
This visual outline is crucial for calculating the amount of materials you’ll need, including pavers, base material, and sand. Remember to account for a slight slope—about a quarter-inch drop for every foot of length—to ensure proper water drainage away from your home’s foundation.
Step 2: Excavate the Area
With your area marked, it’s time to start digging. For a standard patio or walkway, you’ll need to excavate about 7 to 9 inches of soil. This depth accounts for a 4- to 6-inch layer of gravel base, a 1-inch layer of sand, and the height of the pavers themselves. Use a square-nosed shovel to create clean edges and a pointed shovel for the bulk of the digging. As you work, use a level to periodically check that your excavated area maintains the gentle slope you planned for drainage. A consistent and properly sloped base is the foundation of a long-lasting paver installation.
Step 3: Lay and Compact the Gravel Base
Once the area is excavated, the next step is to create a stable foundation with a crushed stone or gravel aggregate base. Pour the base material into the excavated area in 2-inch layers, spreading it evenly with a rake. It’s important to compact each layer thoroughly before adding the next. For small projects, a hand tamper will work, but for larger areas, renting a plate compactor is highly recommended. Compacting the base prevents it from settling over time, which could lead to an uneven paver surface. Continue adding and compacting layers until you have a solid 4- to 6-inch base.
Step 4: Install Edge Restraints
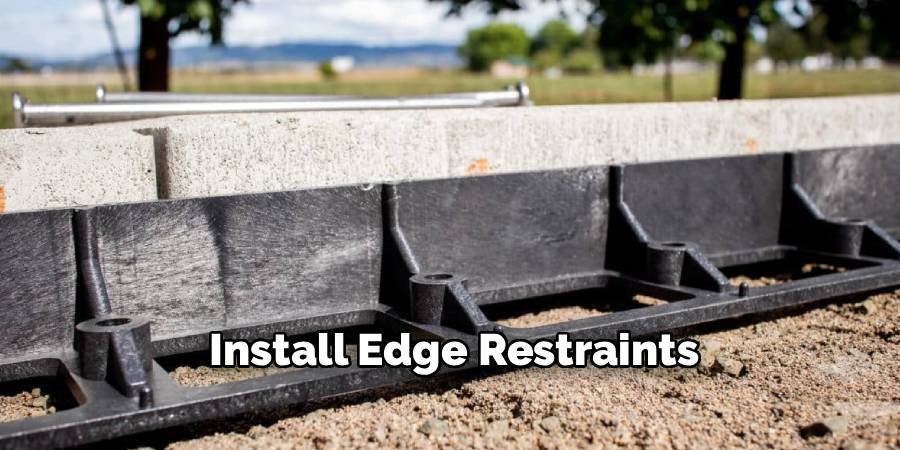
Edge restraints are essential for keeping your pavers locked in place and preventing them from shifting or spreading apart over time. These are typically made of plastic, aluminum, or concrete and are installed along the perimeter of your project area. Place the restraints directly on your compacted gravel base and secure them by driving long landscaping spikes through the provided holes. Make sure the top of the restraint is set at the correct height to sit just below the top of the pavers once they are installed, keeping them hidden from view for a clean, professional finish.
Step 5: Add the Sand Bedding Layer
With the base and edge restraints in place, you will now add a 1-inch layer of coarse sand. This sand layer provides a cushion for the pavers and helps you set them perfectly level. To ensure a uniform depth, lay two 1-inch diameter pipes or electrical conduits parallel to each other on top of the gravel base. Pour the sand between and over the pipes, then pull a straight 2×4 board across the tops of the pipes in a sawing motion. This process, called “screeding,” removes excess sand and creates a perfectly smooth and level surface for your pavers. Carefully remove the pipes and fill in the gaps with sand.
Step 6: Begin Laying the Pavers
Now for the fun part: laying the pavers. Start in a corner, preferably one against a house or straight edge, and work your way outward. Place each paver gently onto the sand bed, being careful not to slide it or disturb the smooth surface. Use a “click-and-drop” method where you click the paver against its neighbor and then drop it straight down.
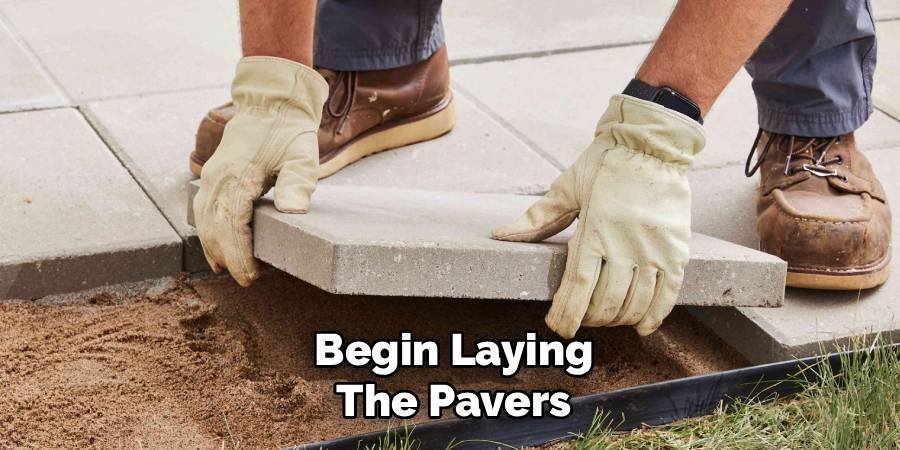
This ensures tight joints between the pavers. Use string lines to keep your rows straight. A good understanding of how to install concrete pavers includes patience during this phase to maintain your pattern and alignment.
Step 7: Make Any Necessary Cuts
Unless your project area is a perfect rectangle sized exactly to your pavers, you will need to make some cuts. This is especially true for curved designs or when fitting pavers around obstacles. Use a tape measure and a pencil or chalk to mark the paver where it needs to be cut. A masonry saw, often called a wet saw, is the best tool for this job, providing clean and precise cuts. You can rent one from most home improvement stores. Always wear safety glasses, hearing protection, and a dust mask when cutting pavers.
Compact the Pavers and Add Joint Sand
After all the pavers are laid and cut to fit, the final steps will lock everything together. First, run the plate compactor over the entire surface to settle the pavers into the sand bed and create a level, interlocking surface. This is a crucial step in the process of how to install concrete pavers for a flat, stable finish. Once compacted, spread a fine, dry jointing sand over the entire paver surface. Use a push broom to sweep the sand into the joints between the pavers, filling them completely.
Final Compaction and Cleanup
With the joints filled, run the plate compactor over the surface one last time. This vibration will work the sand deep into the joints, locking the pavers together tightly. You may need to sweep more sand into the joints after this final compaction to ensure they are full.
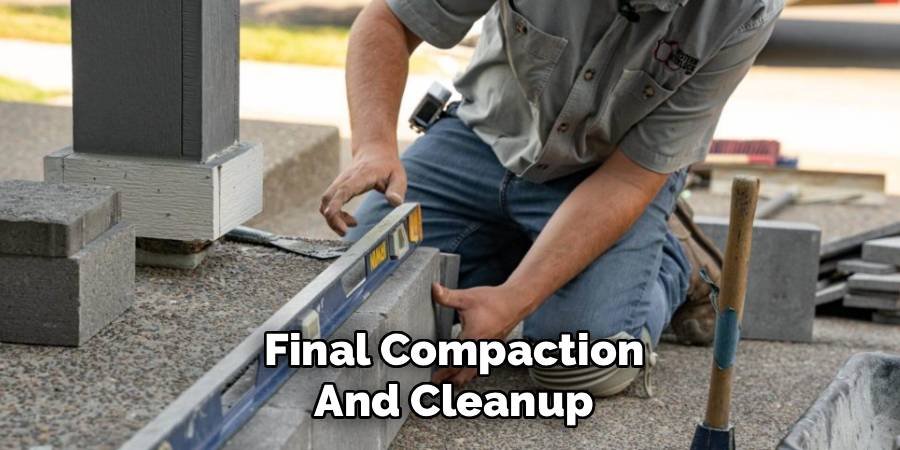
Once satisfied, use a broom or leaf blower to remove any excess sand from the top of the pavers. Lightly mist the area with a garden hose to help the sand settle, but avoid washing it out of the joints. Your new paver project is now complete!
Frequently Asked Questions
What Is the Best Base for Concrete Pavers?
The best base for concrete pavers is a 4- to 6-inch layer of compacted aggregate, like crushed stone or gravel. This material provides excellent stability and drainage. On top of the gravel base, you should add a 1-inch layer of coarse sand, which creates a level bed for setting the pavers. This two-part base system is critical for preventing shifting and ensuring the longevity of your patio or walkway.
Do I Need to Seal Concrete Pavers?
Sealing is not strictly necessary, but it is highly recommended. Applying a quality sealer can protect your pavers from stains, inhibit weed growth in the joints, and prevent fading from UV exposure. It can also enhance their color and give them a finished “wet look” if desired. For best results, you should wait at least 60-90 days after installation before applying the first coat of sealer.
How Do You Keep Weeds From Growing Between Pavers?
Using polymeric sand is the most effective way to prevent weeds. This special sand contains polymers that harden when activated with water, creating a durable yet flexible joint that blocks weed growth. Installing edge restraints and ensuring a properly compacted base also helps. If weeds do appear, they can usually be removed by hand or with a targeted spot treatment of a weed killer.
Can I Lay Pavers Directly on Dirt?
No, you should never lay pavers directly on dirt or soil. Soil expands, contracts, and shifts with changes in moisture and temperature, which will quickly lead to a lumpy, uneven, and unsafe surface. A proper base of compacted gravel and sand is essential to provide a stable foundation that drains well and supports the pavers, ensuring your project remains beautiful and functional for many years.
What Is the Easiest Paver Pattern for Beginners?
For beginners, the running bond or stack bond patterns are the easiest to install. The stack bond involves simply aligning all the pavers in straight, grid-like rows. The running bond, similar to a brick wall, staggers the joints of each row by half a paver. Both patterns require minimal cutting and are straightforward to keep aligned, making them excellent choices for a first-time DIY paver project.
Conclusion
Building your own paver patio or walkway is a significant but manageable project that adds tremendous value and appeal to your home. By following these steps—from meticulous planning and excavation to proper compaction and jointing—you can achieve a professional-quality result. The key is to take your time, ensure each layer is level and compact, and never skip on the foundational work. Now that you know how to install concrete pavers, you are ready to take on this rewarding challenge and create an outdoor living space you can be proud of for years to come.

About
Jovie Mathews is a backyard and outdoor expert writer with over 12 years of hands-on experience transforming neglected outdoor spaces into thriving gardens and functional retreats. Raised in a family where weekends meant digging in the soil and building raised beds from scratch, Jovie developed a genuine love for the outdoors long before it became a career.
She writes with a practical, no-fluff approach — always testing ideas in her own backyard before sharing them with readers. From composting systems and native plant selection to patio design and pest control, Jovie covers the full spectrum of backyard life with equal parts expertise and enthusiasm.
Education
B.Sc. in Horticulture Science
University of Florida (UF) · Gainesville, FL · 2014
IFAS College of Agricultural and Life Sciences
Minor in Environmental Studies
University of Florida (UF) · Gainesville, FL · 2014
College of Liberal Arts and Sciences
Areas of expertise
- Lawn & Garden Care
- Soil prep, planting, seasonal care
- Outdoor DIY Projects
- Raised beds, fencing, pathways
- Composting & Soil Health
- Organic methods, amendments
- Native Plants & Wildlife
- Pollinators, habitat gardening
When she is not writing, Jovie can be found testing new composting techniques, growing tomatoes in questionable quantities, or convincing her neighbors that clover lawns are actually a great idea. She currently gardens in the Pacific Northwest.




