Is there anything more frustrating than sitting down to enjoy a cup of coffee on your patio, only to be swarmed by flies or mosquitoes slipping through a tear in the mesh? Damaged screens not only look unsightly, but they also compromise the comfort of your outdoor living space. While many homeowners assume they need to hire a professional for repairs, fixing a screen is actually one of the most manageable and rewarding DIY projects you can tackle this weekend.
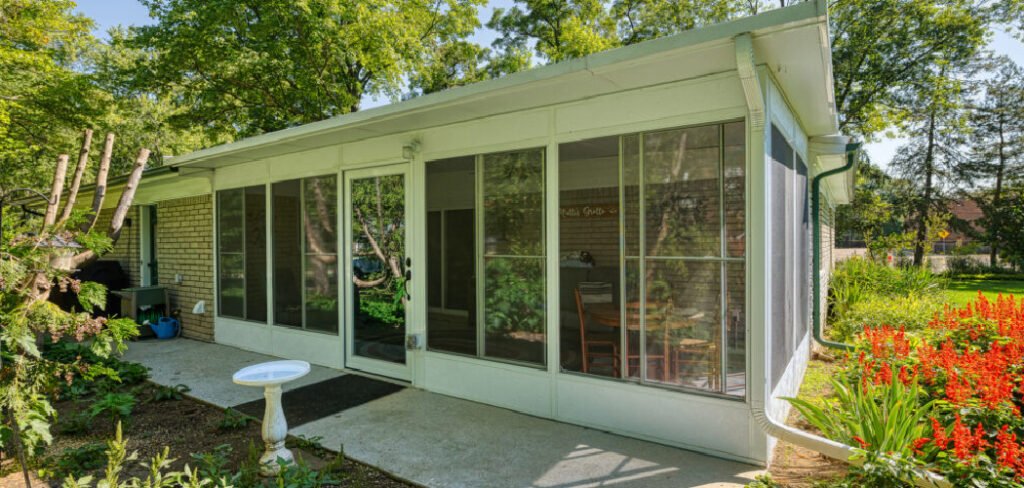
With just a few affordable tools and a little bit of patience, you can restore your enclosure to its former glory. This guide is designed to walk you through the entire process, ensuring you get professional-looking results without the professional price tag. By following these instructions, you will learn how to replace patio screen material quickly and efficiently, giving you back your bug-free sanctuary in no time.
Restoring Your Patio Screen Matters
Maintaining the integrity of your patio enclosure goes beyond simple aesthetics, though a fresh, taut screen certainly improves the visual appeal of your home. The primary function of these screens is to create a barrier between you and the natural elements that can ruin your relaxation time. Even small holes or tears can serve as an open invitation for pests like mosquitoes, gnats, and spiders to invade your personal space.
Furthermore, worn-out screens can collect dust and pollen more easily, reducing the air quality within your patio area. Over time, UV rays from the sun weaken the fiberglass or aluminum material, making it brittle and prone to further damage during storms. By proactively replacing your screens, you ensure better airflow, improved visibility, and a cleaner environment. It is also a cost-effective maintenance task that protects the longevity of your door and window frames by preventing rust and debris buildup in the channels.
8 Step-by-Step Guide on How to Replace Patio Screen
Step 1: Remove the Screen Door or Panel Carefully
Before you can begin the actual repair, you need to set up a stable workspace. If you are working on a sliding patio door, locate the adjustment screws found at the bottom corners of the door frame. You may need to loosen these screws to retract the rollers, which will allow you to lift the door up and out of the bottom track.
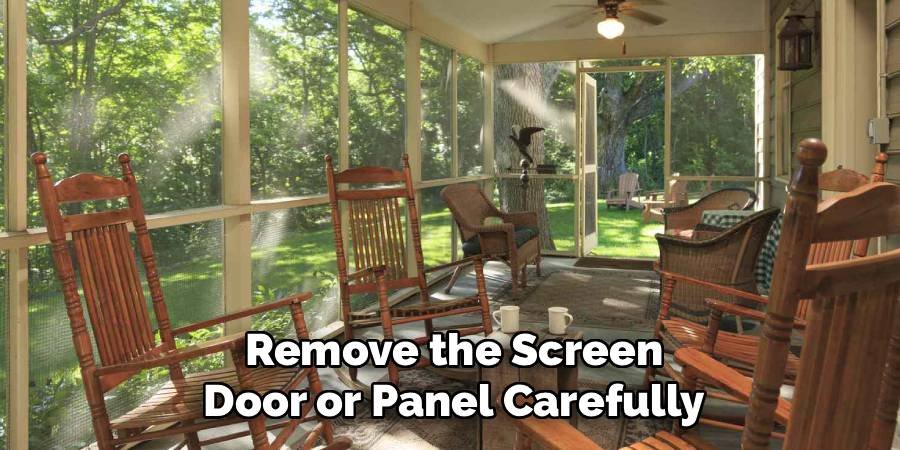
Once the bottom is free, angle the bottom of the door away from the house and lower it to release the top rollers. Carry the door or panel to a large, flat surface like a driveway, garage floor, or a sturdy work table. Laying the frame on a flat surface is absolutely critical because it prevents the frame from bowing or twisting while you work on it.
Step 2: Remove the Old Spline and Mesh
Locate the spline, which is the rubber or vinyl cord that holds the screen material into the frame’s groove. Using a small flathead screwdriver, an awl, or a specialized hook tool, gently pry up one end of the existing spline. Be careful not to gouge the metal frame while doing this.
Once you have a loose end, pull the entire length of the spline out of the channel. In many cases, the old spline will be brittle and may snap, so remove it in pieces if necessary. Once the spline is removed, the old mesh will be loose. Pull the old screen material off the frame and discard it. If you have an aluminum frame, check for any corroded screws or bent corners at this stage before proceeding.
Step 3: Clean the Frame Channels Thoroughly
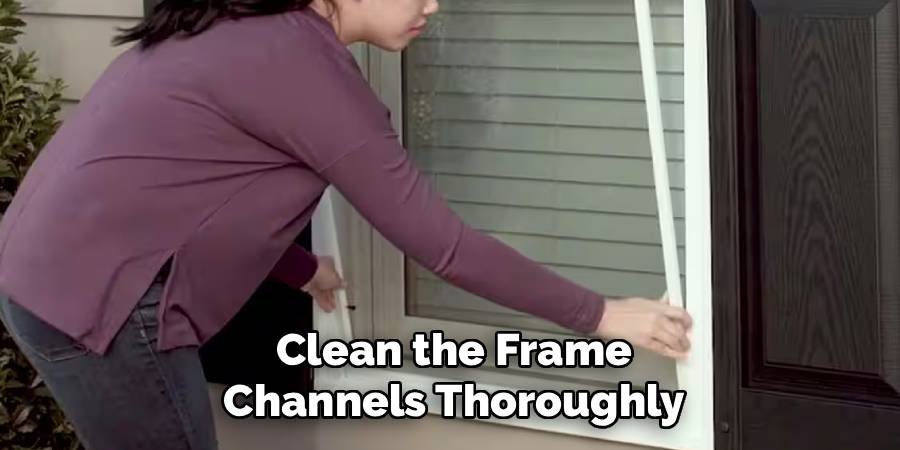
Over the years, the grooves in your screen frame can accumulate a significant amount of dirt, pollen, dead insects, and oxidized metal dust. This debris can make it difficult to seat the new spline properly and might even damage the new screen material. Take a stiff brush, an old toothbrush, or a rag with warm soapy water and scrub the channels thoroughly.
If there is stubborn grime, you can use a vacuum with a crevice tool to suck out loose particles. Ensure the frame is completely dry before moving on to the next step. This is also the perfect time to wipe down the rest of the frame to give it a fresh, clean look that will match your new mesh.
Step 4: Position and Size the New Screen Mesh
Unroll your new screen material over the frame. You want to make sure you have enough material to cover the entire opening plus a generous border. Ideally, cut the new mesh so that it overlaps the metal retaining groove by at least two inches on all four sides.
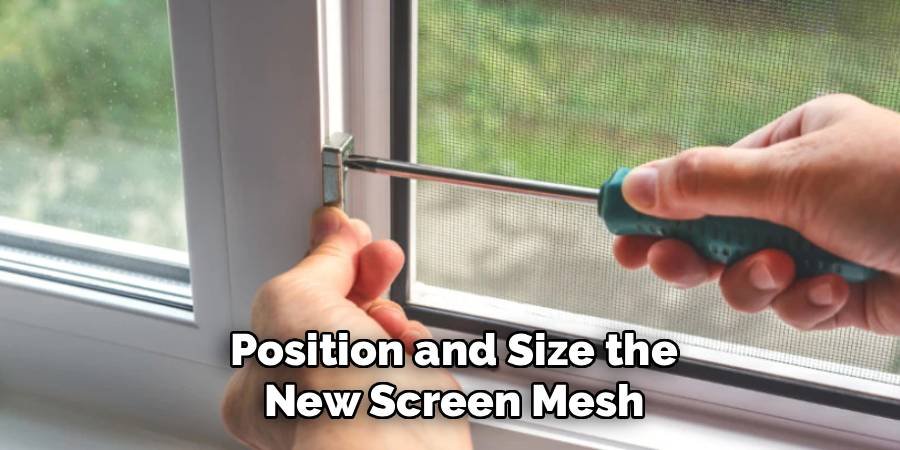
This excess material is crucial because it gives you something to hold onto and allows for some movement as you press the screen into the channel. Use clamps or masking tape to secure the mesh to the work surface or the frame itself to keep it taut and square. Ensure the grid pattern of the mesh runs parallel to the frame edges for a professional, symmetrical appearance that isn’t crooked.
Step 5: Pre-Roll the Screen Into the Groove
Before you insert the spline, it is helpful to gently crease the screen into the channel to establish the proper tension. Take your screen rolling tool—a specialized gadget with a wheel on each end—and use the convex (rounded edge) wheel. Gently roll it over the screen material directly above the groove.
Do not press too hard, as you do not want to cut the mesh. This step pushes the screen into the channel and helps you manage the tension. If you skip this, the screen might become too tight and bow the frame inward (hourglass effect) or remain too loose and sag. Work your way around the frame, but leave the corners loose for now to prevent bunching.
Step 6: Install the New Spline Cord
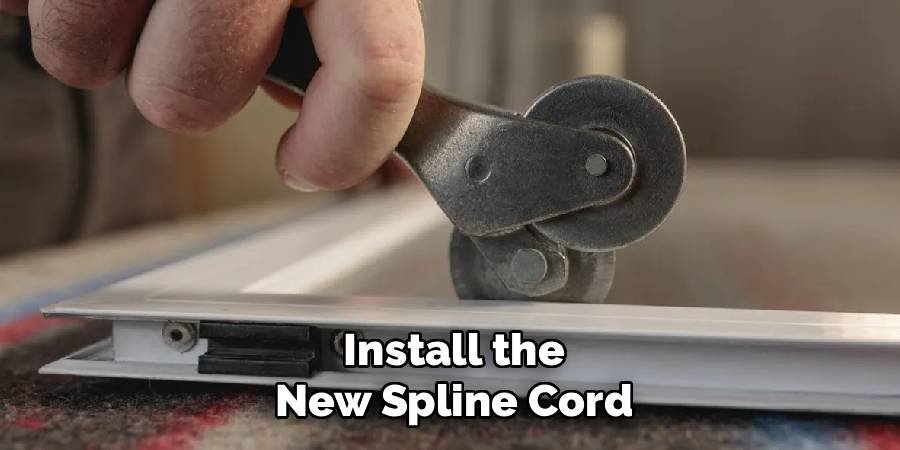
Starting at one corner or the center of a long side, place the end of your new spline over the groove on top of the mesh. Using the concave (grooved edge) wheel of your rolling tool, press the spline into the channel. Use short, firm strokes to roll the spline down into the groove, trapping the screen material.
As you roll, use your other hand to keep the screen material slightly taut, but do not pull it excessively tight. The action of rolling the spline in will naturally tighten the screen. If you stretch the spline cord as you roll, it will eventually shrink back and cause the screen to pucker, so simply lay it in and roll it down without stretching the rubber itself.
Step 7: Secure the Corners Without Bunching
Corners are the most challenging part of the process and where most beginners make mistakes. As you approach a corner, stop rolling about two inches away. Use a flathead screwdriver or the tip of your utility knife to gently push the screen and spline into the corner at a 45-degree angle.
If you just roll straight through the corner, the mesh will bunch up and create wrinkles. You may need to make a tiny diagonal relief cut in the excess screen material at the very corner tip to allow it to lay flat, though this isn’t always necessary if the mesh is flexible. Once the corner is securely tucked, continue rolling down the next side of the frame.
Trim the Excess Screen Material
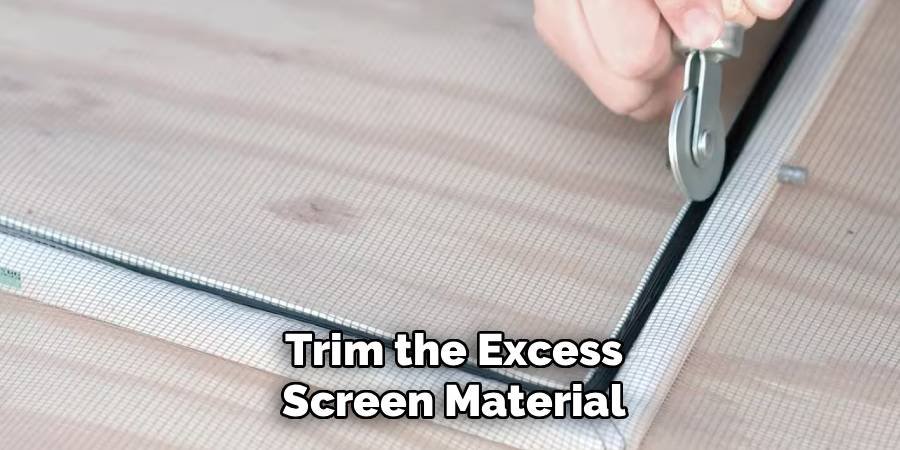
Once the spline is installed around the entire perimeter, you will have excess screen material sticking out. Take a sharp utility knife and carefully trim the excess mesh. The trick is to angle the blade slightly outward, away from the spline and towards the outside of the frame.
Place the blade between the spline and the outer edge of the channel. Apply steady pressure and slide the knife along the frame’s edge. This technique ensures you cut the mesh cleanly without slicing into your new spline or scratching the visible part of the frame. This final step is what gives your project a clean finish and completes the process of how to replace patio screen mesh.
Frequently Asked Questions
What type of screen material should I buy?
For most patio applications, fiberglass mesh is the standard choice because it is flexible, easy to install, and does not crease easily. If you have pets that scratch at the door, you might consider “pet-resistant” screen, which is made of a heavier-duty polyester coated with vinyl. Aluminum screen is another option that is more durable than standard fiberglass but is harder to install and dents permanently if mishandled.
Do I need to replace the spline or can I reuse it?
It is highly recommended that you replace the spline whenever you replace the mesh. Over time, the rubber or vinyl spline hardens, cracks, and loses its flexibility. Reusing old spline makes the installation much more difficult because it won’t compress easily into the groove, and it may not hold the new screen securely in place. New spline is very inexpensive and ensures a tighter, longer-lasting seal.
How do I prevent the frame from bowing inward?
The “hourglass effect” happens when the screen is pulled too tight during installation, pulling the long sides of the frame inward. To prevent this, do not pull the mesh tight with your hands while rolling in the spline. The act of pushing the spline into the groove consumes material and naturally tightens the screen. You can also place heavy objects or clamps on the center of the frame’s sides to hold them straight while you work.
What size spline do I need?
Spline comes in various diameters, typically ranging from .125 to .250 inches. The best way to ensure you buy the correct size is to take a small piece of your old spline to the hardware store and match it. If the old spline was very difficult to remove or seemed too loose, you might adjust the size slightly, but matching the original is usually the safest bet for a proper fit.
Can I do this repair with the door still hanging?
While it is technically possible to replace a screen while the door is vertical, it is extremely difficult and not recommended for beginners. Gravity will fight against you, making it hard to keep the mesh square and taut. The spline will also be difficult to roll in with the necessary pressure. Taking the door down and laying it flat ensures a much faster, easier, and higher-quality repair.
Conclusion
Taking on the project of repairing your patio enclosure is a satisfying way to maintain your home. By following the steps outlined above, you have saved yourself the cost of a service call and extended the life of your outdoor living space. You now have a clear understanding of the tools required, the importance of frame preparation, and the technique for achieving that perfect, professional tension.
Don’t let a few rips or tears keep you locked inside this season. With a free afternoon and a small investment in materials, you can transform your patio back into the comfortable retreat it was meant to be. Now that you have mastered how to replace patio screen mesh, you can confidently tackle other window and door screen repairs around your home whenever the need arises.

About
Jovie Mathews is a backyard and outdoor expert writer with over 12 years of hands-on experience transforming neglected outdoor spaces into thriving gardens and functional retreats. Raised in a family where weekends meant digging in the soil and building raised beds from scratch, Jovie developed a genuine love for the outdoors long before it became a career.
She writes with a practical, no-fluff approach — always testing ideas in her own backyard before sharing them with readers. From composting systems and native plant selection to patio design and pest control, Jovie covers the full spectrum of backyard life with equal parts expertise and enthusiasm.
Education
B.Sc. in Horticulture Science
University of Florida (UF) · Gainesville, FL · 2014
IFAS College of Agricultural and Life Sciences
Minor in Environmental Studies
University of Florida (UF) · Gainesville, FL · 2014
College of Liberal Arts and Sciences
Areas of expertise
- Lawn & Garden Care
- Soil prep, planting, seasonal care
- Outdoor DIY Projects
- Raised beds, fencing, pathways
- Composting & Soil Health
- Organic methods, amendments
- Native Plants & Wildlife
- Pollinators, habitat gardening
When she is not writing, Jovie can be found testing new composting techniques, growing tomatoes in questionable quantities, or convincing her neighbors that clover lawns are actually a great idea. She currently gardens in the Pacific Northwest.