
Achieving a vibrant, healthy lawn can seem like a complex task, but with the right products and techniques, it’s entirely within reach. Milorganite is a popular slow-release nitrogen fertilizer that is trusted by homeowners and professionals for its consistent, long-lasting results. It’s known for being eco-friendly and nearly foolproof, as it won’t burn your grass.
This guide will walk you through the simple process of how to apply Milorganite, ensuring you provide your lawn with the nutrients it needs to thrive. With a little preparation and the correct application method, you can unlock the secret to a greener, more resilient yard that will be the envy of your neighborhood.
Why a Healthy Lawn Matters
A well-maintained lawn does more than just boost your home’s curb appeal. It provides a safe and comfortable space for family, pets, and recreation. Healthy turf also offers significant environmental benefits. Dense grass helps prevent soil erosion by holding topsoil in place, especially on slopes. It also acts as a natural filter, trapping and breaking down pollutants from rainwater runoff before they can enter local waterways. Furthermore, a thriving lawn can have a cooling effect on the surrounding area, reducing temperatures on hot summer days and creating a more pleasant outdoor environment for everyone to enjoy. Using a quality fertilizer like Milorganite is a key step in cultivating this valuable green space.
8 Step-by-Step Guide on How to Apply Milorganite
Step 1: Determine Your Lawn’s Size
Before you can apply any fertilizer correctly, you must know the size of the area you are treating. To calculate the square footage of your lawn, measure its length and width. For a rectangular yard, simply multiply these two numbers. If your lawn has an irregular shape, break it down into smaller, measurable squares or rectangles and add their areas together.
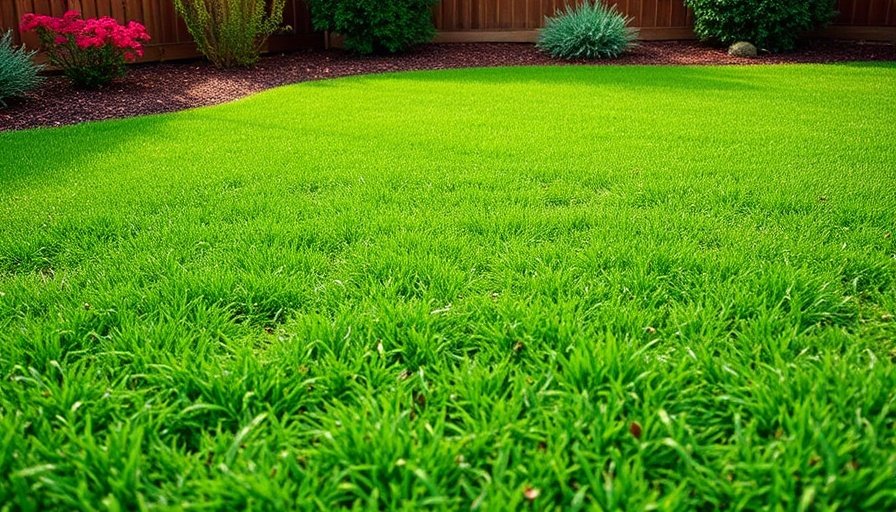
Knowing the total square footage is crucial for determining how much Milorganite you need. This prevents over- or under-application, ensuring your grass gets the perfect amount of nutrients without any waste. A 32-pound bag of Milorganite typically covers about 2,500 square feet.
Step 2: Choose the Right Spreader
The tool you use for application is just as important as the fertilizer itself. For an even and consistent spread, you should use either a broadcast (rotary) or a drop spreader. Broadcast spreaders are ideal for larger lawns, as they throw the granules in a wide arc, allowing you to cover more ground quickly. Drop spreaders are more precise, dropping the fertilizer directly below as you push them. This makes them perfect for smaller yards or for navigating around garden beds, sidewalks, and driveways without getting fertilizer where you don’t want it. Whichever you choose, ensure it is clean and in good working order before you begin.
Step 3: Check Spreader Settings
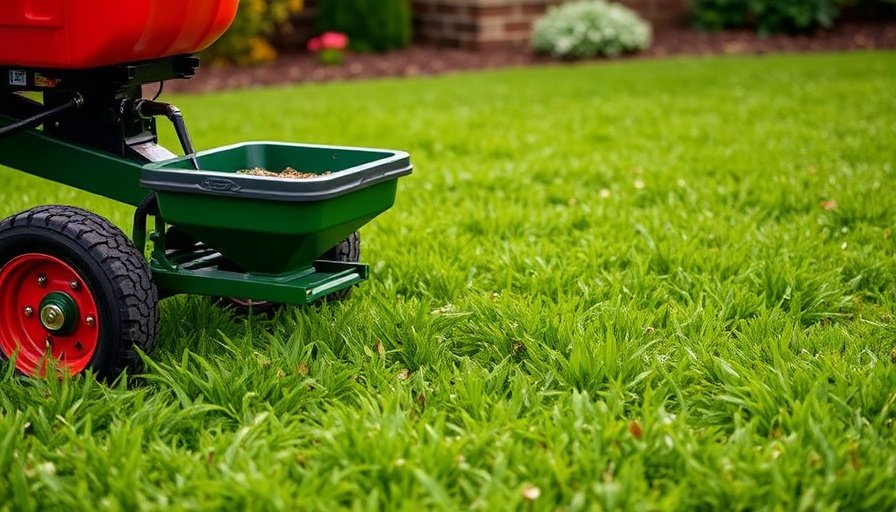
Every spreader model is different, and using the correct setting is vital for an accurate application rate. Milorganite provides recommended spreader settings for many popular brands and models on its website and packaging. If you can’t find your specific model, you may need to perform a simple calibration. A good starting point is to set your spreader to about one-third of its maximum opening and test it over a small, pre-measured area. Adjust the setting as needed until you are distributing the product at the rate recommended on the bag. Taking a few minutes to get this right will pay off with a uniform, green lawn.
Step 4: Fill Your Spreader Correctly
To avoid messy spills and wasted product, always fill your spreader on a hard surface like a driveway or a sidewalk, not on the lawn itself. If any fertilizer spills while you are filling the hopper, it will be easy to sweep up. Spilling a pile of fertilizer on the grass can create a burn spot, even with a non-burning product like Milorganite, due to the excessive concentration of nutrients. Place a tarp underneath the spreader for even easier cleanup. Make sure the spreader hopper is closed before you start pouring the granules from the bag.
Step 5: Begin Application Around the Perimeter
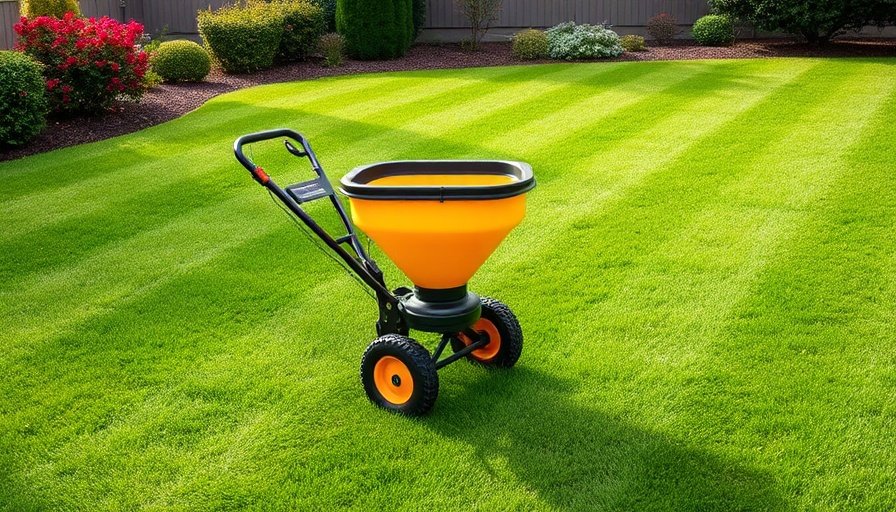
A great technique for achieving professional results is to start by applying fertilizer around the perimeter of your lawn. This initial pass creates a buffer zone, giving you a clear area to turn the spreader around without accidentally overlapping too much or missing spots. Open the hopper and walk at a steady, consistent pace, creating a “header strip” around the entire lawn. This outline will serve as your guide for the rest of the application, ensuring that you can make clean, straight passes back and forth across the main body of the yard.
Step 6: Apply in Straight, Overlapping Lines
With the perimeter complete, it’s time to fill in the middle of the lawn. Start at one end and walk in a straight line to the other. When you turn to make your next pass, slightly overlap your previous path. For a broadcast spreader, the overlap should be from wheel track to wheel track to ensure the granules thrown from the edge of the pattern cover the previous strip. For a drop spreader, you should position the wheels just inside the previous wheel track. This overlapping technique is a key part of how to apply Milorganite for even coverage, preventing stripes of light and dark green from appearing in your lawn.
Step 7: Maintain a Consistent Pace
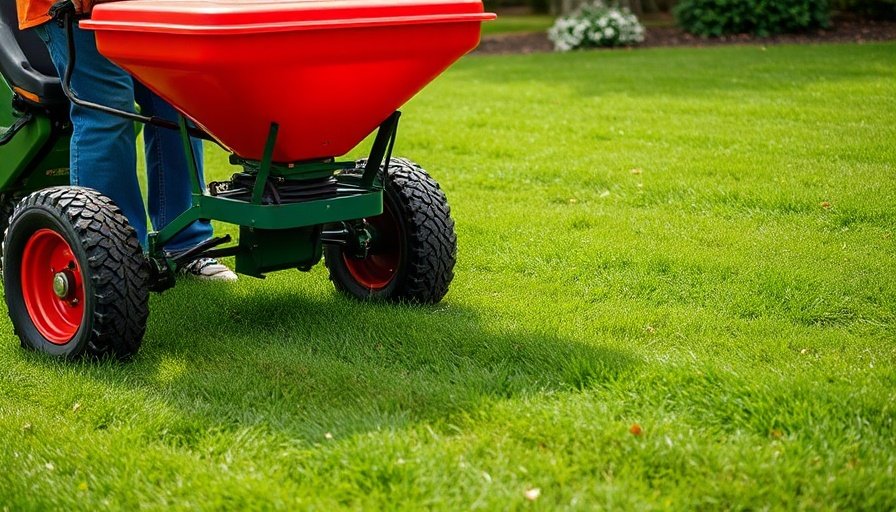
Your walking speed directly impacts how much fertilizer is applied to the lawn. Walking too slowly will deposit too much product in one area, while walking too quickly will spread it too thin. The key is to maintain a steady, normal walking pace from start to finish. Avoid stopping in the middle of a pass with the spreader hopper open, as this will drop a pile of fertilizer onto the grass. If you need to pause, close the hopper first. A consistent pace ensures that every part of your lawn receives the same amount of nutrients, leading to uniform growth and color.
Step 8: Clean Up After Application
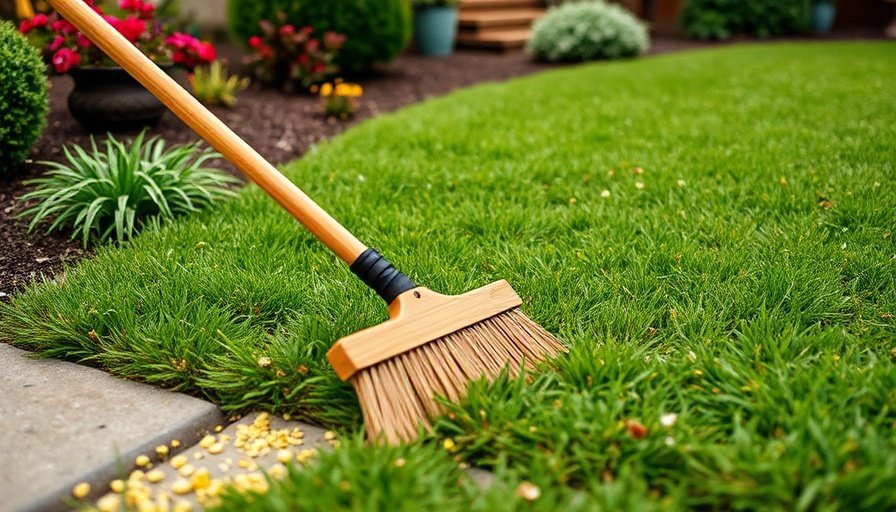
Once you have finished fertilizing, your work isn’t quite done. Use a broom or a leaf blower to sweep any stray fertilizer granules off of hard surfaces like your driveway, patio, and sidewalks. This simple step is important for two reasons. First, it prevents the fertilizer from being washed into storm drains and local waterways, protecting the environment. Second, the iron in Milorganite can leave rust-colored stains on concrete and other hardscapes if it gets wet. Returning any unused product to the bag and cleaning your spreader will also ensure it’s ready for the next use.
Frequently Asked Questions
When is the Best Time to Apply Milorganite?
Milorganite is a slow-release fertilizer, making it safe to apply throughout the growing season. For cool-season grasses (like fescue and bluegrass), it’s ideal to apply on major holidays: Easter, Memorial Day, Labor Day, and Thanksgiving. For warm-season grasses (like Bermuda and St. Augustine), apply around Easter, Memorial Day, Labor Day, and early October. Avoid applying to dormant or frozen lawns.
Do I Need to Water in Milorganite?
While not strictly necessary, watering your lawn after applying Milorganite helps in two ways. First, it washes the granules off the grass blades and down to the soil level where they can begin to break down. Second, the water activates the microbes in the soil, which are responsible for releasing the nutrients from the fertilizer. If rain isn’t in the forecast, a light watering will help kickstart the feeding process and ensure the nutrients become available to the grass roots more quickly.
Is Milorganite Safe for Pets and Children?
Yes, Milorganite is safe for pets and children. After application, the lawn can be used immediately. The product is composed of heat-dried microbes that have digested organic matter, and it doesn’t contain synthetic chemicals that are harmful upon contact. You can have peace of mind knowing your family and furry friends can enjoy the lawn right after you finish the application.
Can I Apply Milorganite to My Vegetable Garden?
Absolutely. Milorganite is an excellent fertilizer for vegetables, flowers, trees, and shrubs. Its slow-release formula provides a steady supply of essential nutrients without the risk of burning delicate plants. The organic matter also helps improve soil structure and health over time. Simply mix it into the soil before planting or sprinkle it around the base of established plants and gently work it into the surface.
What if I Accidentally Applied Too Much?
One of the biggest advantages of Milorganite is its non-burning formula. If you accidentally apply too much in one spot, it’s very unlikely to harm your lawn. The nutrients are released slowly by microbial activity, not by water, which prevents the sudden “salt bomb” effect that causes fertilizer burn with many synthetic products. Simply brush the excess granules over a wider area and water the spot to help disperse them.
Conclusion
Applying fertilizer doesn’t have to be intimidating. By following these simple steps, you can confidently feed your lawn and create a healthier, greener outdoor space. From calculating your lawn’s size to cleaning up afterward, each part of the process contributes to a uniform application and outstanding results. The slow-release, non-burning formula of Milorganite makes it a forgiving and effective choice for beginners and experts alike. Now that you know how to apply Milorganite, you have the power to transform your yard into a lush, beautiful landscape. Your lawn will thank you with vibrant color and robust growth all season long.

About
Jovie Mathews is a backyard and outdoor expert writer with over 12 years of hands-on experience transforming neglected outdoor spaces into thriving gardens and functional retreats. Raised in a family where weekends meant digging in the soil and building raised beds from scratch, Jovie developed a genuine love for the outdoors long before it became a career.
She writes with a practical, no-fluff approach — always testing ideas in her own backyard before sharing them with readers. From composting systems and native plant selection to patio design and pest control, Jovie covers the full spectrum of backyard life with equal parts expertise and enthusiasm.
Education
B.Sc. in Horticulture Science
University of Florida (UF) · Gainesville, FL · 2014
IFAS College of Agricultural and Life Sciences
Minor in Environmental Studies
University of Florida (UF) · Gainesville, FL · 2014
College of Liberal Arts and Sciences
Areas of expertise
- Lawn & Garden Care
- Soil prep, planting, seasonal care
- Outdoor DIY Projects
- Raised beds, fencing, pathways
- Composting & Soil Health
- Organic methods, amendments
- Native Plants & Wildlife
- Pollinators, habitat gardening
When she is not writing, Jovie can be found testing new composting techniques, growing tomatoes in questionable quantities, or convincing her neighbors that clover lawns are actually a great idea. She currently gardens in the Pacific Northwest.