Your front porch is the first thing guests see, but over time, weather and wear can turn it into an eyesore filled with cracks and discoloration. Instead of spending a fortune on tearing out the old slab and pouring a new one, you can breathe new life into your entryway with a simple weekend project.

This process restores the structural integrity of the concrete while giving it a fresh, modern look. Learning how to resurface a concrete porch is a manageable DIY task that adds immediate curb appeal and value to your home. With the right tools and a bit of patience, you can transform a tired, gray slab into a welcoming entrance that looks professionally done.
Why Resurfacing a Concrete Porch Matters
Before diving into the labor, it is important to understand why resurfacing is such a valuable home improvement project. Concrete is durable, but it is not invincible. Over years of exposure to rain, snow, freeze-thaw cycles, and blistering sun, the surface can begin to spall, flake, or develop unsightly hairline cracks. Leaving these issues unaddressed does more than just lower your home’s curb appeal; it allows water to penetrate deeper into the slab, potentially causing significant structural damage that is far more expensive to repair later.
9 Step-by-Step Guide on How to Resurface a Concrete Porch
Step 1: Deep Clean the Entire Surface
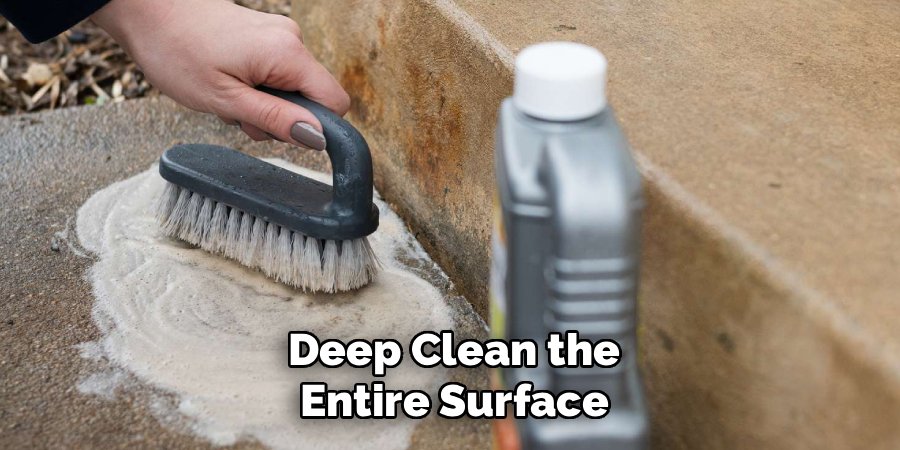
The most critical part of this entire project is preparation, and that starts with aggressive cleaning. You need to remove every bit of dirt, oil, grease, mold, and loose debris from the existing slab. If you skip this, the new material will not bond correctly, and all your hard work will peel away within a year. A pressure washer is the best tool for this job, ideally one capable of at least 3,000 PSI. Use a high-quality concrete degreaser or cleaner alongside the pressure washer to lift stubborn stains. Scrub any oily spots vigorously with a stiff-bristle brush before blasting them away. You want the concrete to be pristine and free of any bond-breakers like paint or sealer.
Step 2: Repair Deep Cracks and Divots
Once the porch is clean and dry, you must address any significant structural imperfections. While the resurfacer covers minor flaws, deep cracks or large chips need specific attention first. Use a concrete filler or patching compound for any cracks wider than a credit card. Press the material deep into the void using a putty knife or margin trowel, ensuring you eliminate any air pockets. Smooth the patch out so it is level with the surrounding surface. If you have any large holes where the concrete has spalled or popped out, fill these as well. Allow these repairs to dry completely according to the manufacturer’s instructions before moving on. This step ensures your final finish will be smooth and even.
Step 3: Prepare the Concrete Profile
For the new resurfacer to stick, the old concrete needs to have a rough texture, similar to medium-grit sandpaper. If your porch is too smooth, the new layer might slide right off. You can achieve this rough profile by using an acid etching product or by mechanically grinding the surface. If you choose acid etching, wear protective gear, apply the solution, scrub it in, and then rinse it thoroughly to neutralize the acid. Alternatively, renting a concrete grinder is a more effective method for removing old sealers and roughening the surface simultaneously. This mechanical bond is vital when you are learning how to resurface a concrete porch correctly, as it guarantees longevity.
Step 4: Protect Surrounding Areas
Resurfacing is a messy job that involves wet, cement-based slurry that can splatter easily. Before you mix any product, take the time to mask off the areas where the porch meets your house siding, door frames, and support pillars. Use high-quality painter’s tape or duct tape for this, ensuring a tight seal so the wet concrete doesn’t bleed underneath.
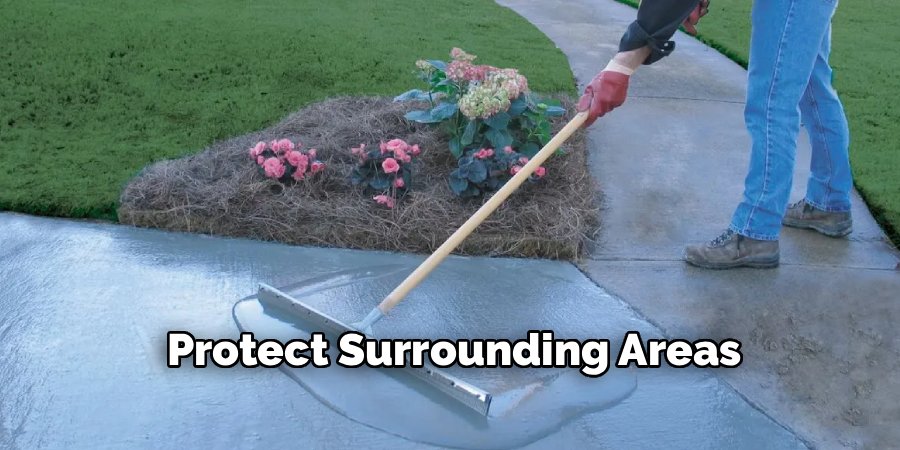
You should also lay down plastic sheeting or tarps over adjacent flower beds, walkways, or grass to catch any spills. This preparation step might feel tedious, but it saves you hours of cleanup later. protecting your siding from dried concrete splatter is much easier than trying to scrape it off after it cures.
Step 5: Mix the Resurfacing Material
Accuracy is key when preparing your resurfacing compound. You will need a heavy-duty drill with a paddle mixer attachment and a clean 5-gallon bucket. Pour the measured amount of water into the bucket first, then slowly add the powder while the drill is running to minimize dust and clumps. Follow the bag instructions precisely regarding water ratios; adding too much water weakens the mix, while too little makes it unspreadable. Mix for several minutes until you achieve a lump-free consistency that resembles pancake batter. Only mix as much as you can apply within roughly 20 minutes, as the product sets relatively quickly. Having a helper to mix while you apply is a great strategy.
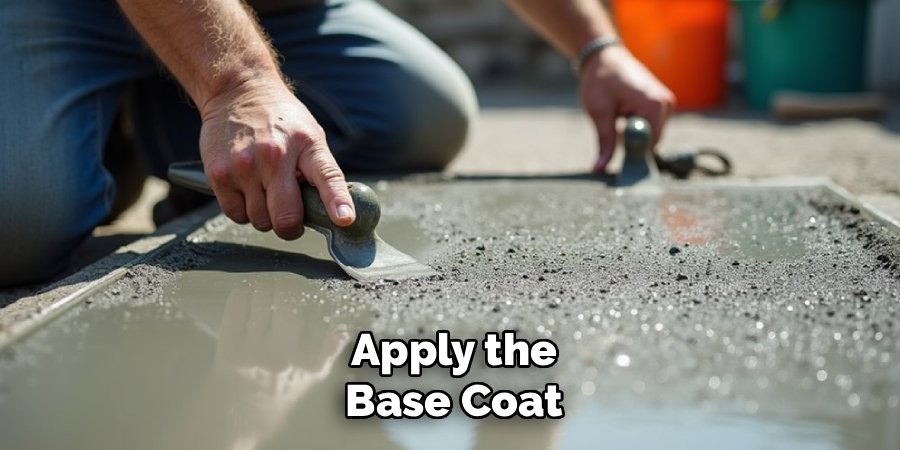
Step 6: Apply the Base Coat
Start by pouring a strip of the mixed resurfacer onto the concrete, usually starting at one end of the porch and working your way toward the exit. Use a long-handled squeegee or a steel trowel to spread the material across the surface. Your goal here is to press the material firmly into the concrete pores to establish a strong bond. This initial layer doesn’t need to be perfectly pretty, but it needs to be uniform. Work in small sections to maintain a “wet edge,” which helps blend the batches together seamlessly. If you are covering expansion joints, make sure to honor them by marking their location so you can re-cut them later, or use weatherstripping to keep them open.
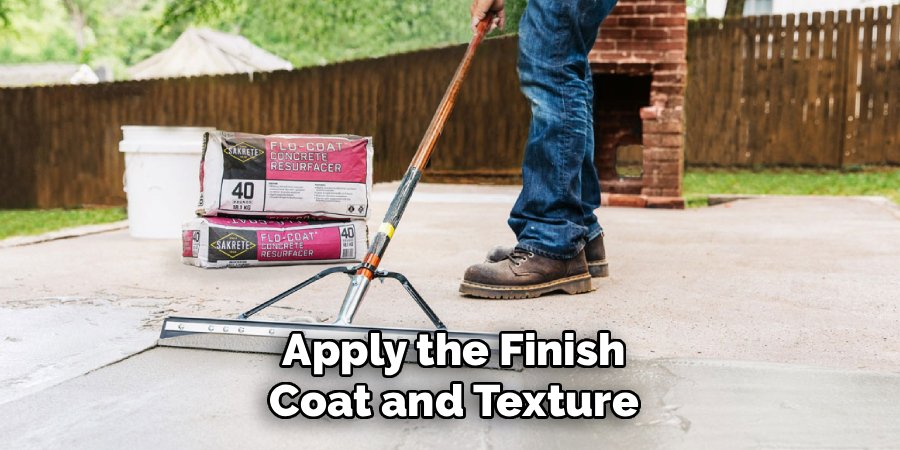
Step 7: Apply the Finish Coat and Texture
Once the base coat has set enough to walk on (usually a few hours, depending on the product), it is time for the finish layer. Mix a fresh batch of resurfacer and apply it just like the first. However, immediately after spreading and smoothing it, you need to add texture to prevent the porch from becoming a slip hazard when wet. The most common method is a broom finish. Drag a specialized concrete broom—or a standard shop broom with clean bristles—gently across the wet surface in straight lines. This creates fine grooves that provide traction. Do this carefully and consistently to ensure the pattern looks professional and uniform across the entire porch.
Step 8: Detail the Edges and Remove Tape
Timing is everything when it comes to the final details. You do not want to leave the masking tape on until the concrete is fully hard, or you might peel up chunks of your new surface along with the tape. Wait until the resurfacer has stiffened up but is not fully cured—usually about 30 to 45 minutes after finishing the texture. Carefully peel the tape away from the siding and pillars, pulling it out and away from the fresh concrete. If you notice any rough ridges or jagged edges where the tape was, you can gently smooth them down with a damp brush or a trowel while the material is still slightly pliable.
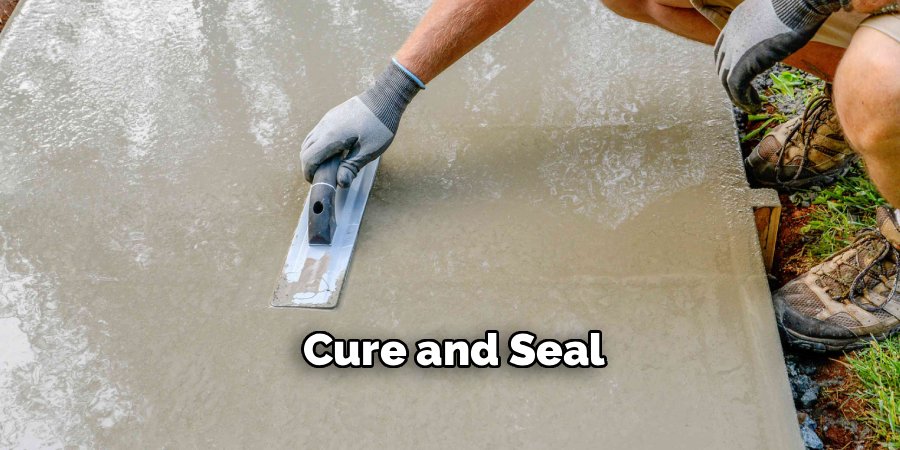
Step 9: Cure and Seal
Patience is required for the final phase of the project. The new surface needs time to cure properly before it can handle foot traffic or furniture. Generally, you should keep people and pets off the porch for at least 24 hours. Check the manufacturer’s guidelines for full cure times, which can be up to 48 hours for heavy traffic. Once fully cured, apply a high-quality concrete sealer. This locks in the appearance, protects against stains, and shields the porous material from water damage. Sealing is the final step in the process of how to resurface a concrete porch, ensuring your hard work withstands the elements for years to come.
Frequently Asked Questions
How Long Does a Resurfaced Porch Last?
A properly resurfaced concrete porch can last anywhere from 8 to 15 years, depending on the climate and the amount of foot traffic it endures. The longevity is heavily reliant on the preparation quality; if the surface was cleaned and etched correctly, the bond will remain strong. Regular maintenance, such as resealing every few years, significantly extends the lifespan of the new surface.
Can I Resurface Concrete That Has Been Painted?
You generally cannot apply a resurfacer directly over paint because the paint acts as a bond breaker. The resurfacing material needs to grip the raw concrete pores. You must remove the paint first using a chemical stripper, a grinder, or a shot blaster. Once the bare concrete is exposed and cleaned, you can proceed with the resurfacing process as normal.
What Is the Best Temperature for This Project?
The ideal temperature range for resurfacing concrete is between 50°F and 75°F (10°C to 24°C). If it is too hot, the mix will set too quickly, making it difficult to spread and finish. If it is too cold, the chemical reaction slows down, preventing the bond from forming correctly. Also, avoid applying the product if rain is in the forecast within 24 hours.
Is It Cheaper to Resurface or Replace a Porch?
Resurfacing is significantly cheaper than tearing out and replacing a concrete porch. Replacement involves heavy demolition labor, debris disposal fees, and the high cost of pouring a completely new slab. Resurfacing typically costs a fraction of that price, often ranging from $3 to $10 per square foot depending on whether you DIY or hire a pro, making it a very budget-friendly option.
Can I Change the Color of My Porch While Resurfacing?
Yes, you can easily change the color. Many concrete resurfacing products come in various pre-mixed colors, or you can add liquid colorant to the mix water. Additionally, once the resurfaced area has fully cured, it acts as a fresh canvas that can be stained or painted with masonry paint to match your home’s exterior decor perfectly.
Conclusion
Revitalizing your home’s entrance doesn’t require a jackhammer or a contractor’s budget. By following these steps, you can eliminate cracks and imperfections, creating a safe and inviting space for your family and guests. The process requires attention to detail—especially during the cleaning and prep stages—but the results are well worth the effort. Not only does it boost curb appeal, but it also extends the life of your existing structure. Now that you understand how to resurface a concrete porch, you have the knowledge to tackle this project with confidence and give your home the upgrade it deserves.
About
Jovie Mathews is a backyard and outdoor expert writer with over 12 years of hands-on experience transforming neglected outdoor spaces into thriving gardens and functional retreats. Raised in a family where weekends meant digging in the soil and building raised beds from scratch, Jovie developed a genuine love for the outdoors long before it became a career.
She writes with a practical, no-fluff approach — always testing ideas in her own backyard before sharing them with readers. From composting systems and native plant selection to patio design and pest control, Jovie covers the full spectrum of backyard life with equal parts expertise and enthusiasm.
Education
B.Sc. in Horticulture Science
University of Florida (UF) · Gainesville, FL · 2014
IFAS College of Agricultural and Life Sciences
Minor in Environmental Studies
University of Florida (UF) · Gainesville, FL · 2014
College of Liberal Arts and Sciences
Areas of expertise
- Lawn & Garden Care
- Soil prep, planting, seasonal care
- Outdoor DIY Projects
- Raised beds, fencing, pathways
- Composting & Soil Health
- Organic methods, amendments
- Native Plants & Wildlife
- Pollinators, habitat gardening
When she is not writing, Jovie can be found testing new composting techniques, growing tomatoes in questionable quantities, or convincing her neighbors that clover lawns are actually a great idea. She currently gardens in the Pacific Northwest.