

A gravel patio is an attractive, affordable, and low-maintenance addition to any backyard. It provides a perfect space for outdoor furniture, a fire pit, or a quiet garden retreat. Unlike more complex projects like concrete or paver patios, building with gravel is a straightforward DIY task that you can complete in a weekend.
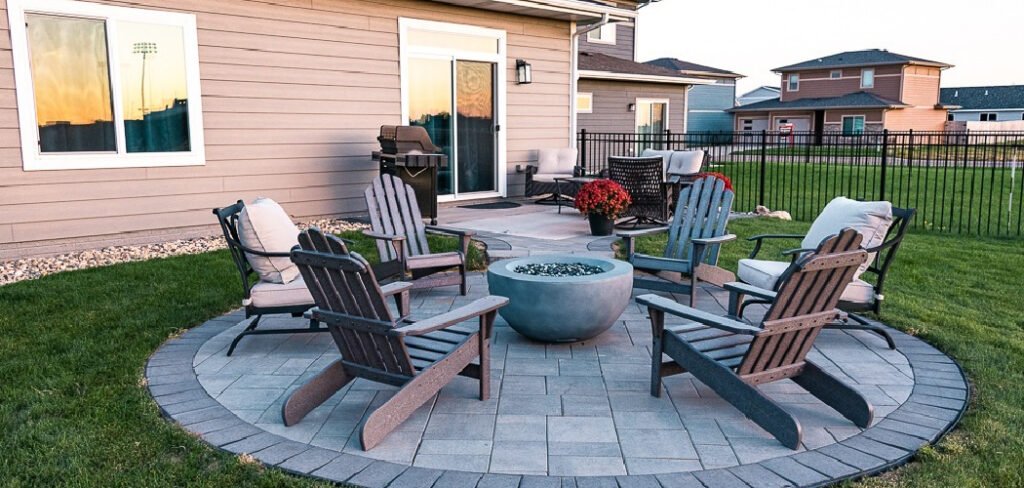
This guide will walk you through everything you need to know about how to build gravel patio, from planning your space to laying the final layer of stone. With a bit of effort, you can create a stunning and functional outdoor area that enhances your home’s appeal and usability for years to come.
Why Build a Gravel Patio?
Gravel patios offer a unique combination of rustic charm and practical benefits, making them a popular choice for homeowners. One of the biggest advantages is their affordability. Compared to materials like pavers, brick, or concrete, decorative gravel is significantly less expensive, allowing you to create a large, beautiful outdoor space on a tight budget.
Another key benefit is excellent drainage. Water percolates through the gravel and into the sub-base, preventing puddles and runoff issues that can plague solid surfaces. This makes it an environmentally friendly option that helps replenish groundwater. Gravel patios are also incredibly versatile in design.
You can choose from a wide array of colors, sizes, and textures to match your home’s style, and the installation process is forgiving for beginners. Maintenance is simple, usually requiring just occasional raking to keep the surface level and weed removal.
7 Step-by-Step Guide on How to Build Gravel Patio
Step 1: Choose Your Location and Design
The first step is to decide where your gravel patio will go and what shape it will take. Consider factors like sun exposure, privacy, and proximity to your house. Use a garden hose or rope to outline the desired shape on the ground. This allows you to visualize the final layout and make adjustments easily before you start digging.
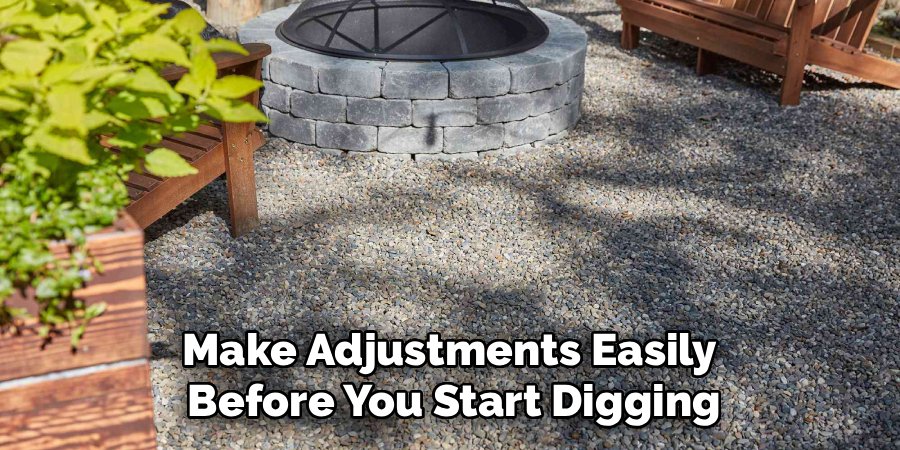
Whether you prefer a simple square, a winding circular path, or an organic, free-form shape, this initial planning stage is crucial for a successful outcome. Measure the dimensions of your planned area to calculate how much material you will need later on.
Step 2: Mark and Excavate the Area
Once your design is finalized, use marking paint or stakes to create a clear outline. Now it’s time to start digging. You’ll need to excavate the entire area to a depth of about 4 to 6 inches. The goal is to remove all grass, weeds, and topsoil to create a stable foundation for your patio.
Use a flat-head shovel to create clean, straight edges and a spade or mattock for tougher soil and roots. Ensure the base of your excavated area is relatively level, though a very slight slope away from your home’s foundation is recommended for drainage.
Step 3: Create a Level Base and Tamp It Down
After excavating, it’s important to create a solid, compacted base. This prevents your patio from becoming uneven over time. Use a hand tamper or a rented plate compactor to firmly press down the soil across the entire excavated area.
Pay close attention to the edges and corners to ensure the whole space is uniformly compacted. A solid foundation is the key to a long-lasting gravel patio. Take your time with this step, as any inconsistencies in the base will be noticeable in the final surface. A level will help you check your work as you go.
Step 4: Install Landscape Fabric
To prevent weeds from growing up through your gravel, you must lay down a layer of high-quality landscape fabric. Roll out the fabric over the entire compacted soil base, overlapping the seams by at least 6 inches to ensure no gaps are left for persistent weeds.
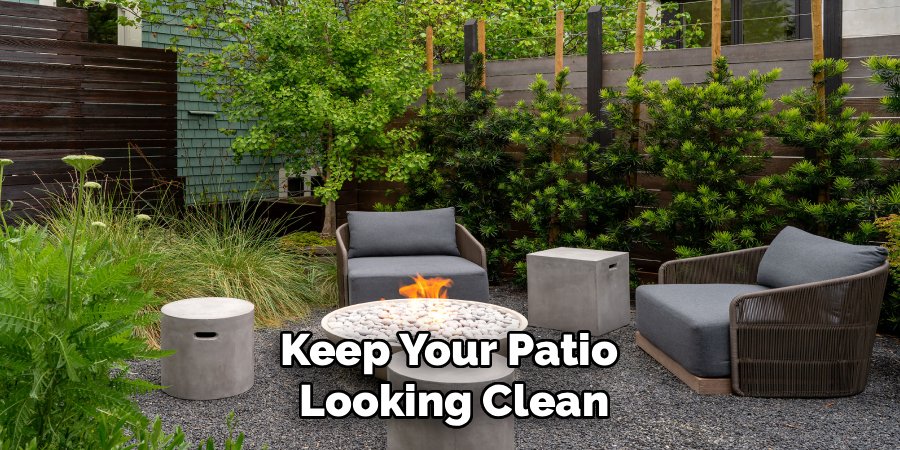
Use landscape staples or pins to secure the fabric to the ground, especially around the edges and along the seams. This barrier is critical for reducing long-term maintenance. Do not skip this step, as it will save you countless hours of weeding in the future and keep your patio looking clean.
Step 5: Add a Crushed Stone Base Layer
The first layer of stone you will add is a sub-base of crushed rock, often called crusher run or paver base. This layer provides the primary structural support and drainage for your patio. Spread a 2 to 3-inch layer of this material evenly over the landscape fabric.
Use a sturdy garden rake to distribute the stone and create a level surface. This coarse, angular stone locks together when compacted, forming a very stable foundation that won’t shift under the weight of furniture or foot traffic, which is a key part of learning how to build gravel patio correctly.
Step 6: Compact the Base Layer
Just as you compacted the soil, you must also compact the crushed stone base. Moisten the stone layer slightly with a garden hose to help the particles settle and lock together. Then, use a hand tamper or plate compactor to go over the entire surface multiple times until it is firm and level.
This step is vital for preventing your patio from sinking or developing low spots over time. A properly compacted base ensures that your top layer of decorative gravel will remain stable and evenly distributed for years of enjoyment.
Step 7: Install Your Edging
Before adding the final layer of gravel, install edging around the perimeter of your patio. Edging keeps the gravel contained and gives your patio a clean, finished look. There are many options available, including metal, plastic, stone, or wood.
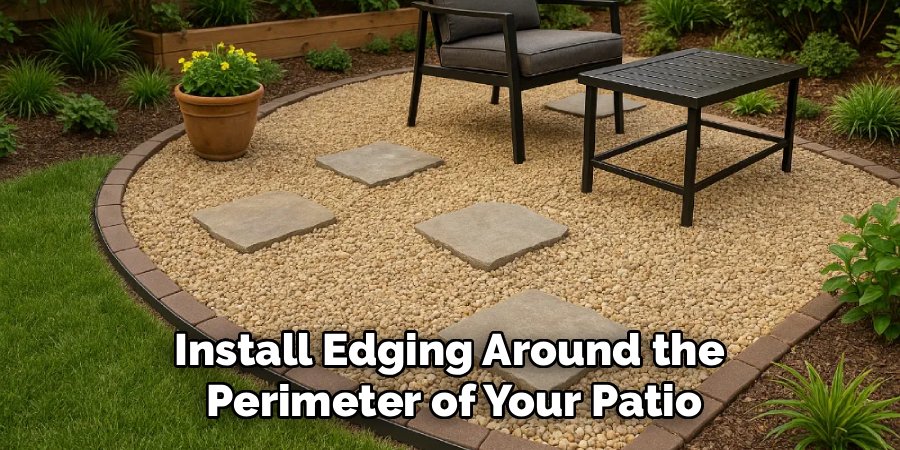
Install the edging according to the manufacturer’s instructions, ensuring it is secure and level with the surrounding ground. The top of the edging should be slightly below the final gravel height to prevent stones from spilling over, yet high enough to hold everything in place. This defining border is both functional and aesthetic.
Spread the Decorative Gravel
Now for the final and most rewarding step: adding the decorative gravel. Choose a gravel you find attractive, such as pea gravel, river rock, or crushed granite. Pour a 2 to 3-inch layer of your chosen stone over the compacted base.
Use a garden rake to carefully spread the gravel evenly across the entire patio area, working it into all corners and up against the edging. Once spread, you can lightly tamp the surface or simply walk on it to help it settle. Your new gravel patio is now complete and ready for furniture.
Frequently Asked Questions
What Is the Best Type of Gravel for a Patio?
The best gravel depends on your desired look and use. Pea gravel is a popular choice due to its smooth, rounded texture and comfortable feel underfoot. However, it can shift easily. For a more stable surface, consider angular crushed stones like decomposed granite or quarter-minus gravel.
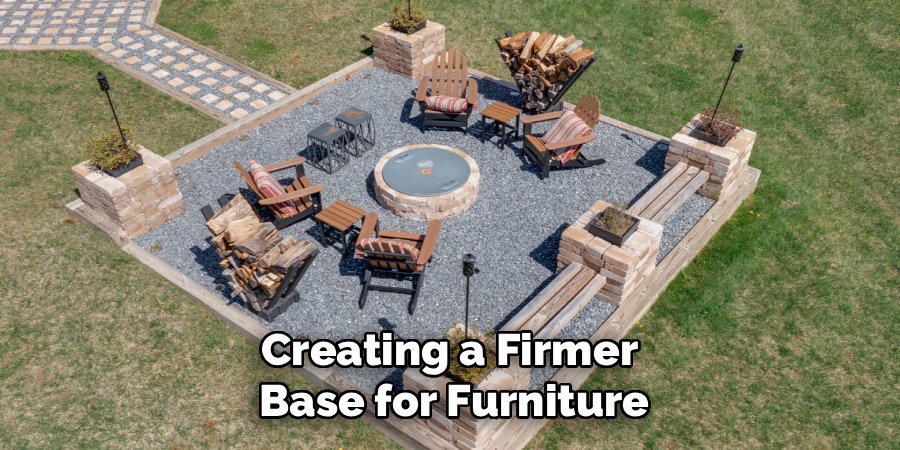
These stones lock together better, creating a firmer base for furniture. It is often best to use a larger, angular stone for the sub-base and a smaller, more decorative stone for the top layer.
How Deep Should a Gravel Patio Be?
A standard gravel patio should have a total depth of 4 to 6 inches. This typically consists of a 2 to 3-inch sub-base of compacted crushed stone and a 2 to 3-inch top layer of decorative gravel. This depth provides adequate stability and drainage for most residential uses. If you plan to place very heavy items on the patio, you might consider excavating a bit deeper to allow for a thicker sub-base.
Do I Really Need to Use Landscape Fabric?
Yes, using landscape fabric is highly recommended. It acts as a crucial barrier that separates the soil from your gravel layers, preventing weeds from growing through your patio. While a few persistent weeds might eventually find their way through, the fabric will stop the vast majority of them.
Skipping this step will result in significantly more maintenance and weeding down the road, so it’s a small investment that pays off in the long run.
How Do You Keep Furniture from Sinking into a Gravel Patio?
To prevent furniture from sinking, it’s important to:
- Use an angular, crushed stone that compacts well for your top layer.
- Ensure your sub-base is thoroughly compacted to create a firm foundation.
- Place large, flat stones or paver bases under the legs of your chairs and tables to distribute the weight more evenly.
This creates a stable platform for each furniture leg.
How Much Does It Cost to Build a Gravel Patio?
The cost can vary widely based on your location, the size of the patio, and the materials you choose. However, gravel is one of the most budget-friendly options. The primary expenses are the crushed stone base and the decorative gravel, which are sold by the ton or cubic yard.
Other costs include landscape fabric, edging materials, and tool rentals if needed. On average, a DIY gravel patio is significantly cheaper than a professionally installed paver or concrete alternative.
Conclusion
Building a gravel patio is an achievable and rewarding project that can transform your outdoor living space. By following these steps—from careful planning and excavation to proper compaction and material selection—you can create a durable and stylish area for relaxation and entertainment. The process requires some physical effort, but the results are well worth it.
Now that you have a comprehensive understanding of how to build gravel patio, you are ready to grab your tools and start creating a beautiful, low-maintenance retreat in your own backyard.

About
Jovie Mathews is a backyard and outdoor expert writer with over 12 years of hands-on experience transforming neglected outdoor spaces into thriving gardens and functional retreats. Raised in a family where weekends meant digging in the soil and building raised beds from scratch, Jovie developed a genuine love for the outdoors long before it became a career.
She writes with a practical, no-fluff approach — always testing ideas in her own backyard before sharing them with readers. From composting systems and native plant selection to patio design and pest control, Jovie covers the full spectrum of backyard life with equal parts expertise and enthusiasm.
Education
B.Sc. in Horticulture Science
University of Florida (UF) · Gainesville, FL · 2014
IFAS College of Agricultural and Life Sciences
Minor in Environmental Studies
University of Florida (UF) · Gainesville, FL · 2014
College of Liberal Arts and Sciences
Areas of expertise
- Lawn & Garden Care
- Soil prep, planting, seasonal care
- Outdoor DIY Projects
- Raised beds, fencing, pathways
- Composting & Soil Health
- Organic methods, amendments
- Native Plants & Wildlife
- Pollinators, habitat gardening
When she is not writing, Jovie can be found testing new composting techniques, growing tomatoes in questionable quantities, or convincing her neighbors that clover lawns are actually a great idea. She currently gardens in the Pacific Northwest.




