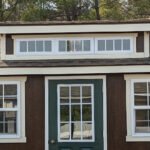
Is your current concrete stoop feeling a little cramped for your container garden or morning coffee routine? Many homeowners dream of a spacious outdoor area but feel limited by their existing masonry footprint. The good news is that you do not need to pour more cement to gain extra square footage. Learning how to extend a concrete porch with wood is a fantastic, manageable DIY project that blends the durability of masonry with the natural warmth of timber.
This renovation not only enhances your home’s curb appeal but also creates a seamless transition between your house and your garden. By building a wooden deck extension, you can double your entertaining space without the heavy machinery required for concrete work. In this guide, we will walk you through the entire process, ensuring you have the confidence to build a sturdy, beautiful structure that lasts for years.
Why Choose a Wood Extension for Your Concrete Porch?
Choosing to add a wooden extension to an existing concrete structure offers distinct advantages over pouring new slab. Wood is significantly more forgiving to work with for beginners, allowing for adjustments during the build process that concrete simply does not permit. It also provides a softer, cooler surface underfoot during hot summer days, making it ideal for gardeners who spend hours outdoors. Aesthetically, the contrast between the industrial look of aged concrete and the rich grain of new lumber creates a modern, textured appearance that elevates your garden landscape.
8 Step-by-Step Guide on How to Extend a Concrete Porch with Wood
Step 1: Planning and Designing Your Wood Extension
Before you purchase a single piece of lumber, you must have a solid plan in place. Start by measuring your existing concrete porch accurately, noting the height from the ground to the threshold. You need to design your new wood frame so that the finished deck boards sit flush with, or slightly below, the concrete surface for a seamless look.
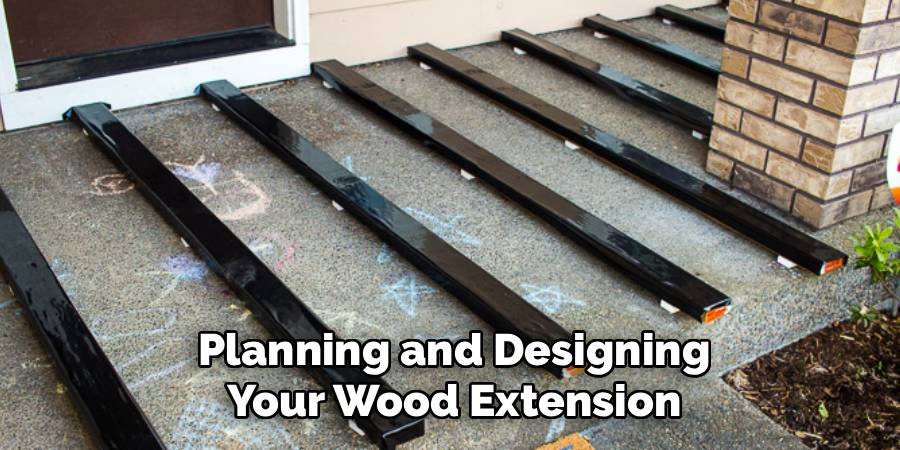
Sketch out the dimensions of your extension and determine where your footings will go. This is also the critical time to check with your local building department regarding permits. They will have specific requirements on setback distances and footing depths. This planning phase ensures you know exactly how to extend a concrete porch with wood safely and legally before breaking ground.
Step 2: Preparing the Site and Layout
Once your permits are approved, clear the area where the extension will live. Remove any sod, rocks, or garden plants from the footprint to ensure a level working surface. You want to outline the perimeter of your new deck using batter boards and mason’s string lines. This string layout represents the outer edges of your frame and helps you locate the precise center for your concrete footings.
Use a line level to ensure your strings are perfectly horizontal. Proper site preparation prevents structural settling later on. Taking the time to square your corners using the 3-4-5 method now will save you immense frustration when you start cutting wood later in the process.
Step 3: Digging and Pouring Concrete Footings
The stability of your extension relies entirely on solid footings. Using a post-hole digger or an auger, dig holes at the locations you marked during your layout phase. These holes must extend below the frost line for your specific region to prevent heaving during winter freezes.
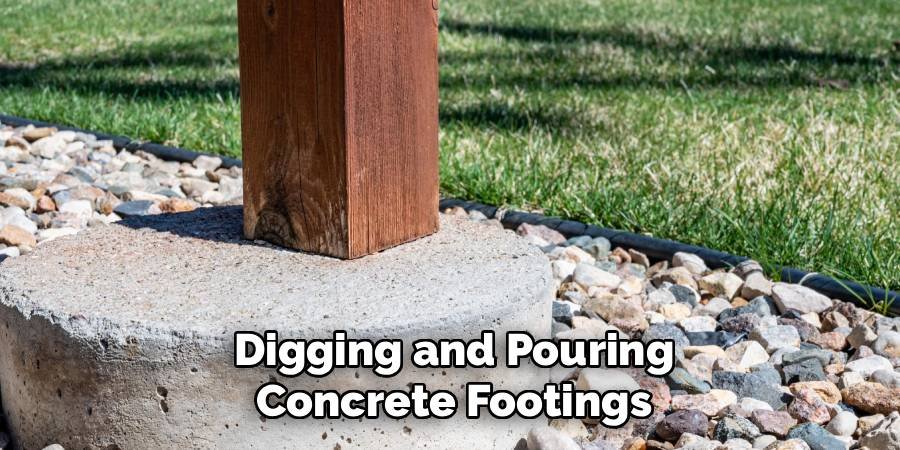
Once the holes are dug to the required depth, insert cardboard tube forms and pour mixed concrete into them. While the concrete is still wet, insert post anchors or J-bolts precisely in the center. Allow these piers to cure for at least 24 to 48 hours before you attempt to place any weight on them. These concrete piers will serve as the independent foundation for the wooden portion of your porch extension.
Step 4: Installing the Ledger Board or Sleeper System
Connecting the new structure to the old one is a pivotal moment in the project. If you are attaching the wood frame directly to the side of the concrete porch, you will need to install a ledger board using heavy-duty concrete anchors or sleeve anchors. Drill pilot holes into the concrete, ensuring they are spaced correctly according to code.
Place a waterproof membrane or flashing behind the pressure-treated lumber to prevent moisture transfer and rot. If you are building a “floating” deck that merely butts up against the concrete without physical attachment, you will instead build a sleeper system or a self-supporting frame on piers close to the concrete edge. This step bridges the gap between masonry and carpentry.
Step 5: Setting Posts and Installing Beams
With your concrete footings cured and your ledger (or concrete-side support) ready, it is time to go vertical. Cut your 4×4 or 6×6 pressure-treated posts to the correct height, accounting for the thickness of the beam and joists that will sit on top. Attach these posts to the metal anchors embedded in your concrete footings. Once the posts are plumb and braced, hoist your beams into place.
The beams carry the weight of the joists and decking. Secure them to the posts using approved metal connectors or through-bolts. This skeleton is the muscle of your project, providing the structural integrity required when learning how to extend a concrete porch with wood successfully.
Step 6: Framing the Floor Joists
Now you will create the floor structure. Install the rim joist around the perimeter of your beams to define the box of the deck. Then, install the inner joists perpendicular to the house and the beam, usually spaced 16 inches on center. If you attached a ledger board to the concrete, utilize joist hangers to secure one end of the joists to the ledger and rest the other end on your beam.
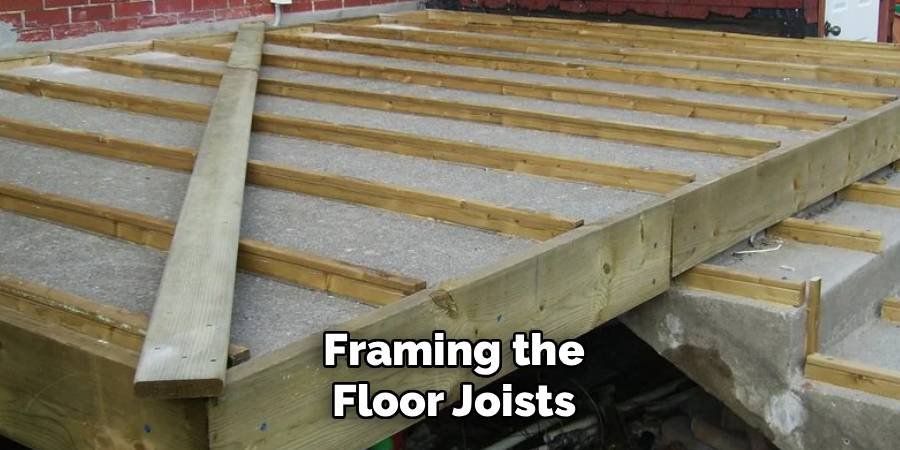
Ensure the top of the joists is level with your planned height. This framing grid must be rigid and square. If you notice any crowning (a slight upward bow) in the lumber, make sure the crown faces up so the weight of the decking flattens it out over time.
Step 7: Applying Flashing and Protective Tape
Moisture is the enemy of any wooden structure, especially one built near the ground or a garden. Before laying down the visible deck boards, apply joist tape to the tops of all your floor joists and beams.
This simple, self-adhesive bituminous tape seals the wood around the screws you will drive later, preventing water from seeping into the screw holes and causing rot. Additionally, ensure that the flashing where the wood meets the concrete is secure and directing water away from the house foundation. This attention to detail significantly extends the lifespan of your extension, keeping the understructure sound even in damp gardening environments.
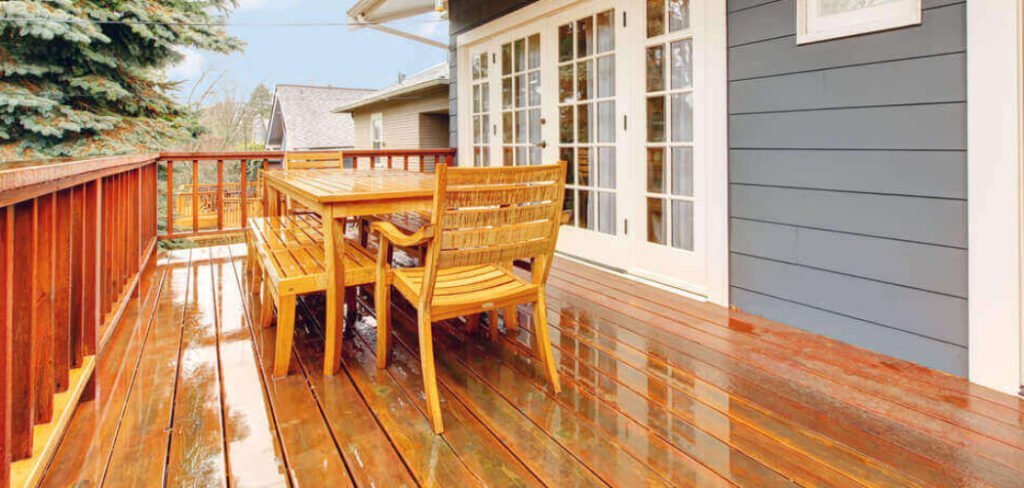
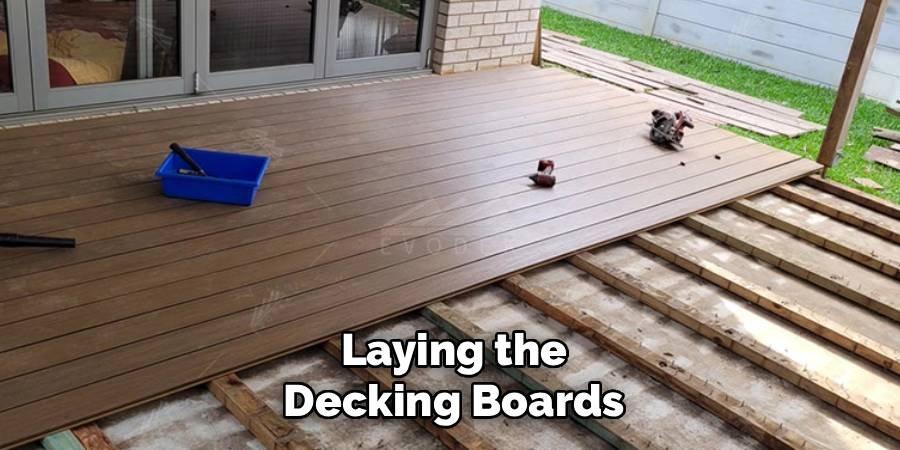
Step 8: Laying the Decking Boards
This is the rewarding part where your project finally looks like a porch. Start laying your decking boards from the outer edge working inward, or from the concrete edge moving outward, depending on your specific layout. If you are using wood planks, leave a roughly 1/8-inch gap between boards to allow for drainage and seasonal expansion.
If you are using composite materials, follow the manufacturer’s spacing guidelines strictly. Fasten the boards to each joist using high-quality exterior deck screws or a hidden fastener system for a cleaner look. Ensure the transition point where the wood meets the concrete is even, avoiding any lip that could be a tripping hazard.
Frequently Asked Questions
Can I Lay Wood Directly on Top of My Concrete Porch?
While it is possible to lay wood directly over concrete, you must use pressure-treated “sleepers” (usually 2x4s laid flat) to create an air gap. Never secure decking boards directly to the concrete slab without this gap, as moisture will get trapped between the wood and the stone. This trapped moisture will quickly rot the wood and potentially damage the concrete surface during freeze-thaw cycles.
Do I Need a Permit to Extend My Porch?
Yes, in almost all municipalities, expanding the footprint of your home’s exterior structure requires a building permit. Even if the extension is low to the ground, officials need to verify setbacks from property lines and structural integrity. Building without a permit can lead to fines, insurance issues, or a requirement to tear down your work when you eventually sell your home.
How Much Does It Cost to Extend a Concrete Porch with Wood?
The cost varies widely based on size and materials, but a wood extension is generally 30% to 50% cheaper than pouring a new concrete slab. For a standard 10×10 foot extension using pressure-treated lumber, DIY costs often range between $1,500 and $2,500. Using composite decking or exotic hardwoods will significantly increase the price, as will hiring a contractor for the labor.
How Do I Transition Between the Concrete and Wood Smoothly?
To create a smooth transition, careful measurement during the planning phase is essential. You want the finished height of your wood decking to be exactly flush with the existing concrete surface. However, some builders prefer to step the wood section down by one step (about 7 inches) to create a distinct “zone” and eliminate the tripping hazard caused by slightly uneven surfaces between two different materials.
What Is the Best Wood to Use for a Porch Extension?
Pressure-treated pine is the most cost-effective and common choice for the structural framing and decking. It resists rot and insects effectively. For the surface decking, cedar and redwood are popular upgrades because they are naturally resistant to decay and look beautiful, though they are more expensive. Composite decking is another excellent option for gardeners who want a low-maintenance, easy-to-clean surface.
Conclusion
Expanding your home’s entryway is a rewarding project that adds value and functionality to your property. By carefully planning your layout, securing the proper permits, and following a methodical building process, you can create a stunning outdoor area perfect for your potted plants and patio furniture.
We hope this guide has demystified how to extend a concrete porch with wood and inspired you to pick up your tools. With patience and attention to detail, you can transform a small concrete slab into a spacious wooden deck that you will enjoy for years to come.
About
Jovie Mathews is a backyard and outdoor expert writer with over 12 years of hands-on experience transforming neglected outdoor spaces into thriving gardens and functional retreats. Raised in a family where weekends meant digging in the soil and building raised beds from scratch, Jovie developed a genuine love for the outdoors long before it became a career.
She writes with a practical, no-fluff approach — always testing ideas in her own backyard before sharing them with readers. From composting systems and native plant selection to patio design and pest control, Jovie covers the full spectrum of backyard life with equal parts expertise and enthusiasm.
Education
B.Sc. in Horticulture Science
University of Florida (UF) · Gainesville, FL · 2014
IFAS College of Agricultural and Life Sciences
Minor in Environmental Studies
University of Florida (UF) · Gainesville, FL · 2014
College of Liberal Arts and Sciences
Areas of expertise
- Lawn & Garden Care
- Soil prep, planting, seasonal care
- Outdoor DIY Projects
- Raised beds, fencing, pathways
- Composting & Soil Health
- Organic methods, amendments
- Native Plants & Wildlife
- Pollinators, habitat gardening
When she is not writing, Jovie can be found testing new composting techniques, growing tomatoes in questionable quantities, or convincing her neighbors that clover lawns are actually a great idea. She currently gardens in the Pacific Northwest.