

Walking into your garden should be a relaxing experience, not a messy trek through sludge. Unfortunately, many homeowners face the frustration of standing water and saturated soil after heavy rains. If you are tired of ruining your shoes and tracking dirt into your clean house, you are in the right place.
Understanding the root causes of poor drainage is the first step toward reclaiming your outdoor space. Whether you have clay soil or poor grading, there are practical solutions available for every budget. In this guide, we will explore actionable strategies on how to prevent muddy backyard problems permanently. By following these steps, you can transform that soggy mess into a lush, usable landscape that you can enjoy year-round without the fear of sinking into the ground.
Why Your Backyard Gets Muddy and Stays That Way
Before diving into solutions, it helps to understand why mud happens in the first place. Most often, the culprit is poor drainage combined with compacted soil that simply cannot absorb water fast enough. When rain falls faster than the ground can drink it in, pooling occurs. This issue is frequently compounded by heavy foot traffic, which packs the dirt down tight, removing air pockets where water would normally sit. Shade also plays a role; without sunlight, evaporation slows down significantly, leaving moisture trapped on the surface. Understanding these factors is crucial because the right fix depends entirely on what is causing the saturation in your specific landscape.
9 Step-by-Step Guide on How to Prevent Muddy Backyard Issues
Step 1: Assess Your Yard’s Drainage Patterns
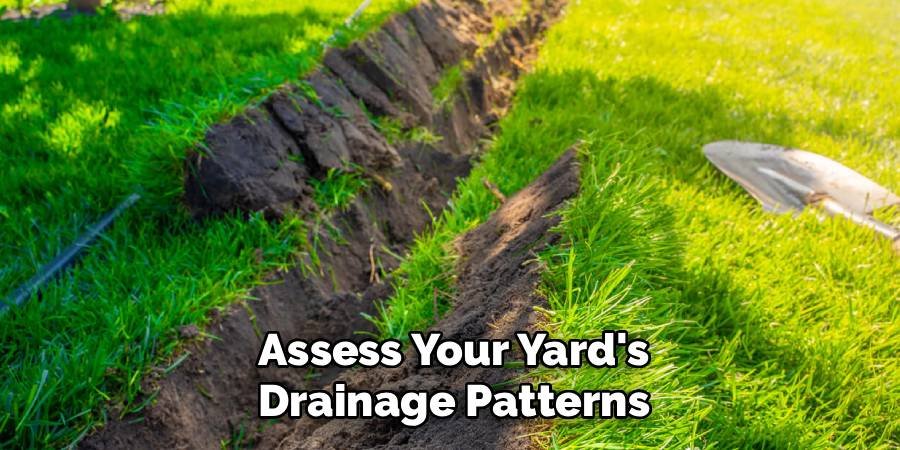
The first move in fixing a soggy lawn involves careful observation during a rainstorm. Put on your raincoat and head outside to see exactly where the water flows and where it stops. You need to identify the low spots where pools form and determine if water is running off your roof directly into these areas. Sometimes, downspouts dump gallons of water right next to the foundation, creating a marshy mess instantly. Watching the water flow helps you decide if you need a simple fix like extending a gutter or a major intervention like installing a French drain. Taking notes on these trouble spots ensures you target the right areas later.
Step 2: Aerate the Soil to Improve Absorption
Compacted soil functions like concrete, preventing water from penetrating the surface and reaching the roots of your grass. To combat this, you need to aerate the lawn, which involves punching small holes into the ground. You can rent a core aerator machine for larger yards or use a manual spike aerator for smaller patches. This process pulls out plugs of soil, creating space for air, water, and nutrients to move deeper underground. When the soil breathes, it absorbs rainfall much more efficiently. Aeration is a critical maintenance task that changes the structure of your ground, turning a hard surface into a sponge that manages water effectively.
Step 3: Topdress With Organic Compost
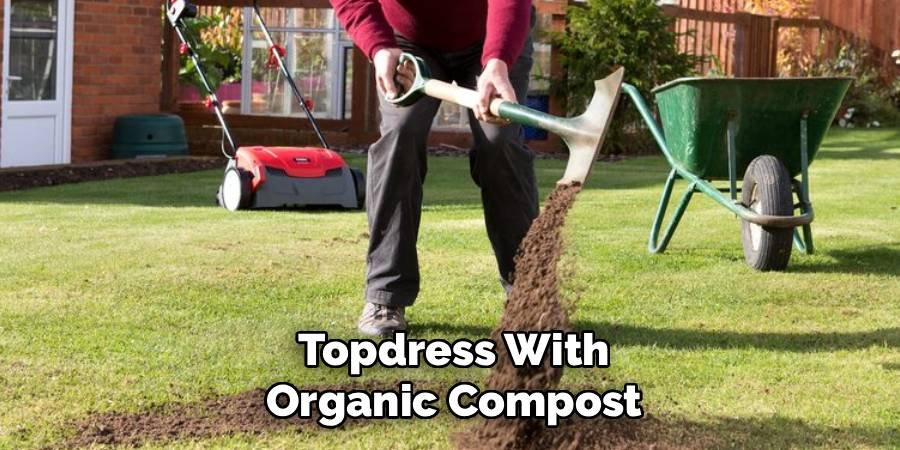
After aeration, your soil is open and ready to receive amendments that improve its texture. Topdressing involves spreading a thin layer of compost or organic material over your existing lawn. This organic matter works its way into the holes created during aeration and mixes with the native soil over time. As it breaks down, it improves soil structure, particularly in heavy clay areas that are prone to waterlogging. Better structure means better drainage, as the organic material helps separate tight soil particles. This simple addition boosts the biological activity in your ground, encouraging worms and beneficial microbes that further naturally till the earth for you.
Step 4: Install a French Drain System
If surface solutions aren’t enough, you may need to manage water from below the surface. A French drain is a highly effective trench system containing a perforated pipe surrounded by gravel. The trench collects groundwater and redirects it away from the soggy area to a designated exit point, like a storm drain or a dry well. Digging a trench can be labor-intensive, but it provides a permanent path for excess water to escape. This method is particularly useful for yards that sit at the bottom of a slope or have a high water table. By giving the water an easy path of least resistance, you keep the surface dry and usable.
Step 5: Plant Water-Loving Vegetation
Nature often provides the best solutions for moisture control, and choosing the right plants can make a huge difference. Certain species of trees, shrubs, and perennials thrive in wet conditions and will actively drink up excess moisture from the soil. Willow trees, dogwoods, and ferns are excellent choices for damp corners of the garden.
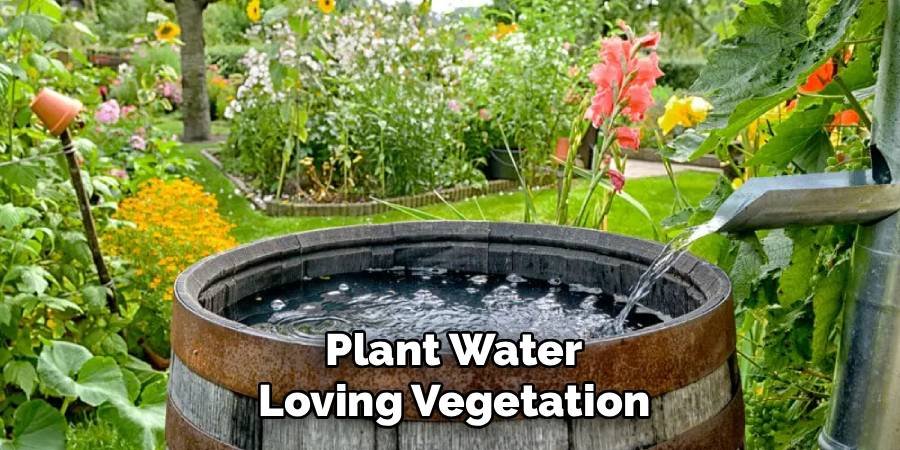
These plants act as biological pumps, transpiring water back into the atmosphere through their leaves. By strategically placing these thirsty plants in your wettest zones, you utilize a natural method for how to prevent muddy backyard conditions. Not only does this help dry out the ground, but it also adds beauty and biodiversity to your landscape.
Step 6: Create a Rain Garden
A rain garden is a shallow depression in the landscape planted with deep-rooted native species designed to capture runoff. Instead of fighting the water, a rain garden embraces it, allowing it to pool temporarily and soak into the ground slowly. You position these gardens near downspouts or at the bottom of slopes where water naturally collects. The native plants used in these gardens have extensive root systems that break up the soil and create channels for deep infiltration. This solution turns a problem area into an attractive feature that supports local pollinators. It effectively manages stormwater onsite, reducing the burden on municipal sewer systems while keeping your main lawn areas dry.
Step 7: Extend Your Downspouts
Roof runoff is a massive contributor to backyard saturation, often dumping hundreds of gallons in one spot. If your downspouts end right at the base of your house, they are likely the primary cause of your mud issues. Attaching extensions to your downspouts allows you to direct that water further away into a garden bed, a drainage ditch, or a rain barrel.
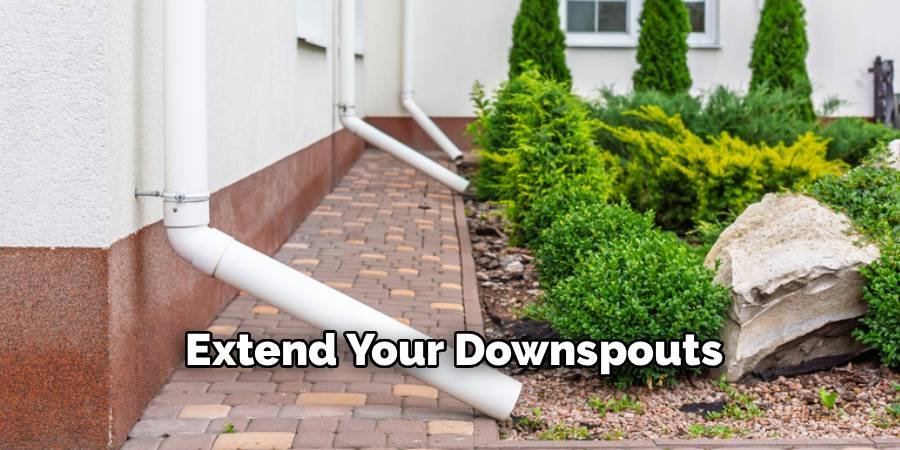
This is one of the cheapest and fastest fixes available. You can use flexible plastic tubing or rigid PVC pipes to guide the flow at least six to ten feet away from the foundation. By redistributing this volume of water, you prevent the localized flooding that destroys grass and creates mud pits.
Step 8: Use Gravel or Mulch in High-Traffic Areas
Grass often struggles to survive in areas where people or pets walk frequently, leaving bare dirt that turns to mud instantly when wet. Instead of fighting a losing battle to grow grass in these pathways, replace it with permeable hardscaping materials. Pea gravel, crushed stone, or wood chips allow water to drain through them while providing a stable, mud-free surface for walking. This is an excellent solution for dog runs, paths to the shed, or play areas. By covering the bare soil, you eliminate the contact point for mud creation. These materials also look tidy and define the structure of your garden, adding aesthetic value alongside functionality.
Step 9: Re-grade the Slope of Your Yard
Sometimes the issue is simply gravity working against you because the land slopes toward your house or pools in the middle. Re-grading involves moving soil around to change the physical slope of the terrain, ensuring water flows away from your home and toward proper drainage areas. This might require bringing in extra topsoil to fill low spots or shaving down high spots to create a consistent decline.
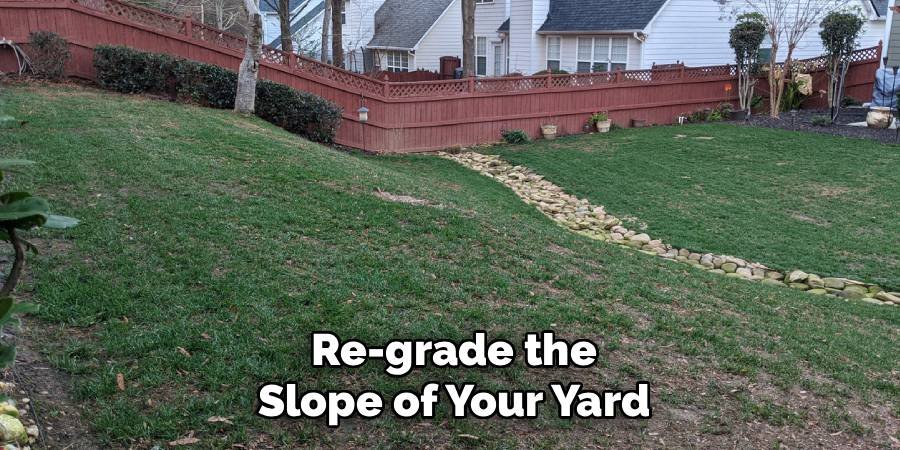
A proper slope should drop about one inch for every foot of distance. While this can be a significant project requiring heavy equipment for large yards, it addresses the fundamental physics of water movement. Correct grading ensures that gravity helps you how to prevent muddy backyard stagnation rather than causing it.
Maintain Your Lawn Regularly
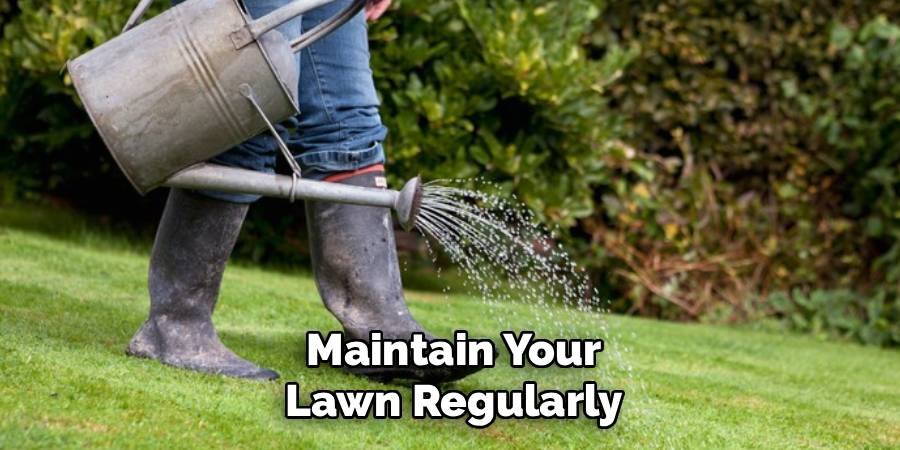
Long-term prevention requires consistent care to keep the grass thick and the soil healthy. A thick, robust lawn is the best defense against mud because the dense root system holds the soil in place and absorbs moisture rapidly. Regular mowing, appropriate fertilization, and overseeding in the fall help maintain this vegetative barrier. Do not cut the grass too short, as longer blades promote deeper roots. Additionally, keeping gutters clean ensures that your drainage systems work as intended during storms. Neglect leads to thin patches where mud can take hold. By treating your lawn as a living system that needs ongoing support, you ensure it remains resilient against heavy rainfall.
Frequently Asked Questions
Can I fix a muddy yard without spending a lot of money?
Yes, there are several budget-friendly ways to address drainage issues. Start by extending your downspouts to direct water away from the house, which costs very little. Aerating the lawn and spreading organic compost can also significantly improve drainage without major construction. Sometimes, simply keeping gutters clean prevents overflow that causes saturation.
How long does it take for soil amendments to work?
Improving soil structure is a gradual process that requires patience. While topdressing with compost provides some immediate benefits, it typically takes a full season or two to see significant changes in drainage. The organic matter needs time to break down and integrate with the clay or compacted earth to create better pore space for water absorption.
Will putting sand on my clay soil fix the mud?
Adding sand to clay soil is generally a bad idea and can actually make the problem worse. When you mix sand with clay, it can create a substance similar to concrete, which becomes even harder and less permeable. Instead of sand, focus on adding organic matter like compost, peat moss, or shredded leaves to break up the clay.
What is the best time of year to install a French drain?
The ideal time to install drainage systems is during the drier months, typically late summer or early autumn. Digging trenches in dry soil is much easier and cleaner than trying to work in mud. Additionally, installing it before the heavy spring rains or winter snows ensures the system is ready to handle the increased water volume when it arrives.
Are there specific grass types that help with drainage?
Deep-rooted grasses are better at stabilizing soil and improving water infiltration. Species like Tall Fescue and Perennial Ryegrass have robust root systems that help break up compacted soil. While grass alone won’t fix severe drainage issues, choosing a variety suited for your climate and soil type helps maintain a dense turf that resists turning into a mud pit.
Conclusion
Dealing with a swampy lawn is a common headache, but it is not a life sentence for your garden. By taking the time to understand your landscape’s drainage and implementing the right strategies, you can reclaim your outdoor space. Whether you choose to install a French drain, plant a rain garden, or simply improve your soil quality, every step counts. Remember, a dry, healthy yard adds value to your home and joy to your life. Now that you know how to prevent muddy backyard disasters, it is time to grab your shovel and get to work. Your future self—and your clean floors—will thank you.

About
Jovie Mathews is a backyard and outdoor expert writer with over 12 years of hands-on experience transforming neglected outdoor spaces into thriving gardens and functional retreats. Raised in a family where weekends meant digging in the soil and building raised beds from scratch, Jovie developed a genuine love for the outdoors long before it became a career.
She writes with a practical, no-fluff approach — always testing ideas in her own backyard before sharing them with readers. From composting systems and native plant selection to patio design and pest control, Jovie covers the full spectrum of backyard life with equal parts expertise and enthusiasm.
Education
B.Sc. in Horticulture Science
University of Florida (UF) · Gainesville, FL · 2014
IFAS College of Agricultural and Life Sciences
Minor in Environmental Studies
University of Florida (UF) · Gainesville, FL · 2014
College of Liberal Arts and Sciences
Areas of expertise
- Lawn & Garden Care
- Soil prep, planting, seasonal care
- Outdoor DIY Projects
- Raised beds, fencing, pathways
- Composting & Soil Health
- Organic methods, amendments
- Native Plants & Wildlife
- Pollinators, habitat gardening
When she is not writing, Jovie can be found testing new composting techniques, growing tomatoes in questionable quantities, or convincing her neighbors that clover lawns are actually a great idea. She currently gardens in the Pacific Northwest.




