

There is nothing quite like gathering around a crackling fire with friends and family. The warmth, the mesmerizing flames, and the shared stories create an ambiance that transforms a simple evening into a cherished memory.
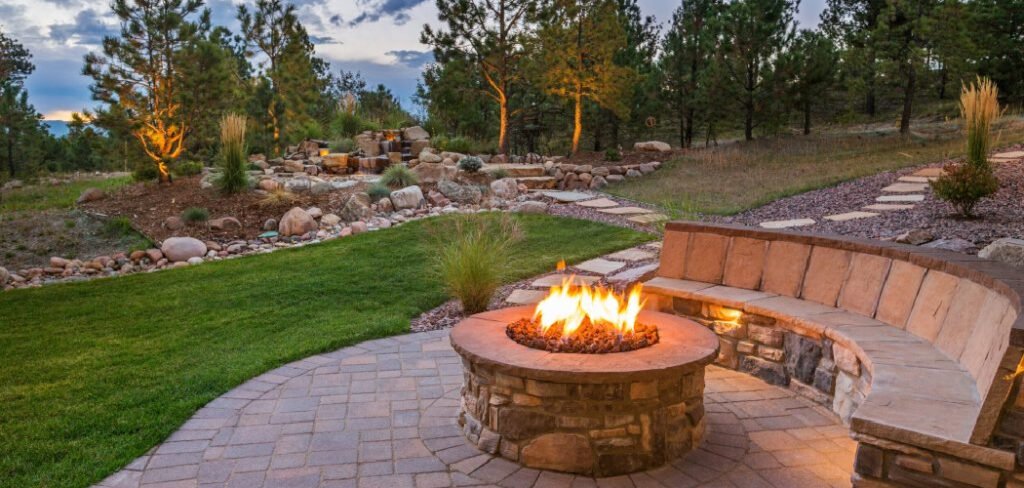
However, that idyllic scene often comes with a frustrating downside: the smoke. We have all played the game of musical chairs, constantly shifting seats to dodge the stinging cloud that seems to follow us wherever we move. This nuisance has driven the popularity of a revolutionary backyard invention designed to solve the problem once and for all. Modern engineering has given us a way to enjoy all the heat and light of a campfire without the teary eyes and the lingering smell on our clothes.
But it isn’t magic; it is physics. Understanding the mechanics behind these devices not only satisfies your curiosity but also helps you operate them more efficiently. In this guide, we will break down exactly how does the smokeless fire pit work, revealing the clever design secrets that turn a smoky mess into a clean, efficient burn.
7 Step-by-Step Guide on How Does the Smokeless Fire Pit Work
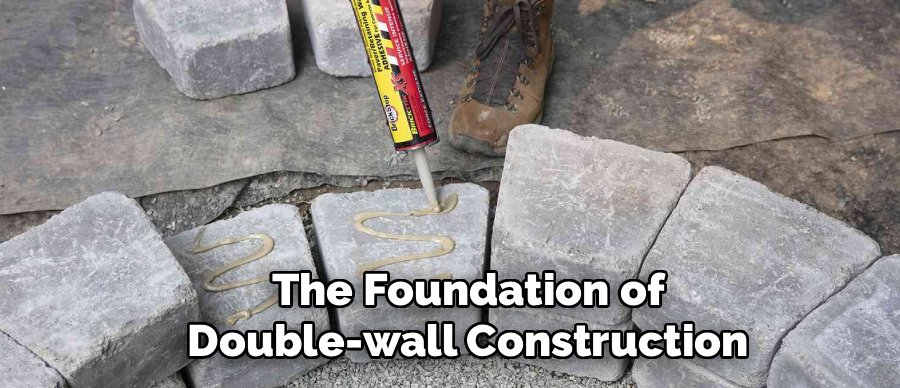
Step 1: The Foundation of Double-Wall Construction
The primary secret behind the efficiency of these innovative heating devices lies in their unique structural design. Unlike a traditional fire ring or a simple metal bowl, a smokeless unit is built with two distinct walls of metal, creating a hollow gap between the inner burn chamber and the outer shell.
This double-wall architecture is not just for durability; it acts as a critical channel for airflow. The space between the walls serves as a superhighway for oxygen, allowing air to travel from the bottom of the unit to the top. This cavity heats up intensely once the fire gets going. By insulating the inner chamber, the double wall helps maintain the extreme temperatures required for complete combustion, setting the stage for the smoke-eliminating process that defines this technology.
Step 2: Intake Vents Draw Oxygen from Below
To understand the ignition process, you must look at the bottom of the unit. You will notice a series of holes or vents perforated around the base of the outer shell. These are the primary air intake vents. When you light your fuel, the rising heat creates a vacuum effect inside the chamber, pulling fresh, cool air in through these bottom vents. This is simple convection in action.
The air is immediately split into two separate paths. Some of it feeds the base of the fire directly, providing the necessary oxygen for the initial combustion of the wood. This primary airflow keeps the embers glowing hot and establishes the base heat. The rest of the air, however, is diverted into the hollow walls we discussed in step one, beginning its journey upward to perform a vital function later.
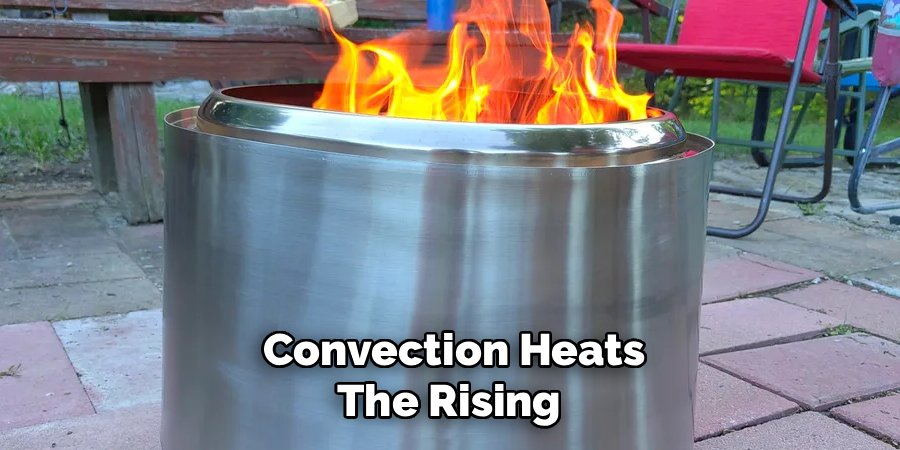
Step 3: Convection Heats the Rising Air
As the diverted air travels up through the gap between the inner and outer walls, it undergoes a rapid transformation. The intense heat radiating from the inner burn chamber warms this air significantly as it rises. By the time this oxygen reaches the top of the unit, it is superheated. This pre-heating process is crucial to the explanation of how does the smokeless fire pit work effectively.
Cold air would cool down the flames and hinder combustion, but this superheated air is primed to act as a catalyst. It moves quickly because hot air is less dense than cold air, creating a powerful draft that ensures a continuous, high-velocity supply of oxygen. This thermal dynamic ensures that the system is self-feeding, constantly pulling in more air to sustain the intense heat required for a clean burn.
Step 4: The Phenomenon of Secondary Combustion
This is the moment where the magic truly happens. Near the top rim of the inner wall, you will see another row of small holes. The superheated air that traveled up through the double walls exits through these jets. When this fresh, hot blast of oxygen hits the rising smoke and unburned gases from the fire below, it causes them to ignite instantly. This process is called secondary combustion.
Smoke is essentially just unburned fuel—carbon particles and gases that escaped the initial fire because it wasn’t hot enough or oxygen-rich enough to burn them. By injecting a fresh supply of superheated oxygen at the top, the pit incinerates these particles before they can escape. This results in a second layer of flames near the rim and a drastic reduction in visible smoke.
Step 5: Achieving Complete Combustion Efficiency
The combination of primary combustion at the base and secondary combustion at the rim results in what engineers call complete combustion. In a standard campfire, the wood burns inefficiently, leaving behind charred chunks and releasing thick particulate matter into the air. In a smokeless model, the environment is so oxygen-rich and hot that the wood is consumed almost entirely.
This efficiency means you get significantly more heat output from the same amount of logs compared to a traditional ring. The flames are often brighter and more energetic because the fuel is being utilized to its maximum potential. Instead of energy being wasted as drifting smoke, it is converted into radiant heat that warms your gathering. This high-efficiency burn is the core reason why these units are so effective at keeping the air clear.
Step 6: The Role of the Ash Pan and Airflow
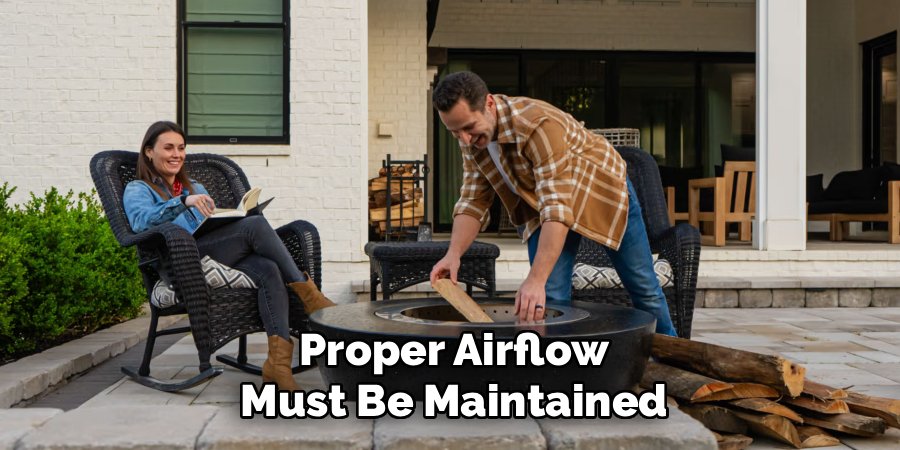
Proper airflow must be maintained from start to finish, which brings us to the importance of the ash pan. Located at the very bottom of the drum, beneath the primary fuel grate, the ash pan catches the fine remnants of the burned wood. A raised grate design prevents the logs from sitting directly in the ash, which would suffocate the fire.
By elevating the wood, air can circulate freely underneath the fuel source, ensuring that the primary combustion remains robust. If the ash were to clog the intake vents or the base of the fire, the entire airflow system would stall, the temperature would drop, and smoke would return. Therefore, the internal geometry is designed to keep the air channels open and the debris separated from the fuel, maintaining the delicate balance required for the system to function.
Step 7: Work with Fuel Selection
Even the most advanced engineering cannot overcome poor fuel choices completely. For the smokeless mechanism to function correctly, the fire must reach a high operating temperature. This requires using dry, seasoned hardwoods like oak, hickory, or maple. Wet or “green” wood contains too much moisture, which boils off as steam and cools the fire down, preventing the secondary combustion from kicking in.
Softwoods like pine can also be problematic because they contain high levels of sap that produce excessive soot. The user plays a critical role in the system. By feeding the pit with dry, high-quality firewood, you allow the internal temperatures to climb rapidly. This ensures that the double-wall convection system engages quickly, eliminating smoke and providing the clean, mesmerizing flame that these units are famous for.
Frequently Asked Questions (FAQ)
Can You Use Charcoal in a Smokeless Fire Pit?
Yes, many smokeless fire pits are compatible with charcoal, but you should check the manufacturer’s specific guidelines first. Charcoal burns differently than wood, often requiring a specific grate adapter to ensure proper airflow. While charcoal naturally produces less smoke than wood, using it in a smokeless pit maximizes heat efficiency. It is excellent for cooking if your unit has a grill attachment.
Do Smokeless Fire Pits Give Off Good Heat?
Absolutely. In fact, they often produce more heat than traditional open fires. Because the “secondary combustion” burns up the smoke and gases that would usually float away, that energy is converted into extra heat. However, because the sides are double-walled and insulated, most of the heat shoots straight up rather than radiating out to the sides. You may need to sit closer or use a heat deflector accessory to feel the warmth on your legs.
Are They Completely 100% Smokeless?
Not entirely, but they are very close. “Low smoke” is a more accurate term. When you first light the fire, there will be some smoke because the unit hasn’t heated up enough to start the secondary combustion process. Once the fire is roaring and the walls are hot (usually after 10–20 minutes), the smoke virtually disappears. If you use wet wood or overfill the pit above the air vents, you will still see smoke.
Can I Put a Smokeless Fire Pit on a Deck?
You must be very careful. These pits can get extremely hot at the bottom. Placing one directly on a wood or composite deck can cause scorching, melting, or even a fire. You should always use a purpose-built heat shield or a stand that elevates the pit off the surface. Even with a stand, it is best to place the pit on a concrete paver or a fire-resistant mat to ensure total safety for your deck surface.
How Do I Clean the Ash Out?
Cleaning is essential for maintaining airflow. Since these pits burn so efficiently, you will be left with fine white ash rather than chunky charcoal. Wait until the pit is completely cool—usually the next day. Some models have a removable ash pan that slides out, making disposal easy. For others, you may need to tip the unit over to dump the ash or use a shop vac to suck out the debris from the bottom.
Conclusion
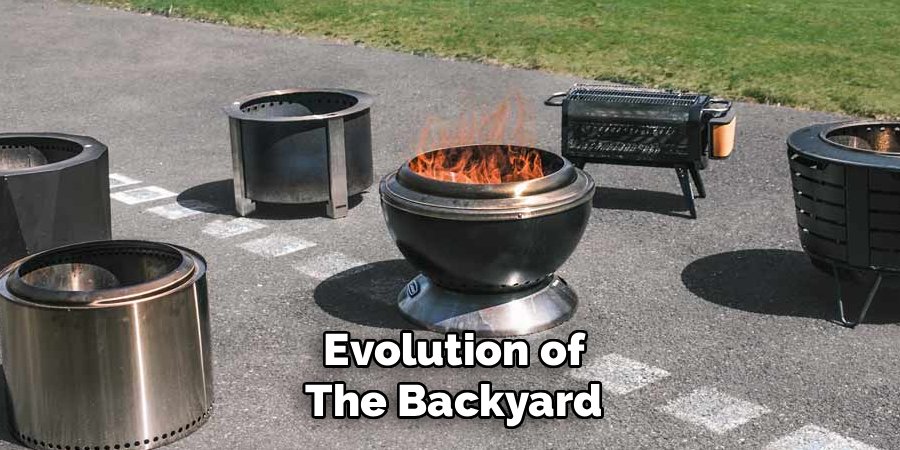
The evolution of the backyard campfire has changed the way we experience outdoor living. By harnessing simple principles of physics—convection, airflow, and combustion chemistry—engineers have solved the age-old problem of dodging smoke. The genius of the design lies in its ability to recycle heat and oxygen, creating a self-sustaining cycle that burns fuel more completely than ever before.
It allows us to focus on what truly matters: the conversation, the warmth, and the beauty of the flames. Whether you are roasting marshmallows with the kids or enjoying a glass of wine on a crisp autumn evening, understanding the mechanics behind your gear enhances the experience. Now that you know how does the smokeless fire pit work, you can operate yours with confidence, ensuring every fire is hot, efficient, and perfectly clear.

About
Jovie Mathews is a backyard and outdoor expert writer with over 12 years of hands-on experience transforming neglected outdoor spaces into thriving gardens and functional retreats. Raised in a family where weekends meant digging in the soil and building raised beds from scratch, Jovie developed a genuine love for the outdoors long before it became a career.
She writes with a practical, no-fluff approach — always testing ideas in her own backyard before sharing them with readers. From composting systems and native plant selection to patio design and pest control, Jovie covers the full spectrum of backyard life with equal parts expertise and enthusiasm.
Education
B.Sc. in Horticulture Science
University of Florida (UF) · Gainesville, FL · 2014
IFAS College of Agricultural and Life Sciences
Minor in Environmental Studies
University of Florida (UF) · Gainesville, FL · 2014
College of Liberal Arts and Sciences
Areas of expertise
- Lawn & Garden Care
- Soil prep, planting, seasonal care
- Outdoor DIY Projects
- Raised beds, fencing, pathways
- Composting & Soil Health
- Organic methods, amendments
- Native Plants & Wildlife
- Pollinators, habitat gardening
When she is not writing, Jovie can be found testing new composting techniques, growing tomatoes in questionable quantities, or convincing her neighbors that clover lawns are actually a great idea. She currently gardens in the Pacific Northwest.




