Imagine stepping out your back door and sinking your toes into warm, soft sand before wading into cool, crystal-clear water. It sounds like a luxury resort vacation, but it could be your everyday reality.
The concept of a sand pool—often called a beach pool or biodesign pool—is rapidly gaining popularity among homeowners who want to escape the harsh look of traditional concrete and tile. These pools blend seamlessly with the natural landscape, offering a gentle, sloping entry that mimics a real shoreline.
While professional installations can cost a fortune, creating a simplified version yourself is a challenging but incredibly rewarding project. It transforms your outdoor space into a private sanctuary where relaxation meets natural beauty.
This guide is designed to demystify the process and show you exactly how to build a sand pool in your backyard, turning your dream of a personal beach oasis into a tangible, stunning reality.
Why Build a Sand Pool?
Building a sand pool offers an unparalleled opportunity to elevate your backyard into a unique and luxurious retreat. Unlike traditional pools, a sand pool delivers the ambiance of a tropical beach right at your doorstep, complete with a natural aesthetic and soothing atmosphere.
It provides a tranquil space for relaxation, family fun, or entertaining guests, fostering a sense of escape and rejuvenation without leaving home. Beyond its visual appeal, a sand pool can increase the value of your property and serve as a focal point for creating lasting memories.
By investing in this one-of-a-kind feature, you’re investing in both your lifestyle and the charm of your outdoor environment.
Step-by-Step Guide: How to Build a Sand Pool in Your Backyard
Step 1: Design and Mark Your Shoreline Area
The first critical phase of this project involves visualizing your new oasis. Unlike traditional rectangular pools, a sand pool thrives on organic, curved shapes that mimic natural bodies of water. You must spend time observing your yard’s sunlight patterns and topography to choose the perfect spot.
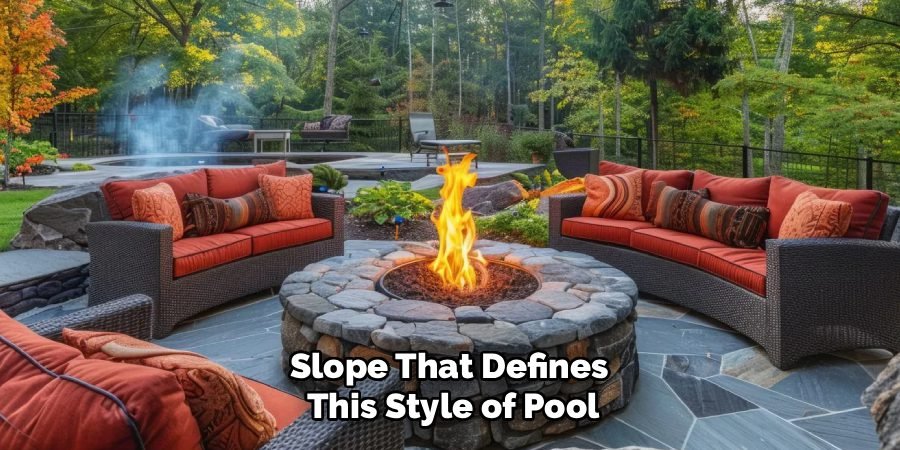
Use a garden hose or environmentally friendly spray paint to outline the perimeter of your excavation site directly on the grass. This outline should include not just the deep swimming area, but also the crucial “beach entry” or zero-entry slope that defines this style of pool.
This planning stage is where you determine the flow of the landscape. Ensure you account for drainage and proximity to utilities before you break ground. A well-thought-out design prevents costly adjustments later and ensures the final result looks like a natural extension of your garden rather than an artificial addition.
Step 2: Excavate and Sculpt the Terrain
Once your perimeter is clearly marked, the heavy lifting begins. You will need to dig out the soil to create the basin for your pool. Depending on the size of your project, this may require renting a mini-excavator or enlisting a group of strong friends with shovels. The goal here is not just to dig a hole, but to sculpt the earth.
You need to create a gradual, gentle slope for the beach entry, transitioning slowly into the deeper swimming zones. This gradient is essential for the authentic beach feel and safety. As you remove the dirt, pay close attention to the stability of the walls and the smoothness of the floor.
Any sharp rocks or roots must be removed to prevent damage to the liner. This sculpting phase defines the character of your project, setting the literal foundation for your backyard beach.
Step 3: Install the Plumbing and Filtration Systems
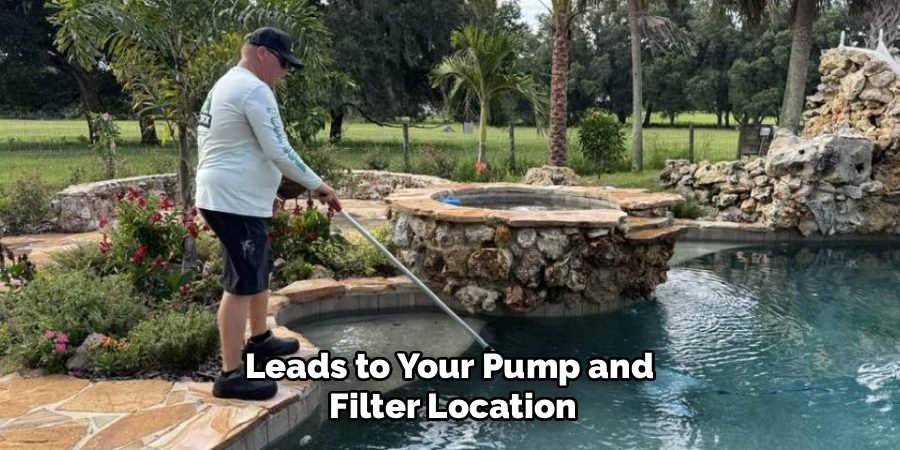
Before you can line the pool, you must install the circulatory system that will keep your water clean and safe. This involves digging trenches for PVC piping that leads to your pump and filter location.
A sand pool requires robust filtration to handle the unique environment, so positioning skimmers and return jets strategically is vital for proper water turnover. You might also want to incorporate bottom drains or specialized suction points depending on your design depth.
Ensure all plumbing connections are pressure-tested before covering them up, as leaks are incredibly difficult to fix once the pool structure is finished. While this step feels technical, it is the heartbeat of the pool.
Proper hydraulic design ensures that your water stays sparkling clear and prevents stagnation, which is crucial for maintaining a healthy swimming environment.
Step 4: Lay the Protective Liner and Geotextile
With the earth sculpted and plumbing in place, you must now waterproof the basin. Start by laying a thick, heavy-duty geotextile fabric over the entire excavated area. This felt-like material acts as a cushion, protecting the waterproof membrane from sharp stones or roots that might shift in the soil below.
On top of this, you will install a high-quality EPDM rubber liner or a specialized PVC pool membrane. This sheet must be large enough to cover the entire hole with ample overlap at the edges. Smooth out as many wrinkles as possible, as these can trap debris later.
The liner is the primary barrier that holds the water in, so take your time to ensure it is seated perfectly against the contours of your sculpted slopes. This waterproofing layer is the unsung hero that makes the entire project viable.
Step 5: Mix and Apply the Sand-Resin Coating
This is the magic step that differentiates a sand pool from a standard pond. You cannot simply dump loose sand into the pool, as it would clog the filters and turn into a muddy mess. Instead, you must use a specialized technique involving sand mixed with a binding resin.
This mixture creates a solid, hard surface that looks and feels like compacted wet sand but is durable and non-porous. You will need to mix the specific pool-grade sand with the resin hardener and trowel it onto the liner by hand. Work in sections, starting from the deep end and moving toward the beach entry.
This coating needs to be applied evenly to ensure structural integrity and aesthetic consistency. Learning how to build a sand pool in your backyard relies heavily on mastering this resin application, as it provides that signature golden, beach-like finish that is soft to the touch yet solid underfoot.
Step 6: Create the Surrounding Landscape and Decking
A sand pool does not exist in isolation; it needs to be anchored into its surroundings to look natural. Once the internal resin shell has cured, focus on the perimeter. You can extend the sand-resin mixture out of the water to create a dry “beach” area for lounging chairs.

Alternatively, integrate natural stone, wooden decking, or lush tropical planting to frame the water. Using ornamental grasses, palms, or broad-leafed plants helps to soften the edges and enhance the illusion of a remote lagoon.
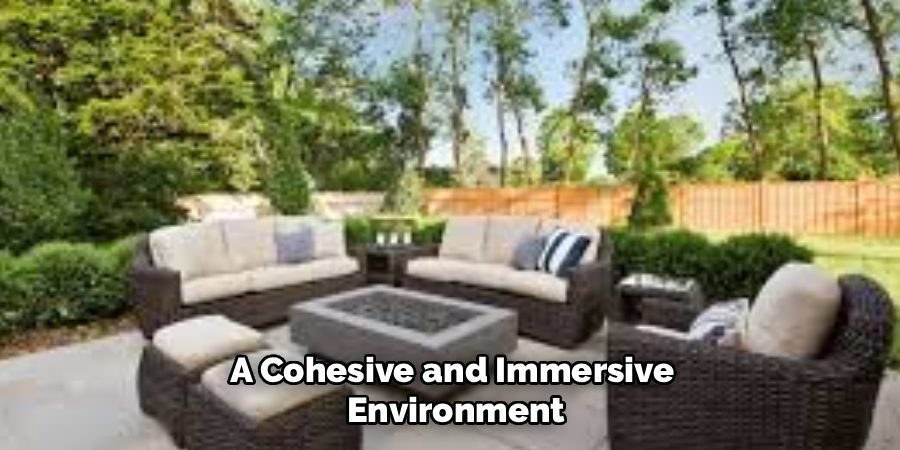
This landscaping phase is where you hide the technical equipment and transition the yard from a construction site to a paradise. Conceal the pump housing with rockery or shrubs. The goal is to blur the lines between the man-made structure and the natural garden, creating a cohesive and immersive environment.
Frequently Asked Questions (FAQ)
Is a Sand Pool Harder to Maintain Than a Regular Pool?
The maintenance is slightly different but not necessarily harder.
- Surface Care: The resin-sand surface is non-porous, which helps prevent algae from rooting deeply, similar to a fiberglass pool.
- Cleaning: You generally cannot use harsh wire brushes on the surface. Soft cleaning tools are required to preserve the resin coating.
- Filtration: You must ensure your filtration system is efficient because the lighter color of the sand finish shows debris more easily than a dark-bottomed pool.
Does the Sand Get Loose and Clog the Filter?
No, if built correctly, loose sand is not used inside the pool water.
- Resin Binding: The “sand” inside the pool is actually a hardened mixture of sand and resin (or concrete), creating a solid surface.
- Loose Sand Areas: If you have a dry beach area with loose sand outside the water, you need a buffer zone or shower area to prevent bathers from tracking granular sand into the pool, which could indeed strain the pump.
Can I Build a Sand Pool in a Cold Climate?
Yes, sand pools can be built in colder climates, but you need to take precautions.
- Winterization: Like any pool, it must be properly winterized. This involves draining water below the skimmer lines and blowing out the plumbing to prevent freezing pipes.
- Materials: Ensure the resin or concrete mixture you use is rated for freeze-thaw cycles to prevent the surface from cracking during winter expansion and contraction.
How Much Does It Cost to Build a DIY Sand Pool?
The cost varies wildly based on size and materials.
- DIY Savings: Doing it yourself saves on labor, which is the biggest expense. A small DIY project might cost between $10,000 and $25,000 depending on equipment rentals and resin costs.
- Professional Cost: In comparison, professional installations often start at $50,000 to $100,000.
- Materials: The specialized resin and pool-grade sand are the most significant material expenses after the excavation and liner.
Is the Surface Rough on Your Feet?
The texture is designed to be comfortable and safe.
- Grip: The surface feels like compacted wet sand. It provides excellent traction, making it much less slippery than smooth tile or fiberglass, which is great for safety.
- Comfort: It is not abrasive like raw concrete. The resin smooths out the sharp edges of the sand particles, creating a tactile experience that is soft enough for bare feet but grippy enough to prevent falls on the sloped entry.
Conclusion
Creating a backyard sand pool is more than just a home improvement project; it is a lifestyle transformation. It replaces the stark, industrial lines of traditional swimming pools with the organic, soothing curves of nature.
While the process requires significant effort—from the initial excavation to the careful application of the resin-sand finish—the result is a unique feature that adds immense value and joy to your home. You are not just building a place to swim; you are crafting a destination for family memories, relaxation, and aesthetic pleasure.
By following these steps and remaining patient with the details, you can achieve professional-looking results. Now that you understand the process of how to build a sand pool in your backyard, the only thing left to do is grab a shovel, unleash your creativity, and start digging your way to paradise.
About
Jovie Mathews is a backyard and outdoor expert writer with over 12 years of hands-on experience transforming neglected outdoor spaces into thriving gardens and functional retreats. Raised in a family where weekends meant digging in the soil and building raised beds from scratch, Jovie developed a genuine love for the outdoors long before it became a career.
She writes with a practical, no-fluff approach — always testing ideas in her own backyard before sharing them with readers. From composting systems and native plant selection to patio design and pest control, Jovie covers the full spectrum of backyard life with equal parts expertise and enthusiasm.
Education
B.Sc. in Horticulture Science
University of Florida (UF) · Gainesville, FL · 2014
IFAS College of Agricultural and Life Sciences
Minor in Environmental Studies
University of Florida (UF) · Gainesville, FL · 2014
College of Liberal Arts and Sciences
Areas of expertise
- Lawn & Garden Care
- Soil prep, planting, seasonal care
- Outdoor DIY Projects
- Raised beds, fencing, pathways
- Composting & Soil Health
- Organic methods, amendments
- Native Plants & Wildlife
- Pollinators, habitat gardening
When she is not writing, Jovie can be found testing new composting techniques, growing tomatoes in questionable quantities, or convincing her neighbors that clover lawns are actually a great idea. She currently gardens in the Pacific Northwest.