

Building a new shed is an exciting project that promises to organize your garden tools, protect your lawn equipment, or finally give you that workshop space you have been dreaming about. However, before you start framing walls or nailing down roof shingles, you must tackle the most critical part of the entire structure: the base.
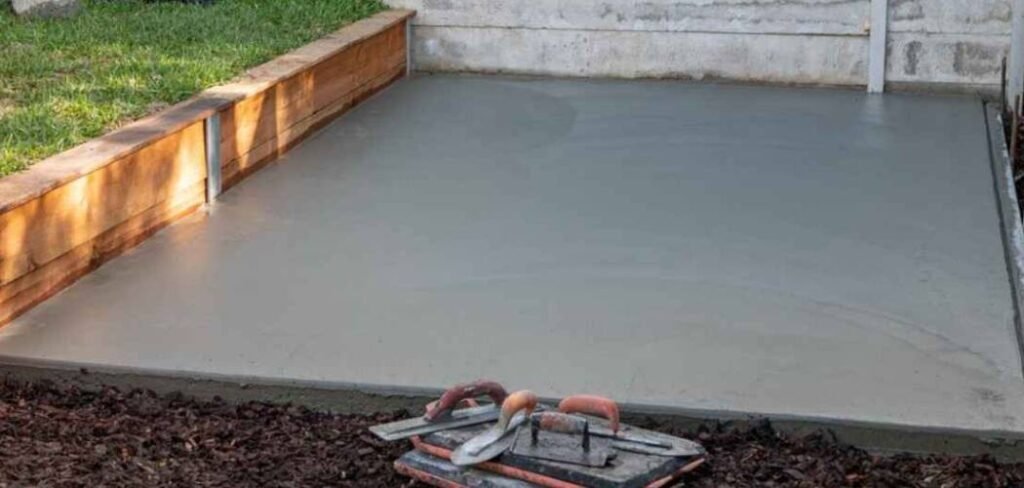
Learning how to build a shed foundation properly is the single most important step in ensuring your outdoor building lasts for decades rather than rotting away after a few seasons. This guide is designed specifically for beginners and home gardeners who want to get their hands dirty and build something sturdy. We will walk you through the process clearly and simply, removing the intimidation factor so you can create a solid, level base that keeps your new shed safe, dry, and standing tall for years to come.
Why a Shed Foundation is Important
Many first-time builders are tempted to skip the foundation and place their shed directly on the grass or dirt to save time and money. This is almost always a mistake that leads to frustration later on. A proper foundation serves several vital functions that protect your investment. First and foremost, it provides a stable and level platform. Even if your yard looks flat to the naked eye, it likely has subtle dips and slopes that will cause your shed doors to jam and the frame to twist over time.
Secondly, a good foundation elevates the structure off the ground. This separation is crucial for preventing moisture from wicking up into the wood floor joists, which inevitably leads to rot, mold, and insect infestations. By creating a barrier between the earth and your lumber, you extend the lifespan of the shed significantly. Finally, a solid base distributes the weight of the shed and its contents evenly, preventing the structure from sinking into soft soil during heavy rains or spring thaws.
7 Step-by-Step Guide on How to Build a Shed Foundation
Step 1: Select the Perfect Location
Before you purchase any materials or dig a single hole, you need to identify the optimal spot for your new structure. You should look for an area in your yard that is relatively flat, as this will significantly reduce the amount of excavation work required later. Avoid low-lying areas where water tends to pool after a heavy rainstorm, as moisture is the enemy of any wooden structure.
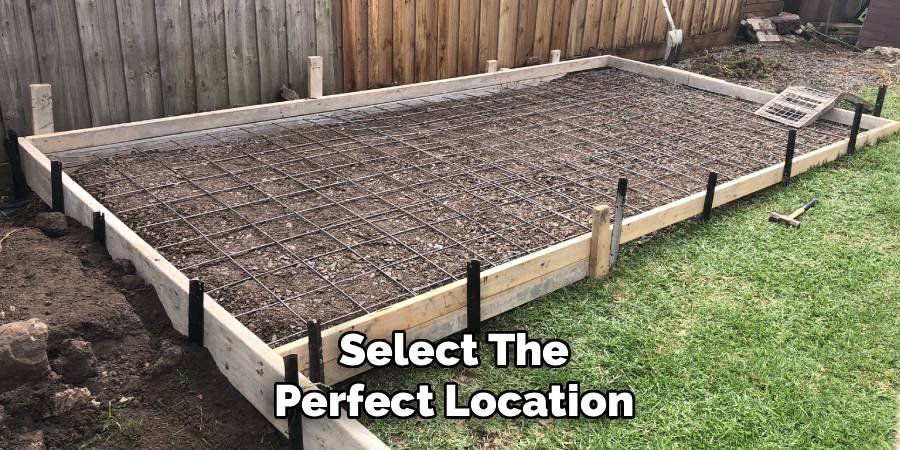
You must also consider practical access; make sure you have enough clearance to open the doors fully and that you can easily move a lawnmower or wheelbarrow in and out. Check for overhanging tree branches that could damage the roof and ensure you are not building over underground utility lines or encroaching on property setbacks regulated by your local municipality.
Step 2: Clear and Mark the Site
Once you have chosen your spot, the next phase involves preparing the ground for construction. You need to clear away any debris, rocks, fallen branches, and tall weeds that might interfere with your work. After the area is clean, use wooden stakes and mason’s line to outline the exact perimeter of your foundation. It is helpful to mark a space slightly larger than the actual shed dimensions—usually about six inches to a foot wider on all sides—to give yourself room to work. To ensure your layout is perfectly square, measure diagonally from corner to corner. If the two diagonal measurements are identical, your corners are at perfect ninety-degree angles. This layout accuracy is essential for a professional result.
Step 3: Excavate the Topsoil
With your perimeter clearly marked, it is time to grab your shovel and start digging. You need to remove the top layer of grass and sod from the entire marked area. This organic material holds moisture and will eventually decompose, causing the ground beneath your shed to settle unevenly if left in place. Dig down roughly four to six inches to expose the firmer subsoil beneath.
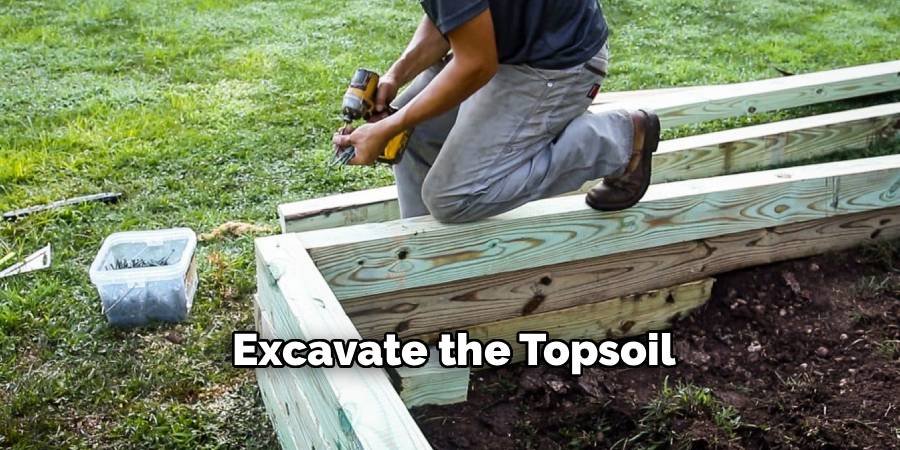
This process also helps remove roots that could grow back and disturb your foundation later. While this is physically demanding work, taking the time to create a flat, organic-free surface is crucial for stability. Use a long level or a straight board with a level on top to check that the bottom of your excavation is reasonably flat before moving on.
Step 4: Lay Down Landscape Fabric
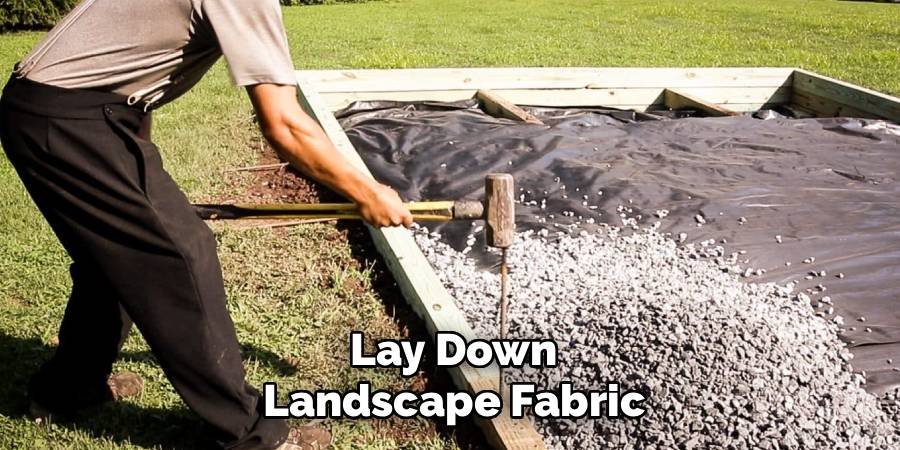
After you have excavated the site and leveled the soil, you should install a high-quality weed barrier. Roll out heavy-duty landscape fabric across the entire excavated area, ensuring that the sheets overlap by at least six inches to prevent any gaps. This fabric serves two very important purposes for your project. First, it prevents grass and weeds from growing up through your foundation materials, which can be a maintenance nightmare later on. Second, and perhaps more importantly, it separates the soil from the gravel base you are about to add. This separation prevents the gravel from sinking into the dirt over time, maintaining the drainage capabilities and structural integrity of your base for the long haul.
Step 5: Add and Compact the Gravel Base
Now you are ready to add the primary support material for your foundation. Pour crushed stone or gravel into your excavated area, aiming for a layer that is about four inches thick. A common choice is three-quarter-inch clean stone, which locks together well while allowing water to drain through efficiently. Spread the gravel evenly using a rigid garden rake, checking frequently to ensure consistent depth.
Once spread, you must compact the stone to create a solid surface. For small sheds, a hand tamper will work, but for larger projects, renting a powered plate compactor is highly recommended. This step creates a rock-solid, non-shifting pad that drains water away from your wood, which is a key concept when learning how to build a shed foundation that resists rot.
Step 6: Level the Gravel Surface
Even after compacting, your gravel pad might not be perfectly level, so you will need to fine-tune it. Use a long, straight 2×4 board and a carpenter’s level to identify high and low spots across the entire pad. It is often helpful to use a “screeding” motion, moving the board back and forth in a sawing motion to shave off high spots and fill in depressions.
Take your time with this step, as a level gravel base makes the rest of the construction process significantly easier. If your base is tilted, your entire shed will lean, leading to doors that will not latch and windows that stick. A little extra patience here saves you from major headaches during the framing stage.
Step 7: Install Concrete Deck Blocks
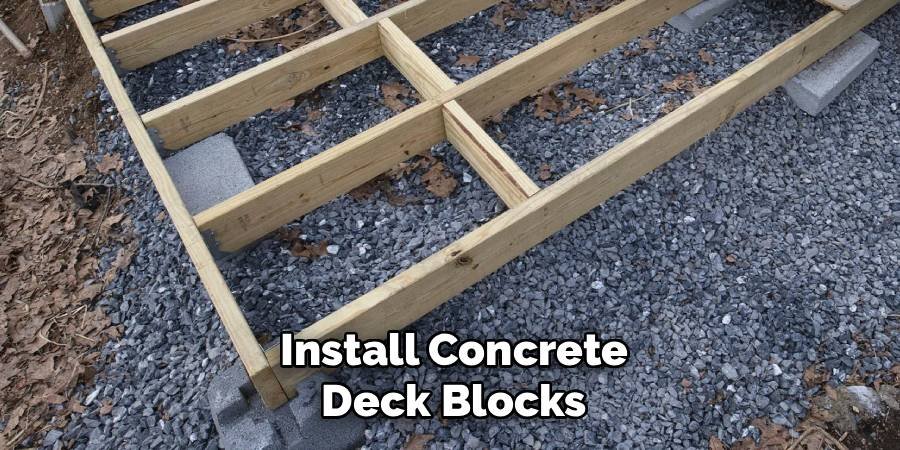
With a level gravel pad in place, you can now position the concrete support points for your shed’s floor frame. Concrete deck blocks are an excellent choice for beginner builders because they are pre-cast and require no mixing or pouring of wet cement. Arrange these blocks in rows according to your shed’s floor plan, typically spacing them every four to six feet along the runners. Ensure that the blocks are perfectly aligned with each other and sit firmly on the gravel bed. Double-check that each block is level individually and that they are level with one another across the entire span of the foundation. These blocks will lift the timber frame off the damp ground.
Construct the Timber Frame
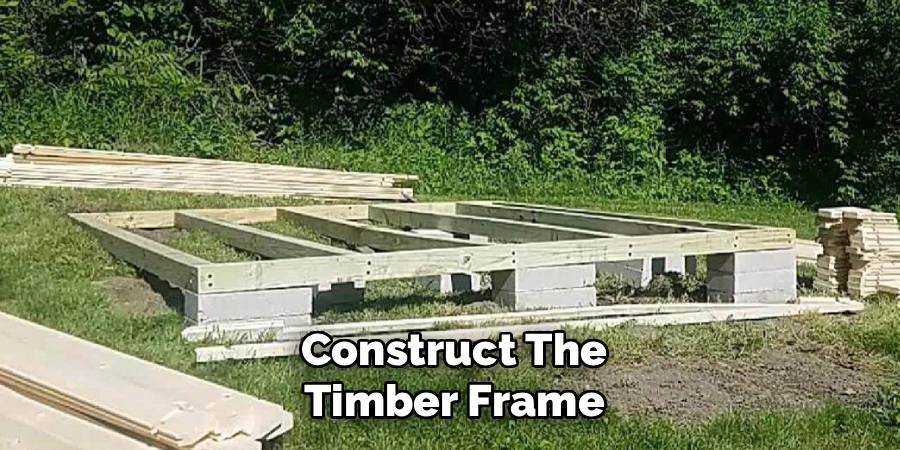
The final step in the foundation process is building the wooden frame that will support the shed’s floor. Use pressure-treated lumber, which is chemically treated to resist rot and insect damage, for this component. Cut your 4×4 or 2×6 runners to length and place them into the slots of your concrete deck blocks. Once the runners are positioned, check for squareness one last time by measuring diagonals. Then, attach your floor joists perpendicular to the runners, spacing them usually sixteen inches apart on center. Secure everything with galvanized screws or nails. You now have a completed, sturdy foundation ready for plywood decking and walls. This robust start ensures your shed will remain stable and functional for many years.
Frequently Asked Questions
What type of gravel should I use for a shed foundation?
The best gravel to use is typically 3/4-inch clean crushed stone (often called #57 stone).
- Drainage: It allows water to flow through freely, preventing puddles.
- Compaction: The angular edges of crushed stone lock together tightly, creating a stable, non-shifting surface.
- Avoid: Do not use pea gravel (round stones roll and shift) or crusher run (contains dust that traps water).
Do I really need a permit to build a shed foundation?
This depends entirely on your local zoning laws and the size of your shed.
- Size Matters: Many municipalities allow small sheds (e.g., under 100 sq. ft.) without a permit.
- Zoning: Even if a building permit isn’t required, you may still need to respect property setbacks (distance from fences).
- Always Check: Call your local building department before starting to avoid fines or having to move the shed later.
Can I use concrete pavers instead of a gravel pad?
Yes, concrete pavers can work for smaller, lighter sheds, but they require careful preparation.
- Prep is Key: You still need to dig out sod and lay a thin gravel or sand base to prevent the pavers from sinking unevenly.
- Stability: Pavers are more prone to shifting frost heaves than a compacted gravel pad or concrete blocks.
- Recommendation: A gravel pad is generally more stable and easier for beginners to get right.
How deep should the gravel base be?
For a standard garden shed, a gravel depth of 4 to 6 inches is the industry standard.
- Support: This thickness provides a sturdy bed that distributes the shed’s weight.
- Drainage: It offers a sufficient buffer to keep moisture away from the wooden structure.
- Excavation: This means you typically need to dig down about 4 inches so the gravel sits flush with or slightly above the surrounding ground level.
What happens if my site is on a steep slope?
Building on a steep slope requires a different approach than a simple gravel pad.
- Post and Beam: You will likely need a post-and-beam foundation where tall wooden posts are set into concrete footings to level the platform.
- Retaining Wall: Alternatively, you can build a retaining wall and backfill it to create a flat building site.
- Complexity: Dealing with steep slopes is more advanced; beginners might want to consult a professional or choose a flatter spot.
Conclusion
Building a strong foundation is the single best investment you can make in your new outdoor project. By taking the time to excavate properly, laying a solid gravel base, and leveling your support blocks, you ensure that your shed will withstand the elements and remain functional for decades. It might seem like a lot of heavy lifting now, but preventing rot and structural warping is worth every drop of sweat. We hope this guide has demystified how to build a shed foundation so you can approach your project with confidence. Now that you have the knowledge, grab your shovel and get started—your perfect garden shed awaits

About
Jovie Mathews is a backyard and outdoor expert writer with over 12 years of hands-on experience transforming neglected outdoor spaces into thriving gardens and functional retreats. Raised in a family where weekends meant digging in the soil and building raised beds from scratch, Jovie developed a genuine love for the outdoors long before it became a career.
She writes with a practical, no-fluff approach — always testing ideas in her own backyard before sharing them with readers. From composting systems and native plant selection to patio design and pest control, Jovie covers the full spectrum of backyard life with equal parts expertise and enthusiasm.
Education
B.Sc. in Horticulture Science
University of Florida (UF) · Gainesville, FL · 2014
IFAS College of Agricultural and Life Sciences
Minor in Environmental Studies
University of Florida (UF) · Gainesville, FL · 2014
College of Liberal Arts and Sciences
Areas of expertise
- Lawn & Garden Care
- Soil prep, planting, seasonal care
- Outdoor DIY Projects
- Raised beds, fencing, pathways
- Composting & Soil Health
- Organic methods, amendments
- Native Plants & Wildlife
- Pollinators, habitat gardening
When she is not writing, Jovie can be found testing new composting techniques, growing tomatoes in questionable quantities, or convincing her neighbors that clover lawns are actually a great idea. She currently gardens in the Pacific Northwest.




