

Adding a fireplace to your backyard can transform it into a cozy and inviting retreat for family and friends. It creates a natural gathering spot for cool evenings, extends your outdoor living season, and adds significant value to your home. While the project might seem daunting, it’s an achievable goal for a determined DIY enthusiast.
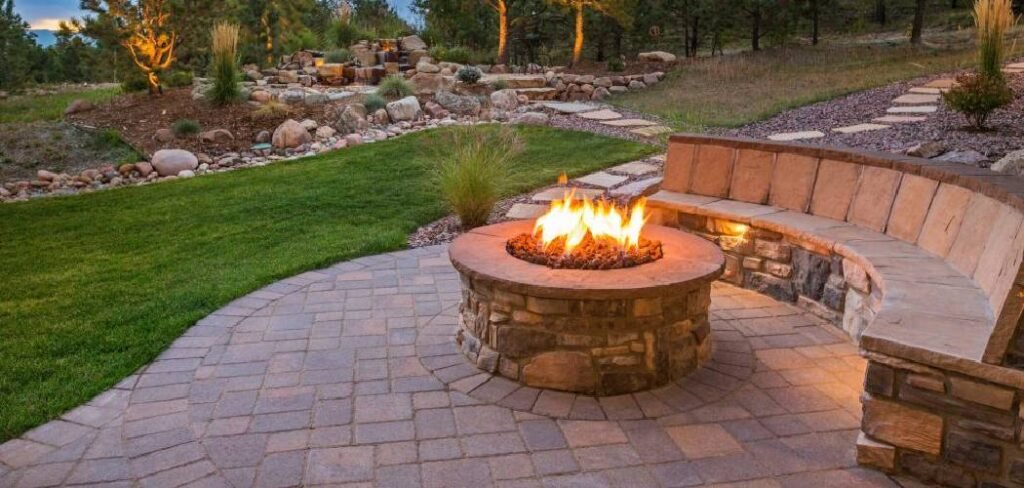
This guide will walk you through the process of how to build backyard fireplace, providing clear, step-by-step instructions. With careful planning and the right materials, you can create a stunning focal point for your outdoor space that will be enjoyed for years to come.
Why Build a Backyard Fireplace?
A backyard fireplace does more than just provide warmth; it creates an ambiance that’s hard to replicate. Imagine enjoying s’mores with your kids, having a romantic evening under the stars, or simply unwinding with a book by the crackling flames. It serves as a permanent, impressive architectural feature that anchors your outdoor design, defining a specific area for relaxation and socializing. Unlike a portable fire pit, a permanent fireplace offers superior smoke control, directing it up and away from your seating area. This addition not only enhances your lifestyle but also boosts your property’s curb appeal and market value, making it a worthwhile investment in your home.
8 Step-by-Step Guide on How to Build Backyard Fireplace
Step 1: Check Local Codes and Choose a Location
Before you purchase any materials or break ground, your first step is to research local building codes and ordinances. Many municipalities have specific regulations regarding the placement, size, and type of outdoor fireplaces, including required distances from your home, property lines, and other structures.
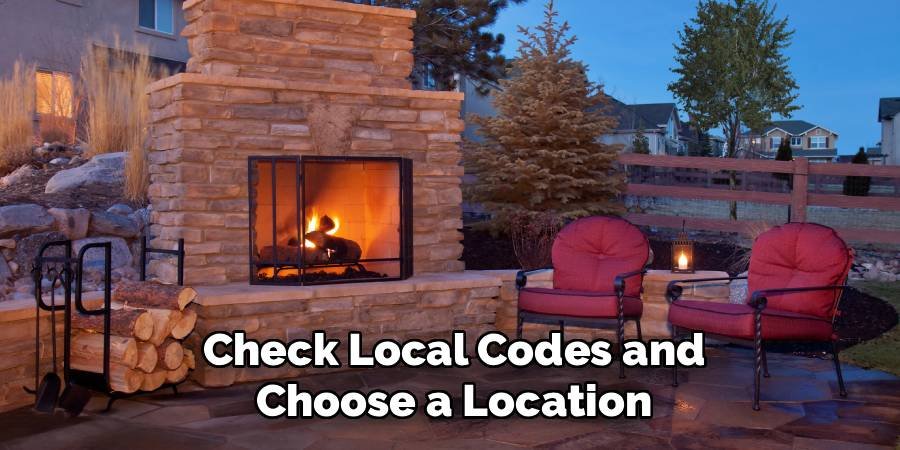
Contact your local building department to ensure your project is compliant. Once you understand the rules, select a safe and practical location. It should be on level ground, away from overhanging branches, fences, and your house, while also being convenient to your patio or seating area for easy enjoyment.
Step 2: Gather Your Tools and Materials
With your location selected and plans approved, it’s time to gather everything you’ll need. A successful build depends on having the right equipment. Essential tools include a shovel, level, tape measure, wheelbarrow, masonry trowel, and a rubber mallet. For materials, you will need concrete mix for the foundation, concrete blocks (CMUs) for the core structure, firebricks for the firebox, high-temperature refractory mortar for laying the firebricks, and standard mortar for the concrete blocks. You will also need a stone veneer or brick for the exterior finish, along with a flue liner to channel smoke.
Step 3: Prepare the Foundation
A solid foundation is critical for a stable and long-lasting fireplace. Start by marking the footprint of your fireplace on the ground using stakes and string. Excavate this area to a depth of about 6 to 8 inches, ensuring the hole is level. Next, fill the excavated space with a 4-inch layer of compacted gravel to create a stable base that allows for drainage. Build a wooden form around the perimeter of the foundation area. Mix your concrete according to the manufacturer’s instructions and pour it into the form, making sure it’s level and smooth. Allow the concrete to cure completely, which can take several days.
Step 4: Build the Base Walls
Once the foundation has fully cured, you can begin constructing the base of your fireplace. This structure will support the firebox and the rest of the fireplace. Using your standard mortar, lay the first course of concrete blocks on the foundation. Use your level constantly to ensure the blocks are perfectly straight and even.
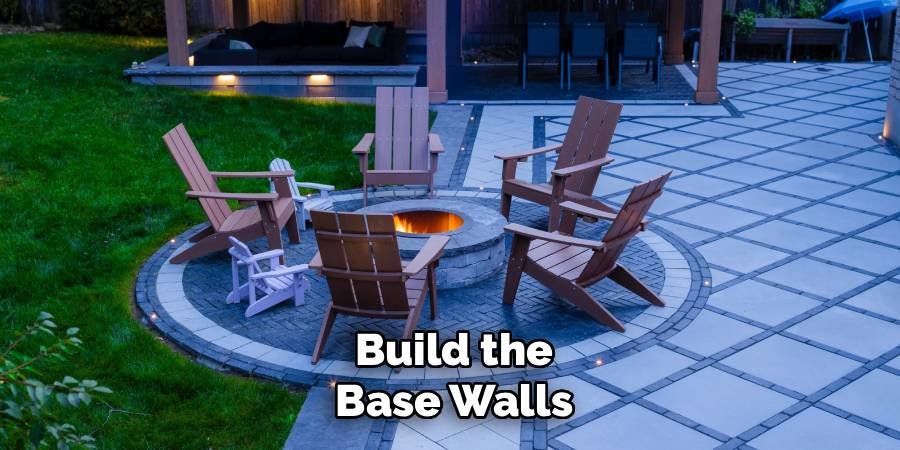
Apply mortar to the ends of each block as you set them in place. Stagger the joints on subsequent courses to create a stronger, interlocking bond, similar to a classic brick pattern. Continue building up the walls to the desired height of your firebox floor.
Step 5: Construct the Firebox
The firebox is the heart of your fireplace, and it must be built to withstand extreme heat. For this part of the project, you must use firebricks and high-temperature refractory mortar. Standard mortar will crack and fail under high temperatures. Begin by laying a base of firebricks on top of your block structure. Then, build the side and back walls of the firebox, applying the refractory mortar between each brick. The back wall should be slightly angled forward to help direct heat outward. This critical step in how to build a backyard fireplace ensures safety and durability.
Step 6: Create the Throat and Smoke Chamber
The throat is the narrow opening just above the firebox that funnels smoke into the flue. It’s often supported by a steel lintel placed across the top of the firebox opening. Above the throat, you will construct the smoke chamber. This area has walls that slope inward to smoothly channel the smoke and gasses up into the flue liner. This design is crucial for proper drafting, preventing smoke from spilling out of the front of the fireplace. Continue using concrete blocks and standard mortar to build up the structure around the smoke chamber, leaving an opening for the flue.
Step 7: Install the Flue and Chimney
The chimney directs smoke safely up and away from your gathering area. Start by setting the first section of your clay flue liner in a bed of refractory mortar on top of the smoke chamber. As you build the chimney structure around it with concrete blocks and standard mortar, continue adding flue liner sections.
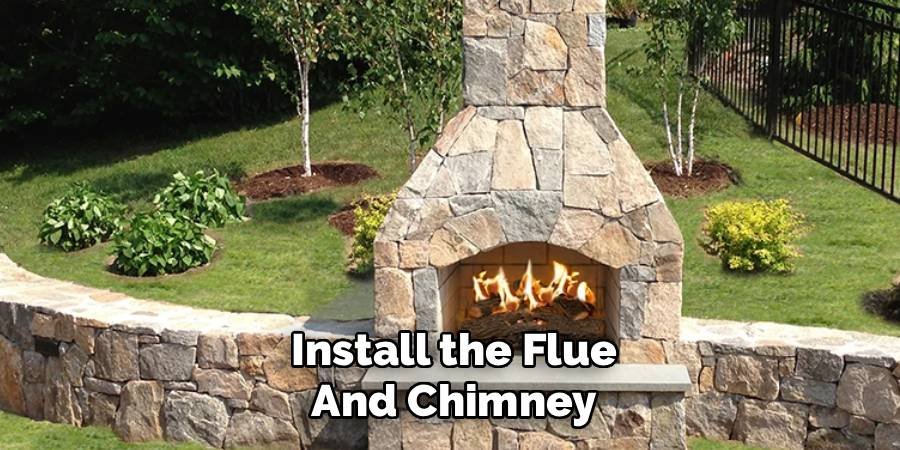
Ensure there is at least a one-inch gap between the outside of the flue liner and the inside of the concrete blocks. This air gap helps insulate the chimney structure. Continue building the chimney to a height that complies with local codes, typically at least two feet above any nearby rooflines.
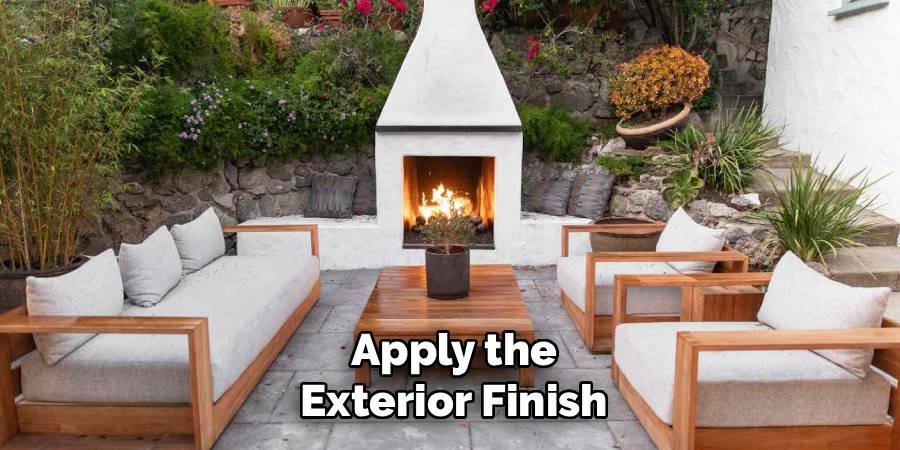
Step 8: Apply the Exterior Finish
The final construction step is to apply the exterior finish, which gives your fireplace its unique look. This is your chance to match the fireplace to your home’s style or your personal taste. Whether you choose natural stone veneer, brick, or stucco, the application process is similar. Apply a layer of mortar to the concrete block structure, a small section at a time. Firmly press your chosen veneer material into the mortar with a slight wiggling motion to ensure a strong bond. Fill the joints between the stones or bricks with mortar to complete the look.
Add a Chimney Cap and Cure
Before you light your first fire, you need to install a chimney cap. This device covers the top of the flue and serves two important functions: it prevents rain and snow from entering the chimney, and it keeps animals and debris out. A spark arrester screen is also a key feature of most chimney caps, preventing hot embers from escaping and posing a fire hazard. After installing the cap, you must let the entire structure cure. All mortar needs time to fully harden. Allow at least one week before lighting a small, controlled fire to finish the curing process.
Frequently Asked Questions
What Is the Best Material for a Backyard Fireplace?
The best materials combine durability and safety. The internal firebox must be made of firebricks and refractory mortar, as they are designed to withstand extreme temperatures. For the main structure, concrete masonry units (CMUs) are a cost-effective and strong choice. The exterior can be finished with a variety of materials like natural stone veneer, brick, or stucco to match your aesthetic preferences and budget.
Do I Need a Permit to Build a Backyard Fireplace?
In most cases, yes. A permanent backyard fireplace is considered a significant structure, and most cities and counties require a building permit. This process ensures your design meets local safety codes, including proper placement, height, and materials. Always check with your local building department before starting your project to understand the specific requirements and avoid any potential fines or legal issues.
How Far Should a Backyard Fireplace Be From the House?
Safety regulations typically require a minimum distance between an outdoor fireplace and any combustible structures. A common rule is to maintain at least 10 to 20 feet of clearance from your house, deck, shed, or fence. You should also avoid placing it directly under overhanging trees or power lines. Your local building codes will provide the exact clearance distances required in your area.
Can I Build a Fireplace on a Wooden Deck?
Building a heavy masonry fireplace directly on a standard wooden or composite deck is generally not recommended. The immense weight of the concrete and stone can exceed the deck’s load-bearing capacity, leading to structural failure. Additionally, the risk of fire from stray embers is a major concern. It is always safer to build your fireplace on a concrete slab foundation on the ground.
How Do I Ensure My Fireplace Drafts Properly?
Proper drafting is essential to pull smoke up the chimney. Key factors include the ratio of the firebox opening to the flue size and the chimney’s height. A good rule of thumb is that the flue’s area should be about one-tenth the area of the firebox opening. The chimney should also be tall enough to clear nearby structures. A well-designed smoke chamber and throat will also significantly improve draft.
Conclusion
Building a backyard fireplace is a major undertaking, but the rewards are well worth the effort. By following these steps, you can create a beautiful and functional centerpiece for your outdoor living space. From pouring the foundation to laying the final stone, each stage brings you closer to cozy evenings spent by a crackling fire. Remember to prioritize safety by adhering to local codes and using the correct materials for high-heat areas. Now that you have a better understanding of how to build a backyard fireplace, you can confidently begin planning a project that will bring warmth and joy for many years.

About
Jovie Mathews is a backyard and outdoor expert writer with over 12 years of hands-on experience transforming neglected outdoor spaces into thriving gardens and functional retreats. Raised in a family where weekends meant digging in the soil and building raised beds from scratch, Jovie developed a genuine love for the outdoors long before it became a career.
She writes with a practical, no-fluff approach — always testing ideas in her own backyard before sharing them with readers. From composting systems and native plant selection to patio design and pest control, Jovie covers the full spectrum of backyard life with equal parts expertise and enthusiasm.
Education
B.Sc. in Horticulture Science
University of Florida (UF) · Gainesville, FL · 2014
IFAS College of Agricultural and Life Sciences
Minor in Environmental Studies
University of Florida (UF) · Gainesville, FL · 2014
College of Liberal Arts and Sciences
Areas of expertise
- Lawn & Garden Care
- Soil prep, planting, seasonal care
- Outdoor DIY Projects
- Raised beds, fencing, pathways
- Composting & Soil Health
- Organic methods, amendments
- Native Plants & Wildlife
- Pollinators, habitat gardening
When she is not writing, Jovie can be found testing new composting techniques, growing tomatoes in questionable quantities, or convincing her neighbors that clover lawns are actually a great idea. She currently gardens in the Pacific Northwest.




