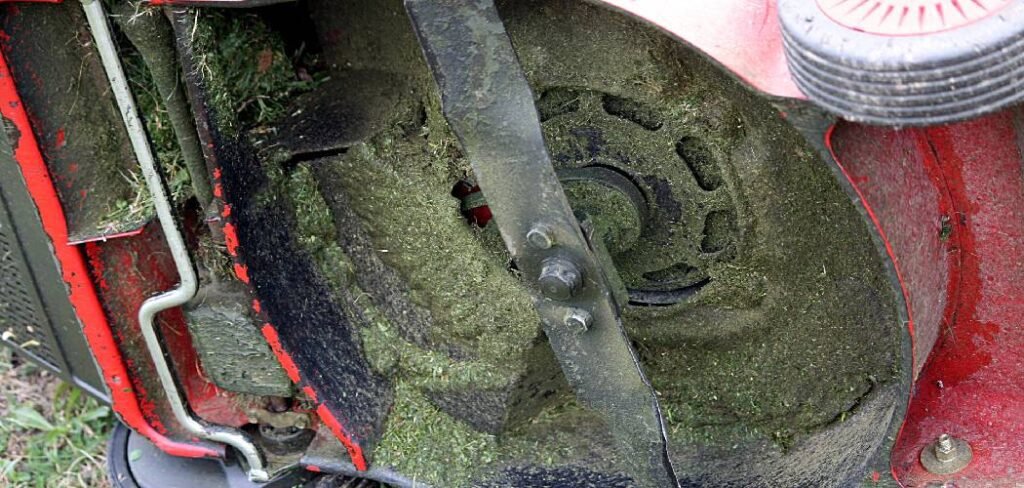
Keeping your lawn looking its best requires more than just regular mowing; it involves maintaining the machine that does the work. A clean lawn mower is an efficient lawn mower, and the deck is one of its most critical components. Over time, wet grass clippings, dirt, and other debris cake onto the underside of the deck, hindering blade performance and promoting rust.
Learning how to clean a mower deck is a fundamental skill for any homeowner. This guide will walk you through the process step-by-step, ensuring your mower runs smoothly and your lawn stays healthy and beautiful. It’s a simple task that pays huge dividends in performance and longevity.
Why Cleaning Your Mower Deck Matters
A clean mower deck is essential for both the health of your lawn and the lifespan of your mower. When grass clippings and grime build up underneath, they create a moist environment that is a perfect breeding ground for rust and corrosion. This can weaken the metal deck over time, leading to costly repairs or even the need for a replacement.
Furthermore, this buildup obstructs the airflow necessary for the blades to function correctly. The blades are designed to create a vacuum effect, lifting the grass for a clean, even cut. Caked-on debris disrupts this airflow, causing the blades to tear the grass instead of slicing it. Torn grass is more susceptible to disease and can give your lawn a ragged, yellowish appearance. A clean deck ensures a sharp, uniform cut every time, promoting a healthier, greener lawn. Regular cleaning also makes it easier to inspect the blades and spindles for wear and tear, allowing you to catch potential issues before they become major problems.
8 Step Methods Guide on How to Clean a Mower Deck
Step 1: Gather Your Tools and Safety Gear
Before you begin, it’s crucial to prepare by gathering all the necessary equipment. This will make the process smoother and safer. You will need a pair of heavy-duty work gloves to protect your hands from sharp blades and rough surfaces. Safety glasses are also essential to shield your eyes from flying debris.
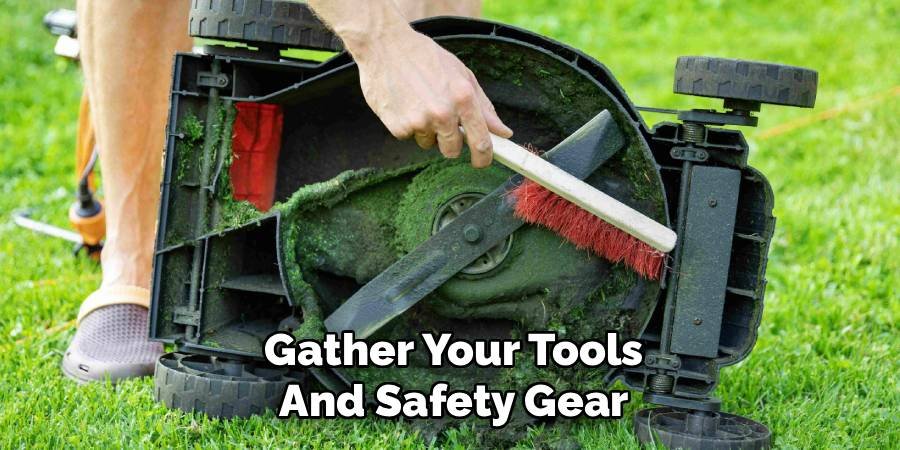
For cleaning, you’ll want a putty knife or a plastic scraper, a stiff-bristled brush, a garden hose with a spray nozzle, and a bucket of soapy water. A wrench set is needed to remove the blades, and a block of wood will help secure them during removal.
Step 2: Prepare the Mower for Cleaning
Safety is the top priority when working on any machinery. Start by parking your mower on a flat, stable surface like a concrete driveway or garage floor. Disconnect the spark plug wire to eliminate any chance of the engine accidentally starting while you work. For gasoline mowers, it’s also a good idea to either run the engine until the fuel tank is empty or use a siphon to remove the gasoline. This prevents fuel from spilling into the engine’s carburetor or air filter when you tilt the mower, which can cause significant engine problems later.
Step 3: Safely Access the Underside of the Deck
With the mower prepped, you need to access the underside of the deck. For a push mower, carefully tilt it onto its side. Make sure the air filter and carburetor are facing up to prevent oil or gas from leaking into them. For a riding mower or zero-turn, you will need to either use a mower lift or jack designed for this purpose or remove the deck entirely. Consult your owner’s manual for specific instructions on how to safely remove the deck from your model, as the process can vary significantly between brands and types of mowers.
Step 4: Scrape Away Heavy Debris
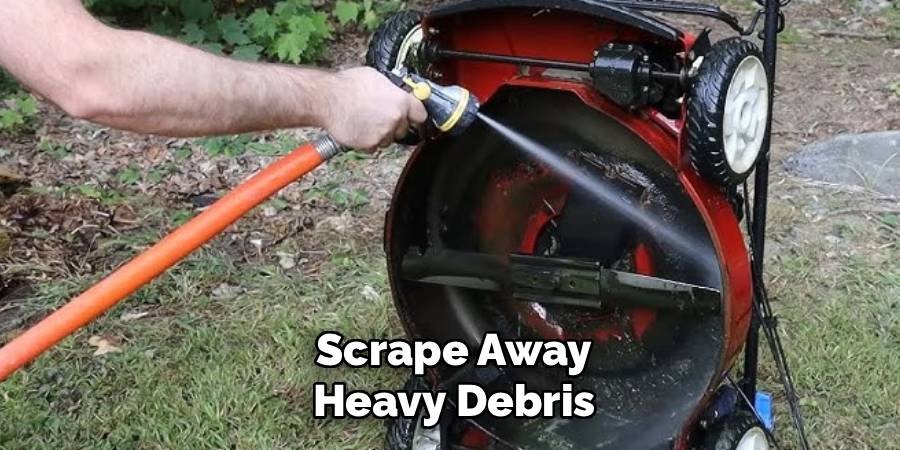
Now the cleaning begins. Start by tackling the thick, caked-on layers of grass and dirt. Use your putty knife or plastic scraper to chip away at the largest chunks of debris. Pay close attention to the areas around the blade spindles and along the inner edges of the deck, as this is where buildup is often the heaviest. Work methodically across the entire surface, applying firm pressure to dislodge stubborn grime. The goal of this step is to remove the bulk of the mess, making the subsequent scrubbing and washing much more manageable.
Step 5: Remove the Mower Blades
For a truly deep clean and for your safety, it’s best to remove the mower blades. This provides unobstructed access to the entire deck surface. Use a block of wood to brace one of the blades and prevent it from spinning. Then, using the appropriate size wrench or socket, turn the nut or bolt counter-clockwise to loosen and remove it. Keep track of the hardware and the orientation of the blades so you can reinstall them correctly later. This is also the perfect opportunity to inspect your blades for dullness or damage and sharpen or replace them if necessary.
Step 6: Scrub the Deck Thoroughly
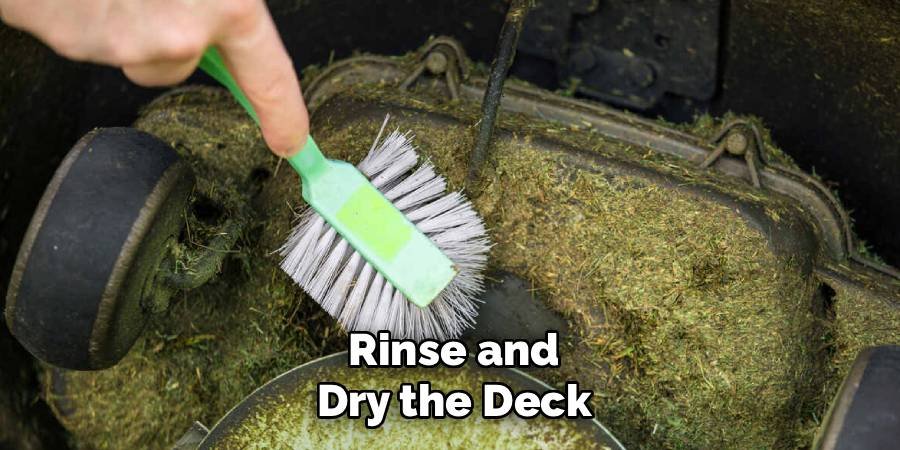
With the blades removed, you can now perform a more detailed cleaning. Grab your stiff-bristled brush and the bucket of warm, soapy water. Thoroughly scrub the entire underside of the deck, focusing on any remaining residue your scraper couldn’t remove. Don’t forget to clean the discharge chute, as clogs here can severely impact your mower’s performance. A good scrub will lift the finer layers of dirt and grass stains, preparing the surface for a final rinse. This part of learning how to clean a mower deck is where you’ll see the biggest difference.
Step 7: Rinse and Dry the Deck
Once you’ve finished scrubbing, use your garden hose with a high-pressure nozzle to rinse away all the soap and loosened debris. Spray the entire deck, ensuring you get into all the nooks and crannies. After a thorough rinse, it’s critical to dry the deck completely to prevent rust. You can use an old towel or a leaf blower to speed up the drying process. A dry deck is a happy deck, and taking a few extra minutes here will protect your investment in the long run.
Step 8: Apply a Protective Coating
To make future cleanings easier, consider applying a protective coating. There are several commercial products available, such as graphite, silicone, or Teflon sprays, that create a non-stick surface. This coating helps prevent grass and moisture from adhering to the deck, meaning less buildup over time. A simple coat of car wax or even cooking spray can also work in a pinch. Apply the coating evenly across the entire clean, dry surface. This proactive step will significantly reduce the effort required for your next cleaning session.
Reassemble and Reconnect
The final step is to put everything back together. Reinstall the mower blades, ensuring they are oriented correctly and tightened to the manufacturer’s specified torque. If you removed the deck from a riding mower, carefully reattach it. Once the mower is back on all four wheels, reconnect the spark plug wire. Your mower is now clean, protected, and ready to deliver a perfect cut on your next mow. Performing this maintenance regularly will keep it in prime condition for years to come.

Frequently Asked Questions
How Often Should I Clean My Mower Deck?
For best results, you should clean your mower deck at least twice per mowing season—once in the middle and once at the end before storing it for winter. However, the ideal frequency depends on your usage and mowing conditions. If you frequently mow wet or tall grass, you should inspect and clean the deck more often, perhaps every 25 hours of use. A quick scrape or rinse after each use can also prevent significant buildup.
Can I Use a Pressure Washer to Clean My Mower Deck?
While a pressure washer can be effective at removing stubborn debris, you must use it with caution. The high-pressure stream can potentially damage paint, peel off decals, and force water into sensitive areas like bearings and spindles. If you choose to use one, use a wider-angle nozzle (40-degree) and avoid spraying directly at seals, bearings, or electrical components. A garden hose with a good nozzle is often a safer and sufficient alternative.
What Is the Black Stuff Under My Mower Deck?
The black, tar-like substance under your mower deck is a combination of dried grass clippings, sap, dirt, and moisture that has hardened over time. This buildup is often difficult to remove and can be very corrosive. Regular cleaning prevents this material from accumulating and hardening. Soaking the buildup with a cleaning solution or even a bit of WD-40 for a few minutes before scraping can help loosen it.
Is It Better to Clean the Deck After Mowing or Before?
It is generally easier to clean the deck immediately after you finish mowing. At this point, the grass clippings are still fresh and moist, making them much easier to scrape and wash away. If you wait, the debris will dry and harden, requiring significantly more effort to remove. Just remember to always disconnect the spark plug and allow the engine to cool down before you begin cleaning.
Are There Any Tools That Make Cleaning a Mower Deck Easier?
Yes, several tools can simplify the process. A mower lift or jack is invaluable for safely raising a riding mower to access the deck. For cleaning, multi-purpose scraper tools designed specifically for mower decks are available. Some people also attach drill brush accessories to a power drill to scrub away grime with less manual effort. Another useful tool is a blade-locking clamp, which holds the blade steady while you loosen the nut, providing extra safety.
Conclusion
Mastering how to clean a mower deck is a straightforward task that offers substantial rewards. By regularly removing grass buildup and debris, you not only prevent rust and extend the life of your machine but also ensure a healthier, more beautiful lawn. A clean deck allows the blades to create the lift needed for a sharp, even cut, preventing the tearing that can lead to lawn diseases. With the simple tools and steps outlined in this guide, you have everything you need to keep your mower in peak condition. Take the time to care for your equipment, and it will take care of your lawn for many seasons to come.

About
Jovie Mathews is a backyard and outdoor expert writer with over 12 years of hands-on experience transforming neglected outdoor spaces into thriving gardens and functional retreats. Raised in a family where weekends meant digging in the soil and building raised beds from scratch, Jovie developed a genuine love for the outdoors long before it became a career.
She writes with a practical, no-fluff approach — always testing ideas in her own backyard before sharing them with readers. From composting systems and native plant selection to patio design and pest control, Jovie covers the full spectrum of backyard life with equal parts expertise and enthusiasm.
Education
B.Sc. in Horticulture Science
University of Florida (UF) · Gainesville, FL · 2014
IFAS College of Agricultural and Life Sciences
Minor in Environmental Studies
University of Florida (UF) · Gainesville, FL · 2014
College of Liberal Arts and Sciences
Areas of expertise
- Lawn & Garden Care
- Soil prep, planting, seasonal care
- Outdoor DIY Projects
- Raised beds, fencing, pathways
- Composting & Soil Health
- Organic methods, amendments
- Native Plants & Wildlife
- Pollinators, habitat gardening
When she is not writing, Jovie can be found testing new composting techniques, growing tomatoes in questionable quantities, or convincing her neighbors that clover lawns are actually a great idea. She currently gardens in the Pacific Northwest.