

Nothing ruins a peaceful afternoon in your garden faster than the aggressive buzzing of stinging insects. You have worked hard to cultivate a beautiful outdoor space, but safety becomes a major concern when pests take over. Identifying the problem early is essential to reclaiming your patio or lawn. While some insects are beneficial pollinators, an aggressive colony near your seating area poses real risks to children, pets, and guests who might have severe allergic reactions.
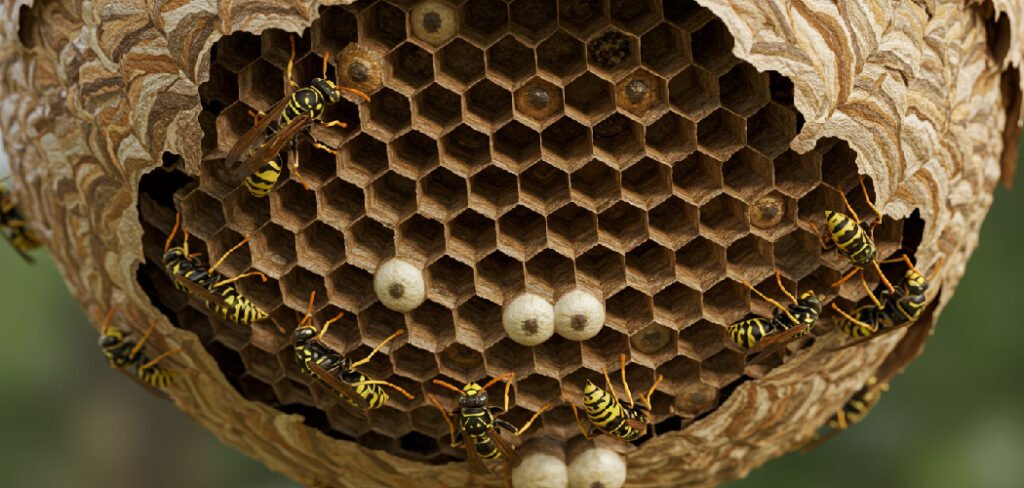
Learning how to get rid of wasps in backyard spaces effectively is crucial for maintaining a stress-free environment. This guide is designed to help you tackle the issue with confidence, providing safe, practical solutions that do not require an expensive call to an exterminator. Let us help you take back your outdoor sanctuary today.
Why Controlling Stinging Insects Matters
Allowing a colony of stinging insects to thrive unchecked near your home is more than just a nuisance; it is a significant safety hazard. While these creatures play a role in the ecosystem by eating other pests, their territorial nature makes them dangerous neighbors. A single accidental disturbance—like mowing the lawn or a child playing fetch—can trigger a defensive swarm. For individuals with allergies, a single sting can lead to anaphylaxis, a life-threatening medical emergency requiring immediate attention.
Furthermore, an established colony grows rapidly throughout the warm season. What starts as a golf-ball-sized nest in spring can expand to house thousands of workers by late summer. Ignoring the early signs allows them to become entrenched in wall voids, under decks, or deep in shrubbery, making removal much more difficult and dangerous later on. Taking action ensures that you can host barbecues, garden, and relax without the constant fear of being stung.
8 Step Methods Guide on How to Get Rid of Wasps in Backyard
Step 1: Identify the Species and Nest Location
Before you attempt any removal, you must know exactly what you are dealing with. Different species require different approaches, as their behaviors vary significantly. Take time to observe the insects from a safe distance to see what they look like. Paper wasps usually have long legs and build open, umbrella-shaped nests under eaves, while yellow jackets are more aggressive, have bright yellow and black bands, and often nest in the ground or wall voids.
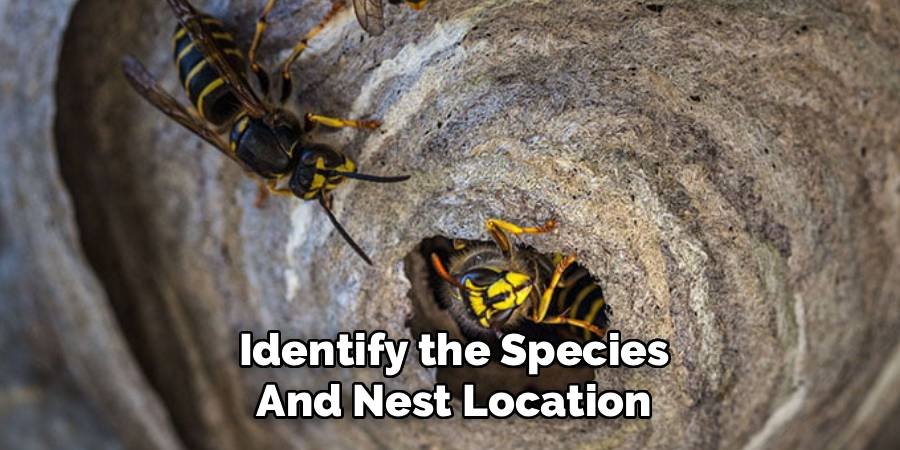
Hornets are larger and build enclosed, football-shaped paper nests in trees. Accurate identification ensures you choose the right treatment method and avoid provoking a species that requires professional handling. Once identified, locate the exact entry point of their home by watching their flight paths during the day.
Step 2: Observe Flight Patterns to Find the Nest
Finding the nest is not always as obvious as looking up at your roof eaves. Many colonies are hidden from plain sight, tucked away inside dense bushes, hollow trees, or underground burrows. To locate the main hub, spend some time watching the insects’ movement patterns during the warmest part of the day when they are most active. You will likely see a steady stream of traffic entering and leaving a specific spot.
Do not approach the area immediately; simply note the location mentally or mark it from a distance. If the insects seem to be disappearing into the ground, you likely have a yellow jacket problem. Knowing the precise location is vital because simply spraying flying insects individually will not solve the infestation at its source.
Step 3: Gather the Correct Protective Gear
Safety is your absolute priority when engaging with stinging insects. You must cover as much skin as possible to prevent painful stings during the removal process. Wear long pants made of thick denim and a long-sleeved shirt, preferably with a high collar. Tuck your pant legs into your socks and your shirt into your pants to prevent insects from crawling underneath your clothing. Wear boots, heavy gloves, and a hat.
If you have a veil or netting to protect your face and neck, wear it. Even if you are not allergic, multiple stings can be dangerous. Preparing your gear beforehand ensures you can focus on the task without panicking if the insects become agitated during the treatment.
Step 4: Choose the Right Time for Treatment
Timing is everything when planning your attack on a colony. You should never attempt to remove a nest during the middle of the day when the insects are warm, active, and aggressive. The best time to act is late at night or very early in the morning, ideally just before dawn.
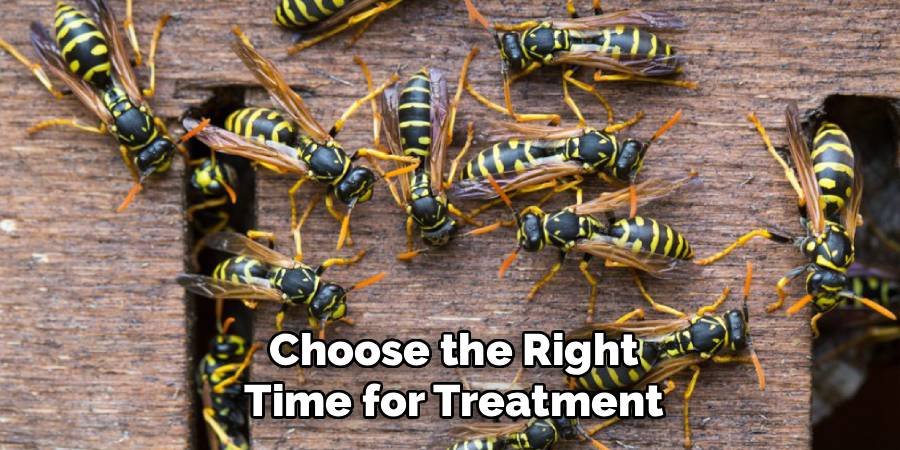
At these times, the colony is generally dormant, and all the workers are inside the nest rather than out foraging. The cooler temperatures also make the insects sluggish, significantly reducing their reaction time. This strategic timing gives you a major advantage, allowing you to approach the nest, apply your chosen treatment, and retreat safely before the colony can mount a full defense.
Step 5: Apply a Soap and Water Solution
For smaller, exposed nests, you do not always need harsh chemicals to be effective. A simple mixture of dish soap and water can work wonders as a contact killer. Mix about two tablespoons of dish soap with water in a spray bottle or a hose-end sprayer for larger reach. The soap works by clogging the breathing spiracles of the insects, causing them to suffocate almost instantly.
This method is particularly effective for paper wasp nests hanging from eaves. Approach the nest quietly during your chosen low-activity time and spray the solution thoroughly, soaking the nest and any insects on it. This is a great first step when figuring out how to get rid of wasps in backyard areas without using toxic pesticides.
Step 6: Utilize Essential Oil Sprays
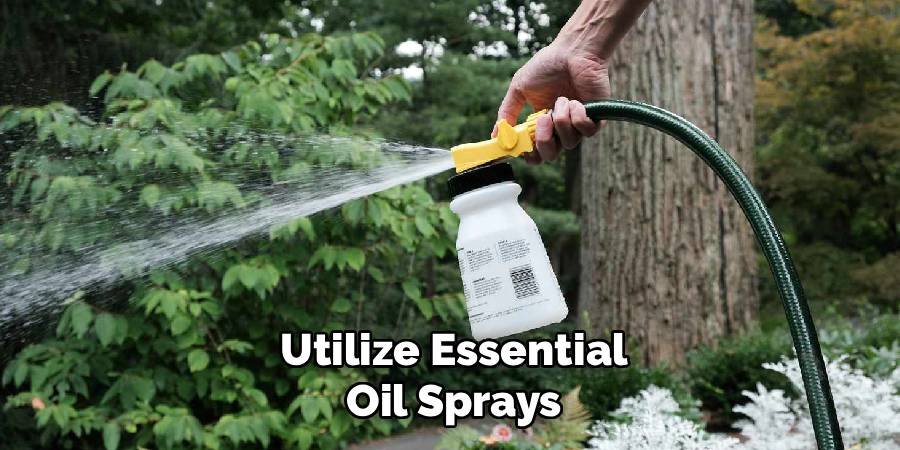
If you prefer a natural deterrent that keeps pests away without killing them instantly, essential oils are a fantastic option. Peppermint oil, specifically, is known to be highly repellant to many stinging insects. Mix several drops of high-quality peppermint oil with water and a small amount of dish soap (to help the oil mix) in a spray bottle.
Spray this solution around potential nesting sites like porch ceilings, ledges, and crevices. You can also spray it directly on smaller nests to encourage the colony to abandon the site. While this method requires more patience and frequent reapplication compared to chemical sprays, it is an environmentally friendly way to maintain a pest-free zone.
Step 7: Set Up Traps for Foraging Insects
Traps are excellent for reducing the population of foraging workers, which weakens the colony over time. You can purchase commercial traps or make your own using a plastic two-liter bottle. Cut the top third of the bottle off and invert it into the bottom section to create a funnel.
Bait the trap with something sweet like sugar water, soda, or fruit juice in the spring and early summer when they crave carbohydrates. In the late summer and fall, switch to protein baits like lunch meat, as their dietary needs change. Place these traps away from your patio or play areas to draw the insects away from where you spend time. This helps manage the population while you plan for nest removal.
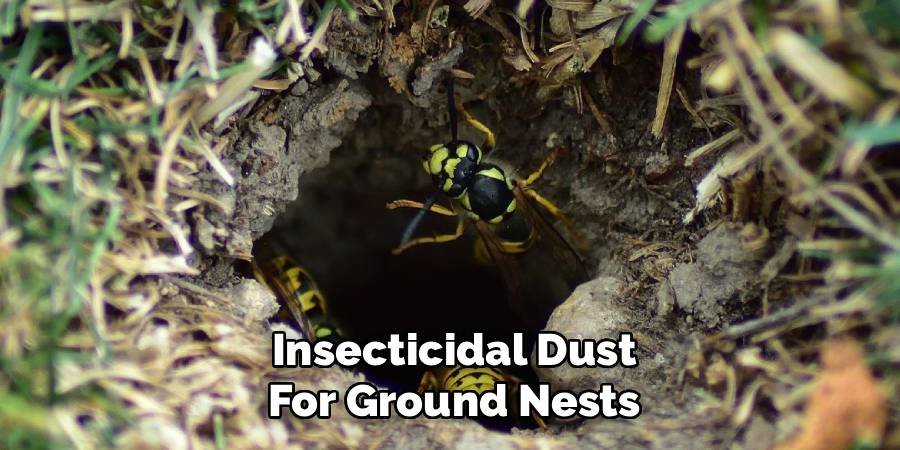
Step 8: Use Insecticidal Dust for Ground Nests
Ground nests, often occupied by aggressive yellow jackets, require a different approach than aerial nests. Liquid sprays often do not penetrate deep enough into the burrow to kill the queen. Instead, use an insecticidal dust labeled for stinging insects. Wait until nightfall, approach the hole quietly, and puff the dust into the entrance according to the package instructions.
Do not cover the hole afterward; you want the workers to track the poisonous dust deep into the nest as they enter and exit. This method usually eliminates the colony within a day or two. It is a critical technique in how to get rid of wasps in backyard burrows effectively and permanently.
Use Long-Distance Aerosol Sprays
For large, hanging nests that are difficult to reach or pose a high risk, a long-distance aerosol spray is often the safest tool. These cans are designed to shoot a jet of foam or liquid up to 20 feet, allowing you to keep a safe distance. Stand upwind to avoid the spray blowing back onto you. Aim at the nest entrance and saturate it thoroughly. The foam expands to block the exit, trapping the insects inside while the poison does its work. Afterward, move away quickly and wait for at least 24 hours before inspecting the nest. If you still see activity the next day, repeat the process the following night.
Dispose of the Nest and Clean Up
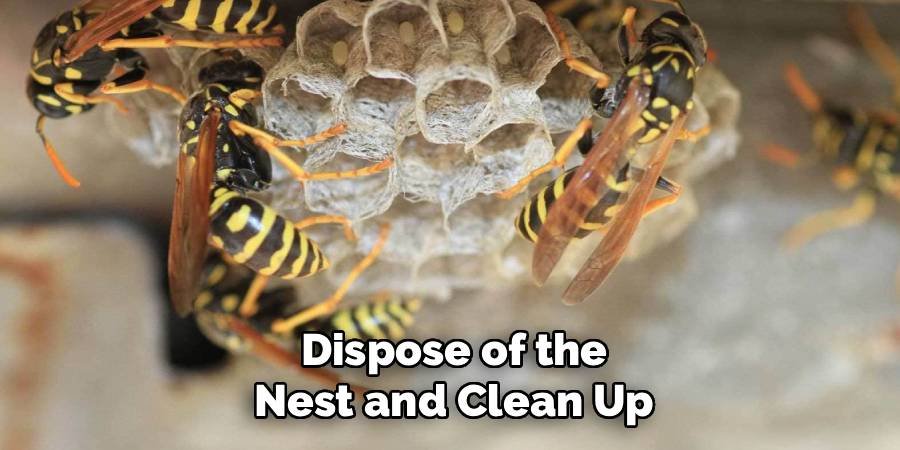
Once you are certain the colony is dead and there is no more activity, it is time to remove the nest. Knock it down using a long stick or broom handle, but keep your protective gear on just in case a stray insect remains. Place the nest in a sealed plastic bag and dispose of it in the trash. After removal, scrub the area where the nest was attached with soap and water. This step is vital because it removes the pheromone scent markers that the insects leave behind. If these scents remain, future queens may identify the spot as a prime location for a new home, restarting the cycle next season.
Frequently Asked Questions
What Is the Safest Time of Day to Remove a Nest?
The safest time to remove a nest is undoubtedly at night, ideally at least two hours after sunset.
- Dormancy: All foragers have returned to the nest for the night.
- Visibility: Their vision is poor in low light, making it harder for them to attack.
- Temperature: Cooler night temperatures make the insects sluggish and slow to react.
Can I Use Vinegar to Kill Stinging Insects?
Yes, vinegar can be used, but it is less effective than other methods for large infestations.
- Mechanism: Acetic acid in vinegar acts as a contact killer.
- Mixture: Mix equal parts water and white vinegar.
- Limitations: It is best suited for small, accessible nests or as a deterrent. It lacks the immediate “knock-down” power of commercial insecticides or soapy water.
Why Do Wasps Keep Coming Back to the Same Spot?
They return to specific areas because of chemical signals and favorable conditions.
- Pheromones: Previous colonies leave behind scent trails that signal “this is a safe home” to new queens.
- Shelter: If the eaves or overhangs provide excellent protection from the elements, new insects will naturally gravitate there.
- Scrubbing: You must scrub the area thoroughly after removal to break this cycle.
Are There Plants That Repel Wasps?
Yes, incorporating certain aromatic plants into your garden can act as a natural deterrent.
- Herbs: Spearmint, thyme, and eucalyptus are generally disliked by stinging insects.
- Flowers: Marigolds and geraniums can also help repel them.
- Strategy: Plant these near patios, decks, and seating areas to create a natural barrier, though they will not eliminate an active nest nearby.
When Should I Call a Professional Exterminator?
You should call a professional if the situation feels unsafe or unmanageable.
- Allergies: If you or a family member is allergic, do not risk DIY removal.
- Location: If the nest is inside a wall, attic, or difficult-to-reach area.
- Size: If the nest is massive or you are dealing with aggressive hornets, professional equipment is required for safety.
Conclusion
Reclaiming your outdoor space requires patience, the right tools, and a commitment to safety. By identifying the species, protecting yourself with the proper gear, and choosing the best removal method for your situation, you can effectively manage these pests. Remember that prevention is just as important as removal; cleaning up food sources and sealing entry points will ensure your garden remains a sanctuary.
We hope this guide motivates you to tackle the problem head-on rather than avoiding your own lawn. You now have the knowledge and steps needed to handle the situation confidently. Once you master how to get rid of wasps in backyard environments, you can enjoy your summer barbecues and gardening in peace.

About
Jovie Mathews is a backyard and outdoor expert writer with over 12 years of hands-on experience transforming neglected outdoor spaces into thriving gardens and functional retreats. Raised in a family where weekends meant digging in the soil and building raised beds from scratch, Jovie developed a genuine love for the outdoors long before it became a career.
She writes with a practical, no-fluff approach — always testing ideas in her own backyard before sharing them with readers. From composting systems and native plant selection to patio design and pest control, Jovie covers the full spectrum of backyard life with equal parts expertise and enthusiasm.
Education
B.Sc. in Horticulture Science
University of Florida (UF) · Gainesville, FL · 2014
IFAS College of Agricultural and Life Sciences
Minor in Environmental Studies
University of Florida (UF) · Gainesville, FL · 2014
College of Liberal Arts and Sciences
Areas of expertise
- Lawn & Garden Care
- Soil prep, planting, seasonal care
- Outdoor DIY Projects
- Raised beds, fencing, pathways
- Composting & Soil Health
- Organic methods, amendments
- Native Plants & Wildlife
- Pollinators, habitat gardening
When she is not writing, Jovie can be found testing new composting techniques, growing tomatoes in questionable quantities, or convincing her neighbors that clover lawns are actually a great idea. She currently gardens in the Pacific Northwest.




