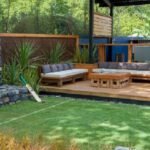
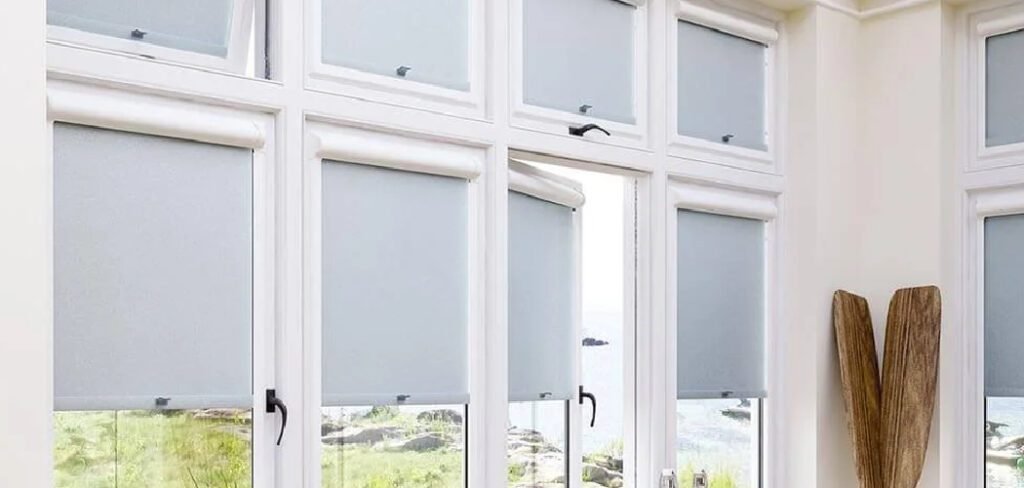
Enjoying your outdoor patio during the hot summer months often requires a bit of shade. However, if your patio cover has a significant slope or pitch, installing standard window treatments can feel like a geometry puzzle. The angle creates a challenge for mounting hardware, often leaving homeowners scratching their heads about leveling and stability.
Fortunately, with the right approach and a few clever adjustments, you can achieve a professional-looking installation that provides the shade you crave. This guide is designed to demystify the process for beginners and DIY enthusiasts alike.
We will walk you through the essential techniques and tools needed to master how to hang a blind on a sloping patio cover without hiring a contractor.
By following these steps, you will transform your angled outdoor space into a cool, comfortable retreat, ensuring your new shades hang perfectly straight despite the incline of the roof above them.
Hanging blinds on a sloping patio cover may seem like a challenge, but with the right approach, it’s a task that anyone can handle. Whether you’re looking to create a shaded oasis or achieve a polished, finished look for your outdoor space, this project can deliver professional results at a fraction of the cost.
With a few tools, some careful measurements, and a bit of patience, you’ll have perfectly installed blinds that not only enhance your patio’s functionality but also its visual appeal.
Why Securing Shade on a Slope Matters
Installing blinds on a sloped surface isn’t just about aesthetics; it is about functionality and longevity. A blind that is mounted incorrectly on an angle will not roll up or down smoothly.
The fabric may bunch, the mechanism can jam, and uneven weight distribution can eventually pull the screws right out of the wood. Furthermore, proper installation ensures that the shade effectively blocks the sun at the right angles, maximizing comfort.
When dealing with a patio cover that pitches for drainage, the header beam is rarely level with the ground. If you mount brackets directly to this angled beam without modification, gravity will pull the blind sideways.
Solving this issue usually involves creating a level mounting surface using shims or custom wedge blocks. This attention to detail prevents wear and tear on your expensive outdoor shades and ensures they operate safely for years to come.
7 Step-by-Step Guide: How to Hang a Blind on a Sloping Patio Cover
Step 1: Measure the Slope Angle
The first and most critical task is to determine exactly how steep your patio cover’s pitch is. You cannot simply guess this angle, as even a few degrees can throw off the entire installation. Place a digital level or a standard spirit level against the underside of the rafter or beam where you intend to mount the shade.
If using a standard level, lift the lower end until the bubble is perfectly centered, then measure the gap between the level and the beam. This measurement will help you calculate the size of the wedge or shim needed to create a flat horizontal surface. Taking accurate measurements now prevents frustration later.
Step 2: Create or Purchase Angled Shims
Once you know the degree of the slope, you need to counteract it to create a level mounting point. You can purchase pre-made angled shims, often called tapered wedges, from hardware stores, or cut your own from a piece of pressure-treated lumber.
If cutting your own, use a table saw or miter saw to match the angle you measured in the previous step.
The goal is to create a triangular block where the top matches the slope of the roof, and the bottom provides a perfectly horizontal surface for the bracket. This custom piece is the secret ingredient for how to hang a blind on a sloping patio cover successfully.
Step 3: Mark the Bracket Locations
With your shims ready, hold the blind up to the desired location to visualize exactly where it should hang. It is helpful to have a second pair of hands for this step. Mark the spots for the mounting brackets on the angled beam with a pencil.

Ensure these marks are spaced according to the manufacturer’s instructions for your specific blind, usually a few inches in from each end. Double-check the width to make sure the blind will fit between any posts or obstructions. Precision here is key, as you want the blind to be centered and aesthetically pleasing once it is fully installed.
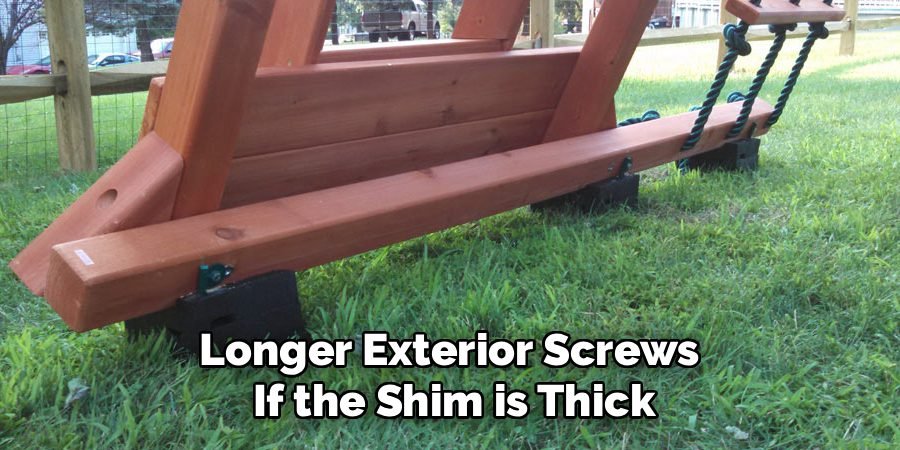
Step 4: Attach the Shims to the Beam
Now you must secure the wooden shims or wedges to the patio cover beam at the marks you just made. Use long, exterior-grade wood screws that are durable enough to withstand outdoor elements. Pre-drill holes through the shims to prevent the wood from splitting.
Drive the screws through the shim and deep into the rafter or beam above. Check each shim with a spirit level after attaching it to ensure the bottom face is perfectly horizontal. If they are not level, the blind will hang crookedly and will not roll up correctly, so take the time to adjust them until they are perfect.
Step 5: Install the Mounting Brackets
Attach the blind’s metal mounting brackets directly to the level bottom surface of your installed shims. Since you have already done the hard work of leveling the mounting surface with the shims, this step should be straightforward. Use the screws provided with your blind kit, or upgrade to longer exterior screws if the shim is thick.
Align the front edge of the brackets so the blind will hang straight down without hitting the beam or any other obstruction. Tighten the screws firmly, ensuring the brackets are rigid and secure. This solid foundation is crucial for supporting the weight of the shade during windy conditions.
Step 6: Mount the Headrail into the Brackets
Lift the blind’s headrail and carefully snap or slide it into the mounting brackets you just secured. Depending on the brand, you might hear a distinct click when it locks into place, or you may need to tighten a set screw to hold it firm. Once the headrail is seated, gently tug on it to ensure it is completely secure and will not dislodge.
This moment is the payoff for your preparation; because you leveled the mounting points, the headrail should sit perfectly horizontal, regardless of the roof’s pitch. This alignment allows the internal roller mechanism to function smoothly without friction or binding.
Step 7: Install Tie-Downs or Bungees
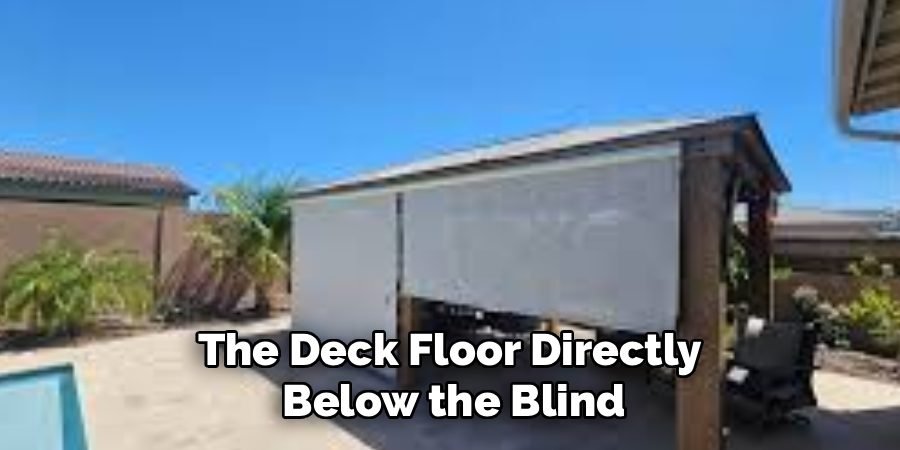
Outdoor blinds are constantly exposed to wind, which can turn them into giant sails if not secured at the bottom. Most outdoor shades come with tie-down rings or bungee cord systems to anchor the bottom rail. Install these anchors into the patio posts or the deck floor directly below the blind.
Lower the blind completely and mark where the tie-downs should go to maintain tension. Properly anchoring the bottom prevents the blind from flapping violently, which protects the fabric and the mounting hardware you painstakingly installed. It completes the project and ensures your shade stays exactly where you want it.
Frequently Asked Questions (FAQ)
Do I Need Special Tools to Cut the Shims?
You do not necessarily need expensive professional equipment, but a power saw makes the job significantly easier. A circular saw or a miter saw is ideal for cutting precise angles on wooden blocks. If you lack these tools, a handsaw and a miter box can work, though it requires more elbow grease and patience.
Can I Use Washers Instead of Wood Shims?
For very minor slopes, stacking metal washers behind the lower screw hole of the bracket can work to level it out. However, for most patio covers with a noticeable pitch, washers are unstable and unattractive. Solid wood wedges provide a much more secure and professional-looking base for the brackets to sit against.
What Type of Wood Should I Use for Wedges?
Since these wedges will be exposed to the elements, you must use weather-resistant lumber. Pressure-treated pine, cedar, or redwood are excellent choices because they resist rot and insect damage. You can also paint or stain the wedges to match your patio cover, which adds an extra layer of protection and improves aesthetics.
How Do I Know If the Blind Is Level?
Use a spirit level specifically on the installed brackets or the mounted headrail itself. Do not trust your eyes, as the sloping roofline creates an optical illusion that makes straight lines look crooked. Trust the bubble in your level; if it is centered, your blind will operate correctly regardless of how it looks against the slope.
Will This Method Work for Motorized Blinds?
Yes, creating a level mounting surface is actually even more critical for motorized blinds. Motors can easily burn out if they have to work against the friction caused by an unlevel roller tube. Ensuring the brackets are perfectly horizontal using shims will prolong the life of the motor and ensure smooth, quiet operation.
Conclusion
Mastering the installation of outdoor shades on an angled roof structure is a rewarding DIY project that significantly enhances your outdoor living experience. By taking the time to measure accurately and creating custom leveling shims, you ensure that your blinds look professional and function flawlessly for years.
You no longer have to suffer through the glaring sun just because your roof line isn’t flat. The key is patience and using the right materials to counteract gravity.
Now that you understand the process, you can confidently tackle this project and reclaim your patio from the afternoon heat. Remember, the effort you put into leveling the brackets is the most important part of the job.
With your new knowledge of how to hang a blind on a sloping patio cover, you are ready to create a cool, shaded sanctuary right in your own backyard. Grab your level and drill, and get ready to enjoy the shade.
About
Jovie Mathews is a backyard and outdoor expert writer with over 12 years of hands-on experience transforming neglected outdoor spaces into thriving gardens and functional retreats. Raised in a family where weekends meant digging in the soil and building raised beds from scratch, Jovie developed a genuine love for the outdoors long before it became a career.
She writes with a practical, no-fluff approach — always testing ideas in her own backyard before sharing them with readers. From composting systems and native plant selection to patio design and pest control, Jovie covers the full spectrum of backyard life with equal parts expertise and enthusiasm.
Education
B.Sc. in Horticulture Science
University of Florida (UF) · Gainesville, FL · 2014
IFAS College of Agricultural and Life Sciences
Minor in Environmental Studies
University of Florida (UF) · Gainesville, FL · 2014
College of Liberal Arts and Sciences
Areas of expertise
- Lawn & Garden Care
- Soil prep, planting, seasonal care
- Outdoor DIY Projects
- Raised beds, fencing, pathways
- Composting & Soil Health
- Organic methods, amendments
- Native Plants & Wildlife
- Pollinators, habitat gardening
When she is not writing, Jovie can be found testing new composting techniques, growing tomatoes in questionable quantities, or convincing her neighbors that clover lawns are actually a great idea. She currently gardens in the Pacific Northwest.