

A backyard swing can be a source of endless joy, from the gentle sway of a porch swing to the thrilling arc of a classic tree swing. It offers a special place for relaxation, play, and making memories. However, the safety and longevity of your swing depend entirely on a proper installation.
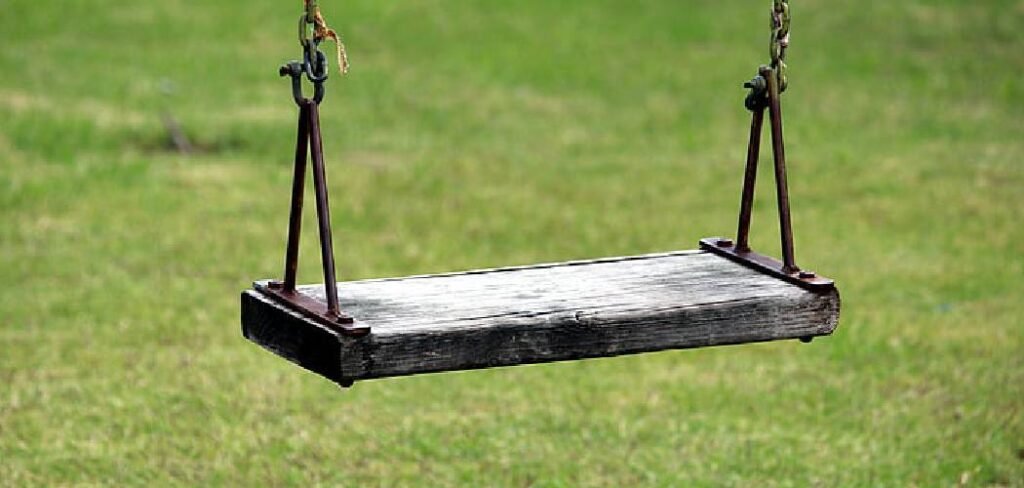
Learning how to hang swings correctly is a crucial skill for any homeowner, ensuring that every push is secure and every moment is worry-free. This guide will walk you through the entire process, providing clear, step-by-step instructions. We will cover everything from selecting the right location to testing the final setup, giving you the confidence to complete this rewarding project yourself.
Secure Swing Installation Matters
The difference between a few hours of fun and years of safe enjoyment lies in the installation. A poorly hung swing is a significant safety hazard. The forces generated by swinging are surprisingly powerful, and an unsecured anchor point can fail without warning, leading to potential injuries. Beyond the immediate safety concerns, a proper installation protects your property. An incorrectly placed swing can cause damage to a tree branch, weakening it over time, or even compromise the structural integrity of a porch or playset. By taking the time to hang your swing correctly from the start, you are investing in peace of mind and ensuring your outdoor space remains a safe haven for family and friends.
7 Step-by-Step Guide on How to Hang Swings
Step 1: Choose the Perfect Location
Before you can even think about hardware, you must select the right spot. The ideal location depends on the type of swing you have. For a tree swing, look for a sturdy, mature hardwood tree like an oak or maple. The branch should be at least 8 inches in diameter, healthy, and relatively horizontal.

Avoid branches that are dead, cracked, or show signs of disease. For a swing on a porch or playset, you need a structurally sound overhead beam. Ensure the location has ample clearance—at least six feet in front and behind the swing—to allow for a full range of motion without any obstacles.
Step 2: Gather Your Tools and Materials
Having everything you need on hand will make the process much smoother. You will need a sturdy ladder, a tape measure, a drill with various bits, and a socket wrench set. The specific hanging hardware will vary based on your swing and location. For a tree branch, you might use heavy-duty straps or eye bolts. For a wooden beam, swing hangers with lag screws are a common choice. Always purchase a high-quality swing hanging kit rated for a weight capacity well above that of the intended users. Don’t forget safety gear, including safety glasses to protect your eyes from debris and gloves to protect your hands.
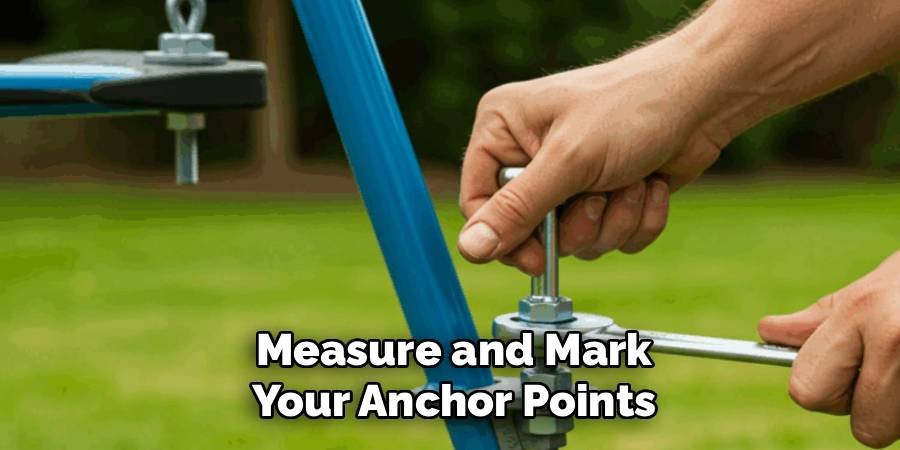
Step 3: Measure and Mark Your Anchor Points
Precision is key to a balanced and safe swing. For a single-rope swing, you only need one anchor point. For a swing with two ropes, you need to measure carefully. The distance between your two anchor points should be slightly wider than the width of the swing itself. This provides stability and prevents the ropes from rubbing against each other. Use your tape measure to determine the correct spacing and mark the spots on the branch or beam with a pencil. Double-check your measurements before you proceed to the next step. An even and well-spaced setup is crucial for a smooth, straight swing path.
Step 4: How to Hang Swings by Drilling Pilot Holes
For installations involving bolts or lag screws, drilling pilot holes is a non-negotiable step. A pilot hole is slightly smaller than the screw’s diameter and serves as a guide, preventing the wood from splitting when you drive the larger screw in. This is especially important for tree branches and wooden beams, as splitting can compromise structural integrity. Select a drill bit that is about half the diameter of your lag screw. Drill a straight, clean hole at each of your marked anchor points. Make the hole deep enough to accommodate the full length of the screw for maximum security.
Step 5: Install the Swing Hangers
With your pilot holes drilled, you can now install the hardware. If you are using eye bolts, thread them into the pilot holes until they are completely secure. Make sure the eye is oriented correctly to allow the swing connector to move freely. If you are using specialized swing hangers, place the hanger over the pilot hole and use your socket wrench to drive the lag screws firmly into the beam or branch. Tighten them until the hanger is flush and immobile. The hardware should feel completely solid with no wobble or give. For tree straps, simply loop them over the branch according to the manufacturer’s instructions.
Step 6: Attach the Ropes or Chains
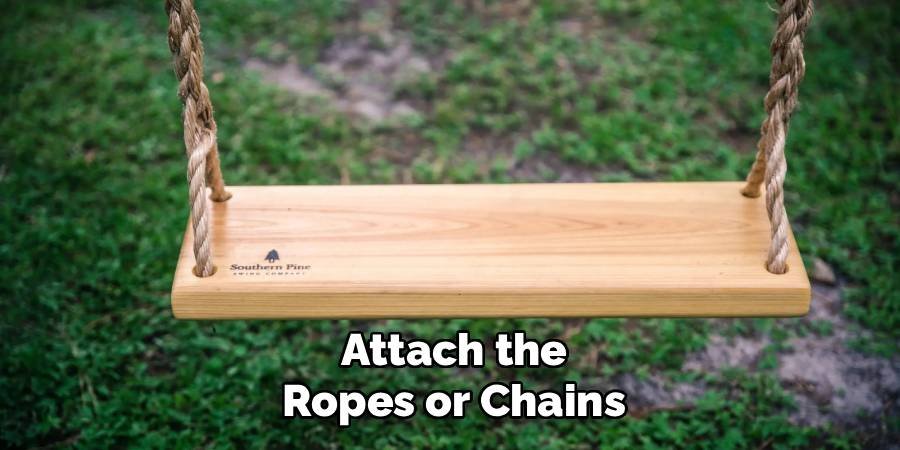
Now it’s time to connect the swing to the hangers. Most hanging kits come with carabiners or S-hooks for this purpose. Attach the connectors to your newly installed hangers. Next, lift the swing and attach its ropes or chains to the connectors. Ensure that any hooks are securely closed to prevent the swing from accidentally detaching during use. Double-check that the ropes or chains are not twisted. A proper connection is smooth and allows for unrestricted movement, which is essential for a safe and enjoyable swinging experience.
Step 7: Adjust the Swing Height
The height of the swing seat is important for both comfort and safety. A good rule of thumb is to set the seat height so the user’s feet can comfortably touch the ground when seated, allowing them to control their motion. For a standard playground swing, this is typically around 16 to 18 inches off the ground. Use the adjustment points on your ropes or chains to raise or lower the seat. Use a tape measure to ensure both sides are perfectly even. An uneven swing will not move correctly and can put undue stress on one side of the hanging hardware.
Test for Safety and Stability
This is the most critical step in learning how to hang swings. Before allowing anyone to use the swing, you must test its strength. Start by pulling down firmly on the swing with your full body weight. Listen for any creaking from the branch or beam and watch for any movement in the hardware. If everything seems secure, sit on the swing and gently sway back and forth. Gradually increase your motion to simulate normal use. The swing should move smoothly without any concerning noises or signs of stress from the anchor points. Only after this thorough test is the swing ready for use.
Common Mistakes to Avoid
When setting up or using a swing, there are several common mistakes that can compromise safety. One frequent error is failing to inspect the branch or beam for signs of weakness, such as cracks, rot, or deterioration. Choosing hardware that is not rated for the intended weight capacity is another oversight that can lead to accidents. Additionally, skipping the testing phase after installation can result in undetected structural issues. It’s also important to avoid hanging the swing on uneven or slanted surfaces, as this can affect balance and stability during use. Ensuring proper precautions and avoiding these mistakes will help create a safe and enjoyable swinging experience.

Frequently Asked Questions
What Is the Best Type of Branch to Hang a Swing From?
The ideal branch is on a mature, healthy hardwood tree such as an oak, maple, or sycamore. The branch should be at least 8 inches in diameter, alive, and growing roughly parallel to the ground. Avoid any branches that show signs of disease, cracks, insect damage, or decay. A living branch has the flexibility and strength needed to safely support the dynamic load of a person swinging.
How Much Weight Can a Tree Swing Hold?
The weight capacity depends on several factors:
- The strength of the branch
- The quality of the hanging hardware
- The type of rope or chain used
A healthy, 8- to 10-inch diameter hardwood branch can often support several hundred pounds. However, you should always adhere to the lowest weight rating of all your components. A high-quality swing hanging kit will specify its weight limit, which is typically between 500 and 1,000 pounds.
Can I Hang a Swing from a Porch Ceiling?
Yes, but you must attach it to a structural support beam or joist, not just the ceiling planks. Use a stud finder to locate a solid joist that is at least a 2×6 or larger. For maximum safety, it’s best to install the swing hangers into a primary support beam of the porch structure. If you are unsure about the structural integrity of your porch, consult a professional contractor before proceeding.
How Far Apart Should Swing Hangers Be?
The hangers should be spaced slightly wider than the swing seat itself. This provides stability and prevents the user from tipping. For a standard single-person swing, a spacing of about 20 to 24 inches between the hangers is common. For a wider porch swing or a tire swing, you will need to adjust this distance accordingly. Always measure before you drill to ensure the spacing is correct and even.
What Is the Best Way to Protect a Tree Branch from a Swing Rope?
Repeated friction from a rope can wear away the bark and damage the tree branch over time. The best solution is to use wide tree swing straps. These straps are made of durable webbing material that distributes the load over a larger surface area, minimizing damage. Alternatively, you can place a piece of durable material like a section of rubber hose or thick burlap between the rope and the branch to serve as a protective sleeve.
Conclusion
Creating a safe and enjoyable swing area in your backyard is a rewarding project that your family can appreciate for years. By following these steps—from selecting the right location and materials to meticulously installing and testing the hardware—you can feel confident in your work. The key is to prioritize safety at every stage. Now that you have a clear understanding of how to hang swings, you are ready to build a special spot for fun and relaxation. Take your time, double-check your measurements, and soon you’ll be enjoying the simple pleasure of a perfectly hung swing.

About
Jovie Mathews is a backyard and outdoor expert writer with over 12 years of hands-on experience transforming neglected outdoor spaces into thriving gardens and functional retreats. Raised in a family where weekends meant digging in the soil and building raised beds from scratch, Jovie developed a genuine love for the outdoors long before it became a career.
She writes with a practical, no-fluff approach — always testing ideas in her own backyard before sharing them with readers. From composting systems and native plant selection to patio design and pest control, Jovie covers the full spectrum of backyard life with equal parts expertise and enthusiasm.
Education
B.Sc. in Horticulture Science
University of Florida (UF) · Gainesville, FL · 2014
IFAS College of Agricultural and Life Sciences
Minor in Environmental Studies
University of Florida (UF) · Gainesville, FL · 2014
College of Liberal Arts and Sciences
Areas of expertise
- Lawn & Garden Care
- Soil prep, planting, seasonal care
- Outdoor DIY Projects
- Raised beds, fencing, pathways
- Composting & Soil Health
- Organic methods, amendments
- Native Plants & Wildlife
- Pollinators, habitat gardening
When she is not writing, Jovie can be found testing new composting techniques, growing tomatoes in questionable quantities, or convincing her neighbors that clover lawns are actually a great idea. She currently gardens in the Pacific Northwest.




