

Getting ready for a day at the pool or beach means making sure your gear is ready to go. A swimming tube is a classic summer accessory, promising hours of fun and relaxation on the water. However, an uninflated tube is just a piece of vinyl.
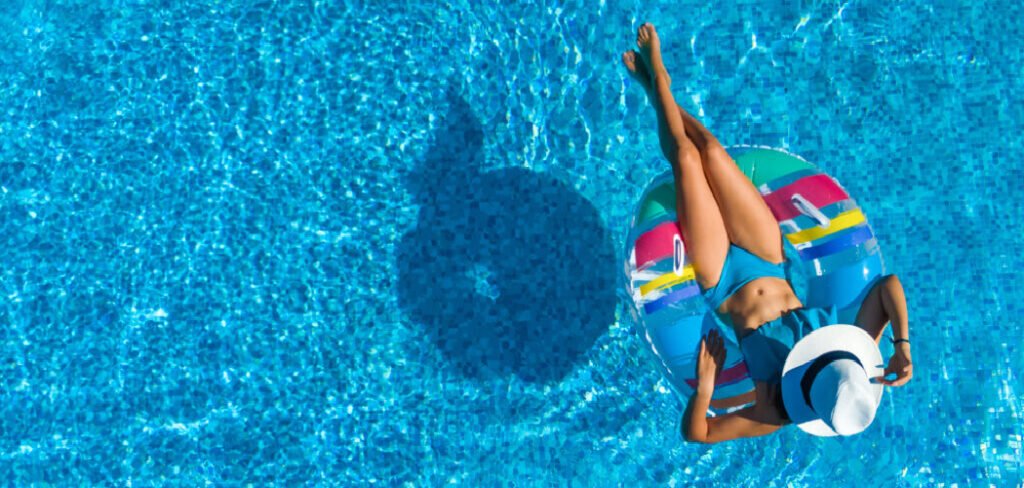
Learning how to inflate swimming tube correctly is the first step to your aquatic adventure. This guide will walk you through the process, ensuring your float is firm, safe, and ready for the water. We will cover everything from preparing the tube to the final inflation checks, making it simple for anyone to get their float ready for a perfect day.
Why a Properly Inflated Tube Matters
A properly inflated swimming tube isn’t just about looks; it’s crucial for both performance and safety. An underinflated tube will sag in the water, providing poor support and making it difficult to float comfortably. Conversely, overinflating can strain the seams, increasing the risk of a sudden pop or leak, which could be dangerous in deep water.
Getting the inflation just right ensures the tube is buoyant, stable, and durable, allowing you to relax and enjoy your time without worry.
8 Step-by-Step Guide on How to Inflate Swimming Tube
Step 1: Unpack and Inspect Your Swimming Tube
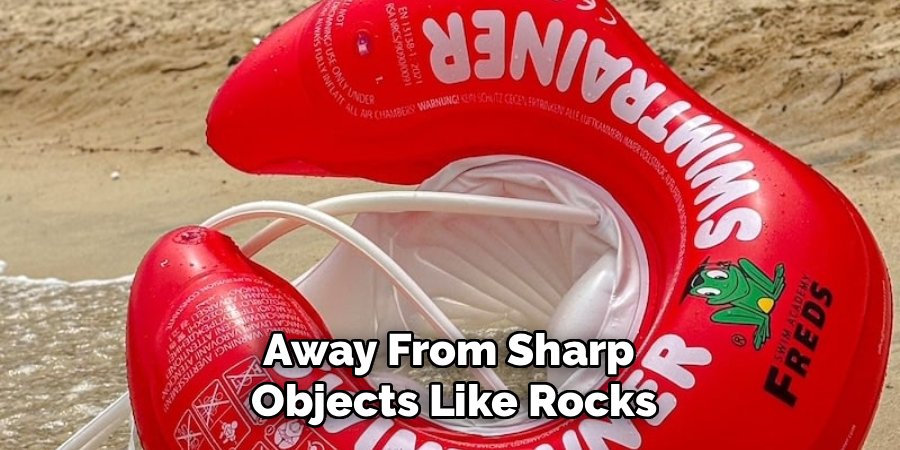
Before you begin, carefully unpack your new swimming tube. Lay it flat on a smooth, clean surface, away from sharp objects like rocks, sticks, or thorns that could cause a puncture. Take a moment to thoroughly inspect the entire surface of the tube, checking both sides for any pre-existing holes, tears, or weak spots, especially along the seams.
This initial check is a critical preventative measure that can save you the disappointment of discovering a leak after you have already started the inflation process.
Step 2: Locate the Air Valve
Every inflatable has one or more air valves. Your next task is to find it on your swimming tube. Most tubes have a single, primary valve, which is usually a small, plastic nozzle that sticks out from the surface. Some larger or more complex inflatables might have multiple valves or chambers.
The valve will have a cap that needs to be unscrewed or pulled off to open it. Familiarize yourself with the type of valve you have, as some have a secondary safety feature that prevents air from escaping immediately when you stop inflating.
Step 3: Choose Your Inflation Method
You have several options for getting air into your tube. For smaller tubes, you can use your own lung power, but this can be tiring and time-consuming. A manual hand or foot pump is a great, portable alternative that makes the job much easier. For the fastest and most effortless results, an electric air pump is the best choice.
These pumps often come with different nozzle attachments to fit various valve sizes. Choose the method that best suits the size of your tube and the tools you have available.
Step 4: Prepare the Valve for Inflation
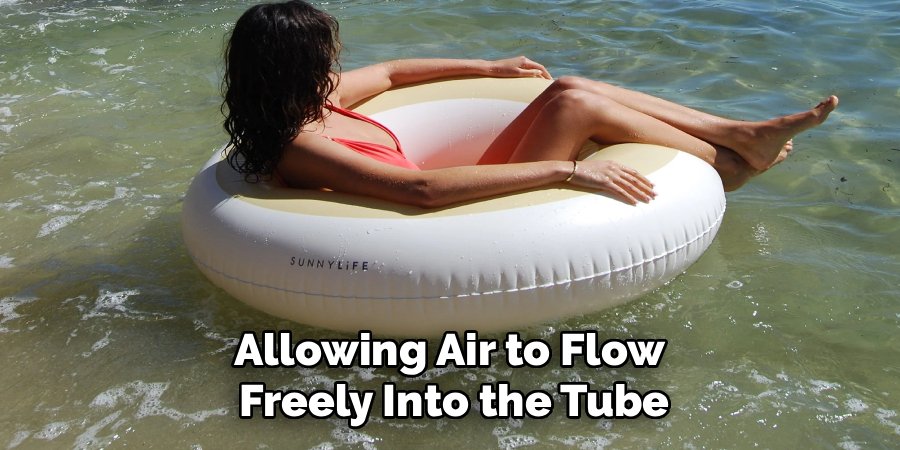
Most modern swimming tubes use a two-part safety valve. To inflate it, you must first open the main cap. Inside, you will likely see a clear flap that sits flush against the opening. This flap needs to be gently pinched or squeezed at its base. This action opens the inner membrane, allowing air to flow freely into the tube.
If you are inflating by mouth, you will need to pinch the base of the valve with your teeth or fingers while you blow. For a pump, ensure the nozzle is inserted far enough to bypass this flap.
Step 5: Begin Inflating the Tube
Start introducing air into the tube. If you are blowing by mouth, take deep breaths and exhale steadily into the valve while pinching its base. If using a manual pump, place your hands or feet on the pump and use consistent, even strokes to push air into the tube.
With an electric pump, simply attach the correct nozzle, insert it into the valve, and turn it on. The tube will begin to take shape. Keep an eye on its progress and ensure it inflates evenly without any major kinks or folds.
Step 6: How to Inflate Swimming Tube to the Right Firmness
This is the most crucial part of learning how to inflate swimming tube effectively. Continue inflating until the tube is firm to the touch but still has a little give. A good test is to press your thumb into the surface; it should leave a small indentation that bounces back quickly.
Avoid inflating it until it is rock-hard. An overinflated tube puts immense stress on the seams, which can cause them to split, especially when exposed to the heat of the sun, which causes the air inside to expand further.
Step 7: Close and Secure the Valve
Once you have achieved the desired firmness, you need to seal the valve quickly to prevent air from escaping. If you are using your mouth or a manual pump, stop and immediately cap the inner valve flap before removing your mouth or the nozzle. Then, securely fasten the outer cap.
For electric pumps, switch off the power and quickly remove the nozzle, sealing the valve right away. Ensure the cap is pushed on tightly to create an airtight seal that will keep your tube firm for hours of use.
Step 8: Checking for Leaks
After sealing the valve, it is essential to check for any potential leaks. Gently press on the surface of the tube and listen closely for any hissing sounds that might indicate escaping air. If you suspect a leak, inspect the valve and its surrounding area to ensure it is properly closed and undamaged.
Another method is to use soapy water by applying a small amount around the valve – bubbles will appear if air is escaping. If a leak is detected, reseal the valve or address the issue before using the tube to ensure optimal performance and safety.
Push the Valve In and Perform a Final Check
After the valve is securely capped, most swimming tubes are designed for you to push the entire valve assembly into the body of the tube. This creates a smooth, flush surface, which prevents the valve from snagging on anything or poking you while you are using it. Once the valve is tucked away, do one final check.
Lightly press on different areas of the tube to confirm it feels evenly firm. You can also listen for any hissing sounds that might indicate a slow leak near the valve or elsewhere.
If you do detect a leak, locate the source by submerging the tube in water while watching for bubbles or inspecting the surface closely.
Once identified, dry the area thoroughly before applying a patch or sealant specifically designed for repairing inflatable materials. Allow ample time for the repair to set before rechecking for leaks. Properly maintaining your swimming tube ensures it will last longer and provide a safe, enjoyable experience for future use.
Frequently Asked Questions
How Do I Find a Hole in My Swimming Tube?
To find a leak, inflate the tube and submerge it in a bathtub or pool of water. Look for a stream of bubbles, which will pinpoint the hole’s location. If you don’t have a pool, mix dish soap and water in a spray bottle, coat the tube, and look for the spot where bubbles start to form.
Can I Use an Air Compressor to Inflate a Swimming Tube?
It is not recommended to use a standard air compressor, like one for car tires. These tools deliver high-pressure air very quickly and can easily overinflate and burst your swimming tube. If you must use one, proceed with extreme caution and use very short bursts of air. An electric pump designed for inflatables is a much safer option.
How Long Does It Take to Inflate a Swimming Tube?
The time varies based on the tube’s size and your method.
- By Mouth: A small tube can take 5–10 minutes.
- Manual Pump: A medium-sized tube may take 3–7 minutes.
- Electric Pump: Most tubes can be inflated in just 1–3 minutes.
Why Does My Swimming Tube Lose Air in the Sun?
While heat causes air to expand, it can also make the vinyl material of the tube softer and more pliable. This can cause the tube to feel less firm. Additionally, temperature changes between hot sun and cool water can affect the air pressure inside. A small amount of pressure loss is normal, but significant deflation could indicate a slow leak.
How Should I Store My Inflated Swimming Tube?
If you plan to use it again soon, store the inflated tube in a shaded, cool area away from sharp objects. Do not leave it in direct sunlight for extended periods, as the heat can expand the air and stress the seams. For long-term storage, it is best to completely deflate the tube, ensure it is clean and dry, and fold it neatly.
Conclusion
You now have all the information you need to get your float ready for the water. By following these steps—from the initial inspection to finding the right firmness and securing the valve—you can ensure a safe and enjoyable experience. Proper inflation protects your tube from damage and makes your time on the water more comfortable.
Now that you understand how to inflate swimming tube correctly, you are ready to make the most of your sunny days at the pool, lake, or beach. So grab your tube, pump it up, and get ready to float on.

About
Jovie Mathews is a backyard and outdoor expert writer with over 12 years of hands-on experience transforming neglected outdoor spaces into thriving gardens and functional retreats. Raised in a family where weekends meant digging in the soil and building raised beds from scratch, Jovie developed a genuine love for the outdoors long before it became a career.
She writes with a practical, no-fluff approach — always testing ideas in her own backyard before sharing them with readers. From composting systems and native plant selection to patio design and pest control, Jovie covers the full spectrum of backyard life with equal parts expertise and enthusiasm.
Education
B.Sc. in Horticulture Science
University of Florida (UF) · Gainesville, FL · 2014
IFAS College of Agricultural and Life Sciences
Minor in Environmental Studies
University of Florida (UF) · Gainesville, FL · 2014
College of Liberal Arts and Sciences
Areas of expertise
- Lawn & Garden Care
- Soil prep, planting, seasonal care
- Outdoor DIY Projects
- Raised beds, fencing, pathways
- Composting & Soil Health
- Organic methods, amendments
- Native Plants & Wildlife
- Pollinators, habitat gardening
When she is not writing, Jovie can be found testing new composting techniques, growing tomatoes in questionable quantities, or convincing her neighbors that clover lawns are actually a great idea. She currently gardens in the Pacific Northwest.




