Building a deck is an exciting home improvement project, but what goes underneath is just as important as the beautiful boards on top. Many homeowners overlook the space beneath their deck, leading to weed growth, moisture issues, and even structural rot. Learning how to install gravel under deck structures is the most effective way to prevent these problems and ensure your outdoor oasis lasts for years.
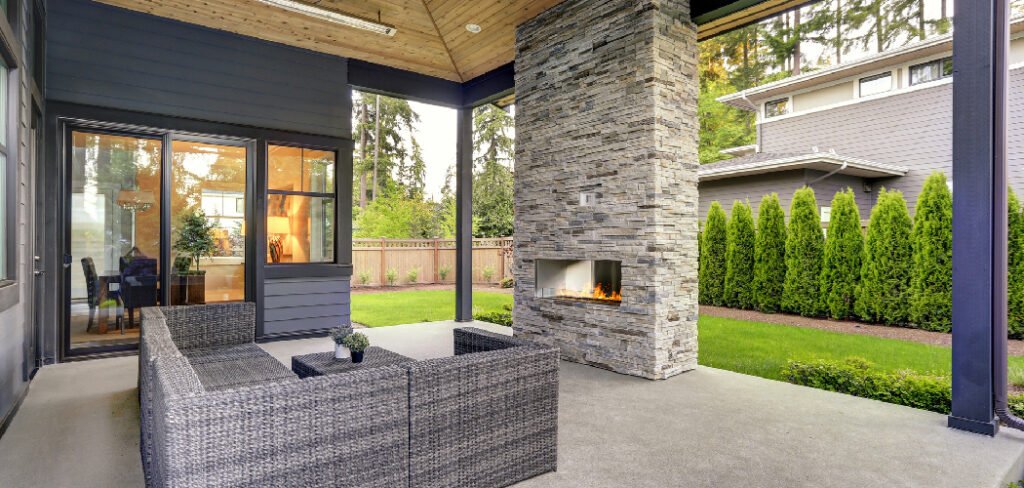
This process creates a clean, dry, and low-maintenance area that protects your investment from the ground up. Whether you are building a brand-new deck or retrofitting an existing one, adding a gravel layer is a straightforward DIY task that pays off significantly in the long run.
The area under a deck is often a dark, damp environment that creates the perfect breeding ground for mold, mildew, and insects. Without proper preparation, moisture from the soil can rise and become trapped against the wooden joists and beams, accelerating rot and decay.
This significantly shortens the lifespan of your deck structure. Furthermore, grass and weeds will inevitably try to grow in this space, becoming unsightly and difficult to trim once the deck boards are installed.
By installing a proper gravel base, you create a barrier that suppresses weed growth and facilitates drainage. The gravel allows rainwater to pass through quickly rather than pooling on the surface, keeping the area drier. This simple addition not only improves the longevity of your deck but also creates a cleaner, more finished look for your backyard. It also discourages pests like rodents and termites from nesting near your home’s foundation.
Step-by-Step Guide how to install gravel under deck
Proper preparation is the key to a long-lasting gravel base. This guide outlines the essential steps to ensure your project is done correctly. By following this process, you will create a professional-grade foundation that enhances drainage and prevents unwanted growth. While it involves some physical labor, the steps are simple enough for any determined DIYer to handle over a weekend.
Step 1: Clear and Grade the Area
Before you bring in any gravel, you need to prepare the ground thoroughly. Start by removing all existing grass, weeds, and organic debris from the area directly beneath where the deck will be. You want to get down to bare soil. Once the vegetation is gone, assess the slope of the ground.
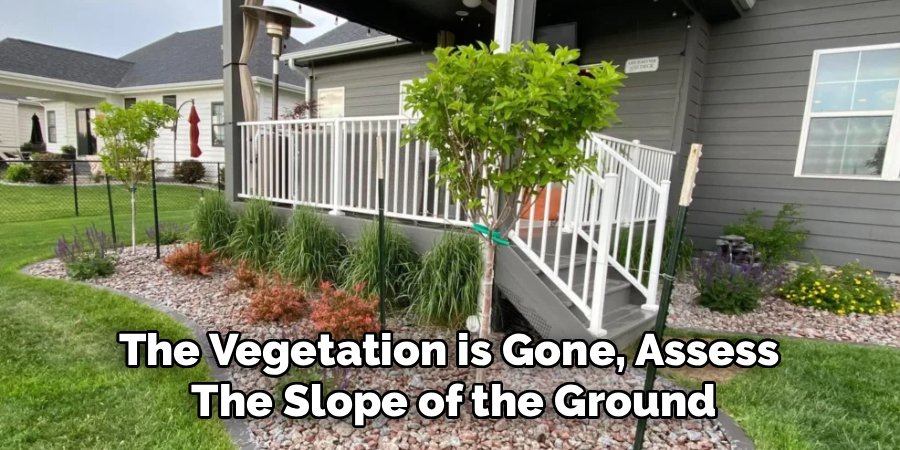
The soil should slope away from your house foundation to ensure water runs off properly and doesn’t pool near your basement or crawlspace. Use a shovel and a rake to grade the soil, creating a gentle slope of about one-quarter inch per foot away from the house. This critical first step prevents future water damage.
Step 2: Install a Weed Barrier
Once the ground is cleared and graded, the next line of defense is a high-quality landscape fabric. This material acts as a barrier that prevents weeds from growing up through the gravel while still allowing water to drain down into the soil. Roll out the heavy-duty landscape fabric over the entire excavated area.
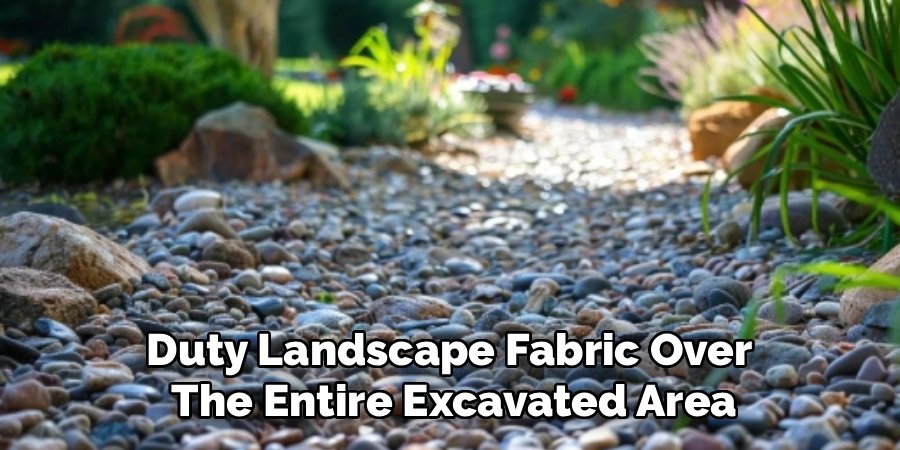
Overlap the edges of the fabric strips by at least six inches to ensure there are no gaps for weeds to sneak through. Use landscape staples or garden pins every few feet to secure the fabric firmly to the ground, paying extra attention to the corners and edges to keep it taut and in place.
Step 3: Choose the Right Gravel
Selecting the correct type of gravel is important for both drainage and stability. For under-deck applications, washed crushed stone or river rock is typically the best choice. Avoid using “crusher run” or gravel with a lot of fines (stone dust), as these can compact too tightly and impede drainage.
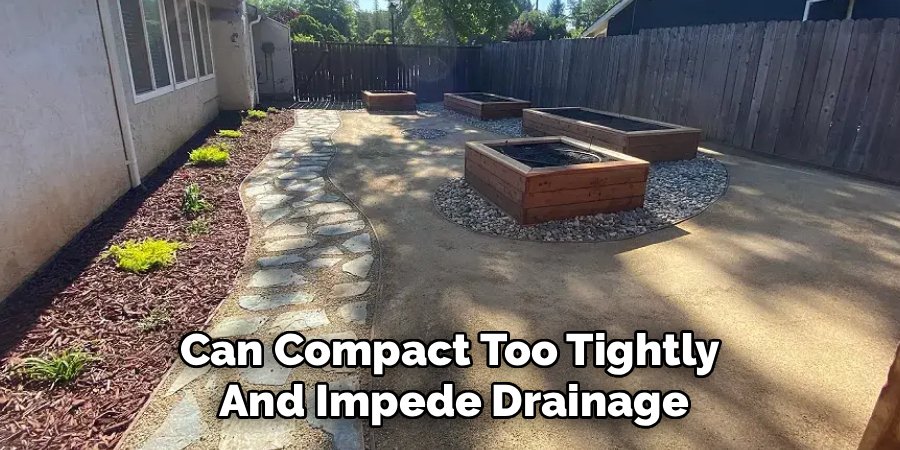
A size of 3/4-inch to 1-inch stone is ideal because it is large enough to stay in place but small enough to spread easily. Calculate the volume you need by multiplying the length, width, and desired depth (usually 2-3 inches) of the area. Ordering a bulk delivery from a local landscape supply yard is usually much cheaper than buying bags from a home improvement store.
Step 4: Spread the First Layer
Now comes the heavy lifting. Begin distributing the gravel over the landscape fabric. If your deck is already built, you may need to shovel the gravel in by hand or use a wheelbarrow to dump piles near the edge and rake them underneath. If the deck isn’t built yet, you can dump piles directly onto the fabric.
Aim for an even distribution across the entire area. Start with a layer about one to two inches thick. Be careful not to tear the landscape fabric with your shovel or rake as you spread the stones. This initial layer anchors the fabric and provides the base for your drainage system.
Step 5: Level and Smooth the Stones
After the initial piles are distributed, use a sturdy garden rake to smooth out the gravel. You want to ensure a consistent depth throughout the entire area under the deck. A uniform layer ensures there are no low spots where water might collect or thin spots where sunlight might eventually penetrate to encourage weed growth.
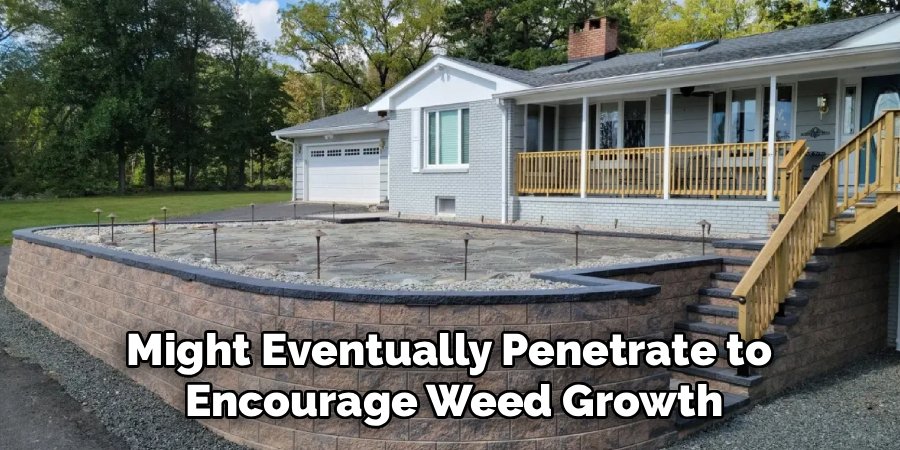
If you are working under a low deck, use a short-handled rake or even a hoe to push and pull the gravel into the hard-to-reach corners. Take your time to get this right; a level surface not only functions better but also looks much more professional if the underside of your deck is visible from the yard.
Step 6: Verify Depth and Coverage
Once the gravel is spread and leveled, check the depth to ensure you have adequate coverage. You are aiming for a total depth of at least 2 to 3 inches. This thickness is sufficient to block sunlight from reaching the soil (further inhibiting weeds) and to provide a robust drainage layer.
If you find spots that are too thin, add more gravel to bring them up to level. Pay special attention to the perimeter and areas around footings or posts. The gravel should completely cover the landscape fabric so that none of the black material is visible. Proper depth is essential for the system to work effectively over the long term.
Step 7: Clean Up and Final Inspection
The final step is to tidy up the work area and do a last check. Use a hose to rinse off any dust from the gravel if it wasn’t pre-washed, which will leave the stones looking clean and sharp. Check the perimeter of the gravel bed to ensure stones haven’t migrated into your lawn or flower beds.
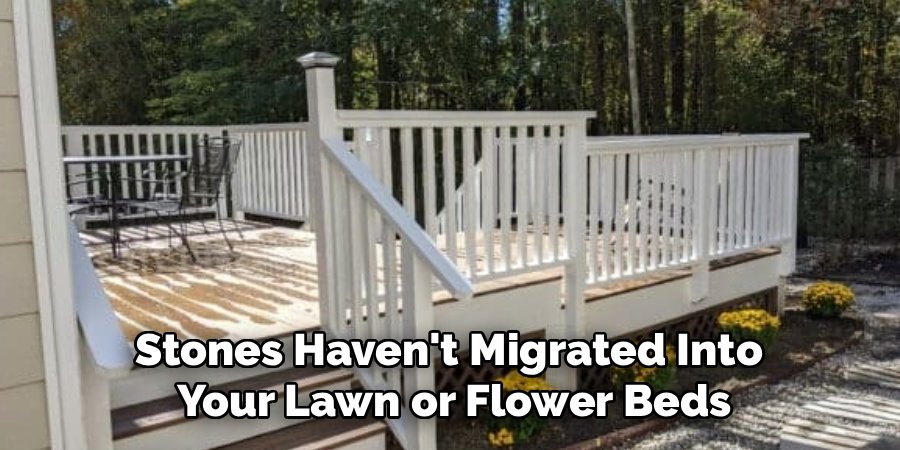
Installing a simple edging material, like plastic lawn edging or treated timber, around the perimeter of the under-deck area can help keep the gravel contained and give the project a finished look. Once everything is tidy, you can proceed with building your deck or simply enjoy the peace of mind knowing your foundation is protected.
Common Mistakes to Avoid
One of the most frequent errors homeowners make is skipping the landscape fabric. Some believe a thick layer of gravel alone will stop weeds, but inevitably, dirt accumulates in the stones, and stubborn weeds push through. Without the fabric, the gravel will also eventually sink into the soil, requiring you to top it off frequently. Always use a heavy-duty, non-woven geotextile fabric rather than cheap plastic sheeting, which traps water and causes pooling.
Another common mistake is neglecting the slope. If you lay gravel over a depression in the ground, water will simply sit there, creating a hidden swamp under your deck. Always grade the soil before laying the fabric. Finally, avoid using too little gravel. A sparse layer of one inch or less will shift over time, exposing the fabric and failing to provide adequate drainage. Skimping on materials now will only lead to more work later.
Frequently Asked Questions (FAQ)
What Is The Best Kind Of Gravel For Under A Deck?
The best gravel for under a deck is typically 3/4-inch washed crushed stone or river rock. Washed stone is free of stone dust (fines), which allows water to drain through it quickly and prevents the gravel from compacting into a concrete-like surface. River rock is also a good option if the area is visible, as it is more aesthetically pleasing.
Do I Need To Remove Grass Before Putting Down Gravel?
Yes, removing grass and organic matter is crucial. If you lay gravel directly over grass, the vegetation will die and decompose, causing the ground to settle unevenly. Furthermore, the decomposing organic matter can create unpleasant odors and attract pests. Clearing down to bare soil ensures a stable, long-lasting base for your project.
How Deep Should The Gravel Be Under A Deck?
The recommended depth for gravel under a deck is between 2 to 3 inches. This depth is sufficient to provide excellent drainage and block sunlight from reaching the soil, which helps prevent weed germination. If you are in an area with very poor drainage, you might consider going slightly deeper, up to 4 inches.
Can I Put Plastic Sheeting Under The Gravel Instead Of Fabric?
No, using plastic sheeting is generally a bad idea. Plastic is impermeable, meaning it stops water from draining into the soil. This causes water to pool on top of the plastic, creating a breeding ground for mosquitoes and causing odors. Landscape fabric is permeable, allowing water to pass through while still blocking weeds.
How Much Does It Cost To Install Gravel Under A Deck?
The cost varies depending on the size of the area and the type of gravel used. Generally, you can expect to pay between $0.50 and $2.00 per square foot for materials if you do the work yourself. Bulk delivery of gravel is significantly cheaper than buying bags. Factor in the cost of landscape fabric and edging when budgeting.
Conclusion
Taking the time to properly prepare the ground beneath your deck is an investment that pays dividends in the health and longevity of your structure. By following the steps to clear the land, install a weed barrier, and spread the right amount of stone, you eliminate common headaches like rot, pests, and unsightly weeds.
It transforms a neglected space into a functional part of your home’s drainage system. Now that you understand exactly how to install gravel under deck areas, you can tackle this project with confidence, knowing you are building a foundation that will support your outdoor living space for decades to come.

About
Jovie Mathews is a backyard and outdoor expert writer with over 12 years of hands-on experience transforming neglected outdoor spaces into thriving gardens and functional retreats. Raised in a family where weekends meant digging in the soil and building raised beds from scratch, Jovie developed a genuine love for the outdoors long before it became a career.
She writes with a practical, no-fluff approach — always testing ideas in her own backyard before sharing them with readers. From composting systems and native plant selection to patio design and pest control, Jovie covers the full spectrum of backyard life with equal parts expertise and enthusiasm.
Education
B.Sc. in Horticulture Science
University of Florida (UF) · Gainesville, FL · 2014
IFAS College of Agricultural and Life Sciences
Minor in Environmental Studies
University of Florida (UF) · Gainesville, FL · 2014
College of Liberal Arts and Sciences
Areas of expertise
- Lawn & Garden Care
- Soil prep, planting, seasonal care
- Outdoor DIY Projects
- Raised beds, fencing, pathways
- Composting & Soil Health
- Organic methods, amendments
- Native Plants & Wildlife
- Pollinators, habitat gardening
When she is not writing, Jovie can be found testing new composting techniques, growing tomatoes in questionable quantities, or convincing her neighbors that clover lawns are actually a great idea. She currently gardens in the Pacific Northwest.