

Creating a comfortable outdoor retreat starts with managing the intense heat of the sun. A shade sail is one of the most stylish and effective ways to transform a scorching patio into a breezy sanctuary. Many homeowners shy away from this project, assuming it requires professional construction skills, but the process is surprisingly manageable with the right preparation.
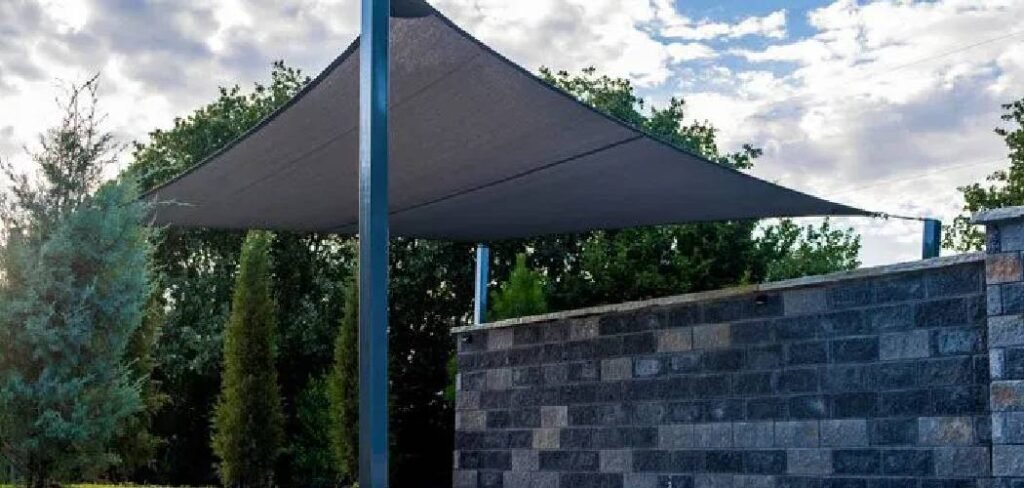
By following a few fundamental principles regarding tension and anchor points, you can achieve a professional-looking result over a single weekend. This guide breaks down the entire process into manageable chunks, ensuring your new canopy looks great and withstands the elements. Whether you want to cover a pool, a garden bed, or a dining area, learning how to install sun shade sail structures properly will add both value and comfort to your home. Let’s get started on upgrading your outdoor space.
You Need Proper Shade Sail Installation
Installing a shade sail isn’t just about hanging a piece of fabric; it is about creating a safe, durable architectural feature for your home. When done correctly, these structures provide significant UV protection, lowering the ambient temperature of your patio by up to 20 degrees. This makes your outdoor living areas usable even during the hottest parts of the day.
Furthermore, proper installation ensures longevity. A loose or poorly anchored sail will flap violently in the wind, leading to premature tearing or damage to your home’s exterior. Understanding the physics of tension and the importance of solid mounting points prevents accidents and ensures your investment lasts for years. By taking the time to plan and execute the setup correctly, you ensure that your shade solution remains a beautiful asset rather than a maintenance headache.
7 Step-by-Step Guide on How to Install Sun Shade Sail
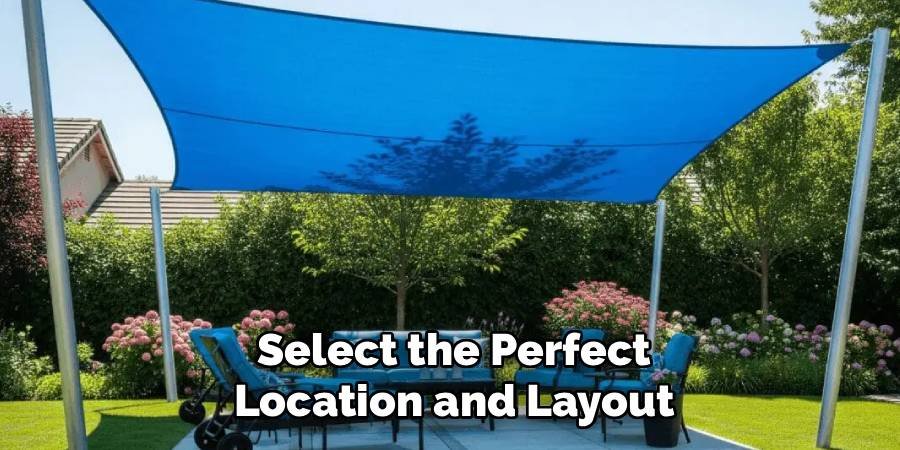
Step 1: Select the Perfect Location and Layout
Before you buy any materials, you must determine exactly where your shade is needed most. Spend a day observing the sun’s path across your yard to identify where the shadows fall during peak hours. You need to visualize the three-dimensional space, considering not just the ground coverage but also the height of the sail. It is crucial to check for obstacles like tree branches, power lines, or roof overhangs that could interfere with the fabric. Sketching a rough diagram of the area helps you visualize the anchor points. Remember that the sail should not be the exact size of the space; you need gaps at each corner for tensioning hardware.
Step 2: Determine Your Anchor Points
Once you have your location, you need to identify structurally sound fixing points. These could be existing structures like a sturdy wall, a fascia board, or a large tree, or you may need to install new posts. If you are attaching to a house, you must locate the studs or rafters, as fascia boards alone often cannot handle the wind load without reinforcement. If you plan to use posts, mark their locations on the ground. The key here is stability because the wind generates significant lift and pull forces. Ensure every chosen point is capable of withstanding heavy loads to prevent structural failure during storms.
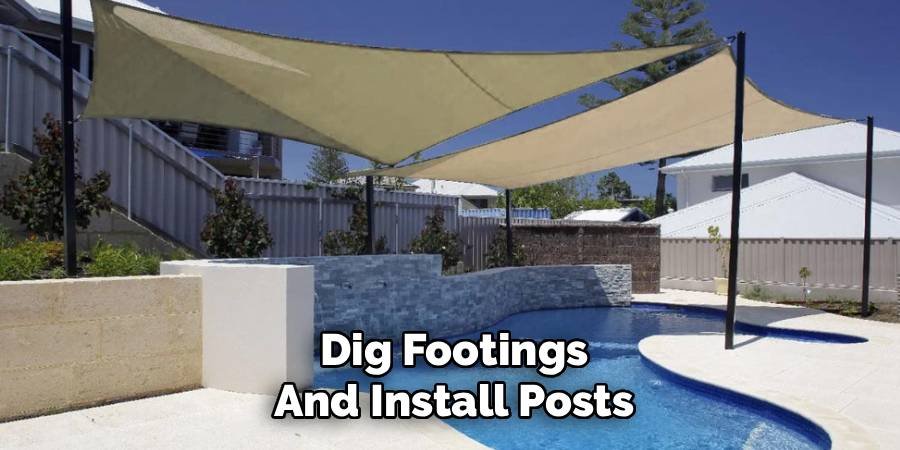
Step 3: Dig Footings and Install Posts
If your design requires vertical posts, digging proper footings is the most critical structural step. You cannot simply drive a post into the ground; it requires concrete for stability. Dig holes that are at least three feet deep and about 12 inches wide, depending on your local frost line and soil conditions. Place a layer of gravel at the bottom for drainage before setting your timber or steel posts in the hole. It is often recommended to angle the posts slightly away from the center of the sail. This slight lean helps counteract the inward pull of the tensioned fabric, keeping the posts straight over time.
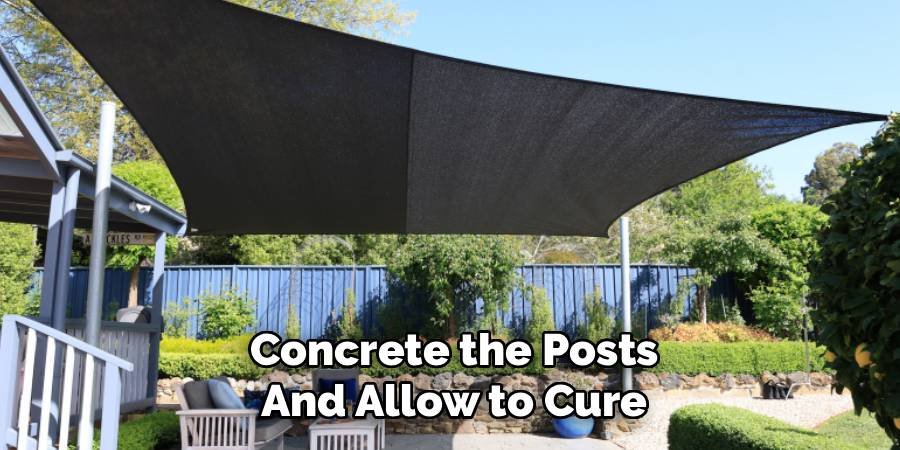
Step 4: Concrete the Posts and Allow to Cure
After positioning your posts with that slight outward lean, it is time to pour the concrete. Mix your concrete according to the manufacturer’s instructions and pour it into the hole around the post. Use a stick or rod to agitate the wet mix, removing air pockets that could weaken the foundation. You must wait for the concrete to fully cure before applying any load. This usually takes at least 48 hours, although waiting a few days longer is safer. Rushing this step is a common mistake that leads to leaning posts and sagging sails. Use this downtime to organize your hardware and prepare the fabric for the next stages.
Step 5: Install Mounting Hardware on Anchor Points
With your posts set and your wall points identified, you can now attach the heavy-duty mounting hardware. For timber posts or walls, use lag screws or eye bolts made of stainless steel to prevent rust. If you are mounting to masonry or brick, you will need appropriate expansion anchors. Drill pilot holes to prevent splitting the wood or cracking the brick. Ensure the eye bolts or pad eyes are aligned correctly with the direction of the pull. This alignment minimizes stress on the hardware components. Double-check that every fixture is tight and secure, as these small metal pieces will bear the entire weight and tension of the canopy system.
Step 6: Unfold and Layout the Sail
Retrieving the fabric from its packaging requires care to avoid snagging it on rough ground surfaces. Lay the sail out flat on the ground in the area where it will be suspended. Orient it so that each corner points toward its corresponding anchor point. This is a good moment to inspect the fabric for any manufacturing defects before you hoist it up. At each corner of the sail, attach a turnbuckle or a snap hook, but keep them loose for now. You are preparing the connections so that when you lift the sail, you aren’t fumbling with small metal parts while holding a heavy canvas above your head.
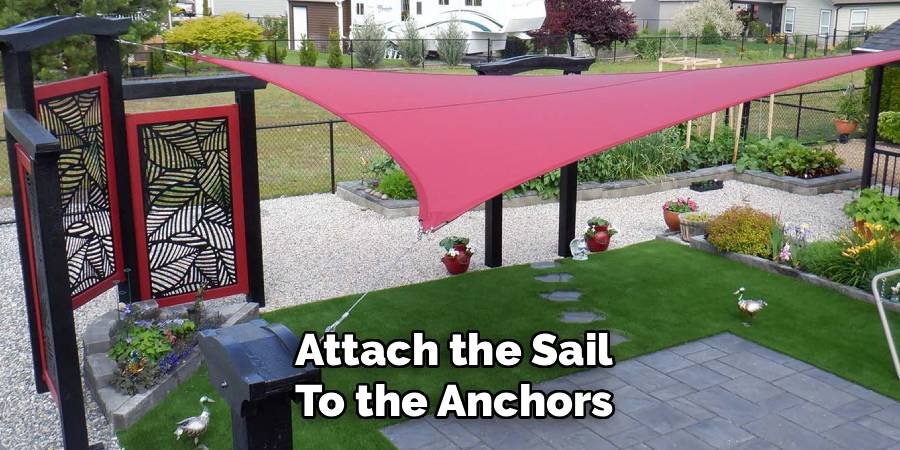
Step 7: Attach the Sail to the Anchors
Now comes the exciting part where you finally see the structure take shape. Lift each corner of the sail and connect it to the corresponding anchor point using your chosen hardware. You might need a helper for this step to hold the fabric up while you secure the connections. Start by attaching the corners that are hardest to reach or highest up. Do not tighten anything yet; just get the corners connected so the sail is hanging loosely in the air. If the span is too wide for your turnbuckle to reach, use a D-shackle or a length of stainless steel chain to bridge the gap.
Apply Tension for a Rigid Structure
Tension is the secret ingredient when learning how to install sun shade sail systems correctly. A loose sail collects water and flaps noisily, while a tight sail sheds water and wind efficiently. Move from corner to corner, tightening the turnbuckles gradually. Do not fully tighten one corner before moving to the next; distribute the tension evenly. You want the fabric to be drum-tight, with no wrinkles or sagging in the middle. As you tighten, you will see the curved edges of the sail pull taut. This shape is engineered to distribute tension, so crank those turnbuckles until the fabric is rigid and smooth.
Frequently Asked Questions
What hardware do I need for installation?
You will typically need a combination of pad eyes (for walls), eye bolts (for posts), turnbuckles, and snap hooks or D-shackles. Stainless steel (grade 304 or 316) is highly recommended because it resists rust and corrosion. You may also need stainless steel chain to extend the reach if your corners don’t meet the anchor points perfectly.
How high should the posts be?
The height depends on your preference, but generally, posts should be at least 8 to 10 feet above ground. This accounts for the natural sag of the fabric and ensures plenty of clearance for people walking underneath. Additionally, varying the heights of your attachment points creates a “hypar” (hyperbolic parabola) shape, which helps with water runoff and wind resistance.
Can I attach a shade sail to a tree?
Yes, but you must be careful. The tree should be mature, healthy, and have a trunk diameter of at least 10 inches. Do not wrap chains directly around the bark, as this can girdle and kill the tree. Instead, use a specialized eye bolt driven into the heartwood, or ensure you use padding if wrapping straps around the trunk.
How do I clean and maintain the fabric?
Cleaning is simple and should be done annually. Use a solution of mild detergent and water, applying it with a soft-bristled brush or a sponge. Avoid harsh chemicals like bleach, which can damage UV inhibitors. Rinse thoroughly with a garden hose. Never put the sail in a washing machine or clothes dryer, as the agitation can ruin the structure.
Do I need to take it down in winter?
In most climates, it is advisable to take the sail down during winter or before major storms. Heavy snow loads can stretch the fabric or pull anchors out of the wall, causing severe damage. High winds from hurricanes or blizzards can also tear the material. Removing it extends the lifespan significantly and allows you to inspect hardware.
Conclusion
Installing a shade sail is a rewarding DIY project that dramatically improves the functionality of your backyard. By carefully planning your layout, securing robust anchor points, and applying the correct amount of tension, you create a professional-grade shelter that protects your family from the sun. The process requires patience, especially when digging footings and allowing concrete to cure, but the result is a stylish, airy space perfect for relaxing.
Remember that maintenance is key to longevity; check your turnbuckles periodically and retighten them if the fabric begins to sag. With these steps, you now know how to install sun shade sail structures effectively, ensuring you can enjoy a cool, shaded summer for years to come. Grab your tools, pick your spot, and get ready to transform your outdoor living experience.

About
Jovie Mathews is a backyard and outdoor expert writer with over 12 years of hands-on experience transforming neglected outdoor spaces into thriving gardens and functional retreats. Raised in a family where weekends meant digging in the soil and building raised beds from scratch, Jovie developed a genuine love for the outdoors long before it became a career.
She writes with a practical, no-fluff approach — always testing ideas in her own backyard before sharing them with readers. From composting systems and native plant selection to patio design and pest control, Jovie covers the full spectrum of backyard life with equal parts expertise and enthusiasm.
Education
B.Sc. in Horticulture Science
University of Florida (UF) · Gainesville, FL · 2014
IFAS College of Agricultural and Life Sciences
Minor in Environmental Studies
University of Florida (UF) · Gainesville, FL · 2014
College of Liberal Arts and Sciences
Areas of expertise
- Lawn & Garden Care
- Soil prep, planting, seasonal care
- Outdoor DIY Projects
- Raised beds, fencing, pathways
- Composting & Soil Health
- Organic methods, amendments
- Native Plants & Wildlife
- Pollinators, habitat gardening
When she is not writing, Jovie can be found testing new composting techniques, growing tomatoes in questionable quantities, or convincing her neighbors that clover lawns are actually a great idea. She currently gardens in the Pacific Northwest.




