

Have you ever looked across a creek, a small ravine, or between two sturdy trees in your backyard and imagined a rustic, adventurous crossing? A rope bridge can be more than just a playful feature; it’s a practical and rewarding project that blends engineering with nature.
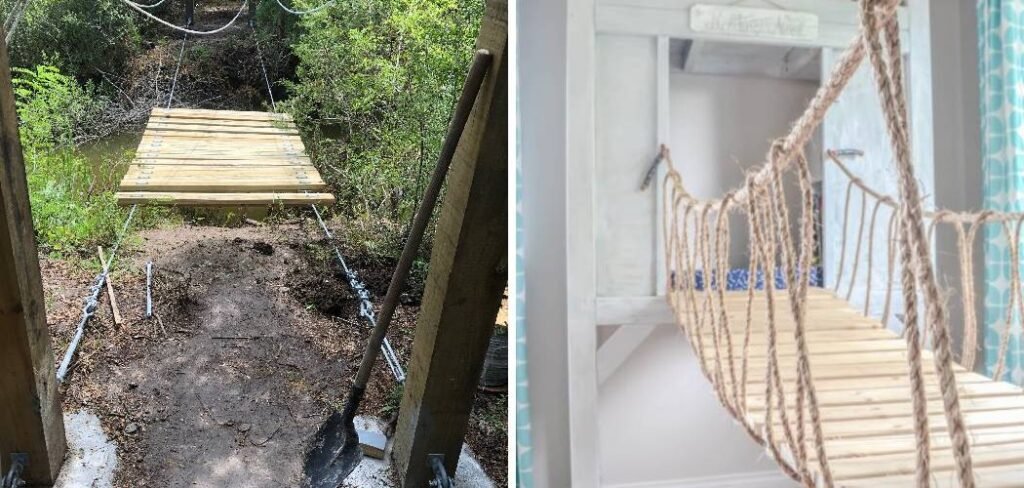
Building one might seem like a complex task reserved for experts, but with the right guidance, materials, and a focus on safety, it is an achievable goal for a determined beginner. This guide provides a detailed, step-by-step approach on how to make a rope bridge, transforming a challenging concept into a manageable weekend project. We will cover everything from selecting the perfect location and materials to the final knots and safety checks, ensuring you have the confidence to build a durable and impressive structure.
Why Build a Rope Bridge?
A rope bridge is an excellent way to connect two points over uneven terrain, a small body of water, or simply to add an exciting element to your property. For families, it can be a source of endless fun and a great way to encourage outdoor play. Beyond the recreational aspect, the process of building a bridge teaches valuable skills in knot-tying, basic engineering principles, and project planning. It’s an exercise in precision and patience that results in a functional and aesthetically pleasing structure. Successfully completing a project of this scale provides an immense sense of accomplishment and leaves you with a unique feature that enhances your outdoor space for years to come.
7 Step-by-Step Guide on How to Make a Rope Bridge
Step 1: Select and Prepare Your Location
The first and most critical step is choosing the right location. You need two strong, healthy, and mature anchor points, such as large trees. The ideal trees should be at least 12 inches in diameter, show no signs of disease or decay, and be able to withstand significant tension.
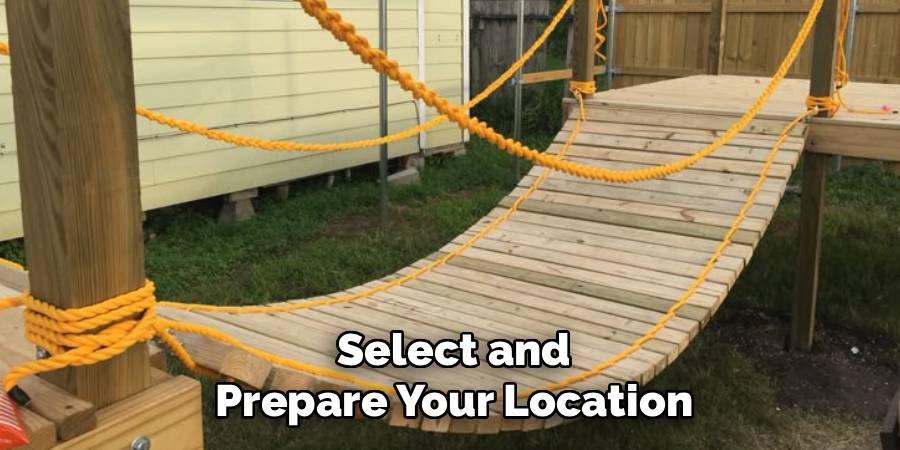
Inspect the ground around the base and the branches above for any potential hazards. Once you have identified your anchor trees, clear the area between them of any obstacles, such as rocks, roots, or dense brush. This creates a safe work environment and ensures the bridge will hang freely without obstruction.
Step 2: Gather Your Materials and Tools
With your location set, it’s time to gather everything you need. Your primary material is rope. You will need a significant amount of high-quality, weather-resistant rope, such as polyester or nylon, with a high tensile strength. You’ll need two thick ropes for the main handrails and two for the footway. Additionally, you will need thinner rope for the V-shaped suspension lines connecting the footway to the handrails. For the footway itself, select durable, pressure-treated lumber for the planks. Gather essential tools, including a drill, saw, measuring tape, level, wrenches, and heavy-duty hardware like eye bolts, turnbuckles, and rope clamps for securing the connections.
Step 3: Install Your Main Anchor Points
Securely anchoring the bridge is non-negotiable for safety. This step involves creating strong attachment points on your two main trees. Using a drill, create pilot holes for your heavy-duty eye bolts. These bolts should be installed through the entire trunk of the tree for maximum stability, if local regulations and tree health permit. Position the handrail anchors approximately 4-5 feet off the ground and the footway anchors about 1-2 feet off the ground. Use large washers and nuts on the backside of the bolts to distribute the load and prevent them from pulling through the tree over time.
Step 4: Run the Main Suspension Ropes
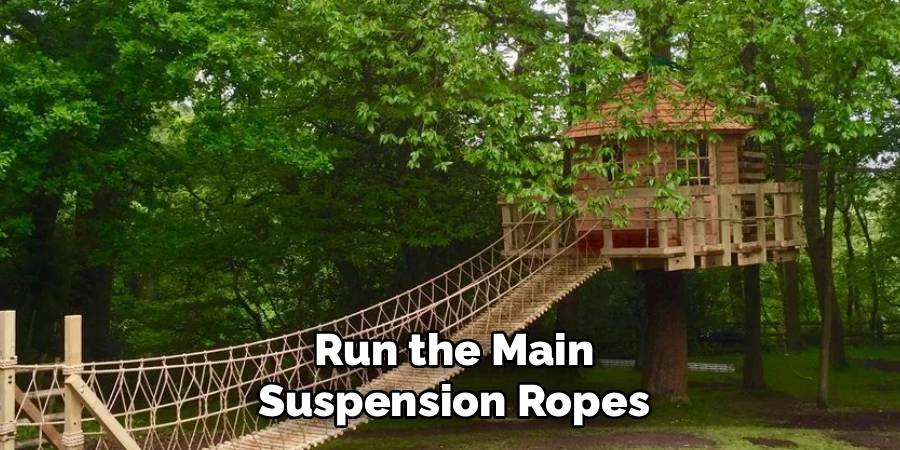
Now, you will run the four main ropes that form the bridge’s primary structure. Start by attaching one end of each of the two footway ropes and two handrail ropes to the eye bolts on your first anchor tree. Use strong knots, like a bowline, reinforced with rope clamps for added security. Carefully walk the ropes across to the second anchor tree. Before permanently securing them, use turnbuckles. These devices allow you to precisely tighten the ropes to the correct tension, ensuring the bridge is taut and stable without putting excessive strain on the anchor points.
Step 5: How to Make a Rope Bridge Footway
The footway provides the walking surface of your bridge. Begin by cutting your pressure-treated lumber into uniform planks, typically around 18-24 inches long. Drill two holes on each end of every plank, spaced to match the distance between your two parallel footway ropes. Starting from one end, thread the first plank onto the footway ropes. To ensure even spacing between planks, you can tie stopper knots on the ropes on either side of each plank. Alternatively, you can use small wooden blocks or spacers. Continue this process methodically until all planks are installed across the entire span.
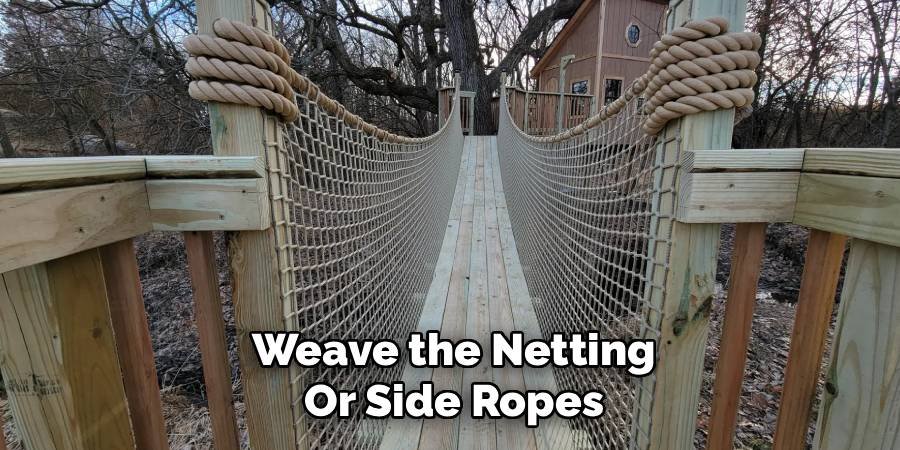
Step 6: Weave the Netting or Side Ropes
With the footway in place, the next step is to add the vertical ropes that connect the footway to the handrails. These ropes create the V-shape that provides stability and acts as a safety barrier. Using a thinner, durable rope, start at one end of the bridge. Tie the rope securely to the handrail, then loop it down and around the footway rope, and back up to the handrail on the opposite side. Continue this lashing or weaving pattern at regular intervals, typically every 6-12 inches, along the entire length of the bridge. Keep the tension consistent for a uniform appearance.
Step 7: Final Tensioning and Adjustments
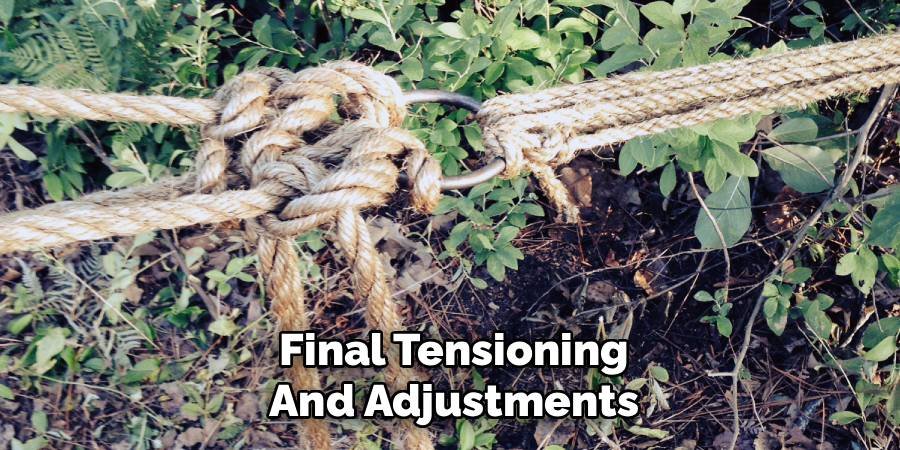
Once all structural components are in place, it’s time for the final adjustments. Go back to your turnbuckles and slowly tighten each of the four main ropes. As you tighten, frequently check the bridge’s tension and alignment. The goal is to remove any excessive sag from the footway while ensuring the handrails are taut and at a comfortable height. Have a helper stand in the middle of the bridge to test its stability under load. Make small, incremental adjustments until the bridge feels solid, stable, and hangs level. This step is crucial for the overall safety and longevity of your project.
Conduct a Thorough Safety Inspection
Before anyone uses the bridge, perform a comprehensive safety inspection. Double-check every single knot and rope clamp to ensure they are secure. Examine all hardware, including eye bolts and turnbuckles, for any signs of strain or improper installation. Walk the bridge yourself, testing for any sway, instability, or loose planks. Address any issues immediately. It is also wise to establish clear rules for using the bridge, such as a one-person-at-a-time limit and a no-jumping policy, to ensure it remains a safe and enjoyable feature for everyone.
Frequently Asked Questions
What Is the Best Type of Rope for a Rope Bridge?
The best rope for a rope bridge is a synthetic one with high tensile strength and excellent weather resistance. Polyester and nylon ropes are top choices.
- Polyester: Offers low stretch, high strength, and superior resistance to UV rays and abrasion, making it ideal for the main suspension lines.
- Nylon: Is very strong and has some elasticity, which can help absorb shock, but it can stretch when wet.
- Avoid natural fiber ropes like manila or sisal, as they will rot and weaken when exposed to the elements.
How Far Apart Should the Bridge Anchors Be?
The distance between your anchor points will define the length and sag of your bridge. A shorter span of 15-30 feet is ideal for beginners, as it is easier to manage tension and requires less material. Longer spans are possible but require more advanced engineering, stronger materials, and more robust anchoring systems to handle the increased load and sag. Always ensure your chosen anchor points (like trees) are healthy and strong enough to support the tension required for your desired span.
What Is the Safest Way to Anchor a Rope Bridge to a Tree?
The safest method is to use through-bolts. This involves drilling a hole completely through the trunk of the tree and securing a heavy-duty eye bolt with large washers and nuts on the opposite side. This distributes the force across the entire diameter of the tree, creating a very strong anchor. Never simply wrap ropes around a tree trunk, as this can girdle and kill the tree over time. It can also create a friction point that wears down the rope.
How Do I Maintain My Rope Bridge?
Regular maintenance is crucial for safety. At least twice a year (spring and fall), conduct a thorough inspection. Check all ropes for any signs of fraying, UV damage, or wear. Examine the wooden planks for splintering or rot and replace them as needed. Tighten any loose hardware, including nuts, bolts, and rope clamps. Check the tension in the main lines and adjust the turnbuckles if the bridge has developed too much sag. Keeping the bridge clean of debris will also help extend its life.
Can I Build a Rope Bridge Without Trees?
Yes, you can build a rope bridge without trees by creating your own anchor points. This typically involves setting large, sturdy posts (at least 6×6 inches or larger) deep into the ground and securing them with concrete footings. The depth of the footings should be significant, often several feet deep, to counteract the immense pulling force the bridge will exert. This method requires careful planning and engineering to ensure the posts are strong enough to serve as safe anchors.
Conclusion
You now have a complete roadmap for your outdoor adventure project. By following these steps carefully, you can confidently take on this rewarding challenge. From selecting the right location to performing the final safety checks, each phase is critical to creating a structure that is both fun and secure. Remember that patience and precision are your best tools throughout this process. Now that you understand how to make a rope bridge, it’s time to gather your materials, enlist a friend, and bring that vision of a rustic, charming crossing to life in your own backyard.

About
Jovie Mathews is a backyard and outdoor expert writer with over 12 years of hands-on experience transforming neglected outdoor spaces into thriving gardens and functional retreats. Raised in a family where weekends meant digging in the soil and building raised beds from scratch, Jovie developed a genuine love for the outdoors long before it became a career.
She writes with a practical, no-fluff approach — always testing ideas in her own backyard before sharing them with readers. From composting systems and native plant selection to patio design and pest control, Jovie covers the full spectrum of backyard life with equal parts expertise and enthusiasm.
Education
B.Sc. in Horticulture Science
University of Florida (UF) · Gainesville, FL · 2014
IFAS College of Agricultural and Life Sciences
Minor in Environmental Studies
University of Florida (UF) · Gainesville, FL · 2014
College of Liberal Arts and Sciences
Areas of expertise
- Lawn & Garden Care
- Soil prep, planting, seasonal care
- Outdoor DIY Projects
- Raised beds, fencing, pathways
- Composting & Soil Health
- Organic methods, amendments
- Native Plants & Wildlife
- Pollinators, habitat gardening
When she is not writing, Jovie can be found testing new composting techniques, growing tomatoes in questionable quantities, or convincing her neighbors that clover lawns are actually a great idea. She currently gardens in the Pacific Northwest.




