

There is something primal and deeply comforting about gathering around a crackling fire. A sunken fire pit takes this experience to another level, creating an intimate, enclosed conversation nook that becomes the natural centerpiece of any backyard.
Unlike above-ground models, these in-ground designs offer a sleek, built-in look that blends seamlessly with your landscape while providing enhanced wind protection.
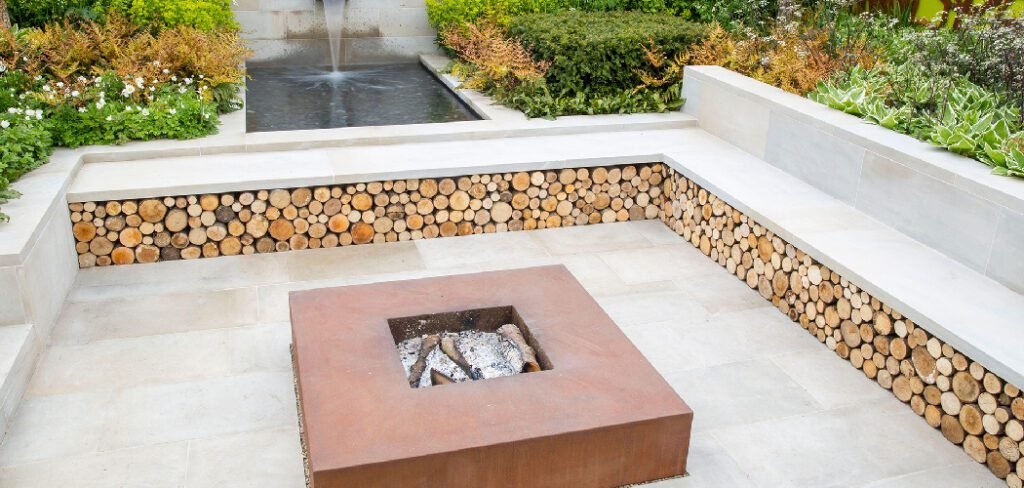
Building one might seem like a complex landscaping project reserved for professionals, but it is a surprisingly achievable DIY endeavor for those with a bit of patience and a willingness to get their hands dirty.
This guide will walk you through the essential steps and safety considerations, showing you exactly how to make a sunken fire pit that will serve as a cherished gathering spot for years of marshmallow roasting and memory-making.
Why Build a Sunken Fire Pit?
A sunken fire pit offers numerous advantages that make it an excellent addition to your outdoor space. Firstly, its recessed design provides natural wind protection, ensuring that the fire burns steadily while minimizing the risk of flying sparks.
This structural advantage also adds an element of safety, as the lowered fire pit reduces accidental contact with open flames. Beyond functionality, a sunken fire pit creates a cozy and inviting environment, offering a focal point for gatherings and encouraging conversation around the warmth of the fire.
Additionally, its seamless integration into the landscape enhances the aesthetics of your backyard, making it a stylish yet practical feature. Whether for warmth on a crisp evening or a central space for entertaining loved ones, a sunken fire pit is both a versatile and rewarding project.
Step-by-Step Guide on How to Make a Sunken Fire Pit
Step 1: Choose a Safe and Strategic Location
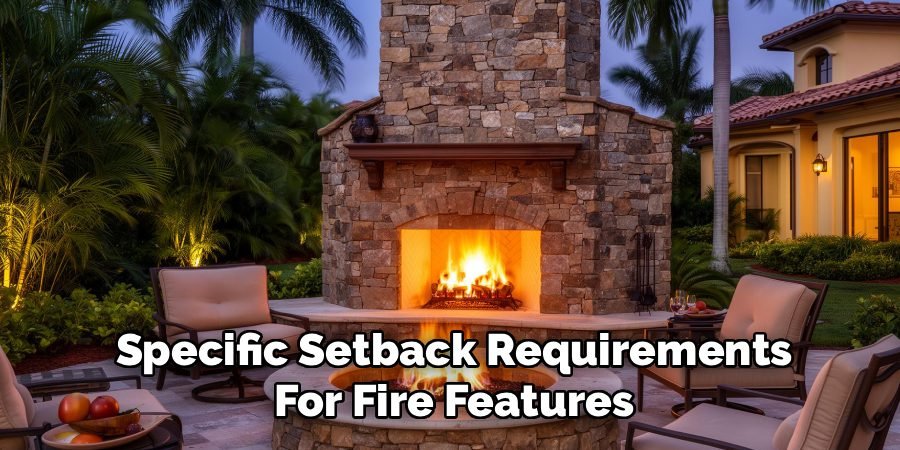
Before you do anything else, you must select the perfect spot. Safety is the top priority. Your fire pit needs to be at least 10 to 25 feet away from your house, sheds, fences, and any overhanging trees or utility lines. Check your local city ordinances, as many have specific setback requirements for fire features.
Beyond safety, consider the flow of your yard. Placing the pit in a central location creates a natural destination, while tucking it into a corner can create a more private, secluded retreat. Also, think about prevailing winds to ensure smoke will not constantly blow toward your house or main patio area.
Step 2: Mark Your Layout and Excavate the Pit
Once you have your location, it is time to mark the shape. For a circular pit, drive a stake into the center and use a string and spray paint to draw a perfect circle. A typical inner diameter is around 3 to 4 feet. After marking the inner firebox, mark a second, larger circle for the outer retaining wall, leaving about 12-18 inches between the two.
Now, you can begin digging. The central pit should be excavated to a depth of about 12 inches. The area for the retaining wall only needs to be dug down about 6 inches to create a stable foundation for your first course of blocks.
Step 3: Ensure Proper Drainage
Water is the enemy of a sunken fire pit. Without proper drainage, your pit will turn into a muddy pond after every rainstorm. After excavating, you must create a drainage system. A simple and effective method is to dig a deeper hole in the center of the pit, about one foot wide and one foot deep, and fill it with coarse gravel.
Then, fill the entire bottom 6 inches of the main pit with a layer of gravel. This allows rainwater to percolate down and away from the firebox, preventing water from pooling. For areas with heavy clay soil, you may need to install a more complex French drain that pipes water away from the pit entirely.
Step 4: Build the Inner Fire-Resistant Wall
This inner wall contains the fire, so it must be constructed from fire-rated materials. Standard concrete blocks are not safe as they can crack or even explode when exposed to high heat. You must use fire bricks or a solid steel fire ring insert. If using fire bricks, lay them tightly together around the perimeter of the inner pit.
You can use refractory cement (high-temperature mortar) between the joints for added stability, though a dry stack is often sufficient for a pit of this size. This step is a non-negotiable safety measure in learning how to make a sunken fire pit.
Step 5: Construct the Outer Retaining Wall
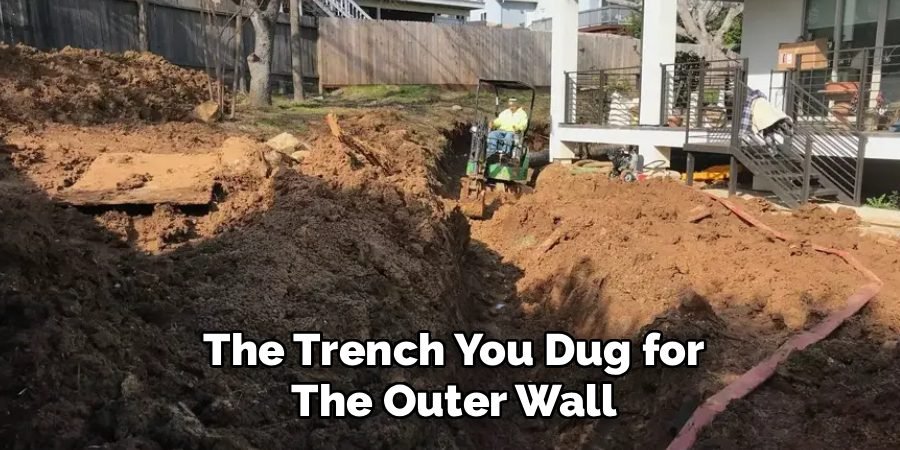
The outer wall defines the seating area and holds back the surrounding earth. This wall can be built with a wide variety of landscaping materials, such as concrete retaining wall blocks, natural stone, or pavers. Start by laying a level base course in the trench you dug for the outer wall.
Use a level to ensure this first layer is perfect, as it will affect all subsequent layers. Continue stacking your blocks, using construction adhesive between each course for stability. As you build up the wall, backfill the gap between the inner and outer walls with more gravel to provide stability and additional drainage.
Step 6: Install the Capstone or Ledge
The capstone is the finishing touch that creates a clean, polished look and a functional ledge around your fire pit. These are typically flat, wide blocks or pieces of flagstone that sit on top of your outer retaining wall. They provide a surface for drinks and can even serve as informal seating.
Secure the capstones to the top course of your wall using a generous amount of masonry or construction adhesive. Ensure the capstones are level and the joints between them are tight and even. This ledge is what transforms the project from a simple hole in the ground to an elegant, architectural feature.
Step 7: Add Finishing Touches and Curing Time
With the main construction complete, you can add your final details. Fill the area between the capstone ledge and the inner fire ring with decorative gravel or lava rock to create a clean, fire-safe surface. If you want to use your pit for cooking, you can add a metal grill grate that fits over the top.
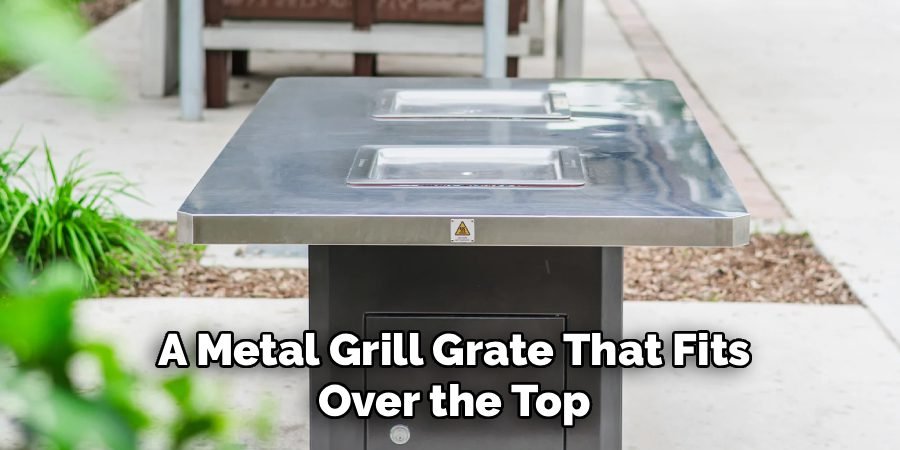
Before you light your first fire, it is important to allow any mortar or adhesive to cure completely. This can take anywhere from 3 to 7 days, depending on the product and weather conditions. Rushing this step can compromise the structural integrity of your pit, so patience is key.
Frequently Asked Questions (FAQ)
What Is the Best Material for a Sunken Fire Pit?
The most important material choice is for the inner ring that directly contacts the fire.
- Fire Brick: Specifically designed to withstand high temperatures without cracking.
- Steel Ring: A heavy-gauge steel insert is a simple and durable option.
- Avoid: Do not use regular concrete blocks, river rocks, or pea gravel, as trapped moisture can cause them to explode when heated.
How Deep Should a Sunken Fire Pit Be?
A total depth of 12 to 18 inches is ideal for a backyard fire pit.
- Firebox: The actual pit where the wood burns should be about 12 inches deep.
- Retaining Wall: The surrounding seating wall is often 12 to 18 inches high.
This depth is sufficient to contain embers safely while allowing heat to radiate outwards to keep everyone warm.
Do I Need a Permit to Build a Sunken Fire Pit?
It depends entirely on your local municipality. Many cities have specific ordinances regarding recreational fires, including:
- Required distance from structures.
- Maximum size of the fire pit.
- Rules about whether a permit is needed for construction.
Always call your local building or fire department before you begin a project like this to ensure you are in compliance.
Should I Put Sand or Gravel at the Bottom?
Gravel is the superior choice for the bottom of a fire pit.
- Gravel: Provides excellent drainage, allowing rainwater to seep into the ground below instead of pooling in your pit.
- Sand: Tends to compact over time and can hold moisture, which turns to steam when a fire is lit. It also creates a bigger mess when it’s time to clean out the ash. Use a 4- to 6-inch layer of gravel.
Can I Build a Sunken Fire Pit on a Patio?
Building a true sunken fire pit requires digging into the ground, so it is not possible on an existing concrete or paver patio. However, you can create a “raised-sunken” effect.
By building a raised circular seating wall on top of your patio and placing a fire pit bowl inside, you can mimic the enclosed, intimate feel without excavation. Ensure you use an insulating pad to protect the patio surface from heat.
Conclusion
A sunken fire pit does more than just provide warmth; it creates a destination in your yard, a place for connection, conversation, and quiet contemplation.
By following a methodical process of planning for safety, digging with drainage in mind, and using the correct heat-rated materials, you can construct a durable and beautiful feature that adds immense value and enjoyment to your home.
The effort invested in building it will pay dividends for years to come through countless cozy evenings spent under the stars. Now that you have a clear blueprint for how to make a sunken fire pit, you are ready to start creating the backyard gathering spot you have always dreamed of.

About
Jovie Mathews is a backyard and outdoor expert writer with over 12 years of hands-on experience transforming neglected outdoor spaces into thriving gardens and functional retreats. Raised in a family where weekends meant digging in the soil and building raised beds from scratch, Jovie developed a genuine love for the outdoors long before it became a career.
She writes with a practical, no-fluff approach — always testing ideas in her own backyard before sharing them with readers. From composting systems and native plant selection to patio design and pest control, Jovie covers the full spectrum of backyard life with equal parts expertise and enthusiasm.
Education
B.Sc. in Horticulture Science
University of Florida (UF) · Gainesville, FL · 2014
IFAS College of Agricultural and Life Sciences
Minor in Environmental Studies
University of Florida (UF) · Gainesville, FL · 2014
College of Liberal Arts and Sciences
Areas of expertise
- Lawn & Garden Care
- Soil prep, planting, seasonal care
- Outdoor DIY Projects
- Raised beds, fencing, pathways
- Composting & Soil Health
- Organic methods, amendments
- Native Plants & Wildlife
- Pollinators, habitat gardening
When she is not writing, Jovie can be found testing new composting techniques, growing tomatoes in questionable quantities, or convincing her neighbors that clover lawns are actually a great idea. She currently gardens in the Pacific Northwest.




