Building your own furniture is one of the most rewarding DIY projects you can tackle. It transforms a pile of lumber into a functional gathering space for friends and family. Not only does it save you significant money compared to buying high-end outdoor furniture, but it also allows you to customize the dimensions and finish to perfectly match your space. This guide is designed to take the intimidation out of woodworking.
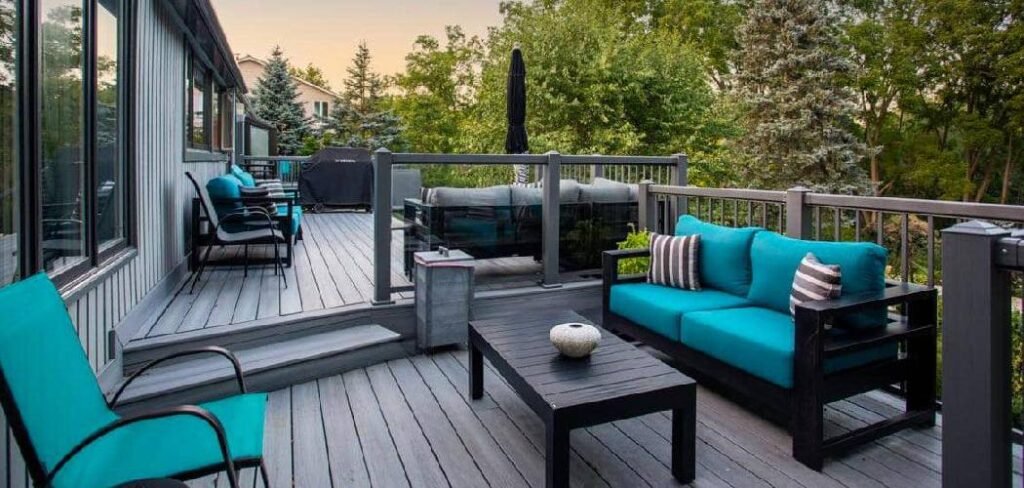
We will walk you through a simple, sturdy design that doesn’t require a professional workshop full of expensive tools. With some basic lumber, standard screws, and a free weekend, you can create a durable centerpiece for your backyard. By following these instructions on how to make patio table, you will gain confidence in your building skills and end up with a stunning piece of furniture that will last for years to come.
Why Building Your Own Patio Table Matters
Creating your own outdoor furniture offers benefits that go far beyond just saving a few dollars. When you choose to build rather than buy, you gain complete control over the materials. Mass-produced tables often use cheaper wood that may not withstand the elements well, whereas a DIY approach allows you to select naturally rot-resistant species like cedar, redwood, or pressure-treated pine.
Furthermore, the sense of accomplishment is unmatched. Every time you sit down for a barbecue or a morning coffee, you’ll know that you crafted the surface you’re using. It becomes a conversation starter and a point of pride. This project also serves as a fantastic entry point into woodworking. The joinery is straightforward, the measurements are forgiving, and the result is substantial. It is the perfect weekend project to help you disconnect from screens and reconnect with working with your hands.
8 Step-by-Step Guide on How to Make Patio Table
Step 1: Select and Prepare Your Lumber
The first and most critical part of the process is choosing the right wood for your environment. You need material that can stand up to rain, sun, and temperature changes without warping immediately. Cedar is a fantastic option because it naturally resists rot and insects, though pressure-treated pine is a more budget-friendly alternative that works well if maintained properly.
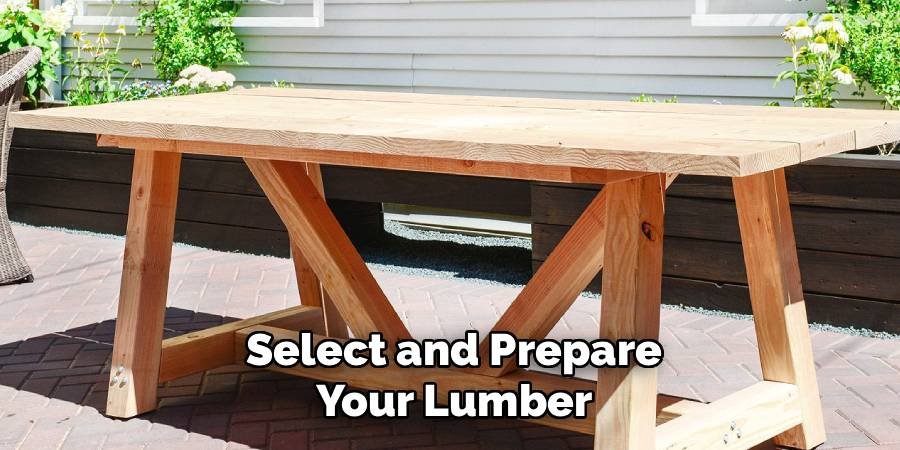
Once you have purchased your boards, you need to prepare them. Take time to sand the rough faces before you make any cuts. This makes the final finishing process much easier. Check every board for bowing or twisting, as straight lumber is essential for a flat table surface.
Step 2: Cut Your Components to Size
Accuracy here ensures that your table comes together squarely later on. Using a miter saw or a circular saw, cut your table legs, apron pieces, and tabletop slats according to your design plan. It is vital to measure twice and cut once to avoid wasting expensive material. If you do not have a power saw, many lumber yards will make these cuts for you if you provide the measurements. Organize your cut pieces into piles for legs, frame, and top. Labeling them with a pencil can save you confusion during assembly. Sand the cut ends to remove splinters and ensure a smooth fit during the next stages of assembly.
Step 3: Assemble the Leg Frames
Start by building the two side structures that will support the table. Lay two leg pieces flat on your workspace and position the shorter apron piece between them. This creates the “H” shape or rectangular frame that forms the ends of the table. You want to ensure these are perfectly square, or your table will wobble. Use a speed square to check your angles before driving any screws. Apply a waterproof wood glue to the joints for added strength before securing them with exterior-grade screws. These screws should be long enough to bite deep into the wood without poking through the other side. Repeat this process for the other set of legs.
Step 4: Connect the Side Frames
Now you need to join your two leg structures together to form the full skeleton of the table. Stand your leg frames up and clamp the long apron boards to them. This step can be tricky to do alone, so having a helper or using long bar clamps is very useful.
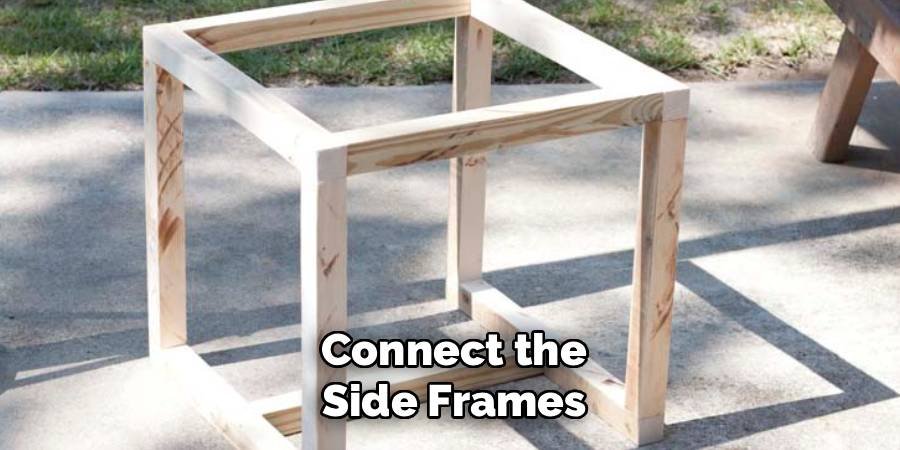
Ensure the long aprons are level and flush with the leg frames. Drill pilot holes to prevent the wood from splitting, which is a common issue near the ends of boards. Once everything is aligned, secure the long aprons with glue and screws. At this stage, you should see the final shape of the table beginning to emerge.
Step 5: Install Support Beams
A sturdy table needs support in the middle to prevent the tabletop from sagging over time. Cut one or two cross-supports that fit snugly between the long apron boards. Position these supports evenly across the center of the frame. If you are learning how to make patio table structures that last, never skip this bracing step. Secure these beams by screwing through the outside of the long aprons into the ends of the support beam. This internal skeleton adds rigidity and ensures your table feels solid when you lean on it or place heavy dishes on top. It locks the entire frame together.
Step 6: Attach the Tabletop Planks
Lay your tabletop boards across the frame you have just built. Before you attach anything, arrange all the planks to find the best looking arrangement of grain patterns. You must leave a small gap between each board. This gap allows rainwater to drain through and lets the wood expand and contract with humidity changes without buckling.
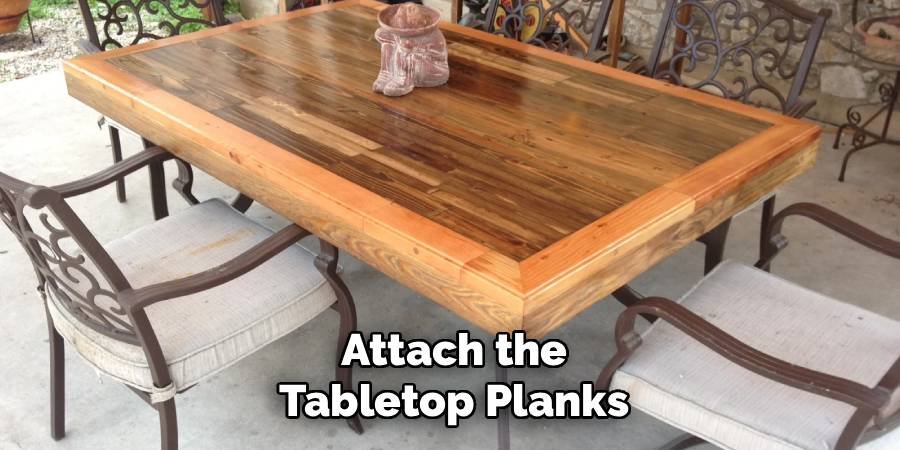
Use spacers, like large nails or scrap pieces of thin wood, to keep these gaps consistent. Once spaced correctly, secure the planks. You can screw them down from the top for a rustic look, or use a pocket-hole jig from underneath to hide the fasteners for a cleaner appearance.
Step 7: Add Stability Braces
For a truly durable table, you should add angled braces to the legs. These are short pieces of wood cut at 45-degree angles that connect the legs to the apron frame. They prevent the table from racking or swaying side-to-side. Install one brace at each corner. While it might seem like overkill, this triangulation makes the structure incredibly rigid. Pre-drill these holes carefully, as screwing into angled wood can sometimes cause it to shift. Secure them tightly with glue and screws. This is the difference between a wobbly DIY project and a piece of furniture that feels professionally constructed.
Step 8: Sand and Refine Surfaces
With the construction complete, your table is structurally sound, but it likely has rough edges and pencil marks. Go over the entire piece with an orbital sander. Start with medium-grit sandpaper to remove any unevenness where boards meet, and finish with a fine-grit paper for a smooth touch.
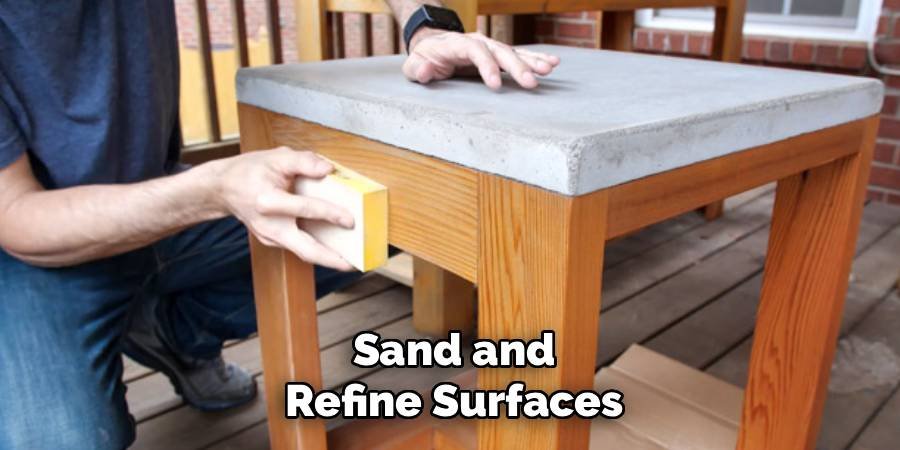
Pay special attention to the corners and edges of the tabletop, rounding them over slightly so they aren’t sharp against arms or legs. Wipe away all the sawdust with a tack cloth or a damp rag. A clean surface is absolutely mandatory for the finish to adhere properly and look professional.
Apply Weather Protection
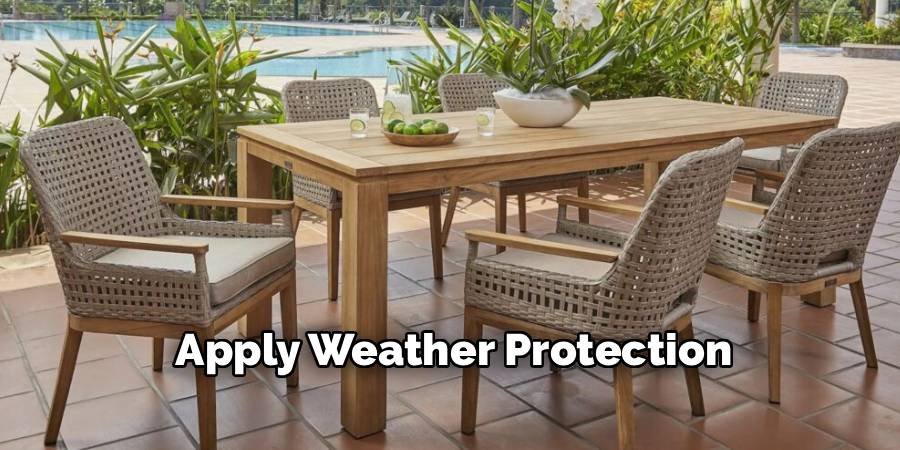
The final step is protecting your hard work from the elements. Choose an exterior-grade sealant, stain, or paint. A penetrating oil finish is excellent for cedar as it enhances the natural grain while repelling water. If you used pressure-treated pine, you might need to let the wood dry out for a few weeks before staining.
Apply the finish generously, following the manufacturer’s instructions. Don’t forget to coat the bottoms of the legs, as this is where moisture often wicks up from the ground. Multiple thin coats are usually better than one thick coat, providing a durable shield against UV rays and rain.
Frequently Asked Questions
What Is the Best Wood for an Outdoor Table?
The best wood depends on your budget and climate, but generally:
- Cedar: Naturally rot-resistant, smells great, and is lightweight. It is a top choice for beginners.
- Redwood: Similar to cedar but often more expensive; it has a rich color and excellent durability.
- Pressure-Treated Pine: The most affordable option. It resists rot well but can warp as it dries and contains chemicals.
- Teak: Extremely durable and expensive, usually reserved for high-end projects.
Do I Need Advanced Tools for This Project?
No, you do not need a professional workshop. You can complete this project with:
- Circular Saw: For cutting boards to length.
- Drill/Driver: For drilling pilot holes and driving screws.
- Measuring Tape & Square: To ensure accurate cuts and square corners.
- Sander: To smooth out rough edges.
- If you lack a saw, many hardware stores will cut lumber for you.
How Do I Prevent the Table from Wobbling?
Wobbling usually happens because the legs aren’t even or the ground is uneven.
- Build on a flat surface: Assemble your frame on a level floor (like a garage floor) to ensure squareness.
- Measure diagonals: When building the frame, measure diagonally from corner to corner. If the numbers match, your frame is square.
- Adjustable feet: Install screw-in leveling feet on the bottom of the legs to adjust for uneven patio stones.
How Long Will a DIY Wood Table Last?
The lifespan depends heavily on the wood species and maintenance.
- Cedar/Redwood: Can last 15–20 years or more if resealed every few years.
- Pressure-Treated Pine: Can last 10–15 years but requires regular sealing to prevent cracking.
- Maintenance: Cover the table during harsh winters and re-apply stain or sealant whenever water stops beading up on the surface to extend its life significantly.
Can I Change the Dimensions of the Table?
Absolutely. One of the main benefits of DIY is customization.
- Length: You can make the table longer to seat more people, but you may need to add a middle leg or extra support beams underneath to prevent sagging.
- Width: You can add more planks to the top to make it wider.
- Height: Standard dining height is about 30 inches, but you can adjust the leg length to create a bar-height table or a low coffee table.
Conclusion
Building your own outdoor furniture is a journey that pays off every time you step into your backyard. You have learned how to select the right lumber, construct a sturdy frame, and finish the wood to withstand the elements. This project proves that you don’t need to be a master carpenter to create something functional and beautiful. By following these steps, you have saved money and gained a new set of skills that you can apply to future projects, perhaps even matching benches or side tables.
We hope this guide has inspired you to pick up your tools and get started. The satisfaction of dining on a table you built with your own hands is a feeling that store-bought furniture simply cannot provide. Remember, the key is patience and careful measuring. Now that you know how to make patio table projects come to life, grab your materials this weekend and transform your outdoor living space into a custom oasis.

About
Jovie Mathews is a backyard and outdoor expert writer with over 12 years of hands-on experience transforming neglected outdoor spaces into thriving gardens and functional retreats. Raised in a family where weekends meant digging in the soil and building raised beds from scratch, Jovie developed a genuine love for the outdoors long before it became a career.
She writes with a practical, no-fluff approach — always testing ideas in her own backyard before sharing them with readers. From composting systems and native plant selection to patio design and pest control, Jovie covers the full spectrum of backyard life with equal parts expertise and enthusiasm.
Education
B.Sc. in Horticulture Science
University of Florida (UF) · Gainesville, FL · 2014
IFAS College of Agricultural and Life Sciences
Minor in Environmental Studies
University of Florida (UF) · Gainesville, FL · 2014
College of Liberal Arts and Sciences
Areas of expertise
- Lawn & Garden Care
- Soil prep, planting, seasonal care
- Outdoor DIY Projects
- Raised beds, fencing, pathways
- Composting & Soil Health
- Organic methods, amendments
- Native Plants & Wildlife
- Pollinators, habitat gardening
When she is not writing, Jovie can be found testing new composting techniques, growing tomatoes in questionable quantities, or convincing her neighbors that clover lawns are actually a great idea. She currently gardens in the Pacific Northwest.