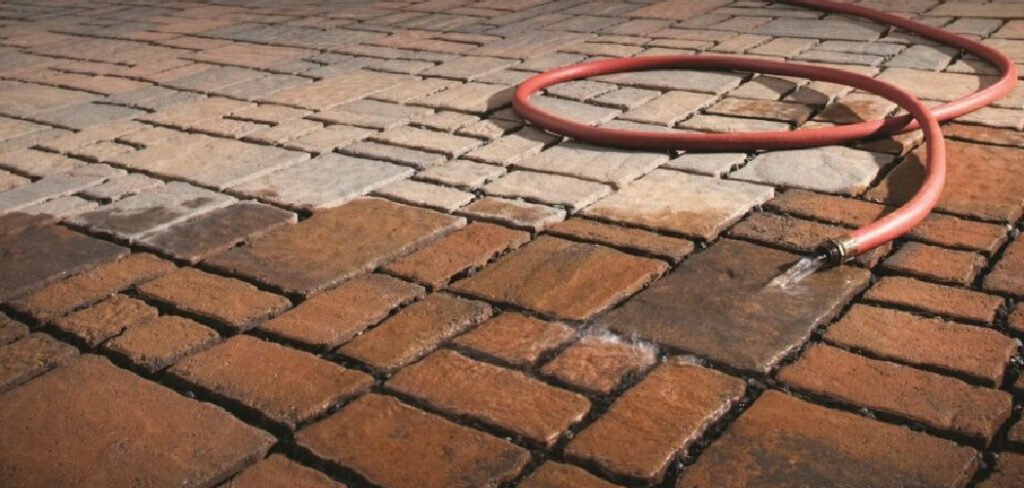
A natural stone patio is a stunning investment that elevates your outdoor living space, offering a durable and elegant foundation for barbecues, family gatherings, and quiet mornings with coffee. However, natural stone is porous, meaning it acts like a sponge for spills, oil, organic debris, and moisture.
Over time, exposure to the elements can lead to fading, staining, and even structural damage from freeze-thaw cycles. To keep your pavers looking vibrant and new, regular maintenance is essential, and applying a quality sealer is the single most effective protective measure you can take.
While the idea of tackling this project might seem daunting to a beginner, the process is actually quite straightforward and manageable for any DIY enthusiast. This guide removes the guesswork, walking you through exactly how to seal stone patio surfaces effectively.
By following these steps, you will lock out moisture, enhance the natural colors of the stone, and ensure your backyard retreat remains beautiful for years to come.
Step-by-Step Guide on How to Seal Stone Patio
Step 1: Deep Clean the Surface Entirely
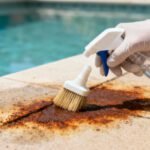
Before you can apply any protective coating, the surface must be immaculately clean. If you seal over dirt, grease, or organic stains, you will permanently trap them into the stone, ruining the aesthetic finish. Start by sweeping away all loose debris, leaves, and soil. Then, use a high-quality stone cleaner or a pressure washer on a low setting to wash the pavers thoroughly.
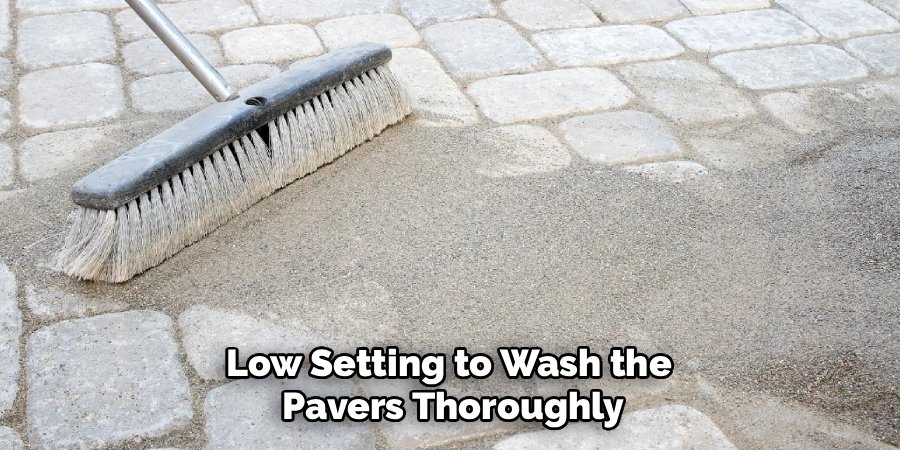
Pay special attention to oil spots or barbecue grease, using a degreaser if necessary. Scrub stubborn areas with a stiff-bristled brush to agitate deep-seated grime. You must ensure that every inch of the patio is free from dust, pollen, and efflorescence before proceeding to the next stage.
Step 2: Remove Weeds and Repair Joints
While the stone is drying from the initial wash, inspect the gaps between the pavers. Weeds and moss love to grow in the sand joints, and they can disrupt the seal if left unchecked. Pull any visible weeds by hand or use a specialized tool to scrape out organic matter from the crevices.
If you notice that the jointing sand has washed away or settled significantly, now is the time to top it up. Sweep fresh polymeric sand into the joints, ensuring they are filled to the appropriate level just below the stone’s surface. A solid, weed-free base is critical for a uniform application and long-lasting protection.
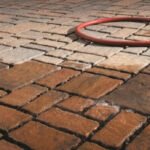
Step 3: Allow the Patio to Dry Completely
Patience is the most critical tool in your arsenal during this project. You simply cannot apply sealer to damp stone. Moisture trapped beneath the sealant can cause a hazy white appearance known as “blushing” or prevent the sealer from bonding correctly. After washing, you must wait at least 24 to 48 hours of dry, rain-free weather.
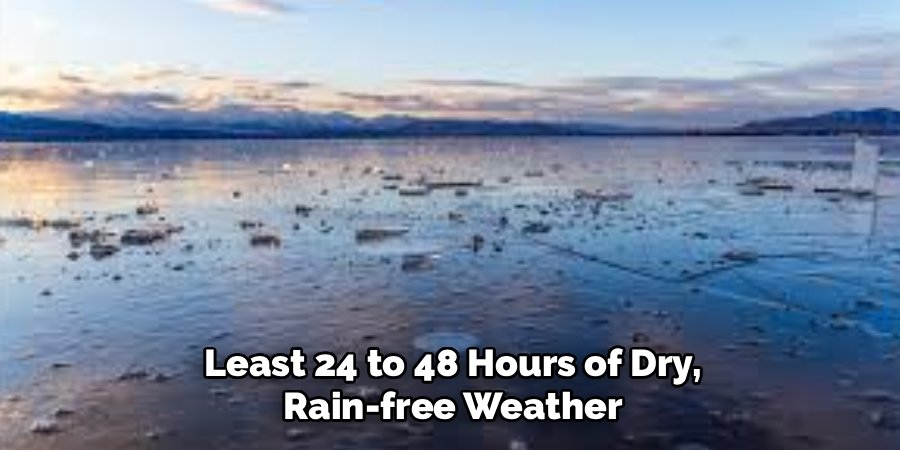
Check the weather forecast diligently to ensure no precipitation is expected for the next few days. If the stone looks dry on top but feels cool or damp to the touch, or if the soil nearby is wet, wait another day. Ensuring the substrate is bone-dry is non-negotiable for a professional result.
Step 4: Choose the Correct Sealer Type
Selecting the right product is just as important as the application method. There are generally two main categories of stone sealers: penetrating (impregnating) sealers and film-forming (topical) sealers. Penetrating sealers soak into the pores of the stone to repel water and stains without changing the surface appearance significantly.
Film-forming sealers create a protective layer on top, often providing a “wet look” or high-gloss finish that enhances color. Read the labels carefully to ensure the product is compatible with your specific stone type, whether it is flagstone, slate, limestone, or travertine. Your choice depends on the aesthetic you desire and the level of protection required for your specific climate.
Step 5: Test a Small Area
Never apply a new product to your entire patio without testing it first. Find an inconspicuous corner or use a spare paver left over from the installation. Apply a small amount of the sealer according to the manufacturer’s instructions and let it dry completely. This test patch allows you to see exactly how the sealer will interact with your specific stone.
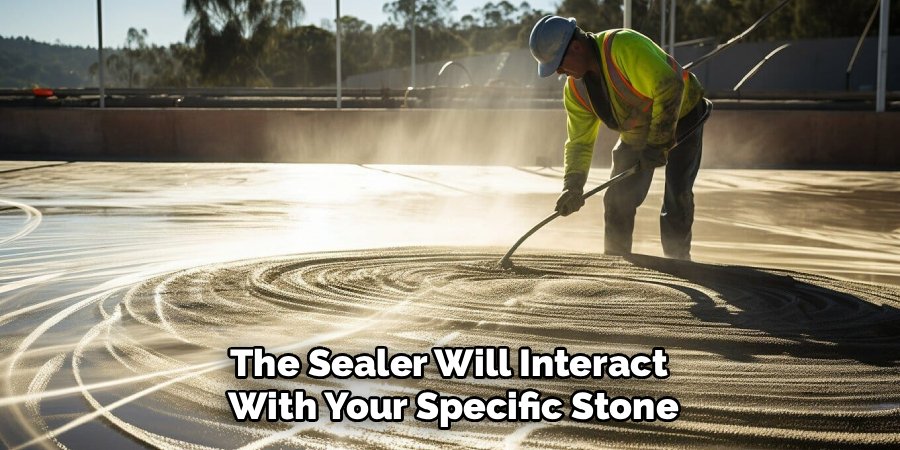
It helps you verify if the finish—whether matte, satin, or gloss—matches your expectations. Additionally, it confirms that the sealer absorbs correctly and does not cause any adverse reactions like discoloration. This simple precautionary step can save you from a costly and difficult-to-fix mistake across your entire outdoor living area.
Step 6: Apply the Sealer with a Roller or Sprayer
Once you are satisfied with the test patch and the weather is cooperating, begin the main application. For most DIYers, a low-pressure garden sprayer is the most efficient method for applying the sealer evenly. Spray the product in a continuous, overlapping motion to ensure full coverage without pooling.
Immediately follow up with a foam roller or a lint-free cloth to back-roll the surface. This technique evens out the application, catches any drips, and helps work the sealer into the texture of the stone. Work in small, manageable sections to maintain a “wet edge” and prevent lap marks from forming where dried and wet sealer meet.
Step 7: Let the Sealer Cure and Apply Second Coat
After covering the entire patio, allow the first coat to dry according to the manufacturer’s timeline, which is typically between one and four hours. Many porous stones will benefit from a second coat to ensure maximum durability and stain resistance.
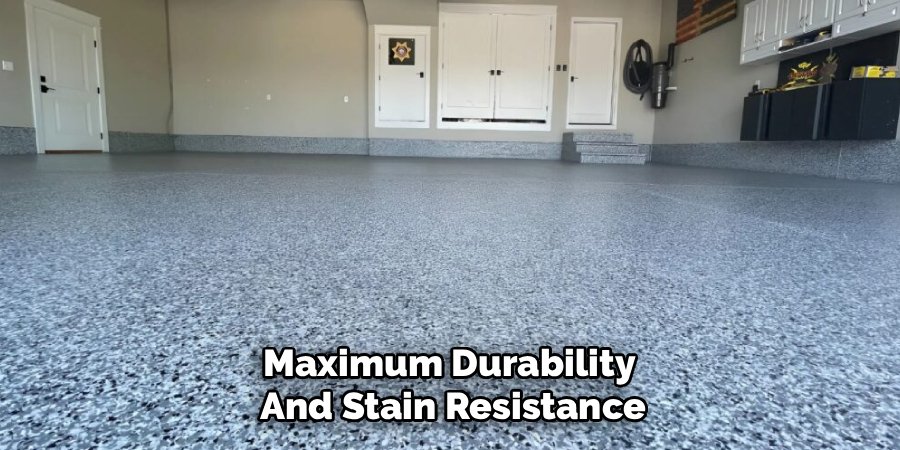
If a second coat is recommended, apply it in a direction perpendicular to the first coat to ensure no spots were missed. Once the final coat is down, keep foot traffic off the patio for at least 24 hours and vehicle traffic off for 72 hours. This curing period allows the chemical bonds to harden fully, providing the robust shield your stone needs against the elements.
Frequently Asked Questions (FAQ)
How Often Should I Seal My Stone Patio?
The frequency depends on the type of stone, the quality of the sealer used, and the local climate.
- General Rule: Most experts recommend resealing every 3 to 5 years.
- Visual Check: A simple water test can tell you if it’s time. Pour a little water on the stone; if it beads up, the seal is still good. If the stone darkens and absorbs the water quickly, it is time to reseal.
- Wear and Tear: High-traffic areas may need attention sooner than decorative corners.
Can I Seal Old Stone That Has Never Been Sealed?
Yes, absolutely. In fact, sealing older stone can often revitalize its appearance.
- Preparation: The cleaning step becomes even more critical for older patios. You may need to use stronger cleaners to remove years of built-up grime, algae, or efflorescence.
- Restoration: While sealing won’t fix cracks or physical damage, it can enhance the color of faded stone and prevent further deterioration.
What Happens if I Apply Sealer to Wet Stone?
Applying sealer to damp stone is a common mistake that leads to issues.
- Hazing: Trapped moisture can cause the sealer to turn milky or white as it cures.
- Peeling: The moisture prevents the sealer from bonding with the stone, leading to flaking or peeling later on.
- Correction: If this happens, you will likely need to strip the sealer using a chemical stripper and start the process over, which is labor-intensive.
Is It Better to Spray or Roll the Sealer?
The best method often involves a combination of both.
- Spraying: This is the fastest way to get the material onto the surface and ensures it gets into the crevices and texture of the stone.
- Rolling: Back-rolling immediately after spraying is crucial. It evens out the liquid, prevents puddles (which leave shiny spots), and ensures the sealer penetrates uniformly.
Will Sealing My Patio Make It Slippery?
It can, especially if you use a film-forming sealer that creates a glossy surface.
- Texture: Penetrating sealers generally do not change the slip resistance of the stone.
- Additives: If you prefer the look of a glossy topical sealer, you can mix in a non-slip additive (often a fine grit powder) into the final coat. This adds texture and grip, making the surface safer to walk on when wet.
Conclusion
Taking the time to protect your hardscaping investment is one of the smartest decisions a homeowner can make. It transforms a porous, vulnerable surface into a resilient feature that can withstand rain, sun, and spills with ease.
By meticulously cleaning the area, allowing for proper drying time, and applying the product with care, you ensure a professional-quality finish that revitalizes your entire backyard. The effort you put in today will pay off for years in the form of reduced maintenance and enduring curb appeal.
Now that you have mastered the process of how to seal stone patio pavers, you can relax and enjoy your outdoor sanctuary, confident that it is protected against whatever nature throws its way.
About
Jovie Mathews is a backyard and outdoor expert writer with over 12 years of hands-on experience transforming neglected outdoor spaces into thriving gardens and functional retreats. Raised in a family where weekends meant digging in the soil and building raised beds from scratch, Jovie developed a genuine love for the outdoors long before it became a career.
She writes with a practical, no-fluff approach — always testing ideas in her own backyard before sharing them with readers. From composting systems and native plant selection to patio design and pest control, Jovie covers the full spectrum of backyard life with equal parts expertise and enthusiasm.
Education
B.Sc. in Horticulture Science
University of Florida (UF) · Gainesville, FL · 2014
IFAS College of Agricultural and Life Sciences
Minor in Environmental Studies
University of Florida (UF) · Gainesville, FL · 2014
College of Liberal Arts and Sciences
Areas of expertise
- Lawn & Garden Care
- Soil prep, planting, seasonal care
- Outdoor DIY Projects
- Raised beds, fencing, pathways
- Composting & Soil Health
- Organic methods, amendments
- Native Plants & Wildlife
- Pollinators, habitat gardening
When she is not writing, Jovie can be found testing new composting techniques, growing tomatoes in questionable quantities, or convincing her neighbors that clover lawns are actually a great idea. She currently gardens in the Pacific Northwest.