

A chiminea can transform your patio or backyard into a cozy and inviting gathering spot. These charming, freestanding outdoor fireplaces bring warmth, light, and a unique rustic ambiance to any space. Originally from Mexico, chimineas were traditionally used for cooking and heating. Today, they are a popular backyard feature for anyone who loves spending time outdoors.
If you’ve just brought one home, you might be wondering about the best way to get started. This guide will walk you through everything you need to know, from placement to maintenance, so you can safely enjoy your new outdoor feature. Learning how to use chiminea is simple, and with a few key steps, you’ll be enjoying its crackling warmth in no time.
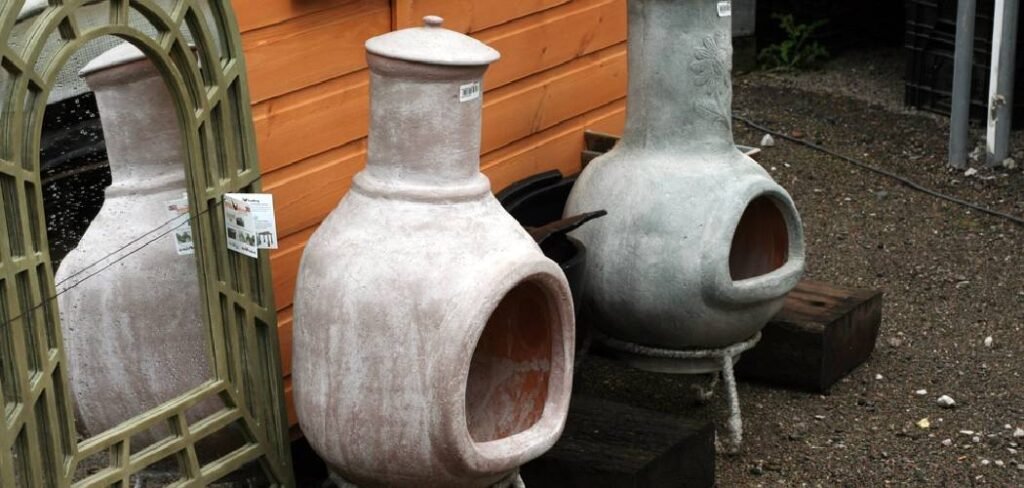
Placement Matters for Your Chiminea
Choosing the right spot for your chiminea is the most critical first step for safety and enjoyment. A well-placed chiminea not only prevents accidents but also enhances its efficiency and your overall experience. You need to consider factors like wind direction, proximity to flammable materials, and the stability of the surface. Placing it on an unstable or uneven surface could cause it to tip over, creating a serious fire hazard.
Similarly, setting it too close to your house, under a low-hanging tree, or near patio furniture could lead to unintentional fires. By taking a few moments to assess your outdoor space and select a safe, strategic location, you ensure that your fires are contained, controlled, and a source of comfort rather than concern.
7 Step-by-Step Guide on How to Use Chiminea
Step 1: Choose a Safe Location
Proper placement is non-negotiable for safety. Position your chiminea on a non-combustible, level surface like a stone patio, concrete slab, or brick area. Avoid placing it directly on a wooden deck or grassy lawn, as the heat can cause scorching or start a fire.
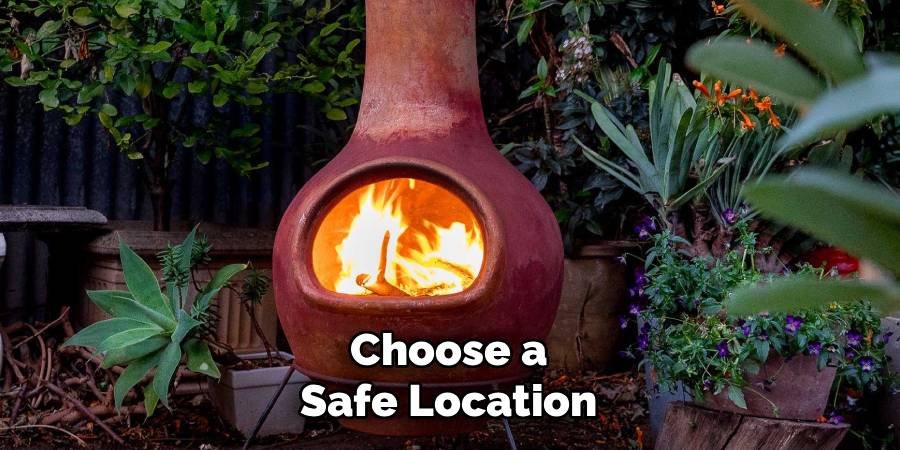
Ensure there is at least a ten-foot clearance on all sides, keeping it away from your house, fences, low-hanging branches, and outdoor furniture. This open space prevents sparks from igniting nearby objects and allows for adequate ventilation. Using a chiminea pad or stand can provide an extra layer of protection for the surface underneath.
Step 2: Cure Your Clay Chiminea
If you have a traditional clay chiminea, you must cure it before its first major use. This process tempers the clay, making it more resistant to the high temperatures of a large fire and preventing it from cracking. To start, build a small kindling fire inside the chiminea and let it burn out. Allow the chiminea to cool completely. Repeat this process a few times, gradually making each fire slightly larger than the last. This slow introduction to heat removes any residual moisture and strengthens the clay structure, ensuring your chiminea will last for many seasons.
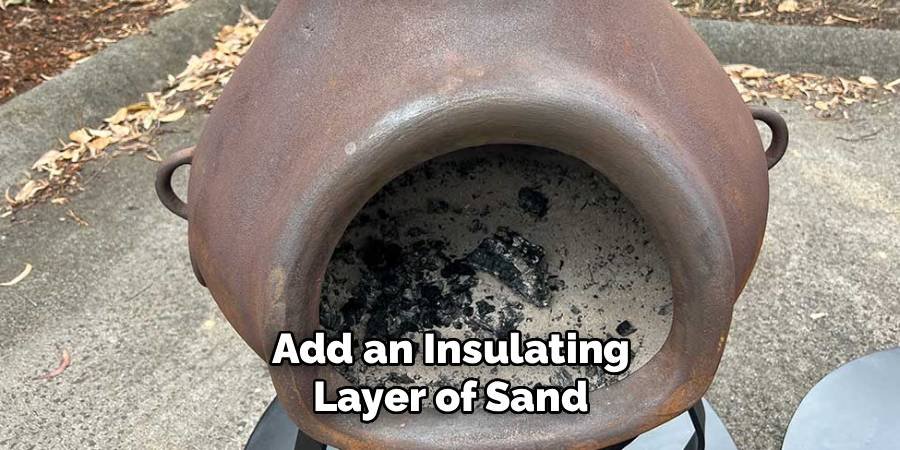
Step 3: Add an Insulating Layer of Sand
Before building your first fire, pour a layer of sand or lava rocks into the bottom of the chiminea’s fire bowl. This base should be about three to four inches deep. This layer serves two important purposes. First, it insulates the clay or cast iron base from direct, intense heat, which helps prevent stress fractures and extends the life of your chiminea. Second, it raises the fire, bringing it closer to the opening for better heat radiation and improved airflow. This simple addition makes cleanup easier, as you can simply scoop out the ash-laden sand when it gets dirty.
Step 4: Build the Fire
Learning how to use a chiminea starts with building the right kind of fire. Begin by placing your tinder, such as crumpled newspaper or dry pine needles, in the center of the sand base. Next, arrange small, dry pieces of kindling, like twigs or small wood splits, in a teepee or log cabin formation over the tinder. This structure allows for ample airflow, which is essential for ignition. Light the tinder from the bottom. As the kindling catches fire, slowly add larger, seasoned pieces of hardwood. Avoid overfilling the fire bowl; a small, well-managed fire is safer and more efficient.
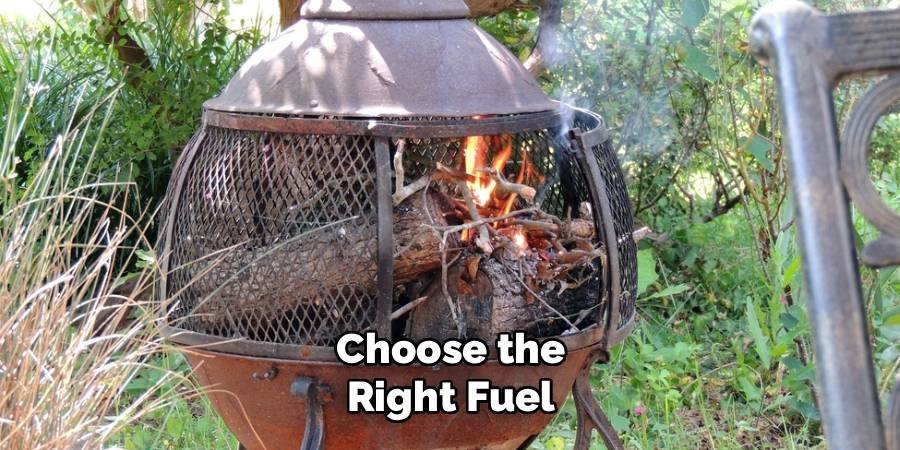
Step 5: Choose the Right Fuel
The type of wood you burn significantly impacts your chiminea experience. Always use dry, seasoned hardwoods like oak, hickory, or mesquite. These woods burn longer, hotter, and produce less smoke and creosote buildup compared to softwoods. Avoid using softwoods like pine or cedar, as they create a lot of smoke and can release sparks that may escape the chimney. Never burn pressure-treated wood, painted wood, particleboard, or trash, as these materials can release toxic fumes and damage your chiminea. Small, split logs are ideal, as they fit easily and burn efficiently.
Step 6: Manage the Fire Safely
Once your fire is going, maintain it by adding one or two logs at a time as needed. The goal is to keep a small, manageable fire contained within the fire bowl. A chiminea is designed for smaller fires, not roaring bonfires. Overloading it with wood can cause it to overheat and crack, especially if it’s made of clay. Use a long-handled poker to adjust the logs and ensure air can circulate. Keep a fire extinguisher, a bucket of water, or a garden hose nearby at all times as a precaution. This preparation is a key part of understanding how to use chiminea responsibly.
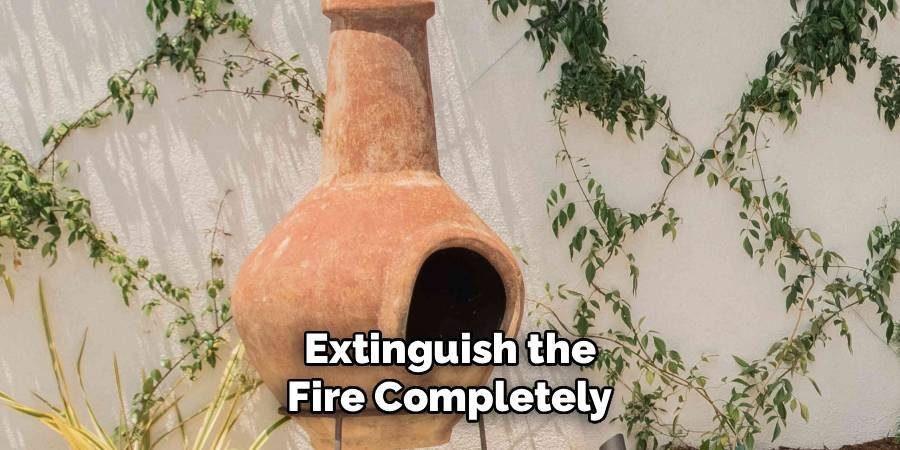
Step 7: Extinguish the Fire Completely
Properly extinguishing the fire is just as important as starting it. When you are finished enjoying your chiminea, allow the fire to die down and burn out naturally. Spreading the embers apart with a poker can help them cool faster. Do not douse the fire with a large amount of cold water, particularly with a clay chiminea. The sudden temperature change, known as thermal shock, can cause the clay to crack instantly. Once the embers are completely out and the chiminea is cool to the touch, you can safely leave it unattended.
Clean and Maintain Your Chiminea
Regular cleaning and maintenance will keep your chiminea in great condition. After it has completely cooled, use a small shovel or scoop to remove the ash and any unburnt wood from the fire bowl. If you used a sand base, you can sift the ashes out or replace the sand periodically. For the exterior, you can wipe down a cast iron chiminea to prevent rust. For a clay chiminea, check for any small cracks that may have formed. You can seal these with a high-temperature sealant. Covering your chiminea with a waterproof cover when not in use will protect it from rain and extend its life.
Common Mistakes to Avoid
When using and maintaining a chiminea, it’s essential to steer clear of some common mistakes to ensure safety and longevity. One frequent error is overloading the fire bowl with too much wood, which can cause excessive heat and weaken the structure of the chiminea. Another mistake is neglecting to use a proper base, such as sand or lava rocks, which helps distribute heat evenly and prevents cracking.
Additionally, placing a chiminea on a flammable surface like wood decking without a fireproof mat can pose a serious fire hazard. Failing to regularly clean out ash buildup or leaving the chiminea uncovered during harsh weather can also lead to premature wear and damage. By avoiding these pitfalls, you can ensure your chiminea remains a safe and enjoyable feature in your outdoor space.
Frequently Asked Questions
What Is the Best Fuel to Use in a Chiminea?
The best fuel is dry, seasoned hardwood. Woods like oak, apple, hickory, or mesquite burn hot and clean, producing minimal smoke and sparks. They also burn for a longer time, giving you a lasting fire. Avoid softwoods like pine or fir, as they create excess smoke and creosote. You can also use manufactured fire logs designed for outdoor fireplaces. Never burn trash, plastic, or chemically treated wood, as they release toxic fumes.
Can I Use a Chiminea on a Wooden Deck?
It is not recommended to place a chiminea directly on a wooden deck. The intense heat from the base can scorch the wood or even start a fire. To use it on a deck, you must place it on a non-combustible base, such as a large patio stone slab or a specially designed chiminea pad made of fire-resistant material. This creates a protective barrier between the heat source and your deck surface, ensuring a safer experience.
How Do I Prevent My Clay Chiminea From Cracking?
To prevent cracking, you must cure your clay chiminea before its first big fire by burning a series of small fires. Also, always use a sand or lava rock base to insulate the clay from direct heat. Most importantly, never extinguish a fire with water. The rapid temperature drop will cause thermal shock and crack the clay. Let the fire burn out on its own. Finally, protect it from moisture by using a waterproof cover when it’s not in use.
What’s the Difference Between a Chiminea and a Fire Pit?
The main difference is in the design and function. A chiminea has a vertical chimney that directs smoke up and away, making it a more pleasant experience for those sitting around it. Its enclosed bulb-shaped body contains the fire more effectively, making it a safer option for smaller spaces. A fire pit is an open bowl or container, which provides a 360-degree view of the fire but allows smoke and embers to drift in any direction.
Do I Need to Cover My Chiminea?
Yes, covering your chiminea when it is not in use is highly recommended. A waterproof cover protects it from rain, snow, and other environmental elements. For a clay chiminea, moisture absorption can lead to cracking when it’s next heated. For a cast iron or steel chiminea, a cover helps prevent rust and corrosion. Keeping your chiminea dry and protected will significantly extend its lifespan and keep it looking its best.
Conclusion
A chiminea is more than just an outdoor heater; it’s a centerpiece for creating lasting memories with friends and family. By following these simple steps, you can operate your chiminea safely and efficiently, ensuring many evenings of warmth and enjoyment.
From selecting the perfect location and curing the clay to building a responsible fire and performing regular maintenance, each step is crucial. Now that you have a comprehensive understanding of how to use chiminea, you are ready to light up your backyard and enjoy the unique, cozy atmosphere it brings.

About
Jovie Mathews is a backyard and outdoor expert writer with over 12 years of hands-on experience transforming neglected outdoor spaces into thriving gardens and functional retreats. Raised in a family where weekends meant digging in the soil and building raised beds from scratch, Jovie developed a genuine love for the outdoors long before it became a career.
She writes with a practical, no-fluff approach — always testing ideas in her own backyard before sharing them with readers. From composting systems and native plant selection to patio design and pest control, Jovie covers the full spectrum of backyard life with equal parts expertise and enthusiasm.
Education
B.Sc. in Horticulture Science
University of Florida (UF) · Gainesville, FL · 2014
IFAS College of Agricultural and Life Sciences
Minor in Environmental Studies
University of Florida (UF) · Gainesville, FL · 2014
College of Liberal Arts and Sciences
Areas of expertise
- Lawn & Garden Care
- Soil prep, planting, seasonal care
- Outdoor DIY Projects
- Raised beds, fencing, pathways
- Composting & Soil Health
- Organic methods, amendments
- Native Plants & Wildlife
- Pollinators, habitat gardening
When she is not writing, Jovie can be found testing new composting techniques, growing tomatoes in questionable quantities, or convincing her neighbors that clover lawns are actually a great idea. She currently gardens in the Pacific Northwest.




