After a heavy rain, your patio should be a place to relax, not a shallow pond. Persistent puddles, however, are a common and frustrating problem for many homeowners. This standing water is more than just an inconvenience; it can create a slippery and hazardous surface, attract mosquitoes, and promote the growth of unsightly moss and algae.
Over time, trapped moisture can also damage the pavers, lead to cracks in concrete, and even seep towards your home’s foundation, causing significant structural issues. The good news is that you do not have to live with a perpetually soggy outdoor space. By identifying the root cause and implementing the right solutions, you can restore proper drainage. This guide will provide a clear, beginner-friendly roadmap on how to fix standing water on patio surfaces, ensuring your outdoor oasis remains dry, safe, and enjoyable.
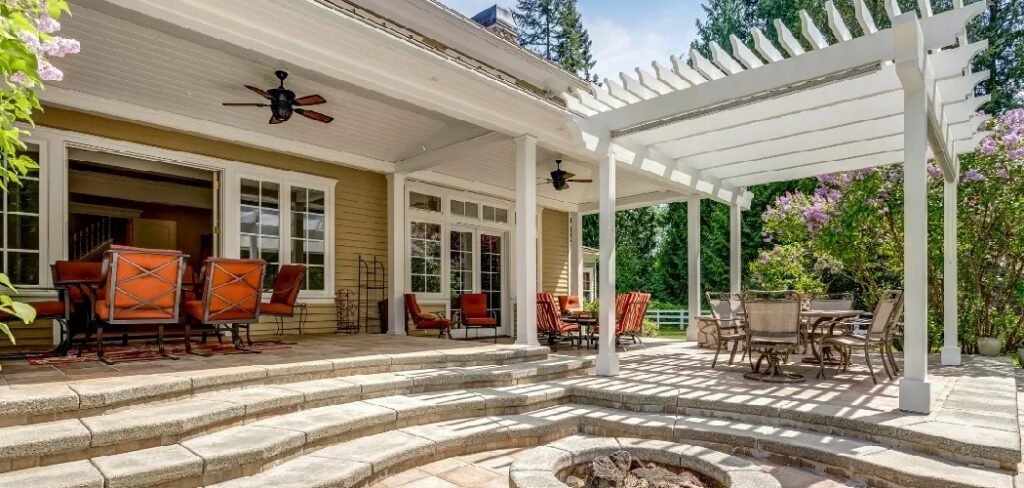
Standing water on your patio can be both an inconvenience and a potential hazard. It not only detracts from the appearance of your outdoor space but can also create slippery surfaces, foster mold growth, and attract unwanted pests.
Addressing the issue might seem daunting at first, but with a step-by-step approach and the right tools, you can tackle it effectively. Whether you’re dealing with poor drainage, uneven surfaces, or other common causes, a few adjustments can go a long way toward preventing water buildup and maintaining a functional, attractive patio.
7 Step-by-Step Guide on How to Fix Standing Water on Patio
Step 1: Identify the Cause and Location of Pooling
The first step is to become a water detective. After the next rainfall, go outside and observe exactly where the puddles are forming. Take photos or mark the low spots with chalk. Is the water pooling in a single depression in the center of the patio, or is it gathering along the edge near your house? Check your downspouts and gutters; a clogged or poorly aimed downspout can dump hundreds of gallons of water directly onto your patio, overwhelming its ability to drain.
Also, look at the surrounding landscape. Is your garden bed graded in a way that directs runoff onto the patio instead of away from it? Pinpointing the source of the problem is essential before you can choose the right solution.
Step 2: Thoroughly Clean the Patio Surface and Joints
Sometimes the simplest solution is the most effective. Over time, the joints between pavers can become clogged with dirt, moss, and compacted debris. This blockage prevents water from seeping through the cracks as intended, forcing it to pool on the surface. Begin by giving your entire patio a deep cleaning.
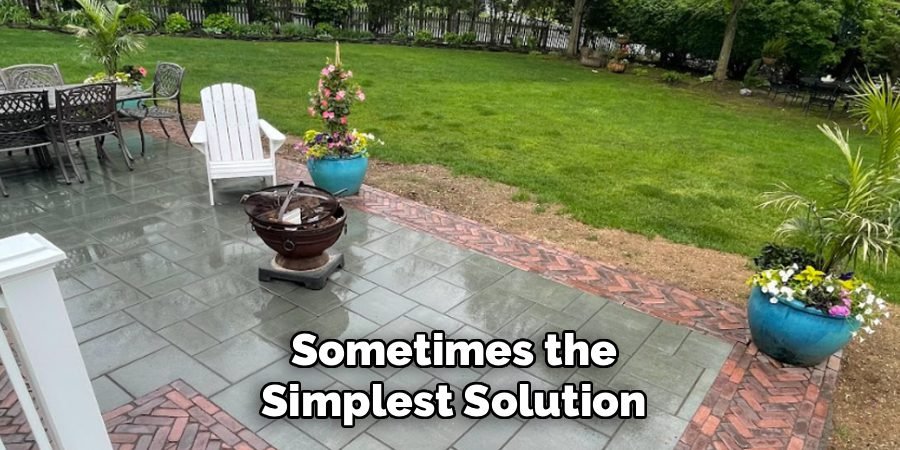
Use a stiff-bristled brush and a strong stream of water to scrub the surface and clear out the joints. A pressure washer can be very effective for this, but use a fan tip and keep your distance to avoid dislodging the pavers. Once the joints are clear, you may find that your drainage problem is significantly improved without any further action.
Step 3: Address Low Spots
If cleaning doesn’t solve the issue, you likely have low spots caused by soil settling underneath the pavers. To fix this, you will need to lift the pavers in the affected area. Use a pair of flathead screwdrivers or a specialized paver extractor tool to carefully pry up the sunken stones.
Once removed, add a layer of coarse sand or fine gravel to the base to build it up. Use a small level to ensure the new base is even and has a slight slope away from your home. Tamp the new material down firmly before carefully relaying the pavers, ensuring they sit level with the surrounding stones. This simple lift-and-fill technique is a fundamental skill for correcting drainage.
Step 4: Re-Grade the Patio’s Slope
For widespread pooling or water collecting against your house, the entire patio may have an improper slope. A patio should be built with a gentle grade of about one-quarter inch per foot, sloping away from the foundation.
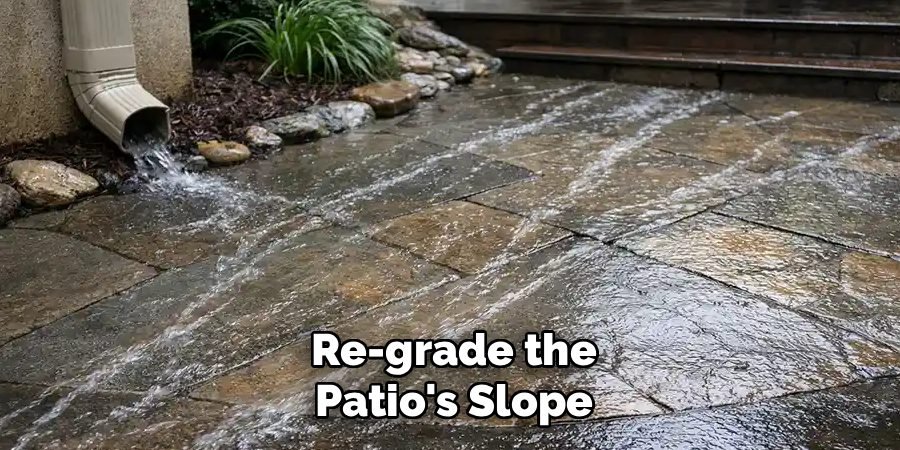
Correcting the grade of an entire patio is a major project that involves removing all the pavers, re-leveling and re-compacting the base material to create the correct slope, and then relaying the pavers. While this is labor-intensive, it is the most permanent and effective solution for severe drainage problems. It ensures that gravity works in your favor, directing all rainwater away from your home and preventing it from ever having a chance to pool.
Step 5: Install a Channel Drain
If re-grading the entire patio is not feasible, installing a channel drain is an excellent alternative. A channel drain, also known as a trench drain, is a long, narrow grate that sits flush with the patio surface. It is designed to intercept a large volume of water and direct it away through an underground pipe.
You can install a channel drain along the edge of the patio where water collects, or even cut a line through the middle of the surface. This involves cutting and removing a section of pavers, digging a trench, setting the drain, and connecting it to a pipe that leads to a safe runoff area in your yard.
Step 6: Create a French Drain Along the Edge
A French drain is another effective solution for managing heavy water flow, especially if the problem is caused by runoff from your lawn or garden beds. This system consists of a perforated pipe buried in a gravel-filled trench.
To install one, dig a trench along the edge of your patio, line it with landscape fabric, fill the bottom with gravel, lay the perforated pipe, and then cover the pipe with more gravel. The fabric prevents soil from clogging the pipe. A French drain collects both surface water and groundwater, redirecting it away from the patio and your home’s foundation, making it a robust, long-term fix for soggy perimeters.
Step 7: Refill and Seal the Paver Joints
After you have completed any necessary repairs and the patio is completely dry, the final step is to properly finish the joints. Sweep new, high-quality polymeric sand into all the gaps between the pavers. This type of sand contains a polymer that, when wetted, binds the particles together to form a firm, durable joint.
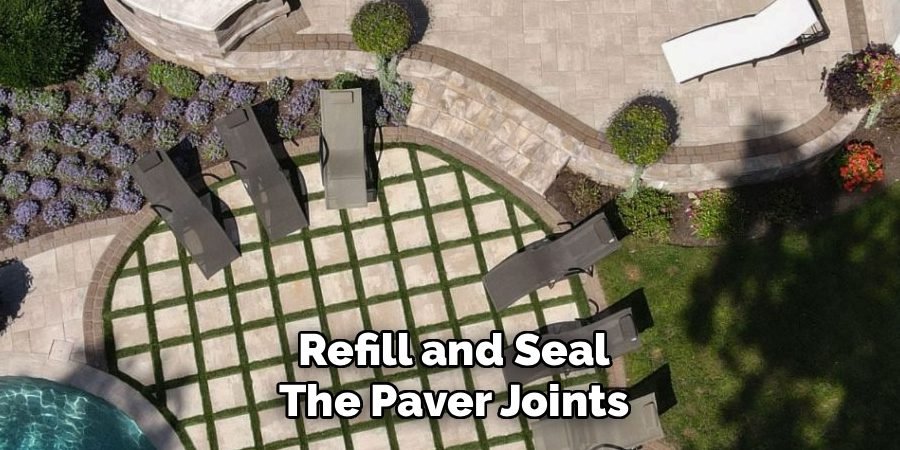
This not only locks the pavers in place but also creates a water-resistant barrier that helps prevent erosion and stops weeds from growing. Once the sand is swept in, you can apply a paver sealant to the entire surface. This adds another layer of protection, further repelling water and making the patio easier to clean in the future.
Frequently Asked Questions (FAQ)
Why Is Water Pooling on My Concrete Patio?
For solid concrete patios, standing water is almost always due to one of two issues:
- Improper Slope: The patio was not poured with the correct grade to direct water away from the house.
- Sunken Areas: The slab has settled or cracked over time, creating a low spot or “birdbath” where water collects.
For minor depressions, a concrete resurfacing compound can be used to level the area. For major slope issues, a professional may be needed to install a drain or new overlay.
Can Standing Water Damage My Patio Pavers?
Yes, it can. When water sits on pavers for extended periods, it can lead to several problems. It promotes the growth of slippery moss and algae, which can be a safety hazard. In colder climates, the water can seep into the porous stone, freeze, and expand, causing the pavers to crack and spall (flake apart). It can also lead to efflorescence, a white, chalky residue that is difficult to remove.
How Much Slope Should a Patio Have?
The industry standard for proper drainage is a slope of at least 1/4 inch per foot. This means that for every four feet of patio extending away from your house, the surface should drop by one inch. This grade is subtle enough that you won’t notice it when walking or placing furniture, but it is significant enough to ensure that rainwater flows away from your home’s foundation and does not pool on the surface.
What Is the Difference Between a French Drain and a Channel Drain?
- Channel Drain: A surface-level solution with a visible grate. It is designed to quickly capture and remove large amounts of surface water from hardscapes like patios and driveways.
- French Drain: A subsurface system consisting of a perforated pipe buried in a gravel trench. It is designed to collect and redirect both surface water and groundwater, making it ideal for solving soggy lawn and garden issues along a patio’s edge.
Will Sealing My Pavers Help with Standing Water?
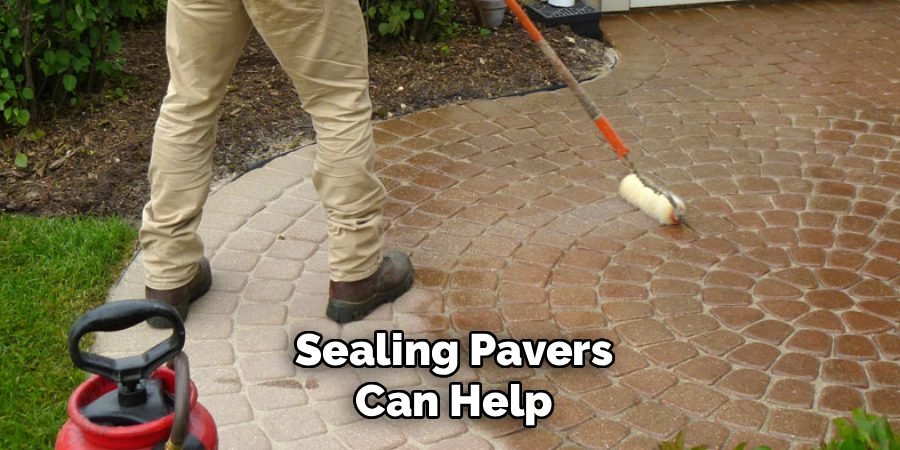
Sealing pavers can help, but it is not a solution for improper slope or low spots. A good quality sealer creates a hydrophobic barrier, causing water to bead up and run off more easily rather than soaking into the stone. This can help the surface dry faster and prevent staining. However, if the patio is not graded correctly, the water will still run to the lowest point and pool there, regardless of whether the pavers are sealed or not.
Conclusion
A patio plagued by puddles is a problem that should not be ignored. By taking a systematic approach to diagnose the cause, you can implement the right fix, whether it is a simple cleaning, lifting a few sunken pavers, or installing a more robust drainage system like a channel or French drain.
Addressing the issue not only enhances the usability and appearance of your outdoor space but also protects your investment and your home’s foundation from long-term water damage. Now that you have a comprehensive understanding of how to fix standing water on patio surfaces, you are equipped with the knowledge to tackle the project with confidence. It is time to drain your worries and start enjoying your dry, beautiful patio once again.

About
Jovie Mathews is a backyard and outdoor expert writer with over 12 years of hands-on experience transforming neglected outdoor spaces into thriving gardens and functional retreats. Raised in a family where weekends meant digging in the soil and building raised beds from scratch, Jovie developed a genuine love for the outdoors long before it became a career.
She writes with a practical, no-fluff approach — always testing ideas in her own backyard before sharing them with readers. From composting systems and native plant selection to patio design and pest control, Jovie covers the full spectrum of backyard life with equal parts expertise and enthusiasm.
Education
B.Sc. in Horticulture Science
University of Florida (UF) · Gainesville, FL · 2014
IFAS College of Agricultural and Life Sciences
Minor in Environmental Studies
University of Florida (UF) · Gainesville, FL · 2014
College of Liberal Arts and Sciences
Areas of expertise
- Lawn & Garden Care
- Soil prep, planting, seasonal care
- Outdoor DIY Projects
- Raised beds, fencing, pathways
- Composting & Soil Health
- Organic methods, amendments
- Native Plants & Wildlife
- Pollinators, habitat gardening
When she is not writing, Jovie can be found testing new composting techniques, growing tomatoes in questionable quantities, or convincing her neighbors that clover lawns are actually a great idea. She currently gardens in the Pacific Northwest.