

Your patio furniture is the centerpiece of your outdoor living space, but exposure to the elements can leave it looking worn and damaged. Instead of spending a fortune on replacements, you can restore your pieces to their former glory with a few simple techniques.
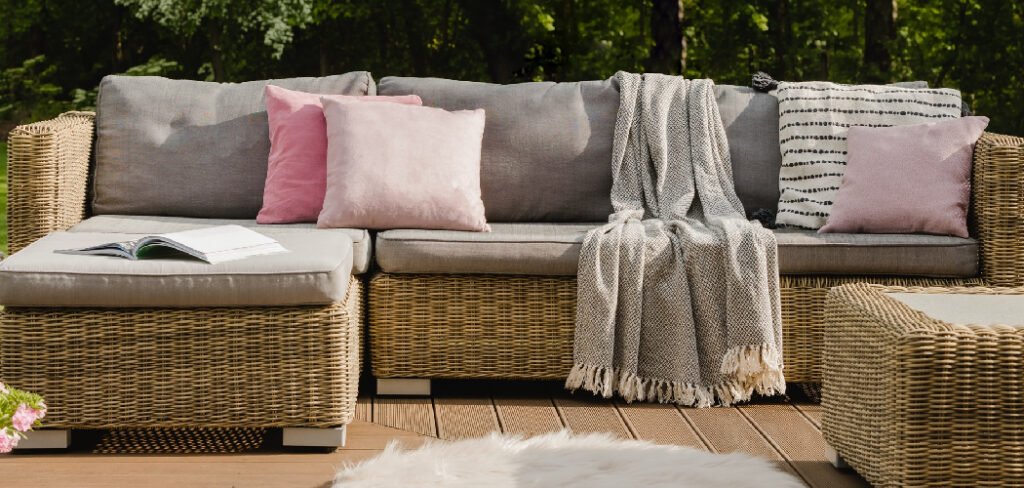
Learning how to repair patio furniture is a rewarding and cost-effective project for any homeowner. Whether you’re dealing with faded plastic, rusted metal, or splintered wood, this guide will walk you through the process, helping you revive your outdoor seating and tables for many more seasons of enjoyment.
Why Repairing Your Patio Furniture is a Smart Choice
Choosing to learn how to repair your patio furniture is more than just a weekend project; it’s a smart investment in your home and lifestyle. It saves you a significant amount of money compared to buying a new set, which can often cost hundreds or even thousands of dollars. This DIY approach is also an environmentally friendly choice, as it reduces waste by keeping otherwise usable items out of landfills. Furthermore, restoring your furniture allows you to customize its look with new paint colors or finishes, adding a personal touch to your outdoor decor that you can’t get from a store-bought set.
8 Step-by-Step Guide on How to Repair Patio Furniture
Step 1: Assess the Damage
Before you begin any repairs, take a close look at each piece of furniture to understand the extent of the damage. For metal furniture, check for rust, peeling paint, and loose joints. With wooden pieces, look for splintering, rot, and faded finishes.
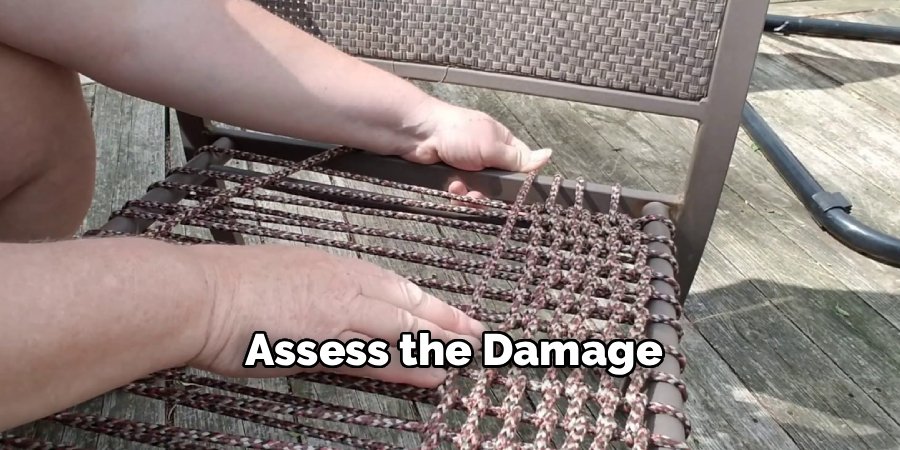
Plastic or wicker furniture may have cracks, discoloration, or unraveling sections. Make a detailed list of the issues for each item, as this will help you gather the right tools and materials. This initial assessment is crucial for creating an effective plan and ensures you address all the problems for a complete and lasting restoration.
Step 2: Gather Your Tools and Materials
Once you know what needs fixing, it’s time to collect your supplies. Your specific list will depend on the furniture’s material and condition, but some common items include sandpaper (in various grits), wire brushes, cleaning solutions, and safety gear like gloves and goggles. For wood repairs, you might need wood filler, stains, or sealants. Metal repairs often require rust remover, primer, and spray paint designed for outdoor use. Having everything organized and ready before you start will make the entire process smoother and more efficient, preventing unnecessary interruptions to your workflow.
Step 3: Clean the Furniture Thoroughly
A clean surface is essential for any successful repair. Dirt, mildew, and grime can prevent primers, paints, and sealants from adhering properly. Start by scrubbing your furniture with a mixture of warm water and mild detergent. For stubborn stains or mildew, a solution of one part vinegar to one part water can be effective.
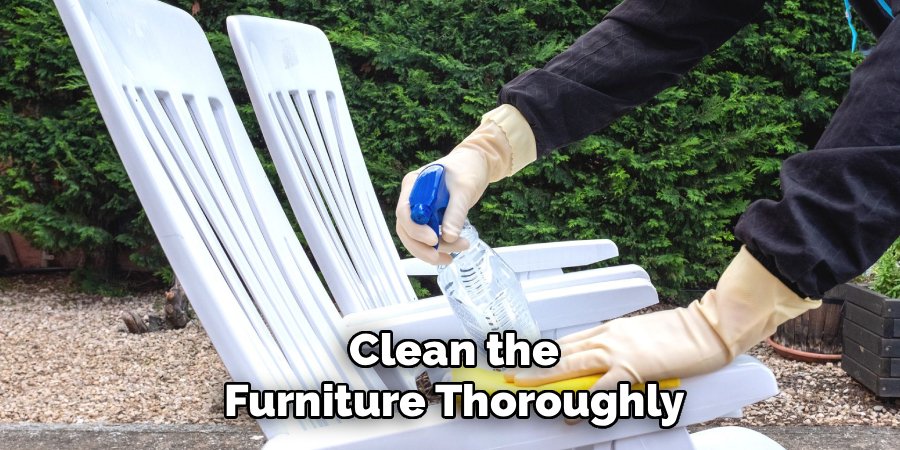
Use a stiff-bristled brush to get into crevices and textured surfaces. After scrubbing, rinse each piece thoroughly with a hose and allow it to dry completely in the sun. This step is non-negotiable for achieving a professional-looking and durable finish.
Step 4: How to Repair Patio Furniture by Sanding and Stripping
With your furniture clean and dry, the next step is to create a smooth surface for refinishing. For wood, sand away any old, peeling varnish or splintered areas, starting with a medium-grit sandpaper and finishing with a fine grit for a polished feel. For metal pieces, use a wire brush to remove all loose rust and flaking paint. A power sander can speed up this process significantly for larger surfaces. The goal is to strip the furniture down to a stable base layer, which will ensure your new finish applies evenly and lasts longer.
Step 5: Make Structural Repairs
Now is the time to fix any structural issues you identified during your initial assessment. For wooden furniture, apply wood filler to cracks and gouges, following the product’s instructions for application and drying time. Once dry, sand the filler smooth so it blends seamlessly with the surrounding wood. If you have loose joints, tighten any screws or bolts. For more wobbly connections, you may need to disassemble the joint, apply a strong wood glue, and clamp it tightly until the glue cures. Addressing these foundational problems is key to ensuring your furniture is safe and sturdy.
Step 6: Prime the Surface
Priming is a critical step that is often overlooked, but it makes a huge difference in the final quality of your repair. A good primer creates a uniform base, helps the topcoat of paint adhere better, and provides an extra layer of protection against the elements.
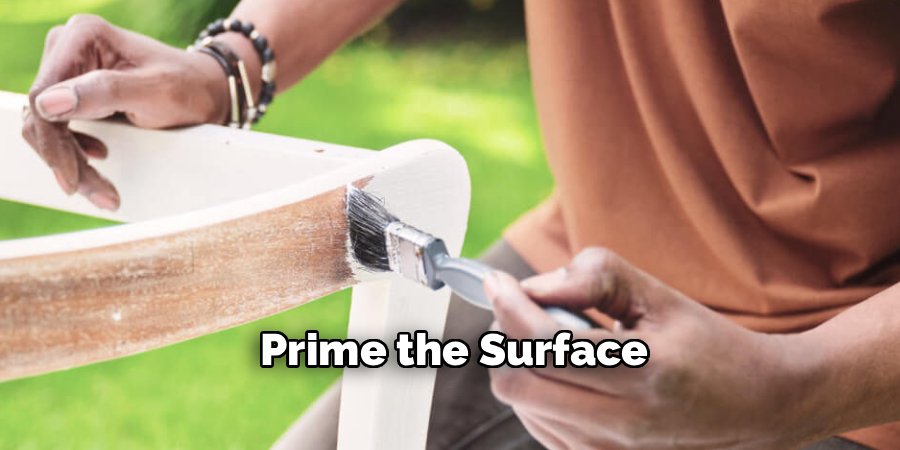
For metal furniture, use a rust-inhibiting primer to prevent future corrosion. For wood, an exterior-grade wood primer will seal the surface and block stains from bleeding through the paint. Apply a thin, even coat of primer to all surfaces and let it dry completely according to the manufacturer’s recommendations.
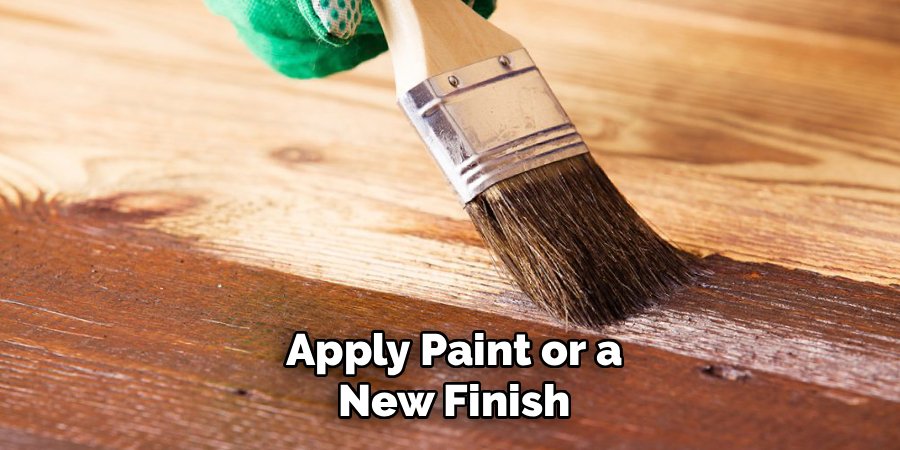
Step 7: Apply Paint or a New Finish
This is the most transformative part of the process where your furniture’s new look comes to life. Choose a high-quality exterior paint or stain designed specifically for outdoor furniture. For a smooth, factory-like finish on metal or plastic, spray paint is often the best choice. Apply several light, even coats, allowing adequate drying time between each one to prevent drips. For wood, you can use a brush to apply an outdoor stain to enhance the natural grain or paint it a bold color. Work in a well-ventilated area and protect your surroundings from overspray or spills.
Step 8: How to Repair Patio Furniture by Sealing for Protection
After your paint or stain has fully cured, applying a protective topcoat is the final step to shield your hard work from sun, rain, and humidity. For painted furniture, a clear, non-yellowing polyurethane or acrylic sealer will add a durable layer of defense. For stained wood, a marine varnish or an exterior-grade wood sealant will lock out moisture and prevent UV damage. Apply one or two thin coats with a brush or sprayer, ensuring complete coverage. This final layer is your best defense against future wear and tear, keeping your repaired furniture beautiful for years.
Frequently Asked Questions
What Is the Best Paint to Use on Outdoor Metal Furniture?
The best option for outdoor metal furniture is a spray paint specifically formulated for exterior metal use. Look for products that offer rust inhibition, as this will provide a durable barrier against moisture and prevent corrosion. Brands like Rust-Oleum or Krylon offer a wide range of colors and finishes, such as gloss, satin, or matte. For best results, always apply a rust-inhibiting primer before painting to ensure maximum adhesion and long-lasting protection against the elements.
How Can I Fix Unraveling Wicker on My Patio Chair?
To fix unraveling wicker, you will need a strong, waterproof adhesive like epoxy or a specialized wicker glue. Carefully tuck the loose strand back into the weave. Apply a small amount of glue under the strand and press it firmly into place. You can use painter’s tape or a clamp to hold the strand down while the adhesive cures. For larger areas of damage, you might need to purchase replacement wicker caning to weave into the gaps for a more seamless repair.
Can I Repair Cracked Plastic Patio Furniture?
Yes, you can repair cracked plastic furniture, but the fix is often more cosmetic than structural. For small cracks, you can use a plastic furniture repair kit or a strong, flexible epoxy designed for plastics. Clean the area thoroughly, apply the epoxy into the crack, and smooth it out. While this will seal the crack and improve its appearance, it may not restore the original strength of the piece, so avoid putting heavy weight on the repaired area.
What Is the Easiest Way to Remove Rust?
The easiest way to remove rust depends on the severity. For light rust, vigorous scrubbing with a wire brush or steel wool is often sufficient. For more stubborn rust, you can apply a commercial rust remover gel or spray. Alternatively, a DIY paste made from baking soda and water or a soak in white vinegar can also dissolve rust. After removing the rust, always neutralize the area and apply a rust-inhibiting primer before painting.
How Often Should I Reseal My Wooden Patio Furniture?
You should reseal your wooden patio furniture at least once a year to protect it from moisture and UV damage. However, if you live in a climate with harsh weather conditions, such as heavy rain, high humidity, or intense sun, you may need to do it more frequently. A good indicator that it’s time to reseal is when water no longer beads on the surface of the wood and instead starts to soak in.
Conclusion
Restoring your outdoor furniture is an achievable and gratifying project that breathes new life into your space. By following these steps—from a thorough cleaning and careful sanding to applying a fresh coat of paint and a protective sealant—you can reverse the effects of weather and wear. This guide provides a clear path to transform your worn-out pieces into durable, beautiful assets for your patio or garden. Now that you know how to repair patio furniture, you have the skills to save money, reduce waste, and add a personalized touch to your outdoor oasis.

About
Jovie Mathews is a backyard and outdoor expert writer with over 12 years of hands-on experience transforming neglected outdoor spaces into thriving gardens and functional retreats. Raised in a family where weekends meant digging in the soil and building raised beds from scratch, Jovie developed a genuine love for the outdoors long before it became a career.
She writes with a practical, no-fluff approach — always testing ideas in her own backyard before sharing them with readers. From composting systems and native plant selection to patio design and pest control, Jovie covers the full spectrum of backyard life with equal parts expertise and enthusiasm.
Education
B.Sc. in Horticulture Science
University of Florida (UF) · Gainesville, FL · 2014
IFAS College of Agricultural and Life Sciences
Minor in Environmental Studies
University of Florida (UF) · Gainesville, FL · 2014
College of Liberal Arts and Sciences
Areas of expertise
- Lawn & Garden Care
- Soil prep, planting, seasonal care
- Outdoor DIY Projects
- Raised beds, fencing, pathways
- Composting & Soil Health
- Organic methods, amendments
- Native Plants & Wildlife
- Pollinators, habitat gardening
When she is not writing, Jovie can be found testing new composting techniques, growing tomatoes in questionable quantities, or convincing her neighbors that clover lawns are actually a great idea. She currently gardens in the Pacific Northwest.




