Sandy backyards can be a unique challenge for homeowners. While sand drains well, it often lacks the stability for patio furniture, struggles to hold the nutrients plants need, and can turn into a dusty mess on windy days
If you have moved into a new property with poor soil or simply want to reclaim a sandbox area that the kids have outgrown, finding a solution is essential for creating a functional outdoor space. You do not have to settle for a barren, shifting landscape that tracks grit into your home.
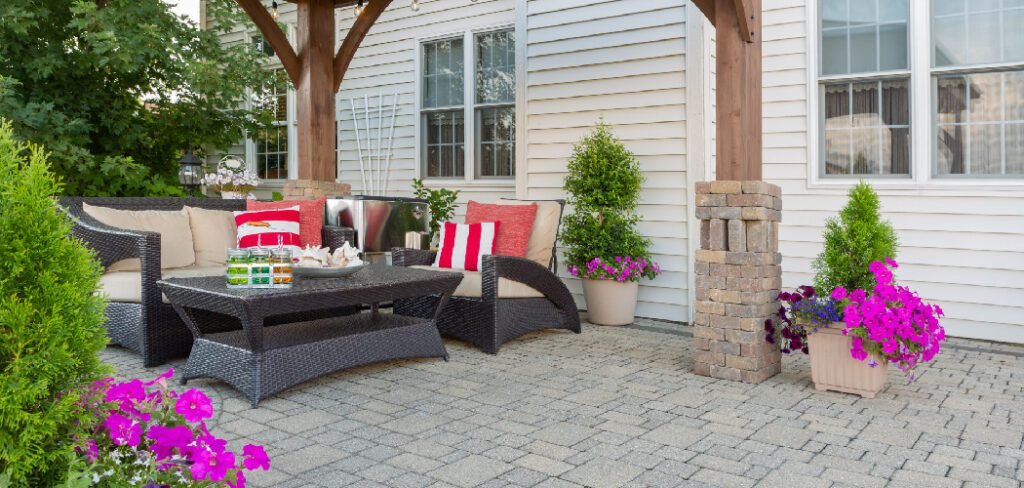
Whether you dream of a lush green lawn, a sturdy paved patio, or a vibrant flower garden, there are proven methods to stabilize and conceal that gritty surface.
This guide is designed to walk you through exactly how to cover sand in backyard areas effectively, transforming that loose, unproductive ground into a beautiful, usable feature that adds value and enjoyment to your property.
Creating a functional and visually appealing backyard starts with addressing any challenges posed by the existing landscape. If sand is a prominent feature in your yard, it can often feel limiting, but with the right approach, it can be transformed into a stable and attractive foundation.
The key lies in choosing the right materials and techniques tailored to your specific goals, ensuring durability and aesthetics go hand in hand.
Why Should You Cover Sand in Your Backyard?
Covering sand in your backyard is essential for both practical and aesthetic reasons. Exposed sand can quickly become a nuisance, especially in windy or rainy conditions, as it tends to spread and create a mess. This can lead to additional maintenance and frustration over time.
Beyond the inconvenience, loose sand offers little stability, making it difficult to place furniture, build structures, or create a functional outdoor space. Furthermore, an uncovered sandy area may foster unwanted plant growth or attract pests, disrupting your backyard’s overall appeal and usability.
By covering sand, you create a more stable, attractive, and functional environment, enhancing both the visual and practical value of your property.
7 Step-by-Step Guide on How to Cover Sand in Backyard
Step 1: Evaluate the Terrain and Drainage
Before you purchase any materials or rent equipment, you must thoroughly assess the existing condition of your sandy area. Sand is naturally porous, which means water moves through it very quickly, but the underlying layers might tell a different story. You need to determine if the sand is just a top layer over hard clay or if it runs deep.
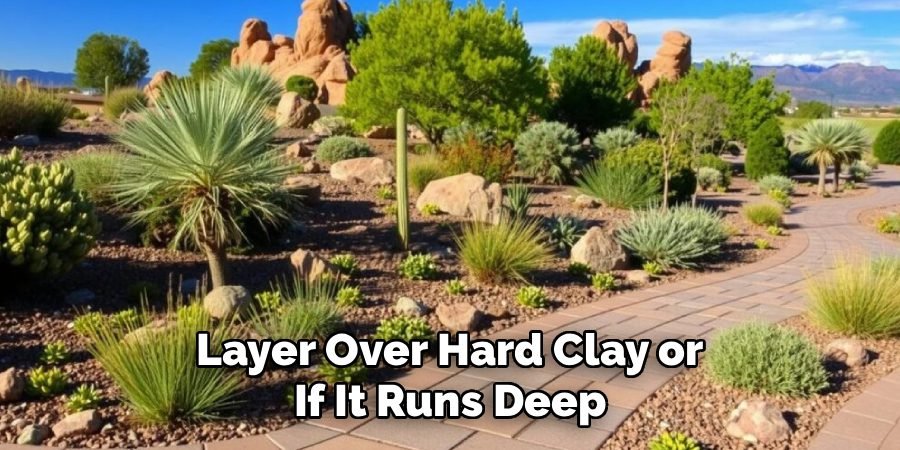
Take a shovel and dig a few test holes in different spots to see the soil profile. This evaluation helps you decide on the right covering strategy. If you plan to lay sod or plant a garden, you need to know if the soil retains enough moisture.
If you are planning a hardscape project like pavers or decking, checking for stability is crucial to prevent sinking later. Understanding your baseline conditions is the foundation of a successful project.
Step 2: Clear Debris and Level the Surface
Once you have a plan, the physical work begins with site preparation. You must remove any existing weeds, large rocks, or old roots that mar the sandy surface. These obstacles can interfere with whatever covering material you choose, creating uneven bumps or compromising the integrity of new layers.

Rake the area thoroughly to smooth out high spots and fill in depressions. Creating a level grade is essential, especially if you are learning how to cover sand in backyard spaces with pavers or gravel.
A flat surface ensures stability and proper water runoff. If the area is particularly loose, you might need to use a water-filled lawn roller or a plate compactor to tamp down the sand. This compaction step minimizes future settling and provides a firm base for your new landscape features.
Step 3: Install a High-Quality Weed Barrier
Unless you are amending the soil for direct planting, installing a barrier is a non-negotiable step to prevent the sand from mixing with your new top layer. A heavy-duty landscape fabric or geotextile cloth is the best defense against weeds pushing through from the sandy base.
Roll out the fabric across the entire prepared area, ensuring you overlap the edges by at least six inches to create a seamless shield. Secure the fabric firmly with landscape staples or galvanized pins every few feet.
This layer acts as a critical separation zone. It keeps your expensive topsoil, gravel, or mulch from sinking down into the limitless pit of sand below, effectively preserving your investment and reducing long-term maintenance.
Step 4: Build a Retaining Border or Edging
Sand is notorious for shifting and migrating, especially during heavy rains or high winds. To keep your new covering material contained and neat, you must install a solid border around the perimeter.
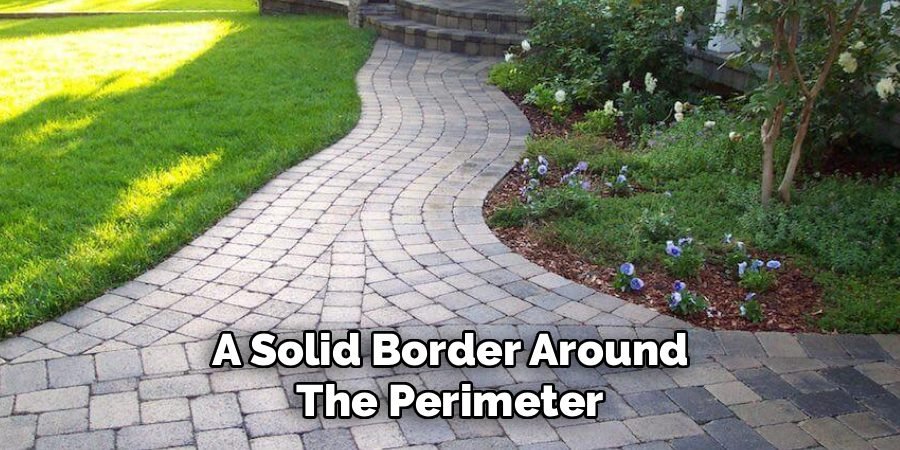
You can use varied materials depending on your aesthetic preference, such as pressure-treated timber, flexible metal edging, brick pavers, or concrete curbing. Dig a shallow trench around the edge of your project area to seat the edging material securely. The top of the edging should sit slightly higher than your final ground level.
This containment strategy is vital for structural integrity. It prevents your new soil, decorative stone, or mulch from washing away into the surrounding yard, maintaining clean lines and a professional appearance for years to come.
Step 5: Choose and Apply Your Base Material
Now comes the transformative phase where you actually cover the sand. The material you choose depends entirely on your end goal. If you are planting a lawn, you need to bring in at least four to six inches of quality topsoil or loam to support grass roots.
Spread this soil evenly over your weed barrier (if used for non-rooting grass) or directly onto amended sand. If you are creating a patio area, pour a layer of crushed stone or gravel base over the fabric.
For a play area, wood chips or rubber mulch might be the preferred choice. Distribute your chosen material with a rake, checking the depth frequently to ensure consistent coverage. This layer is the primary method for how to cover sand in backyard landscapes, effectively burying the problem surface.
Step 6: Compact and Stabilize the New Layer
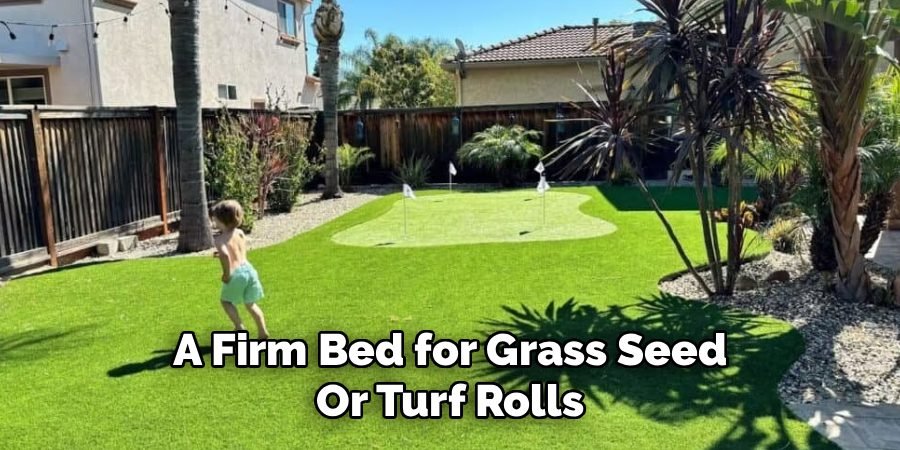
Simply spreading your new material is not enough; you must lock it into place. For soil and sod projects, lightly rolling the topsoil eliminates air pockets and creates a firm bed for grass seed or turf rolls.
If you are using gravel or crushed stone for a walkway or patio base, mechanical compaction is mandatory. Run a plate compactor over the surface in overlapping passes to lock the jagged stones together. This process creates a rigid, stable surface that will not shift underfoot.
Proper stabilization prevents the dreaded “sinking feeling” that often occurs when building over sandy substrates. It ensures your new backyard feature is safe, level, and durable enough to withstand foot traffic and weather conditions.
Step 7: Finalize with Surface Treatments or Planting
The final step brings your vision to life. If you added topsoil, now is the time to lay your sod, sow grass seed, or install your garden plants. Ensure you water them deeply to help roots penetrate the new soil layer and establish a connection with the ground.
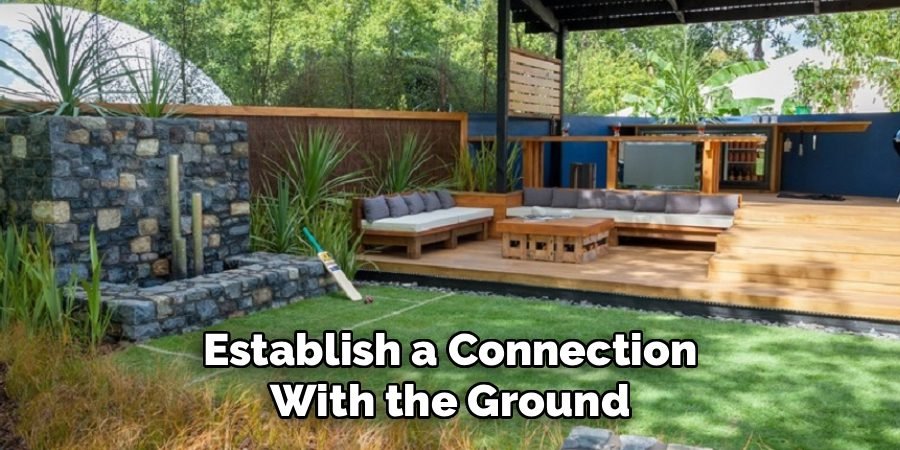
For hardscaping projects using gravel or pavers, sweep a fine joint sand or locking dust into the cracks to secure the stones further. If you opted for decorative mulch or river rock, give it a final rake to ensure a smooth, uniform appearance.
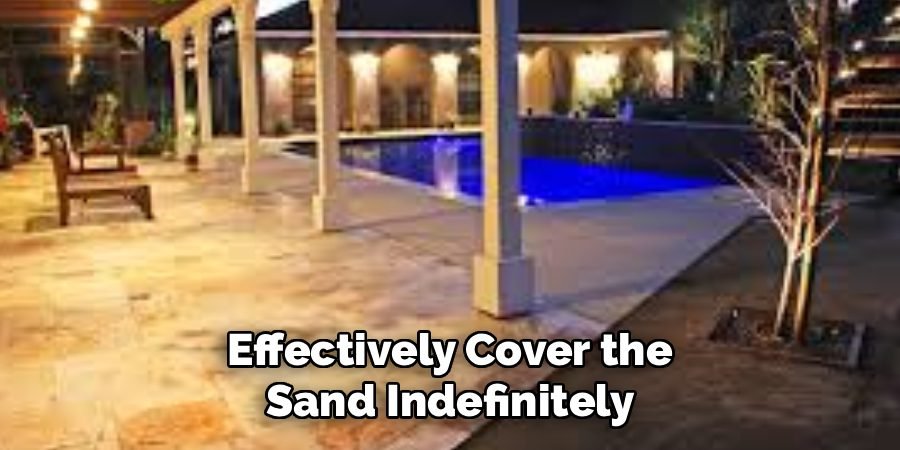
This finishing touch not only hides the underlying sand permanently but also adds the aesthetic appeal you were striving for. Regular maintenance, like topping off mulch or reseeding bare spots, will keep your new landscape looking pristine and effectively cover the sand indefinitely.
Frequently Asked Questions (FAQ)
Can I Lay Sod Directly Over Sand?
It is generally not recommended to lay sod directly over pure sand. While sand drains well, it dries out very quickly and lacks the nutrients grass needs to thrive.
- Amendment: You should mix in at least 2-4 inches of organic matter like compost or peat moss.
- Topsoil: Ideally, add a layer of topsoil on top of the sand before laying sod.
- Watering: If you must lay on sand, be prepared to water much more frequently and fertilize often.
What Is the Cheapest Way to Cover Sand?
The most budget-friendly option depends on the size of the area, but organic mulches are usually the most cost-effective.
- Wood Chips: Often available for free or cheap from local arborists.
- Pine Straw: Inexpensive and provides good coverage.
- Gravel: Pea gravel can be affordable, but requires a weed barrier and edging, increasing the total cost.
- Ground Cover Plants: Creeping plants like clover or ice plant can cover sand cheaply over time.
Will Gravel Sink into the Sand?
Yes, gravel will eventually sink into sand if you do not create a barrier.
- Separation: You must use a geotextile fabric (landscape fabric) between the sand and the gravel.
- Mixing: Without fabric, the weight of foot traffic and rain will cause the rocks to migrate down and the sand to mix up, creating a messy, muddy surface.
- Base: Using a layer of crushed stone with “fines” (stone dust) first can also help create a stable base.
Can I Pour Concrete Over Sand?
You can, but preparation is critical to prevent cracking.
- Compaction: The sand must be compacted thoroughly to create a stable sub-base.
- Moisture: Wet the sand slightly before pouring to prevent it from sucking moisture out of the concrete too fast.
- Vapor Barrier: Laying a plastic vapor barrier is highly recommended to stop moisture from rising through the porous sand and damaging the concrete slab later.
What Plants Grow Best in Sandy Soil?
If you choose to embrace the sand rather than cover it completely, choose plants adapted to fast-draining, nutrient-poor soil.
- Succulents: Sedum, cacti, and aloe vera love drainage.
- Herbs: Lavender, rosemary, and thyme thrive in sandy conditions.
- Flowers: Blanker flowers (Gaillardia), Cosmos, and California Poppies do well.
- Shrubs: Butterfly bush and Juniper are tolerant of sandy substrates.
Conclusion
Transforming a sandy backyard from a barren wasteland into a lush garden or a functional patio is entirely achievable with the right approach. It requires more than just dumping new material on top; it demands careful preparation, stabilization, and the correct choice of layers.
By assessing your drainage, installing robust weed barriers, and defining your borders, you create a structure that keeps the sand contained and out of sight. Whether you choose to amend the soil for a green lawn or cap it with pavers for a sleek entertainment area, the effort you put into the foundation will pay off in longevity and aesthetics.
Do not let shifting grit limit your outdoor potential any longer. Now that you have mastered the techniques for how to cover sand in backyard spaces, you can confidently pick up your shovel and start building the landscape you have always wanted.

About
Jovie Mathews is a backyard and outdoor expert writer with over 12 years of hands-on experience transforming neglected outdoor spaces into thriving gardens and functional retreats. Raised in a family where weekends meant digging in the soil and building raised beds from scratch, Jovie developed a genuine love for the outdoors long before it became a career.
She writes with a practical, no-fluff approach — always testing ideas in her own backyard before sharing them with readers. From composting systems and native plant selection to patio design and pest control, Jovie covers the full spectrum of backyard life with equal parts expertise and enthusiasm.
Education
B.Sc. in Horticulture Science
University of Florida (UF) · Gainesville, FL · 2014
IFAS College of Agricultural and Life Sciences
Minor in Environmental Studies
University of Florida (UF) · Gainesville, FL · 2014
College of Liberal Arts and Sciences
Areas of expertise
- Lawn & Garden Care
- Soil prep, planting, seasonal care
- Outdoor DIY Projects
- Raised beds, fencing, pathways
- Composting & Soil Health
- Organic methods, amendments
- Native Plants & Wildlife
- Pollinators, habitat gardening
When she is not writing, Jovie can be found testing new composting techniques, growing tomatoes in questionable quantities, or convincing her neighbors that clover lawns are actually a great idea. She currently gardens in the Pacific Northwest.