A patio umbrella is the centerpiece of any comfortable outdoor space, providing much-needed shade on sunny days. So, when the crank handle spins freely and the umbrella refuses to open, it is easy to feel frustrated. The most common culprit behind this failure is a snapped internal cord.
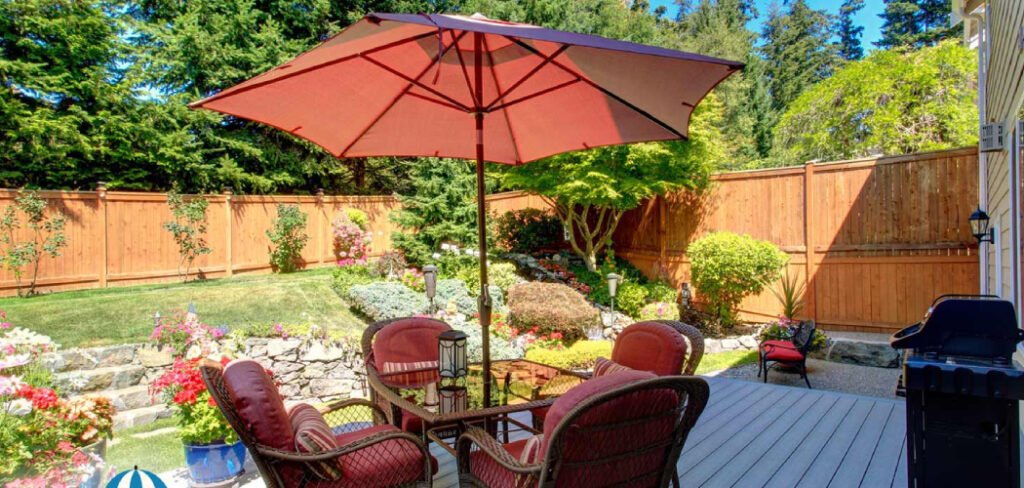
Before you decide to haul the entire thing to the curb and spend money on a replacement, you should know that this is a very fixable problem. With a few basic tools and a little bit of patience, you can re-string the mechanism yourself and bring your umbrella back to life. This guide will provide a clear, beginner-friendly walkthrough of how to fix a patio umbrella cord, saving you money and keeping your favorite shade source right where it belongs.
Tools and Materials
Before getting started, gather the following tools and materials to ensure a smooth repair process:
- Replacement cord – Choose a durable and weather-resistant cord, specifically designed for patio umbrellas or similar mechanisms.
- Screwdriver – A Phillips or flathead screwdriver, depending on your umbrella’s design.
- Pliers – Useful for gripping and maneuvering small components during the repair.
- Scissors – To cut the replacement cord to the appropriate length.
- Tape measure – For accurately measuring the necessary length of the new cord.
- Lighter or heat source – To seal the ends of the cord and prevent fraying.
- Optional: Needle-nose pliers or clamps for more precise handling of parts.
Having these items on hand will make the process much easier and ensure that you can complete the repair efficiently.
7 Step-by-Step Guide on How to Fix a Patio Umbrella Cord
Step 1: Gather Your Tools and New Cord
Before you start taking anything apart, prepare your workspace and gather all necessary materials. You will need a new umbrella cord, which is typically a strong, braided nylon or polyester rope about 1/8 inch (or 3-5mm) in diameter. It is wise to buy a length longer than you think you will need—around 25 feet is a safe bet for most standard umbrellas.
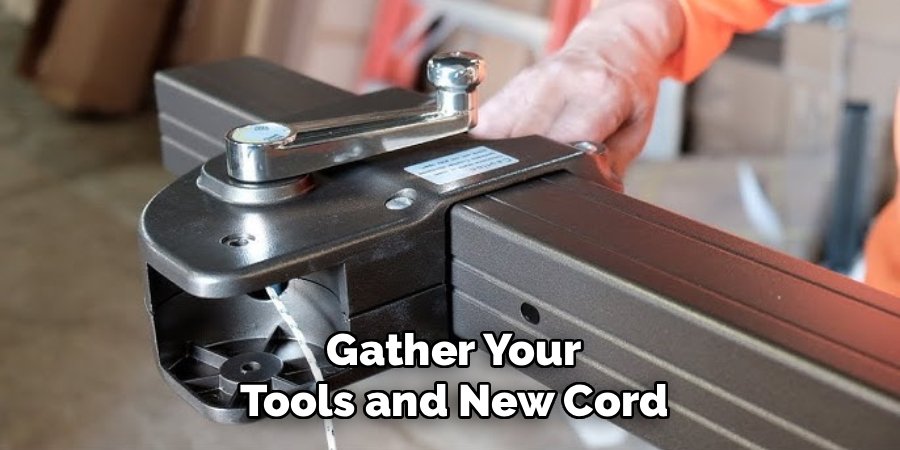
Your tool kit should include a screwdriver set (both Phillips and flathead), a pair of pliers, and scissors or a utility knife to cut the cord. Having a small bowl to hold screws and other tiny parts is also a great idea to prevent them from getting lost. Laying a blanket or tarp on the ground will protect the umbrella fabric from dirt and scuffs.
Step 2: Remove the Umbrella Canopy and Top Cap
To access the internal mechanism, you must first remove the fabric canopy. Fully close the umbrella and carefully lay it on its side on your prepared surface. The canopy is attached to the ends of the umbrella ribs, usually in small pockets or with screws. Gently work each rib out of its pocket or unscrew it. Once all the ribs are free, you can slide the entire canopy off the frame. Next, locate the decorative top cap, or finial, at the very peak of the umbrella. This piece typically unscrews by hand, but you may need pliers to get it started if it is tight. Removing this cap exposes the top of the internal pulley system.
Step 3: Disassemble the Crank Housing
The crank handle mechanism is where the cord begins and ends. Locate the crank housing on the main pole of the umbrella. There will be one or more screws holding it in place. Carefully remove these screws and gently pull the housing away from the pole. Inside, you will see the gear mechanism and the spool where the old cord was wound. Take note of how the broken pieces of the old cord are wrapped or tied. It is a good idea to take a quick photo with your phone at this stage. This visual reference will be invaluable when it comes time to install the new cord and will help you avoid confusion later.
Step 4: Remove the Old, Broken Cord
With the crank housing open and the top cap removed, you can now pull out all the remnants of the broken cord. Pull the old string from both the top and bottom openings of the pole until it is completely removed. Pay close attention to the path the cord took.
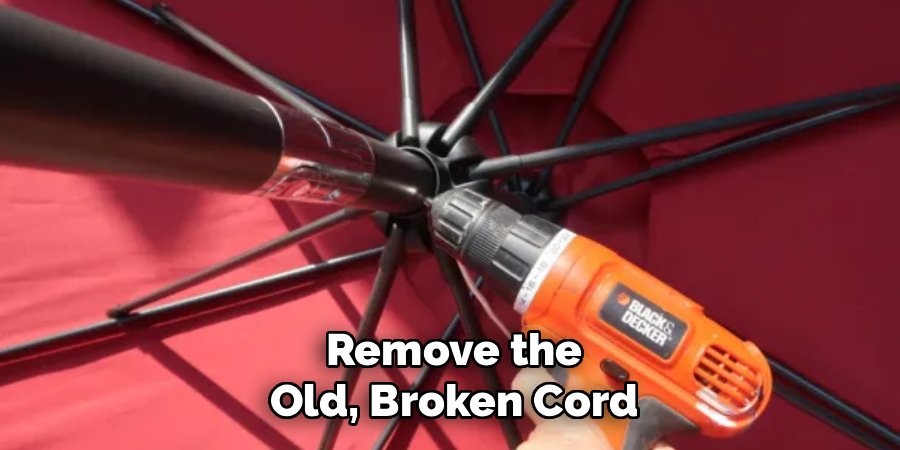
It typically runs from the crank housing, up through the main pole, over a pulley at the top, and down to connect to the runner (the part that slides up the pole to open the umbrella). Understanding this path is the most important part of the entire process. If you are unsure, try to find a diagram for your specific umbrella model online.
Step 5: Thread the New Cord
This step requires some patience. Start by feeding one end of your new cord into the opening at the top of the umbrella pole where the finial was. Push the cord down through the hollow pole until it emerges from the opening for the crank housing at the bottom. You might need to gently shake or rotate the pole to help it along. Once it is through, pull several feet of cord out from the bottom opening to give yourself plenty of slack to work with. Leave the rest of the cord loose at the top for now.
Step 6: Secure the Cord in the Crank Mechanism
Now, focus on the crank housing. Following the path you noted earlier (or your reference photo), thread the cord through the guides and wrap it around the internal spool several times. Most umbrella cranks require you to tie a secure knot, like a figure-eight or double overhand knot, at the very end of the cord.
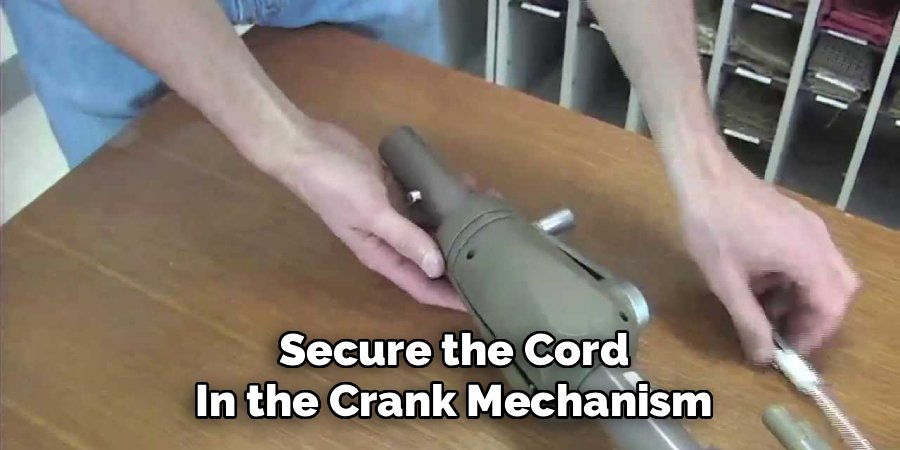
Some models have a small hole or slot in the spool where the cord should be anchored. Ensure the knot is large enough that it cannot slip through its anchor point. A secure connection here is vital for the crank to be able to pull the cord effectively.
Step 7: Reassemble the Crank and Attach the Cord to the Runner
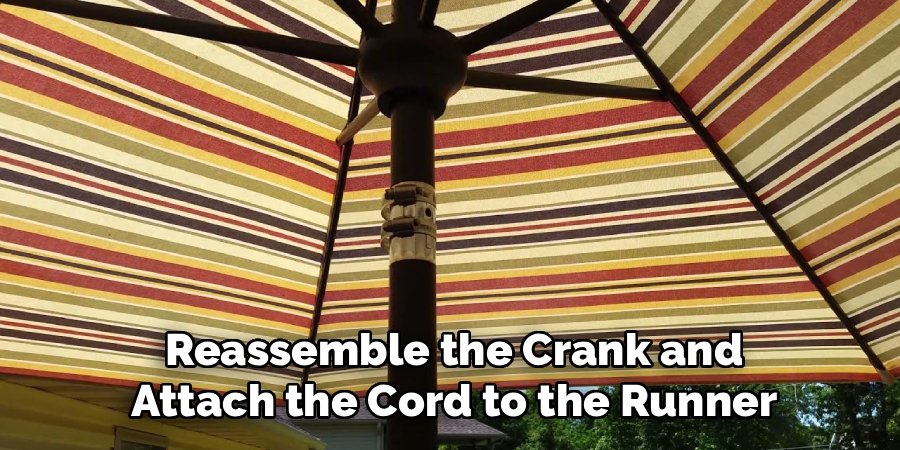
Once the cord is securely attached inside the crank housing, you can reassemble the unit. Carefully place the housing back into its slot on the main pole and secure it with the screws you set aside. Now, go to the other end of the cord at the top of the umbrella. Thread this end through the eye of the runner hub—the sliding part of the umbrella frame. Pull the runner hub up by hand until the umbrella is in the fully open position. Pull the cord taut and tie a very secure knot to fasten it to the runner. This knot needs to hold the entire tension of the open canopy.
Frequently Asked Questions (FAQ)
What Type of Cord Should I Use for My Patio Umbrella?
You need a strong, weather-resistant cord. The best choice is a braided nylon or polyester rope with a diameter of about 1/8 inch (3-5mm). These materials are resistant to UV degradation and stretching, which is crucial for outdoor use. Avoid natural fibers like cotton, as they will rot and break down quickly when exposed to the elements.
How Much Cord Do I Need to Buy?
The length of cord required depends on the size of your umbrella. A good rule of thumb is to purchase at least twice the length of the umbrella pole, plus a few extra feet. For most standard patio umbrellas, a 25-foot (or 8-meter) length of cord is a safe amount that will provide plenty of slack for threading and tying knots.
My Umbrella Has a Tilt Mechanism. Does That Change the Process?
Yes, a tilt mechanism can add a layer of complexity. Tilt-enabled umbrellas often have a more intricate internal cable system. When disassembling the pole, you will need to be extra careful around the joint where the tilt function is housed. The re-stringing process is similar, but the path the cord takes may be routed differently around the tilting joint. It is highly recommended to find a diagram specific to your umbrella model in this case.
The Cord Isn’t Broken, but the Crank Won’t Work. What’s Wrong?
If the cord is intact, the problem is likely within the crank housing itself. The internal gears can become stripped, or the cord may have simply slipped off its spool. Open the crank housing and inspect the mechanism. If the gears look worn down or broken, you may need to order a replacement crank assembly from the manufacturer. If the cord has just slipped, you can re-wrap it and secure it.
Can I Repair the Cord Without Taking the Umbrella Apart?
Unfortunately, no. The cord runs through the hollow interior of the main pole and connects to the internal crank mechanism at the bottom and the sliding runner at the top. To replace the cord properly and ensure it is routed correctly over the pulleys, you must disassemble the umbrella to gain access to these connection points.
Conclusion
A broken patio umbrella does not need to become another piece of landfill-bound waste. With the right replacement cord and a bit of determination, this is a very manageable DIY repair that can save you a significant amount of money. The most critical parts of the process are understanding the path the cord takes, securing the knots tightly, and working patiently. By following the steps outlined in this guide, you can successfully complete the repair and restore your umbrella to its full, shade-giving glory. Now that you have a clear understanding of how to fix a patio umbrella cord, you are ready to tackle this project and enjoy many more sunny afternoons in comfort.

About
Jovie Mathews is a backyard and outdoor expert writer with over 12 years of hands-on experience transforming neglected outdoor spaces into thriving gardens and functional retreats. Raised in a family where weekends meant digging in the soil and building raised beds from scratch, Jovie developed a genuine love for the outdoors long before it became a career.
She writes with a practical, no-fluff approach — always testing ideas in her own backyard before sharing them with readers. From composting systems and native plant selection to patio design and pest control, Jovie covers the full spectrum of backyard life with equal parts expertise and enthusiasm.
Education
B.Sc. in Horticulture Science
University of Florida (UF) · Gainesville, FL · 2014
IFAS College of Agricultural and Life Sciences
Minor in Environmental Studies
University of Florida (UF) · Gainesville, FL · 2014
College of Liberal Arts and Sciences
Areas of expertise
- Lawn & Garden Care
- Soil prep, planting, seasonal care
- Outdoor DIY Projects
- Raised beds, fencing, pathways
- Composting & Soil Health
- Organic methods, amendments
- Native Plants & Wildlife
- Pollinators, habitat gardening
When she is not writing, Jovie can be found testing new composting techniques, growing tomatoes in questionable quantities, or convincing her neighbors that clover lawns are actually a great idea. She currently gardens in the Pacific Northwest.