

A beautiful patio is the heart of any backyard, providing the perfect spot for summer barbecues, quiet morning coffees, and evenings spent under the stars. However, many homeowners with sloped or hilly yards feel that a stable, level outdoor living space is an unattainable dream.
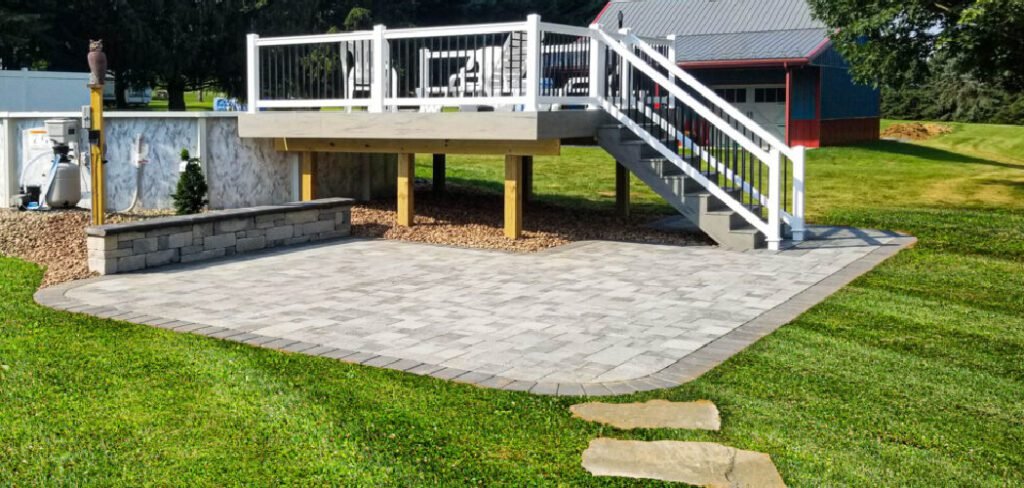
They see their uneven terrain not as an opportunity, but as a barrier to creating the backyard they have always wanted. The good news is that a slope is not a dealbreaker; it is simply a challenge that requires the right technique. Building a solid, lasting patio on a less-than-perfect surface is entirely achievable for a determined DIYer.
While it requires more upfront work than building on flat land, the results are incredibly rewarding. This guide provides a clear and realistic overview of how to build a patio on uneven ground, breaking down the project into manageable steps from excavation to the final paver.
Why Build a Patio on Uneven Ground?
Building a patio on uneven ground can transform an otherwise underutilized or unattractive area into a functional and inviting outdoor space. It allows you to make the most of your property, even in challenging terrains, creating a place for relaxation, entertaining, or enjoying nature.
Additionally, addressing uneven ground can help enhance drainage and prevent soil erosion, ensuring the long-term stability of your outdoor environment. For DIY enthusiasts, tackling this project provides a rewarding sense of accomplishment and an opportunity to elevate their landscaping skills.
How to Build a Patio on Uneven Ground: A Step-by-Step Guide
Step 1: Mark Your Layout and Assess the Slope
Before you can start digging, you must define the project area and understand the challenge ahead. Use marking paint or a garden hose to outline the shape of your new patio. Then, assess the slope. You can do this by driving two stakes into the ground, one at the highest point and one at the lowest.

Tie a string to the lower stake, run it to the upper stake, and use a line level to make it perfectly horizontal. The distance from the string to the ground at the highest point reveals the total drop, or grade, of your slope.
This measurement is critical for calculating how much you will need to dig out from the high side and how much you will need to build up on the low side to create a level foundation.
Step 2: Excavate the High Side of the Slope
With your layout marked, the heavy labor begins. The goal of this step is to create a rough, level base by digging into the higher part of the slope. This process is often called “cutting and filling.”
Using a sturdy shovel, start removing soil from the high side and moving it toward the low side. You will need to dig deep enough to accommodate several layers of base material—typically about 6 to 8 inches for the gravel base and sand, plus the thickness of your pavers.
Renting a rototiller can help loosen compacted soil, making it easier to shovel. This excavation phase is the most physically demanding part of the project, but it is the foundation upon which your entire patio rests.
Step 3: Construct a Retaining Wall
On the lower, built-up side of your patio, you will need a structure to hold back the base material and prevent erosion. This is where a low retaining wall becomes essential. This wall acts as the new, solid edge for your patio. You can construct it using concrete retaining wall blocks, which are designed to interlock for stability.
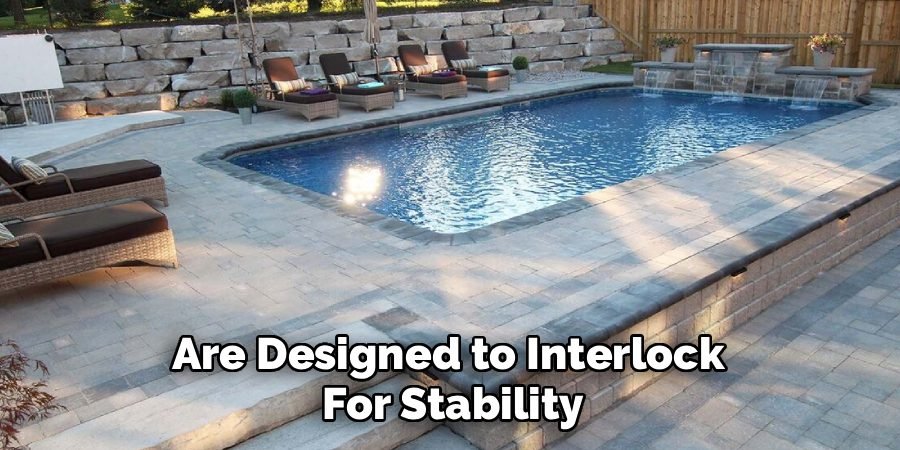
Dig a shallow trench for the first course of blocks, ensuring they are perfectly level. As you build up the wall to the desired height of your finished patio, backfill behind it with some of the soil you excavated earlier. This wall is the key to creating a durable, contained area and is a non-negotiable step for any significant slope.
Step 4: Add and Compact the Gravel Base
With your area excavated and contained, it is time to build the structural base. Spread a 4-to-6-inch layer of paver base, which is a mix of gravel and crushed stone, over the entire patio area.
As you spread the material, rake it out to create a slight slope away from your house—about a quarter-inch drop per foot—to ensure proper water drainage. Once the gravel is spread evenly, you must compact it thoroughly.
Renting a plate compactor is highly recommended for this. Go over the entire surface multiple times until the gravel is tightly packed and solid. A properly compacted base is crucial for preventing the pavers from shifting or sinking over time.
Step 5: Install a Layer of Bedding Sand
After the gravel base is compacted and solid, you will add a layer of bedding sand. This layer provides a softer, more forgiving surface to set the pavers into. Spread about one inch of coarse paver sand evenly over the compacted gravel.
To ensure a perfectly flat and consistent depth, lay two parallel pipes across the area and use a long, straight 2×4 board to screed, or level, the sand by dragging the board along the pipes.
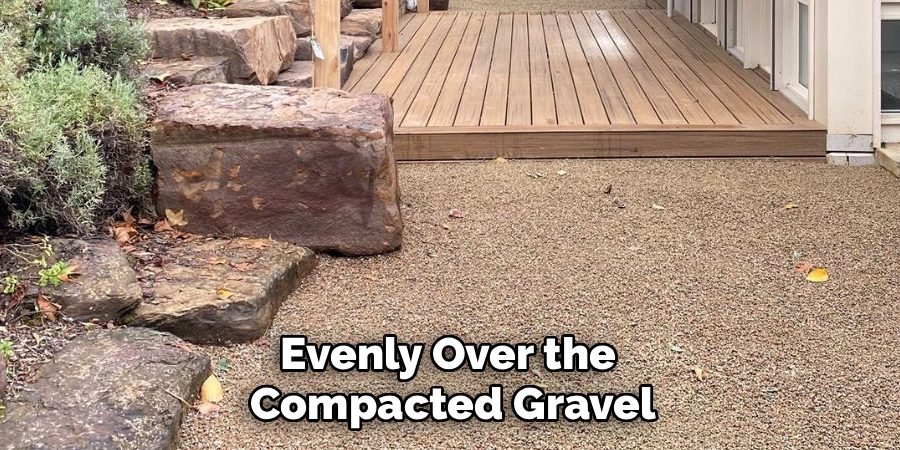
This process removes high spots and fills in low spots, creating a perfectly smooth bed for your pavers to rest on. Once the sand is level, carefully remove the pipes and fill in the voids.
Step 6: Lay the Pavers and Set Them in Place
Now for the most satisfying part of the project: laying the pavers. Start in a corner, typically against the house, and begin placing your pavers directly onto the sand bed. Work your way outward, setting the pavers next to each other and leaving a small, consistent gap between them.
Do not slide them into place, as this will disrupt the sand bed. Instead, place them straight down.
Use a string line to keep your rows straight. Once all the full pavers are in place, you may need to cut some to fit along the edges using a wet saw or a hammer and chisel. This part of how to build a patio on uneven ground is where your vision finally comes to life.
Step 7: Finish with Edging, Jointing Sand, and Compaction
To lock everything in place, you must install paver edging around the perimeter. This plastic or metal border prevents the pavers from spreading apart over time. Secure it into the ground with long spikes.

Next, sweep polymeric sand over the entire surface of the patio, working it into the joints between the pavers with a push broom. This special sand contains a polymer that hardens when wet, locking the pavers together like grout.
After the joints are full, use the plate compactor one last time on top of the pavers to settle them into the sand bed and vibrate the jointing sand down. Finally, gently mist the patio with water to activate the polymeric sand, and let it cure.
Frequently Asked Questions (FAQ)
What Is the Best Base Material for a Paver Patio?
The base requires a two-part system for long-term stability:
- Gravel Base: A 4- to 6-inch layer of crushed stone paver base (sometimes called crusher run or ¾-inch minus) is essential. It provides the main structural support and allows for drainage.
- Sand Bed: A 1-inch layer of coarse paver sand goes on top of the gravel. This creates a smooth bed for setting the pavers.
Never lay pavers directly on topsoil, as it will shift and cause the patio to become uneven.
How Steep Is Too Steep for a DIY Patio?
While you can tackle many slopes, there is a limit for a DIY project. A general rule of thumb is that if the slope drops more than 2-3 feet over the length of the patio, you might want to consider a professional consultation.
Extremely steep slopes may require more complex engineering, deeper foundations, or a terraced design with multiple retaining walls, which can be beyond the scope of a typical DIY build.
Do I Need a Permit to Build a Patio?
It depends on your local municipality and the project’s scope.
- Simple Patios: A basic paver patio that is not attached to the house and sits at ground level often does not require a permit.
- Complex Projects: If you are building a large retaining wall (often over 3-4 feet high), a raised deck, or altering your property’s grade significantly, a permit is much more likely.
Always check with your local building department before starting any excavation.
How Do I Ensure Proper Drainage on a Sloped Patio?
Drainage is critical. You should build a slight slope into the patio surface itself. The standard recommendation is a grade of one-quarter inch per foot, sloping away from your home’s foundation.
This gentle tilt is almost imperceptible to the eye but ensures that rainwater runs off the patio and away from your house, preventing water damage and foundation issues.
What Is the Cheapest Way to Build a Patio on a Slope?
The most budget-friendly materials are gravel or crushed stone. A simple gravel patio requires the same excavation and leveling process but eliminates the cost of expensive pavers and polymeric sand.
You simply excavate, build a retaining edge, lay down landscape fabric, and fill the area with a few inches of decorative gravel. It provides a functional, rustic look for a fraction of the cost of a full paver installation.
Conclusion
Building on a slope is a challenge that adds labor and complexity to a patio project, but it is a challenge that can be overcome with careful planning and the right techniques. The process transforms an unusable part of your yard into a stunning and functional outdoor living area.
By focusing on creating a solid, level foundation through excavation, retaining walls, and proper base compaction, you ensure that your hard work will last for decades. The result is not just a patio, but a testament to your ability to shape your environment.
Now that you have a comprehensive understanding of how to build a patio on uneven ground, you can look at that sloped backyard not as a problem, but as the future home of your dream outdoor retreat.

About
Jovie Mathews is a backyard and outdoor expert writer with over 12 years of hands-on experience transforming neglected outdoor spaces into thriving gardens and functional retreats. Raised in a family where weekends meant digging in the soil and building raised beds from scratch, Jovie developed a genuine love for the outdoors long before it became a career.
She writes with a practical, no-fluff approach — always testing ideas in her own backyard before sharing them with readers. From composting systems and native plant selection to patio design and pest control, Jovie covers the full spectrum of backyard life with equal parts expertise and enthusiasm.
Education
B.Sc. in Horticulture Science
University of Florida (UF) · Gainesville, FL · 2014
IFAS College of Agricultural and Life Sciences
Minor in Environmental Studies
University of Florida (UF) · Gainesville, FL · 2014
College of Liberal Arts and Sciences
Areas of expertise
- Lawn & Garden Care
- Soil prep, planting, seasonal care
- Outdoor DIY Projects
- Raised beds, fencing, pathways
- Composting & Soil Health
- Organic methods, amendments
- Native Plants & Wildlife
- Pollinators, habitat gardening
When she is not writing, Jovie can be found testing new composting techniques, growing tomatoes in questionable quantities, or convincing her neighbors that clover lawns are actually a great idea. She currently gardens in the Pacific Northwest.




