The tiny home movement has captured the imagination of people seeking a simpler, more affordable, and sustainable lifestyle. While custom-built tiny houses are popular, an even more accessible option is gaining traction: the shed-to-home conversion.
A well-built backyard shed provides a solid shell that can be transformed into a charming and functional living space. This project offers a unique opportunity to create a custom home on a budget, whether for a primary residence, a guest suite, or a rental unit.
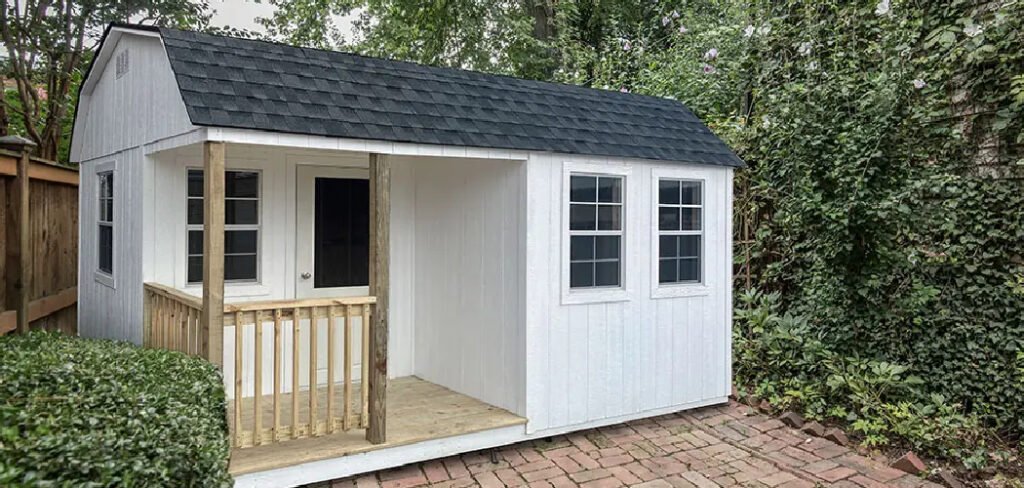
This guide will show you how to turn a shed into a tiny home, breaking down the complex process into manageable steps. From navigating legal requirements to installing the final fixtures, we will cover everything you need to know to bring your tiny home dream to life, starting with that humble structure in your backyard.
Why a Shed Conversion is a Smart Choice
Choosing to convert a shed into a living space is an ingenious way to enter the world of tiny living. Sheds provide a pre-built structure, which can save a significant amount of time and money compared to building a tiny house from scratch.
The basic framework, roofing, and siding are often already in place, allowing you to focus your budget and effort on the interior finishings and essential utilities that make a house a home.
This approach allows for a high degree of customization, giving you a blank canvas to design a layout that perfectly suits your needs. Furthermore, a shed conversion can be an incredibly rewarding DIY project, teaching valuable skills in carpentry, plumbing, and electrical work while creating a unique and personal dwelling.
Step-by-Step Guide on How to Turn a Shed into a Tiny Home
This guide will walk you through the essential phases of transforming a basic storage structure into a comfortable and fully functional living space.
Step 1: Research Local Zoning Laws and Building Codes
Before you hammer a single nail, you must do your homework on local regulations. Contact your municipal planning or building department to understand the zoning laws for accessory dwelling units (ADUs) and the specific building codes for residential structures.
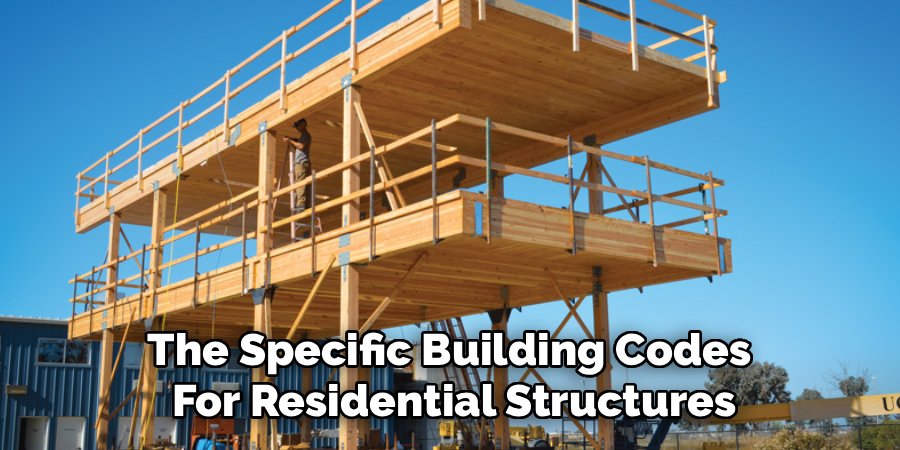
Some areas have minimum square footage requirements, while others have strict rules about permanent foundations, utility hookups, and egress windows. Failing to comply can result in hefty fines and orders to dismantle your project.
Securing the necessary permits is the most critical first step, ensuring your conversion is legal, safe, and insurable from the very beginning.
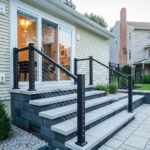
Step 2: Ensure a Solid and Level Foundation
The longevity and stability of your tiny home depend entirely on its foundation. Most sheds sit on simple skids or concrete blocks, which may not be adequate for a permanent dwelling. You will likely need to upgrade to a more robust foundation, such as a concrete slab, a pier and beam system, or a permanent block wall foundation.
A proper foundation prevents shifting, protects the structure from ground moisture, and provides a solid base for your interior flooring. It is essential to ensure the foundation is perfectly level, as any inconsistencies will cause problems with framing, drywall, and cabinetry down the road.
Step 3: Frame the Interior and Plan Your Layout
With a solid foundation in place, you can begin to envision and frame your interior space. This is where you will map out the locations for your kitchen, bathroom, sleeping loft, and living area. Use standard 2×4 lumber to build interior walls that define each room.
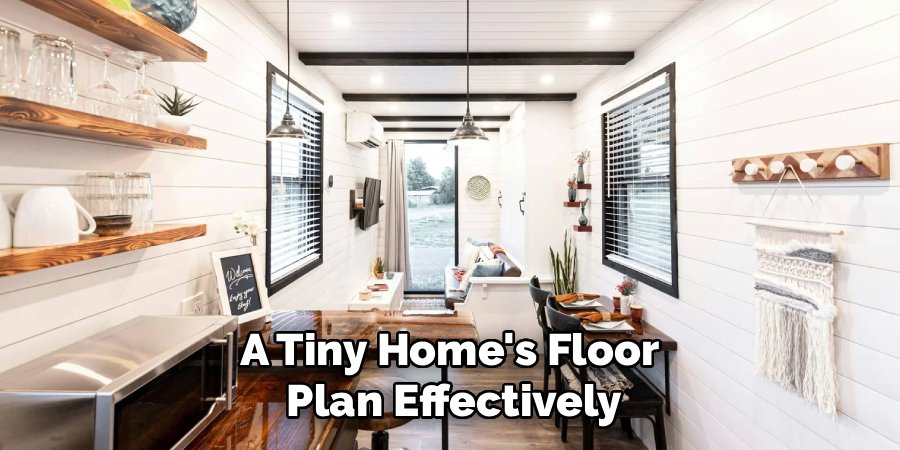
This is also the time to frame out openings for new windows and a proper residential door, which are crucial for natural light, ventilation, and safety. Thoughtful layout planning is key in a small space to maximize functionality and create a sense of openness. This step shows you how to turn a shed into a tiny home’s floor plan effectively.
Step 4: Run Electrical Wiring and Plumbing
Bringing utilities into your shed is what truly begins its transformation into a home. Hire a licensed electrician and plumber for this phase to ensure all work is done safely and up to code. The electrician will run wiring for outlets, switches, lights, and appliances, all connecting back to a new subpanel.
The plumber will install supply lines for fresh hot and cold water and drain lines for the kitchen sink, shower, and toilet. This rough-in stage happens before any insulation or drywall is installed, so all the pipes and wires are hidden within the walls.
Step 5: Insulate the Walls, Floor, and Ceiling
Proper insulation is non-negotiable for creating a comfortable living environment that is efficient to heat and cool. You will need to insulate the floor, all exterior walls, and the ceiling or roof rafters. Common insulation choices for shed conversions include fiberglass batts, rigid foam boards, or spray foam.
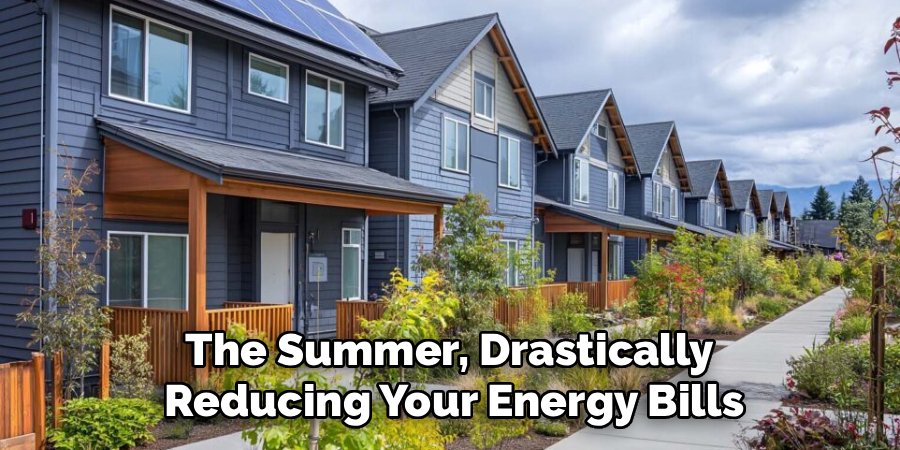
Spray foam offers the highest R-value (a measure of thermal resistance) per inch and creates an excellent air seal, but it is also the most expensive option. A well-insulated structure will keep you warm in the winter and cool in the summer, drastically reducing your energy bills.
Step 6: Install Drywall and Interior Finishes
Once insulation is complete and has passed inspection, it’s time to close up the walls and add your personal touch. Hang drywall or another wall covering, such as tongue-and-groove pine, throughout the interior. After taping, mudding, and sanding the drywall, you can prime and paint the walls in your chosen colors.
Next, install your flooring material. Durable and water-resistant options like luxury vinyl plank (LVP) are excellent choices for tiny homes. This is the stage where the structure starts to feel less like a shed and more like a real home.
Step 7: Install Fixtures and Cabinetry
With the walls and floors complete, you can begin installing the functional elements of your home. This includes setting the kitchen cabinets and countertops, installing the sink, and placing appliances like a mini-fridge and cooktop. In the bathroom, install the toilet, shower stall, and vanity.
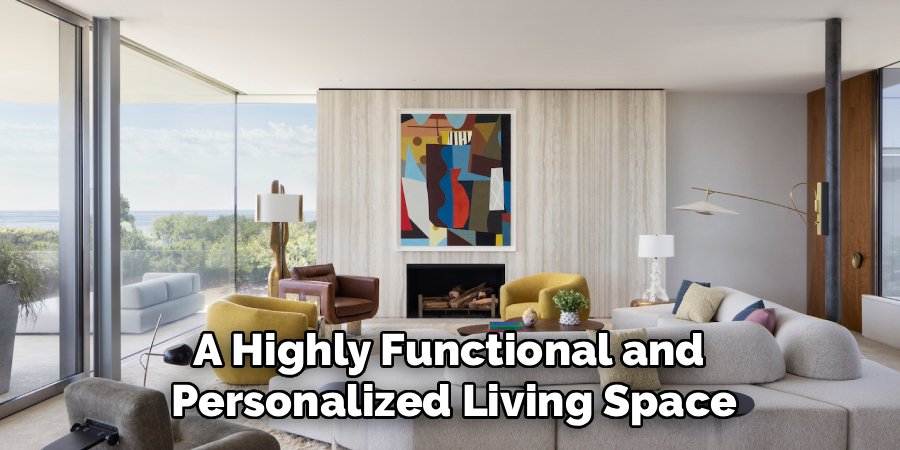
This is also when you will install all your light fixtures, switches, and outlet covers. Each fixture you add brings your tiny home one step closer to completion, turning the empty shell into a highly functional and personalized living space.
Frequently Asked Questions (FAQ)
How Much Does It Cost to Convert a Shed into a Tiny Home?
The cost can vary dramatically, from as little as $15,000 to over $50,000. The final price depends on the initial cost of the shed, the quality of materials you choose, whether you do the labor yourself or hire professionals, and the cost of permits and utility hookups in your area. Using salvaged materials can significantly reduce costs.
What Is the Best Size Shed for a Tiny Home Conversion?
A 12×20 foot or 14×24 foot shed provides a good starting point, offering between 240 and 336 square feet of living space.
This is typically enough room for a small kitchen, a bathroom, and a combined living and sleeping area, possibly with a loft. Anything smaller can feel very cramped once you account for wall thickness and necessary furniture.
Do I Need a Permit to Turn a Shed into a Living Space?
Almost certainly, yes. Once you add plumbing, permanent electrical wiring, and insulation, the structure is no longer considered a shed but a habitable dwelling.
This change in use requires building permits and inspections to ensure the structure meets local safety codes for residential living. Always check with your local building department before starting.
How Do You Handle Water and Sewer for a Shed Home?
You have several options. The most common method is to connect directly to the municipal water and sewer lines of the main house on the property, which will require trenching.
For off-grid solutions, you could use a large water storage tank combined with a rainwater catchment system and a composting toilet to handle waste.
Can a Shed Home Be Insured?
Insuring a converted shed can be tricky but is possible. Standard homeowner’s insurance may not cover it. You will likely need to seek out a specialty insurance provider that covers tiny homes or accessory dwelling units (ADUs).
Having all your construction permitted and inspected will be crucial for securing an insurance policy.
Conclusion
The journey of converting a simple storage shed into a fully realized tiny home is a challenging yet immensely rewarding endeavor. It requires careful planning, adherence to local regulations, and a good deal of hands-on work.
The key takeaways are to prioritize a solid foundation, ensure all utility work is done professionally and to code, and properly insulate the structure for year-round comfort. By breaking the project down into manageable phases—from legal research to installing the final light fixture—you can systematically work through the process.
Now that you have a clearer roadmap of how to turn a shed into a tiny home, you are better equipped to take on this exciting project and create a beautiful, functional living space that is uniquely yours.
About
Jovie Mathews is a backyard and outdoor expert writer with over 12 years of hands-on experience transforming neglected outdoor spaces into thriving gardens and functional retreats. Raised in a family where weekends meant digging in the soil and building raised beds from scratch, Jovie developed a genuine love for the outdoors long before it became a career.
She writes with a practical, no-fluff approach — always testing ideas in her own backyard before sharing them with readers. From composting systems and native plant selection to patio design and pest control, Jovie covers the full spectrum of backyard life with equal parts expertise and enthusiasm.
Education
B.Sc. in Horticulture Science
University of Florida (UF) · Gainesville, FL · 2014
IFAS College of Agricultural and Life Sciences
Minor in Environmental Studies
University of Florida (UF) · Gainesville, FL · 2014
College of Liberal Arts and Sciences
Areas of expertise
- Lawn & Garden Care
- Soil prep, planting, seasonal care
- Outdoor DIY Projects
- Raised beds, fencing, pathways
- Composting & Soil Health
- Organic methods, amendments
- Native Plants & Wildlife
- Pollinators, habitat gardening
When she is not writing, Jovie can be found testing new composting techniques, growing tomatoes in questionable quantities, or convincing her neighbors that clover lawns are actually a great idea. She currently gardens in the Pacific Northwest.