Welcome to the rewarding journey of cultivating your own trees. Growing chestnuts is a fantastic project for patient gardeners who want to leave a lasting legacy in their landscape. Whether you are hoping to harvest delicious nuts for roasting or simply want to add a majestic shade tree to your property, the process starts with a single viable nut.
Learning how to plant chestnut seeds properly is the most critical step in this journey, as these seeds require specific handling to germinate successfully. This guide will walk you through every phase, from selection to sowing, ensuring your success.
Why Plant Chestnut Seeds?
Planting chestnut seeds offers a multitude of benefits that extend far beyond the simple act of gardening. Historically, the chestnut tree was a cornerstone of agriculture and ecology, particularly in North America before the blight. By planting these seeds today, you contribute to a legacy of restoration and biodiversity. Growing trees from seed is also significantly more affordable than purchasing established saplings from a nursery. It allows you to select specific genetics if you are gathering nuts from a particularly strong or productive parent tree in your local area.
6 Step-by-Step Guide on How to Plant Chestnut Seeds
Step 1: Selecting and Harvesting Viable Nuts
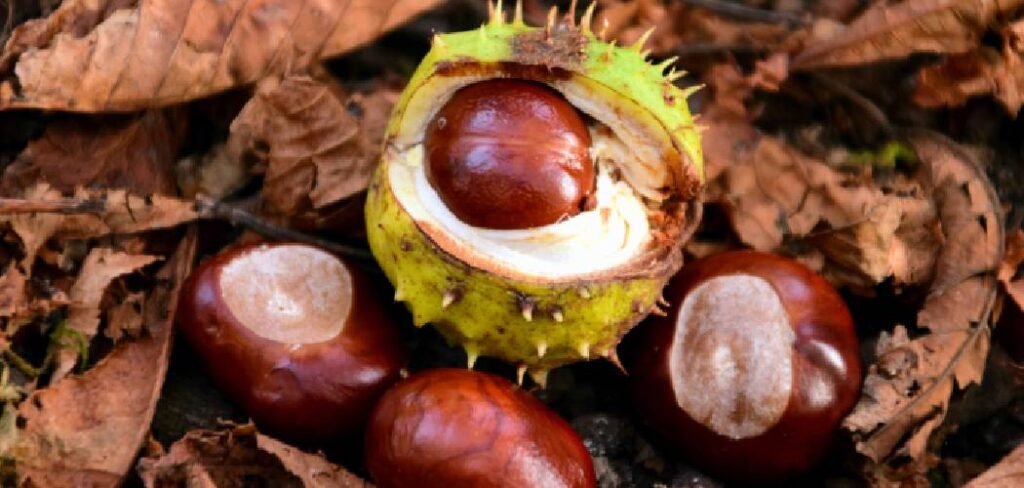
The first step in your journey is securing high-quality seeds, which are simply fresh chestnuts in their raw state. You can gather these directly from beneath a mature tree in early autumn as the burrs begin to open and drop to the ground. It is vital to collect them almost immediately after they fall because they dry out quickly and are a favorite snack for local wildlife.
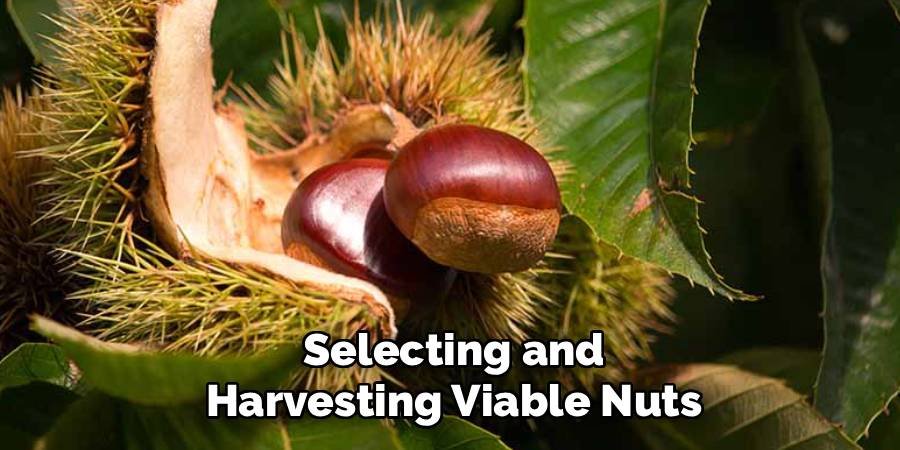
If you do not have access to a tree, you can purchase fresh, raw nuts from a grower, but avoid roasted or processed nuts from grocery stores as they will not grow. Look for nuts that feel heavy for their size, have a firm and shiny shell, and show no signs of mold or wormholes. A healthy shell should be hard and devoid of any cracks or soft spots that indicate rot.
Step 2: Performing the Float Test
Once you have gathered your chestnuts, you must determine which ones are viable for planting and which are duds. The most effective way to do this is by performing a float test, which separates healthy embryos from dried or damaged ones. Fill a bucket or large bowl with cool water and gently place your chestnuts inside.
Allow them to soak for a few hours, but no longer than twenty-four hours to prevent waterlogging. After the soak, observe the nuts closely. The viable seeds will sink to the bottom of the container, indicating they are full of moisture and have a healthy kernel inside. Any nuts that float to the surface are likely dried out, underdeveloped, or eaten by weevils, and these should be discarded immediately as they will not germinate.
Step 3: Preparing the Stratification Medium
Chestnuts have a natural defense mechanism called dormancy, meaning they will not sprout until they have gone through a period of cold conditions mimicking winter. This process is called cold stratification. To simulate this environment safely, you need to prepare a moisture-retentive medium that will hold the nuts without rotting them. Peat moss, coconut coir, or slightly damp sawdust are excellent choices for this purpose.
The goal is to create an environment that is moist like a wrung-out sponge, not soaking wet. If the medium is too wet, your chestnuts will mold and rot before they ever have a chance to grow. Mix your chosen material with a small amount of water in a bowl until it feels cool and damp to the touch, ensuring there is no standing water at the bottom.
Step 4: Packaging the Seeds for Cold Storage
With your stratification medium prepared, it is time to package the nuts for their “winter” nap. Take a gallon-sized zip-top bag and punch several small holes in it using a needle or a fork to allow for necessary air circulation. Oxygen exchange is crucial because the seeds are living organisms that need to breathe even while dormant.
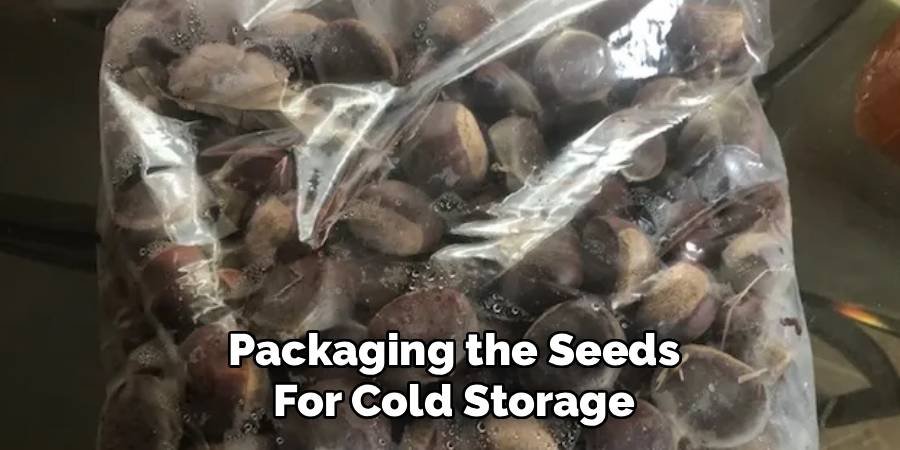
Place a layer of your damp peat moss or sawdust into the bag, then nestle the chestnuts into the mixture so they are not touching each other. Cover them with more medium until they are completely surrounded. Seal the bag effectively. This setup mimics the forest floor conditions where leaves and soil would naturally cover the nuts, keeping them cool and slightly damp throughout the winter months.
Step 5: The Cold Stratification Period
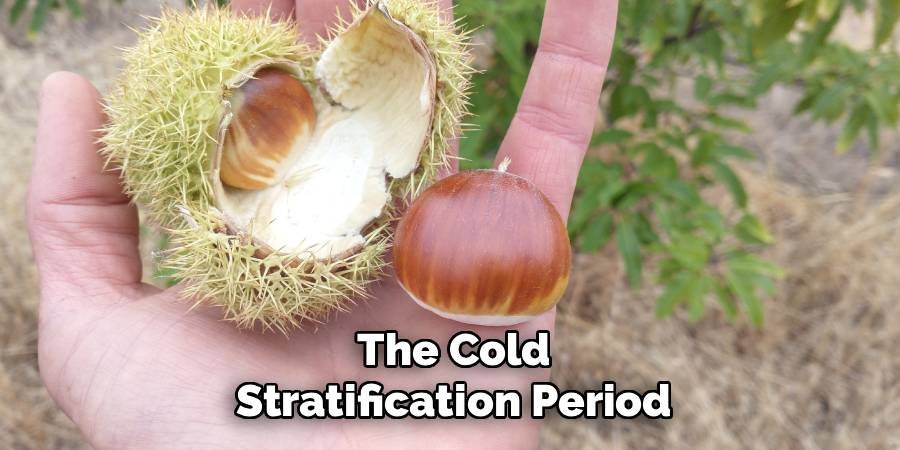
Place your bag of prepared chestnuts in the crisper drawer of your refrigerator, where the temperature remains consistent, usually between 32 and 40 degrees Fahrenheit. This is the official start of the stratification process, which generally takes about two to three months.
It is essential to keep the bag away from fruits like apples or bananas, which release ethylene gas that can inhibit germination or cause premature rotting. During this long wait, the internal chemistry of the nut is changing, breaking down inhibitors that prevent sprouting. This waiting game requires patience, but it is the exact method regarding how to plant chestnut seeds that nature intended. Without this artificial winter, your seeds would simply sit in the soil and eventually decay without ever producing a shoot.
Step 6: Monitoring for Moisture and Sprouting
You cannot simply ignore the seeds for three months; active monitoring is required to ensure success. Every two weeks, take the bag out of the refrigerator and gently inspect the contents. Check the moisture level of the peat moss to ensure it has not dried out completely. If it feels dry, mist it lightly with a spray bottle.
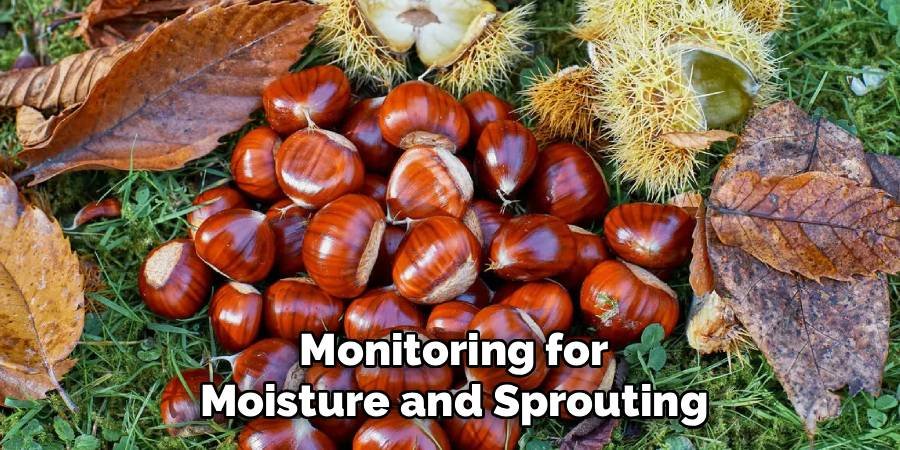
Conversely, if you see condensation building up heavily inside the bag, leave it open for an hour to let excess moisture escape. While checking, look for any signs of mold on the nuts. If you find a moldy nut, remove it immediately to prevent the fungus from spreading to the healthy seeds. Towards the end of the stratification period, typically in late February or March, you may start to see the nuts cracking open as a small white root begins to emerge.
Frequently Asked Questions
How Long Does It Take For A Chestnut Seed To Germinate?
The germination process is lengthy because it includes the mandatory cold stratification period. After the two to three months of cold storage in your refrigerator, the actual visible sprouting usually happens within two to four weeks of being placed in warm soil. In total, from the time you put the nuts in the fridge to the time you see a green shoot above the soil, the process takes approximately four to five months. Patience is key, as different nuts from the same batch may sprout at slightly different rates depending on their individual genetic vigor.
Do I Need Two Chestnut Trees To Get Fruit?
Yes, if your goal is to eventually harvest nuts, you will almost certainly need to plant at least two trees. Chestnut trees are not self-pollinating; they require cross-pollination from a different tree to produce viable nuts. While a solitary tree might produce burrs, the nuts inside will likely be empty or flat. For the best results, plant two different seedlings roughly 30 to 40 feet apart. This distance is close enough for wind pollination to occur effectively but far enough apart that their large canopies will not crowd each other as they mature into full-sized giants.
Can I Plant Chestnuts Bought From The Grocery Store?
Planting chestnuts from a standard grocery store is rarely successful and generally not recommended. Most chestnuts sold for eating have been imported and may have been heat-treated or dipped in hot water to kill insect larvae, which effectively kills the embryo inside the nut. Furthermore, many store-bought nuts have been stored improperly for planting purposes and are often dried out. If you want to grow a tree, it is much better to source fresh, raw nuts from a local grower, a dedicated nursery, or collect them yourself from a tree that you know is healthy and productive.
What Kind Of Soil Do Chestnut Trees Prefer?
Chestnut trees are quite particular about their soil conditions and will struggle in the wrong environment. They absolutely require well-draining soil and cannot tolerate “wet feet” or standing water, which causes root rot. They prefer a sandy or loamy texture over heavy clay. Additionally, chestnuts thrive in slightly acidic soil with a pH between 5.0 and 6.5. If you have heavy clay soil or alkaline soil, you may need to amend the site heavily or consider planting your trees on a mound or a slope to ensure adequate drainage and proper pH levels for long-term health.
How Do I Protect My Seedlings From Squirrels?
Squirrels and chipmunks are the biggest threat to your newly planted chestnuts, as they will dig up the nut for food even after it has sprouted. To protect your investment, it is crucial to use physical barriers. When planting directly in the ground or in outdoor pots, create a cage using hardware cloth or chicken wire and place it over the planting site. Ensure the cage is buried a few inches into the soil so rodents cannot dig under it. Alternatively, use tree tubes or plastic tree shelters, which protect the nut from digging animals and the young bark from browsing deer.
Conclusion
Growing a tree from a seed is an act of faith and patience that yields incredible rewards. By following these steps, you are well on your way to adding a beautiful, productive asset to your garden. Remember that the most crucial elements are viable fresh nuts, a proper cold stratification period, and protection from rodents during the early stages. Now that you understand how to plant chestnut seeds, you can confidently gather your autumn harvest and prepare for a spring full of new growth. Enjoy the process of nurturing your saplings and watching them develop into magnificent trees.

About
Jovie Mathews is a backyard and outdoor expert writer with over 12 years of hands-on experience transforming neglected outdoor spaces into thriving gardens and functional retreats. Raised in a family where weekends meant digging in the soil and building raised beds from scratch, Jovie developed a genuine love for the outdoors long before it became a career.
She writes with a practical, no-fluff approach — always testing ideas in her own backyard before sharing them with readers. From composting systems and native plant selection to patio design and pest control, Jovie covers the full spectrum of backyard life with equal parts expertise and enthusiasm.
Education
B.Sc. in Horticulture Science
University of Florida (UF) · Gainesville, FL · 2014
IFAS College of Agricultural and Life Sciences
Minor in Environmental Studies
University of Florida (UF) · Gainesville, FL · 2014
College of Liberal Arts and Sciences
Areas of expertise
- Lawn & Garden Care
- Soil prep, planting, seasonal care
- Outdoor DIY Projects
- Raised beds, fencing, pathways
- Composting & Soil Health
- Organic methods, amendments
- Native Plants & Wildlife
- Pollinators, habitat gardening
When she is not writing, Jovie can be found testing new composting techniques, growing tomatoes in questionable quantities, or convincing her neighbors that clover lawns are actually a great idea. She currently gardens in the Pacific Northwest.