

Brick pavers add timeless charm and durability to patios, walkways, and driveways. Over time, however, they can accumulate dirt, grime, moss, and stains, detracting from their natural beauty. Learning how to clean brick pavers is a straightforward and rewarding home maintenance task that can dramatically restore their original appearance and prevent long-term damage.
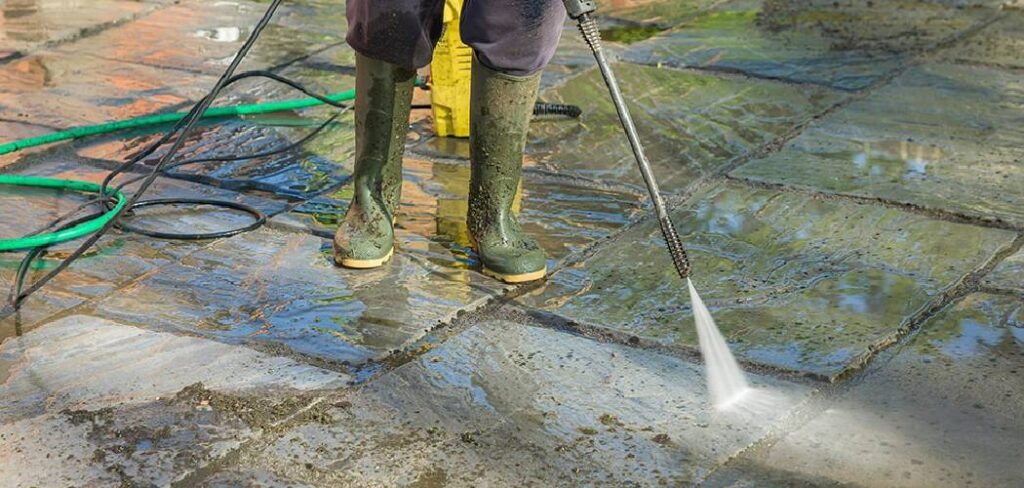
This guide will walk you through a simple, effective process to revitalize your outdoor spaces. With a few basic tools and a bit of effort, you can protect your investment and ensure your brick surfaces look fantastic for years to come. This project is perfect for beginners and will leave you with a sense of accomplishment and a stunningly clean hardscape.
Why Cleaning Your Brick Pavers Matters
Maintaining your brick pavers is about more than just appearances; it’s a crucial part of preserving the integrity and safety of your outdoor living areas. Neglected pavers can become a breeding ground for moss, algae, and mold. These growths not only look unsightly but can also become incredibly slippery when wet, creating a significant slip-and-fall hazard for your family and guests. Furthermore, weeds that sprout in the joints between pavers can push the bricks apart, leading to an uneven surface and potential tripping hazards. Over time, this displacement can destabilize the entire installation, resulting in costly repairs.
8 Step-by-Step Guide to How to Clean Brick Pavers
Step 1: Clear the Area and Prepare for Cleaning
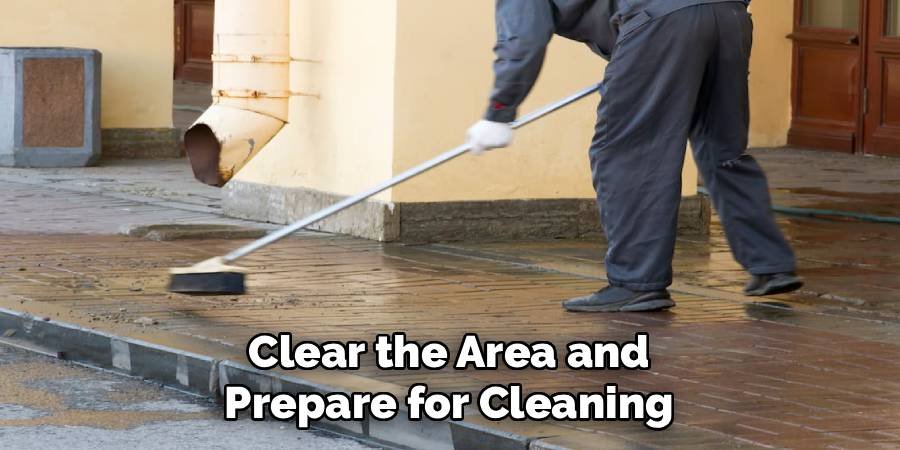
Before you begin the cleaning process, you need a clear and unobstructed workspace. Start by removing all furniture, potted plants, grills, and any other decorative items from the paver surface. This not only protects your belongings from water and cleaning solutions but also gives you full access to every brick. Once the area is clear, use a stiff-bristled broom to sweep away all loose debris. Pay close attention to leaves, twigs, dirt, and small rocks that have gathered on the surface and in the joints between the pavers. A thorough initial sweep makes the subsequent steps much more effective.
Step 2: Remove Weeds and Moss from Joints
Weeds and moss are common culprits that can make a paver patio look unkempt. Focus on removing them from the joints between the bricks. For smaller weeds or patches of moss, a sturdy patio knife or a flathead screwdriver works well to scrape them out from the crevices. For more extensive growth, you might consider using a pressure washer with a low-pressure nozzle, which can blast out the unwanted vegetation. Alternatively, you can apply a commercial moss killer or a natural solution of vinegar and water, let it sit for a day, and then easily remove the dead plants.
Step 3: Pre-Rinse the Entire Paver Surface
With the area cleared and the weeds removed, it’s time to give the pavers a good initial rinse. Using a standard garden hose with a spray nozzle, wet the entire brick surface. This step is important for a couple of reasons. First, it helps to loosen any surface-level dirt and grime that your initial sweeping might have missed. Second, and more importantly, it saturates the porous brick. This pre-soaking prevents the cleaning solution you will apply next from being absorbed too quickly into the brick, allowing it to work more effectively on the surface stains where it is needed most.
Step 4: Prepare Your Cleaning Solution
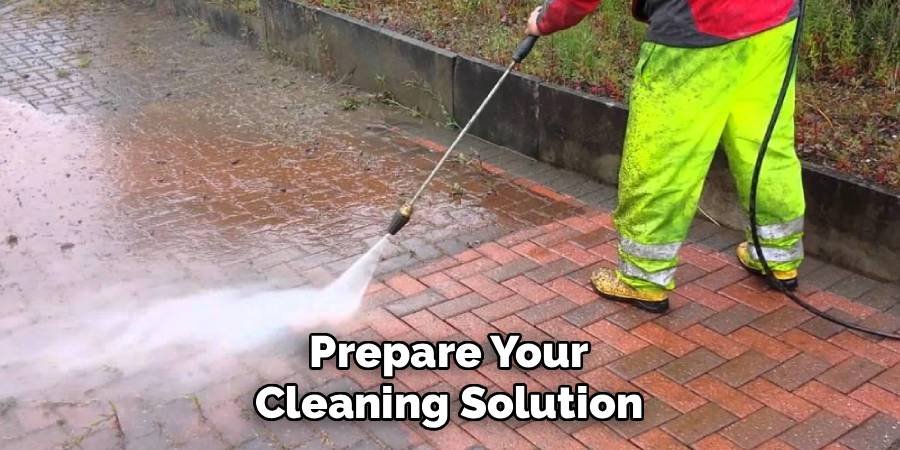
You have several options when it comes to a cleaning solution. For general cleaning, a simple mixture of mild dish soap and warm water in a bucket is often sufficient. If you are dealing with tougher grime, moss, or algae, you can create a more potent solution by mixing one part white vinegar with ten parts water. For stubborn oil or grease stains, a dedicated degreaser may be necessary. Always test your chosen cleaning solution on a small, inconspicuous area first to ensure it does not cause any discoloration or damage to your pavers before applying it to the entire surface.
Step 5: Scrub the Pavers Thoroughly
Now for the most labor-intensive part of the job. Dip a stiff-bristled, long-handled brush into your cleaning solution and begin scrubbing the pavers. Work in small, manageable sections, applying firm pressure to lift away dirt and grime. Pay special attention to heavily soiled areas or spots with significant algae growth. The combination of the cleaning agent and the mechanical action of the brush will do most of the heavy lifting. Make sure to scrub the joints as well, as this is where a lot of dirt and organic matter tends to accumulate. This is a key step in how to clean brick pavers effectively.
Step 6: Address Stubborn Stains
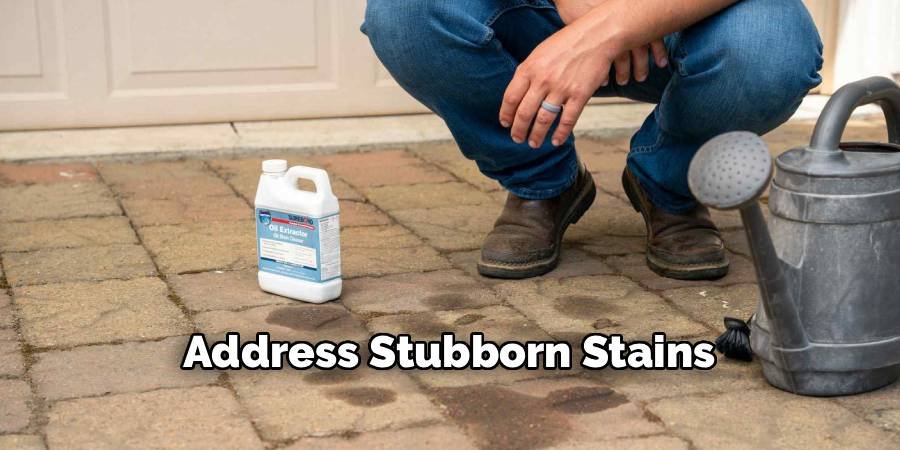
Some stains, like oil, rust, or paint, may not come out with general scrubbing. These require targeted treatment. For oil and grease stains, cover the spot with a layer of cat litter or cornstarch to absorb as much of the substance as possible. Let it sit for several hours, then sweep it up and scrub the remaining mark with a degreaser. For rust stains, a solution containing oxalic acid is often effective, but be sure to follow the manufacturer’s instructions carefully. For paint splatters, you may need to use a paint stripper and a scraper.
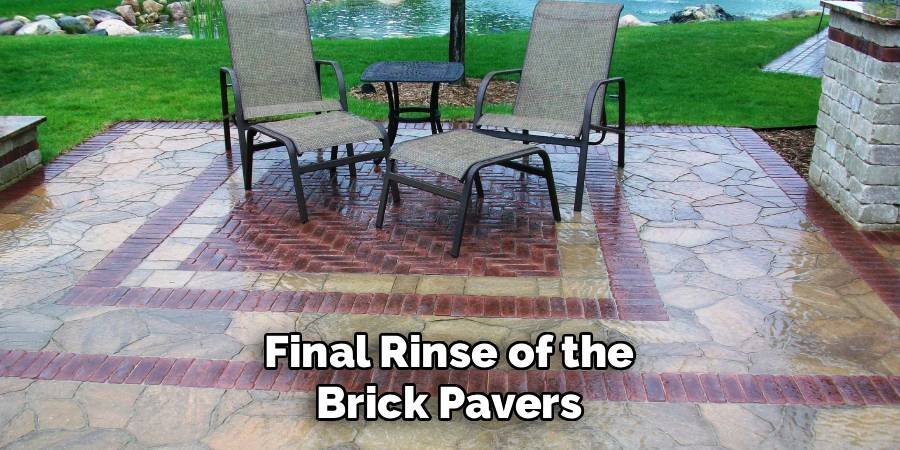
Step 7: Final Rinse of the Brick Pavers
Once you have finished scrubbing and treating any stubborn stains, it is time for the final rinse. Use your garden hose and a high-pressure nozzle to thoroughly wash away all the cleaning solution, dirt, and loosened grime from the paver surface. Start at the highest point of your patio or walkway and work your way down, guiding the dirty water towards a drain or lawn area. Ensure you rinse completely, as any leftover soap or cleaning solution can leave a hazy residue on the bricks once they dry. This final rinse reveals the true, clean color of your pavers.
Step 8: How to Clean Brick Pavers and Refill the Joints
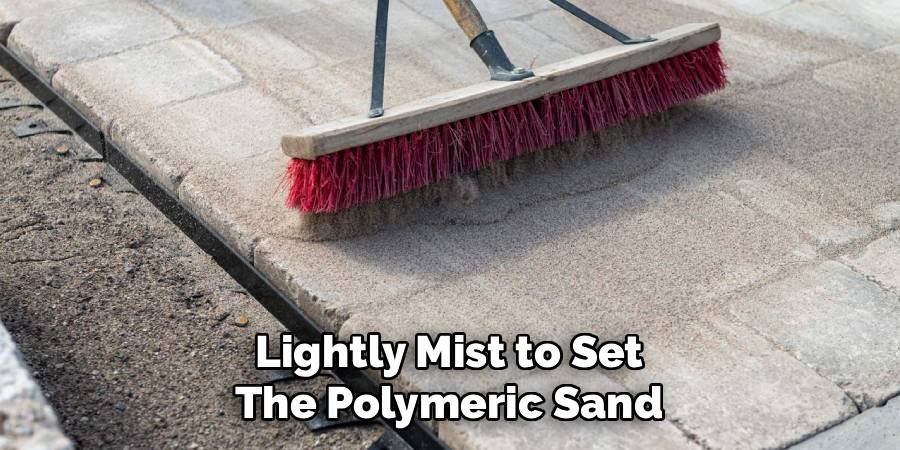
After the pavers are completely dry, which may take up to 24 hours, you will need to inspect the joints. The cleaning process, especially if you used a pressure washer, can blast out some of the sand between the bricks. This joint sand is critical for keeping the pavers locked in place and stable. To replenish it, pour polymeric sand over the surface and use your broom to sweep it into all the gaps. Polymeric sand contains a special binding agent that hardens when activated with water, creating a firm yet flexible joint that helps prevent future weed growth.
Lightly Mist to Set the Polymeric Sand
Once you have swept the polymeric sand into all the joints, use your broom to remove any excess sand from the top of the pavers. The next step is to activate the binding agent. Using your garden hose with a nozzle set to a fine mist, lightly spray the entire paver surface. This gentle watering will cause the sand to harden and lock the bricks together. Avoid using a strong jet of water, as this can wash the sand out of the joints before it has a chance to set properly.
Apply a Sealant for Protection (Optional)
For long-lasting protection, consider applying a sealant to your newly cleaned pavers. This final step is optional but highly recommended. A good quality brick paver sealant will protect the bricks from UV rays, water damage, and stains. It can also enhance their color and provide a slight sheen, ranging from matte to high-gloss, depending on the product you choose. Sealing makes future cleaning much easier and helps inhibit the growth of moss and weeds. Apply the sealant according to the manufacturer’s directions, typically with a roller or sprayer, and allow it to cure completely.
Frequently Asked Questions
Can I Use a Pressure Washer on Brick Pavers?
Yes, you can use a pressure washer, but with caution. Use a wide-angle fan tip (40 degrees is ideal) and keep the pressure below 1,500 PSI to avoid damaging the brick surface or blasting out all the joint sand. Hold the nozzle at least 12 inches away from the surface and sweep it back and forth evenly. Avoid concentrating the spray on one spot for too long.
How Often Should I Clean My Brick Pavers?
For best results, you should perform a deep cleaning on your brick pavers at least once a year, typically in the spring or fall. Regular light sweeping to remove leaves and debris every few weeks will also help keep them in good condition and reduce the effort needed during your annual deep clean. Areas with heavy foot traffic or under trees may require more frequent attention to prevent stains and moss growth.
What Is the Best Cleaner for Brick Pavers?
For general dirt and grime, a simple solution of warm water and mild dish soap is very effective and gentle on the bricks. For organic stains like algae or moss, a mixture of equal parts white vinegar and water can work well. For tough grease or oil stains, a commercial concrete and paver degreaser is your best option. Always test any cleaner on a small, hidden area first.
How Do I Remove White Stains (Efflorescence) From My Pavers?
Those chalky white stains are called efflorescence, which is a natural deposit of salt left on the surface as water evaporates. It is usually harmless and can often be removed by scrubbing with a stiff brush and plain water. For persistent efflorescence, you can use a specialized efflorescence remover or a diluted solution of water and white vinegar. Rinsing thoroughly after cleaning is crucial.
Should I Resand and Seal My Pavers After Cleaning?
Yes, it is highly recommended. The cleaning process, especially pressure washing, will remove some of the sand from the joints. Refilling the joints with polymeric sand is essential to keep the pavers stable and prevent weed growth. Applying a sealant afterward provides a protective layer that guards against stains, UV damage, and moisture, making future cleanings easier and extending the life of your pavers.
Conclusion
Restoring the beauty of your outdoor space is an achievable and gratifying project. By following these steps, you have a clear roadmap for transforming dull, dirty surfaces into a vibrant and welcoming part of your home. The process involves clearing the area, removing stubborn weeds, scrubbing with an appropriate solution, and addressing tough stains. Completing the job by refilling the joints and applying a sealant will ensure your hard work lasts. Embracing how to clean brick pavers not only boosts your home’s curb appeal but also protects your investment, ensuring your patios and walkways remain safe and beautiful for many seasons.

About
Jovie Mathews is a backyard and outdoor expert writer with over 12 years of hands-on experience transforming neglected outdoor spaces into thriving gardens and functional retreats. Raised in a family where weekends meant digging in the soil and building raised beds from scratch, Jovie developed a genuine love for the outdoors long before it became a career.
She writes with a practical, no-fluff approach — always testing ideas in her own backyard before sharing them with readers. From composting systems and native plant selection to patio design and pest control, Jovie covers the full spectrum of backyard life with equal parts expertise and enthusiasm.
Education
B.Sc. in Horticulture Science
University of Florida (UF) · Gainesville, FL · 2014
IFAS College of Agricultural and Life Sciences
Minor in Environmental Studies
University of Florida (UF) · Gainesville, FL · 2014
College of Liberal Arts and Sciences
Areas of expertise
- Lawn & Garden Care
- Soil prep, planting, seasonal care
- Outdoor DIY Projects
- Raised beds, fencing, pathways
- Composting & Soil Health
- Organic methods, amendments
- Native Plants & Wildlife
- Pollinators, habitat gardening
When she is not writing, Jovie can be found testing new composting techniques, growing tomatoes in questionable quantities, or convincing her neighbors that clover lawns are actually a great idea. She currently gardens in the Pacific Northwest.




