

Stained pavers can transform a beautiful patio, walkway, or driveway into a source of frustration. From stubborn oil stains to organic marks left by leaves and moss, these blemishes can detract from your home’s curb appeal. Fortunately, restoring your pavers to their original beauty is often simpler than you might think.
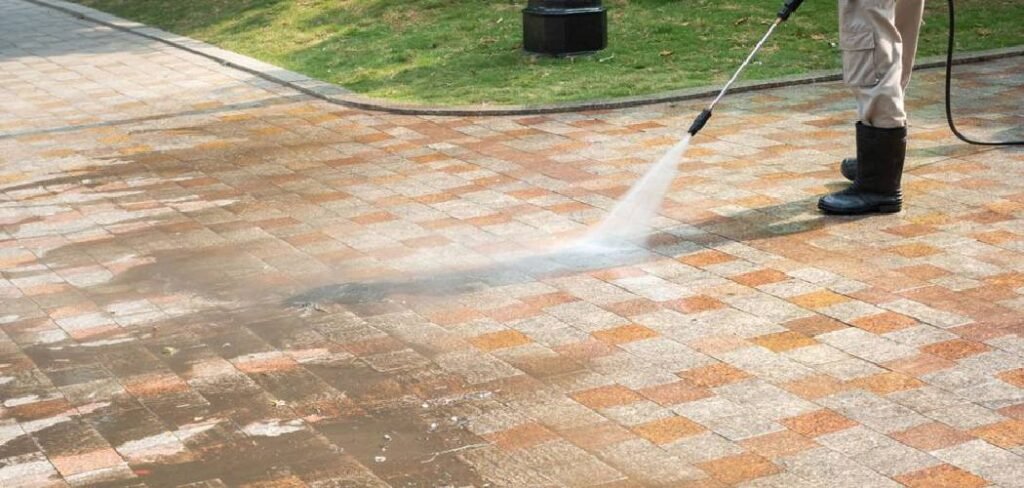
This guide will walk you through everything you need to know about how to clean stained pavers, providing a straightforward process that anyone can follow. We will cover identifying different types of stains, gathering the right tools, and applying effective cleaning techniques to make your outdoor spaces shine again.
Cleaning Your Pavers Matters
Maintaining the appearance of your outdoor hardscaping is about more than just aesthetics; it’s a crucial part of home maintenance. Over time, pavers are exposed to everything from harsh weather and foot traffic to accidental spills and organic growth. If left untreated, these stains don’t just look bad—they can cause lasting damage. Moss and algae can make surfaces slippery and hazardous, while oil and grease can penetrate deep into the porous material, becoming almost impossible to remove. Regular cleaning preserves the integrity of the pavers, preventing deterioration and extending their lifespan. It also enhances your property’s overall value and ensures your outdoor living areas are safe and welcoming for family and guests.
8 Step-by-Step Guide: How to Clean Stained Pavers
Step 1: Clear the Area and Sweep Thoroughly
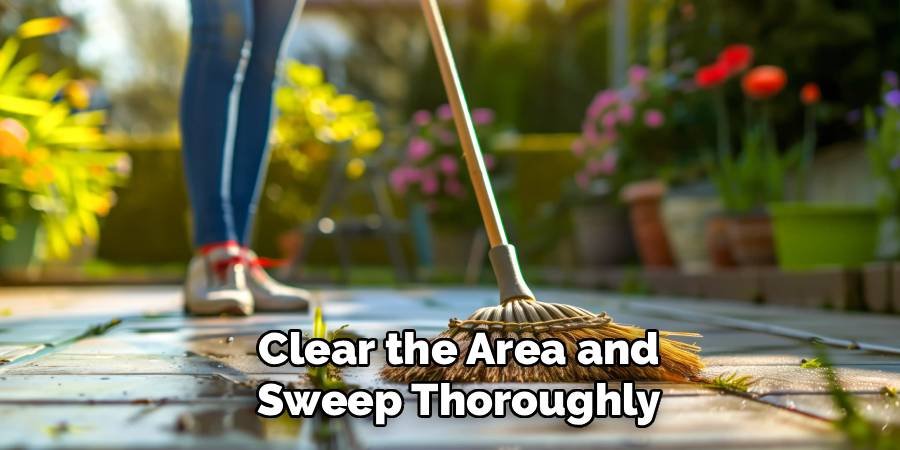
Before you begin any cleaning, the first essential step is to prepare the area. Remove all furniture, planters, grills, and any other objects from the paver surface. This gives you unobstructed access to the entire space and prevents cleaning solutions from damaging your belongings. Once the area is clear, use a stiff-bristled broom to sweep away all loose debris. Pay close attention to the joints between the pavers, as this is where dirt, weeds, and moss tend to accumulate. A thorough sweeping ensures you are treating the stains themselves, not just a layer of surface grime.
Step 2: Identify the Type of Stain
Identifying the source of the stain is critical because different types require different treatments. Common culprits include organic stains from leaves, berries, or algae, which often appear as green or brown patches. Oil, grease, and gasoline from vehicles leave dark, absorbent marks. Rust stains from metal furniture or planters are orange-brown. Paint, efflorescence (a white, chalky substance), and food spills are also frequent issues. Take a moment to inspect each blemish and determine its likely cause. This diagnosis will guide your choice of cleaning agent and method, making your efforts far more effective.
Step 3: Choose Your Cleaning Solution
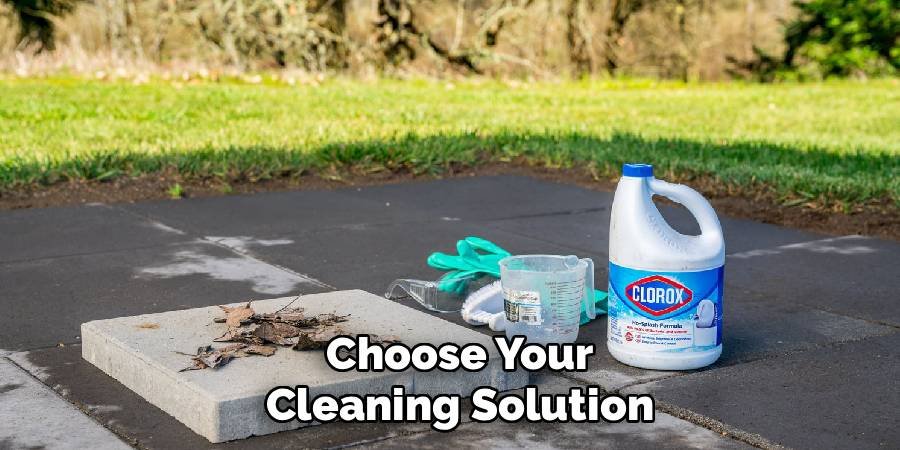
With the stains identified, you can select the appropriate cleaner. For general dirt and grime, a simple solution of warm water and dish soap is often sufficient. For organic stains like moss or algae, a mixture of equal parts white vinegar and water can work wonders. Stubborn oil and grease stains may require a specialized commercial degreaser designed for concrete and pavers. If you’re dealing with rust, an oxalic acid-based cleaner is typically the most effective option. Always start with the mildest cleaner possible to avoid damaging the pavers and only move to stronger chemicals if necessary.
Step 4: Perform a Spot Test
Before applying any cleaning solution to your entire paver surface, it is crucial to perform a spot test. Choose a small, inconspicuous area, such as a corner or a spot that is usually covered by a planter or furniture. Apply a small amount of your chosen cleaning solution according to the product’s instructions and let it sit for the recommended time. Rinse the area thoroughly and allow it to dry completely. This test allows you to check for any adverse reactions, such as discoloration or surface etching, ensuring the cleaner is safe for your specific type of pavers.
Step 5: How to Clean Stained Pavers with a Scrub Brush
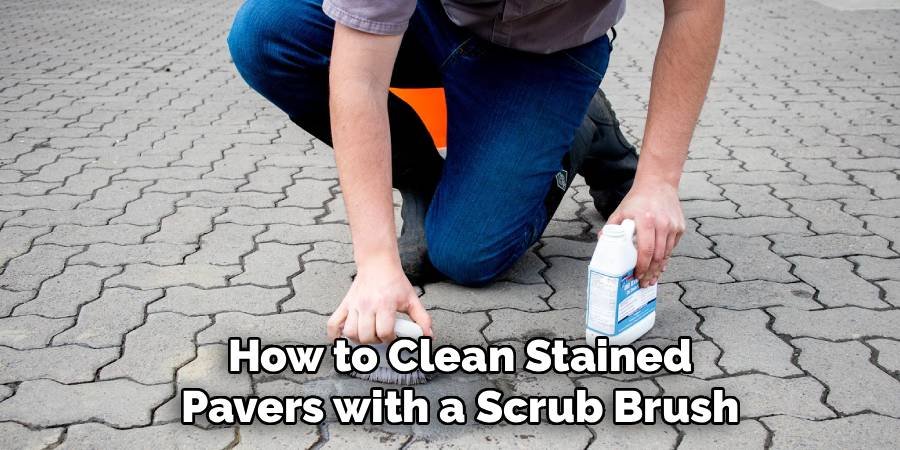
Once your spot test is successful, you can begin the main cleaning process. Apply your chosen solution to the stained areas. For general cleaning, you can use a garden sprayer for even distribution. Let the solution sit on the surface for about 15-20 minutes to penetrate the stain, but do not let it dry. Next, use a stiff-bristled, non-metallic brush to scrub the stains vigorously. A brush with nylon bristles is ideal as it is tough on grime but won’t scratch the paver surface. Work in small sections, applying consistent pressure to lift the stain from the porous material.
Step 6: Rinse the Pavers Thoroughly
After scrubbing, a complete rinse is essential to wash away the cleaning solution and the loosened grime. Using a garden hose with a high-pressure nozzle is usually sufficient for this task. Start at the highest point of the paved area and work your way down, guiding the dirty water towards a drainage area. Be systematic to ensure you rinse the entire surface, including the joints between the pavers. Avoid using a pressure washer on its highest setting, as the intense force can dislodge joint sand and even damage the surface of the pavers themselves.
Step 7: Address Stubborn Stains
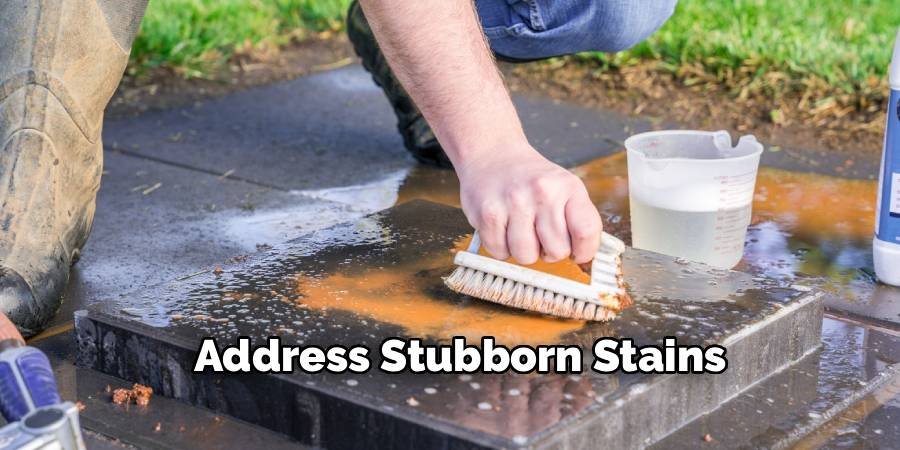
Some stains are more persistent and may not come out after the first round of cleaning. For these tough spots, a second application may be necessary. Reapply the appropriate cleaning solution directly to the stain and allow it to sit for a longer period, perhaps up to an hour. You can also create a poultice by mixing a powdered cleaner with water to form a thick paste. Apply the paste to the stain, cover it with plastic wrap, and let it dry. As the poultice dries, it will draw the stain out of the paver.
Step 8: How to Clean Stained Pavers and Prepare for Sealing
After all the stains are gone and the pavers are completely clean, consider applying a sealant. Sealing is not just for aesthetics; it provides a protective barrier that makes future cleaning easier. A good quality sealant will help prevent water, oil, and other substances from penetrating the paver surface, significantly reducing the likelihood of future stains. It also enhances the color of the pavers and can help inhibit weed and moss growth in the joints. Ensure the pavers are completely dry—which may take a day or two—before applying the sealant according to the manufacturer’s directions.
Frequently Asked Questions
What Is the Easiest Way to Clean Pavers?
For routine cleaning, the easiest method is to use a simple solution of mild dish soap and warm water. Mix a small amount of soap into a bucket of water, pour it over the pavers, and scrub with a stiff-bristled brush. This is effective for removing general dirt and light grime. Finish by rinsing thoroughly with a garden hose. This gentle approach is safe for most paver types and is an excellent way to maintain their appearance.
Can I Use Bleach to Clean My Pavers?
While bleach can be effective at killing moss and algae, it should be used with caution. A diluted solution (one part bleach to ten parts water) can be used on light-colored pavers, but it can discolor darker or colored pavers. It can also harm nearby plants and grass. If you choose to use bleach, always test it on a small, hidden area first and rinse the surface and surrounding vegetation thoroughly afterward.
How Often Should I Clean My Pavers?
The frequency of cleaning depends on your climate and how much use the area gets. A general deep clean is recommended at least once or twice a year, typically in the spring and fall. You should also address spills and stains as soon as they happen to prevent them from setting in. Sweeping the area weekly will help keep loose dirt and debris from accumulating in the joints.
What Is the White Stuff on My Pavers?
The white, chalky substance you see on your pavers is likely efflorescence. This occurs when natural salts within the paver material are drawn to the surface by water and then left behind as the water evaporates. It is a common and usually temporary issue with new pavers. Often, it will wear away on its own over time. If you want to remove it sooner, you can use a specialized efflorescence cleaner and a stiff brush.
Can I Use a Pressure Washer on My Pavers?
Yes, but with caution. A pressure washer can be a very effective tool, but using a setting that is too high can cause significant damage. It can etch the paver surface and, more commonly, blast the essential jointing sand out from between the pavers. If you use a pressure washer, use a fan-tip nozzle, keep it at a low-pressure setting (below 1,500 PSI), and hold it at least a foot away from the surface.
Conclusion
Restoring the look of your outdoor spaces is a rewarding project that significantly boosts your home’s curb appeal. By following these steps, you are well-equipped with the knowledge of how to clean stained pavers effectively and safely. From identifying the right cleaner for each type of stain to the final rinse and protective sealing, this process empowers you to tackle years of grime and bring your patio or walkway back to life. A little bit of effort not only removes unsightly blemishes but also extends the life of your investment, ensuring you can enjoy your beautiful, clean pavers for many years to come.

About
Jovie Mathews is a backyard and outdoor expert writer with over 12 years of hands-on experience transforming neglected outdoor spaces into thriving gardens and functional retreats. Raised in a family where weekends meant digging in the soil and building raised beds from scratch, Jovie developed a genuine love for the outdoors long before it became a career.
She writes with a practical, no-fluff approach — always testing ideas in her own backyard before sharing them with readers. From composting systems and native plant selection to patio design and pest control, Jovie covers the full spectrum of backyard life with equal parts expertise and enthusiasm.
Education
B.Sc. in Horticulture Science
University of Florida (UF) · Gainesville, FL · 2014
IFAS College of Agricultural and Life Sciences
Minor in Environmental Studies
University of Florida (UF) · Gainesville, FL · 2014
College of Liberal Arts and Sciences
Areas of expertise
- Lawn & Garden Care
- Soil prep, planting, seasonal care
- Outdoor DIY Projects
- Raised beds, fencing, pathways
- Composting & Soil Health
- Organic methods, amendments
- Native Plants & Wildlife
- Pollinators, habitat gardening
When she is not writing, Jovie can be found testing new composting techniques, growing tomatoes in questionable quantities, or convincing her neighbors that clover lawns are actually a great idea. She currently gardens in the Pacific Northwest.




