

Keeping backyard ducks is a rewarding experience that brings joy, pest control, and fresh eggs to your garden. Unlike chickens, ducks have unique requirements for shelter, primarily focusing on protection from predators and damp conditions rather than roosting heights. Providing a sturdy, well-ventilated structure is the single most important step you can take to ensure your flock thrives throughout the seasons.
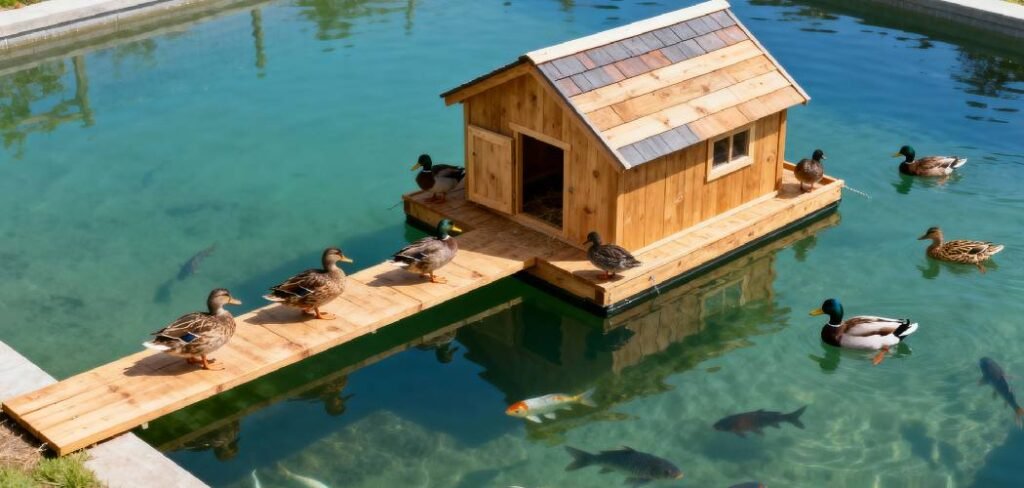
A good shelter protects your waterfowl from raccoons, foxes, and extreme weather while providing a dry place to lay eggs. While you can purchase pre-made coops, constructing one yourself allows you to customize the size and features to fit your specific flock and backyard layout. It also saves money and gives you the satisfaction of a job well done. In this guide, we will walk you through how to build a duck house that is durable, functional, and easy to clean, ensuring your feathered friends stay safe and happy for years to come.
Why Build a Duck House?
While ducks are hardy creatures that enjoy spending time outdoors, they are highly susceptible to predators, especially at night. A dedicated house is not just about comfort; it is a matter of survival. Ducks have poor night vision and sleep on the ground, making them easy targets for foxes, coyotes, and raccoons. A secure structure with heavy-duty latches is essential to keep them safe once the sun goes down.
7 Step-by-Step Guide on How To Build A Duck House
Step 1: Select The Ideal Location And Prepare The Ground
Before you cut a single piece of wood, you must choose the right spot for your structure. Ducks require a location that offers excellent drainage because a muddy area will quickly become unsanitary and unpleasant for your flock. Look for high ground where water naturally flows away from the site rather than pooling around the foundation.
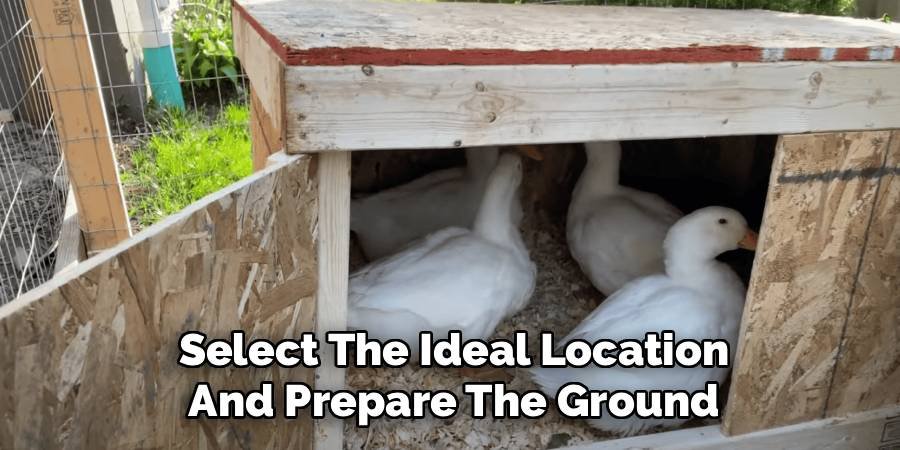
It is also wise to place the house near a water source, as you will need to clean waterers and scrub the interior frequently. Once you have identified the perfect spot, clear away any debris, rocks, or tall grass. You might consider laying down a bed of gravel or paving stones to create a level, dry foundation that prevents the wood from rotting due to direct contact with the damp soil.
Step 2: Gather Necessary Lumber And Essential Tools
Efficiency in any DIY project comes from having all your materials ready before you begin construction. You will need pressure-treated lumber for the base to resist rot, along with exterior-grade plywood for the walls and roof. Gather sturdy 2x4s for the framing and heavy-duty hardware cloth for ventilation windows, which is far superior to chicken wire for stopping predators.
Essential tools include a circular saw or hand saw, a power drill with various bits, a measuring tape, a level, and a carpenter’s square. Do not forget galvanized screws and heavy-duty latches for the doors. Having everything within arm’s reach prevents frustration and ensures you can maintain momentum through the building process without stopping to run to the hardware store.
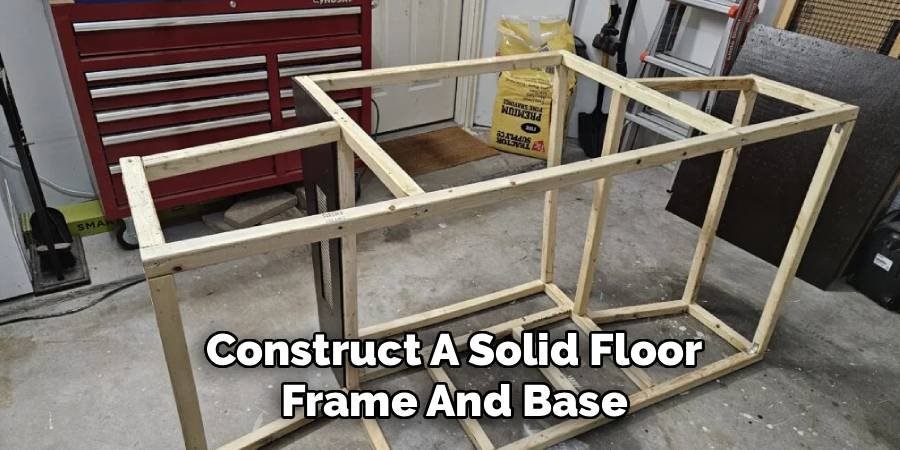
Step 3: Construct A Solid Floor Frame And Base
The foundation is the most critical component of your build because it supports the entire weight of the structure and the flock. Start by cutting your pressure-treated 2x4s to the desired dimensions of your coop’s footprint. Assemble these into a rectangular frame, using long screws to secure the corners tightly.
If you want to raise the coop off the ground to prevent rot and discourage rodents, attach skids or legs at this stage. Once the frame is square and level, attach a sheet of plywood to create the floor. For easier cleaning, many builders cover this wood floor with a sheet of vinyl or paint it with a non-toxic rubberized coating, which protects the wood from the inevitable moisture and mess ducks create.
Step 4: Frame The Walls For Stability And Height
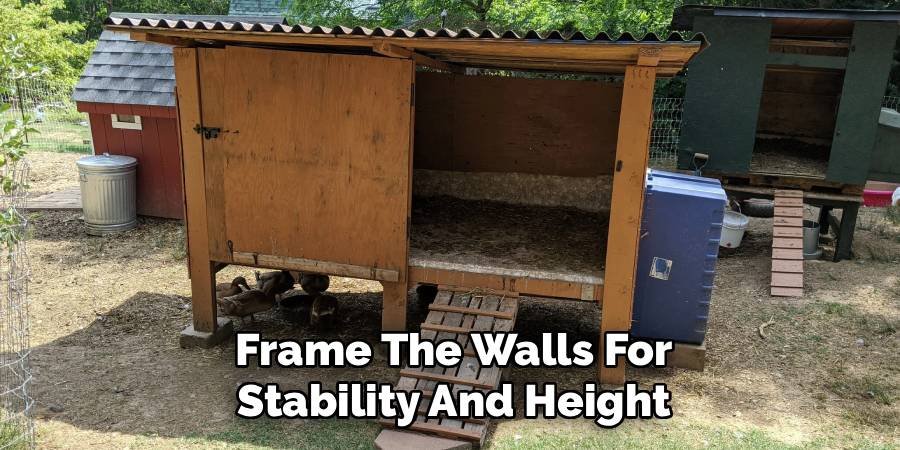
With your floor platform ready, you can begin constructing the vertical supports that will form the shell of the coop. Cut 2x4s to act as studs for the front, back, and side walls. Unlike chicken coops, duck houses do not need to be incredibly tall, but you should ensure there is enough height for you to reach in for cleaning and egg collection.
Assemble the wall frames on the ground first, spacing the studs evenly to support the siding. Remember to frame out openings for the main clean-out door, the duck entry door, and ventilation windows. Once the frames are assembled, lift them onto the floor platform, check that they are plumb with your level, and screw them securely into the base and each other.
Step 5: Install Siding And Secure Ventilation Openings
Now that the skeleton of the structure is in place, you need to enclose it to create a cozy shelter. Measure and cut your exterior-grade plywood or siding panels to fit the wall frames you just built. Screw the siding securely into the studs every few inches to prevent warping over time. As you attach the siding, be mindful of the window openings you framed earlier.
Cover these openings with hardware cloth, securing it with washers and screws so that no predator can push it in or pull it loose. This step is where you transform a skeleton into a real building, and it is also where you ensure adequate airflow. Proper ventilation is critical when learning how to build a duck house because it removes dangerous ammonia fumes and excess humidity.
Step 6: Build And Attach The Roof Structure
A good roof ensures your ducks stay dry during rainstorms and protected from the scorching sun. You can choose a simple flat roof with a slight slope or a gable style, depending on your skill level and aesthetic preference. Cut rafters to span the width of the coop, ensuring they extend past the walls to create an overhang.
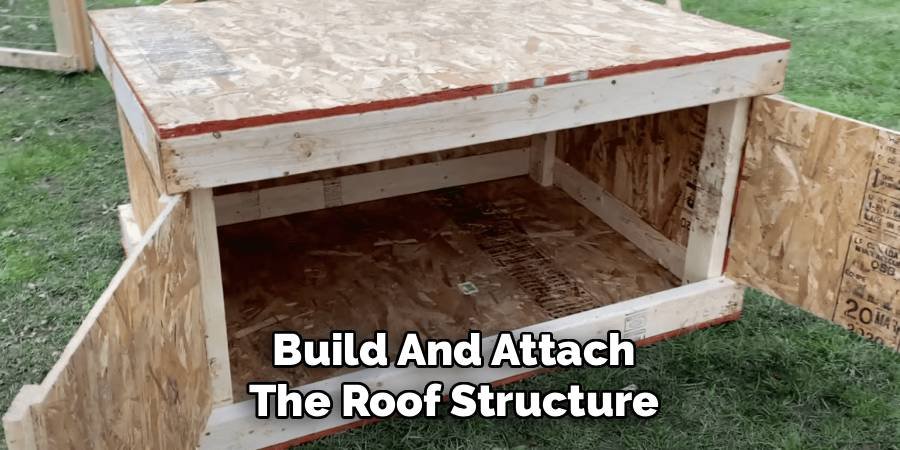
This overhang is vital as it directs rain away from the ventilation windows and siding. Attach a sheet of plywood over the rafters to form the roof deck. Once the wood is secured, cover it with roofing felt and asphalt shingles or a corrugated metal sheet. Ensure everything is sealed tight to prevent leaks, as a wet coop can lead to mold and respiratory illness in your flock.
Step 7: Install Doors And A Low Ramp
Ducks are not as agile as chickens and struggle to negotiate steep climbs or narrow openings. When building the entry door, make sure it is wide enough for two ducks to pass through side-by-side and positioned low to the ground. Construct a ramp using a wide board, adding small wooden cleats horizontally every few inches to give their webbed feet traction.
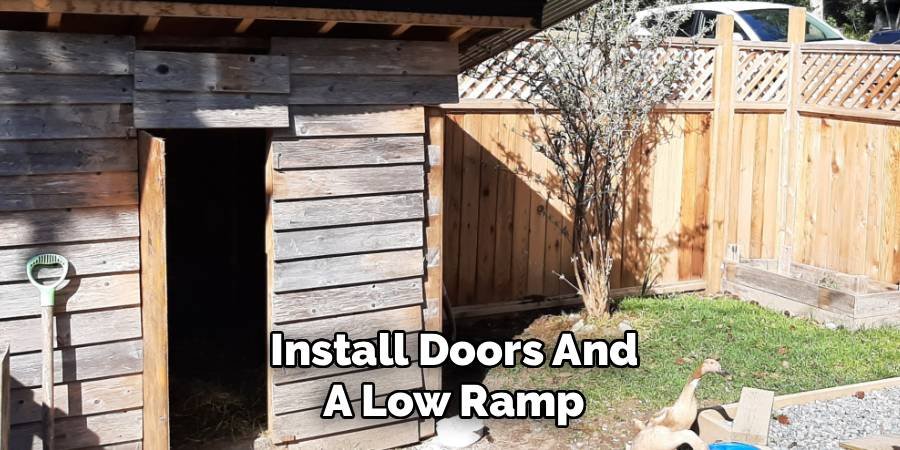
The ramp should have a gentle slope to prevent leg injuries. Additionally, install a large human-access door on the side or back of the coop. This door should be big enough to allow you to easily rake out old bedding and scrub the floor. Secure both doors with complex, two-step latches that raccoons cannot manipulate.
Frequently Asked Questions (FAQ)
What Is The Best Size For A Duck House?
A good rule of thumb is to provide at least 4 to 6 square feet of floor space per duck inside the house. Since ducks spend most of their time on the floor and do not roost on bars like chickens, they need ample room to move around comfortably without trampling one another. If you plan to keep the ducks confined for longer periods during the day, perhaps due to severe weather, you should aim for the higher end of that scale to prevent overcrowding and stress.
Do Ducks Need A Coop Closed At Night?
Yes, closing the coop at night is absolutely essential for the safety of your flock. Ducks are extremely vulnerable to nocturnal predators such as raccoons, foxes, weasels, and owls. These predators are clever and strong, so an open door or a simple latch is not enough protection. You must physically shut them inside a secure structure with predator-proof latches every evening at dusk and let them out in the morning. This routine is the only way to guarantee their survival against local wildlife.
What Kind Of Flooring Is Best For Ducks?
The best flooring is moisture-resistant and easy to clean. Vinyl flooring (linoleum) laid over a plywood base is a popular choice because it is inexpensive, waterproof, and can be swept or hosed down quickly. Another excellent option is painting the wood floor with a non-toxic, rubberized coop paint specifically designed for animal housing. Avoid raw wood floors as they will absorb moisture and urine, leading to rot and terrible smells that are difficult to eliminate.
How Much Ventilation Do Ducks Need?
Ducks emit much more moisture than chickens because they exhale humid air and have wet manure. Therefore, ventilation is critical to prevent mold, ammonia buildup, and frostbite in winter. You should install vents high up on the walls, well above the ducks’ heads, to allow warm, moist air to escape without creating a draft at floor level. Ideally, you want about one square foot of ventilation opening per duck, covered securely with hardware cloth to keep predators out.
Can Chickens And Ducks Live Together?
Yes, chickens and ducks can share a coop, but it requires some management. Ducks need floor space and emit moisture that can cause frostbite on chickens’ combs, so ventilation becomes even more critical. Additionally, chickens roost high up while ducks sleep on the floor, so you must ensure the chickens do not poop on the ducks below. They also have different water needs; ducks need to dip their heads, which creates a mess that chickens dislike. It is often easier to house them separately or in a very large, well-designed shared space.
Conclusion
Building a shelter for your waterfowl is a satisfying project that directly impacts the health and safety of your flock. By focusing on predator protection, adequate ventilation, and easy maintenance, you create an environment where your ducks can flourish. Remember that the structure doesn’t need to be architecturally complex; it just needs to be dry, secure, and spacious enough for your specific number of birds.
With the right materials and a free weekend, you can construct a durable home that rivals any pre-bought option. We hope this guide on how to build a duck house has given you the confidence to pick up your tools and get started. Your ducks will thank you with happy quacks and plenty of delicious eggs for years to come.

About
Jovie Mathews is a backyard and outdoor expert writer with over 12 years of hands-on experience transforming neglected outdoor spaces into thriving gardens and functional retreats. Raised in a family where weekends meant digging in the soil and building raised beds from scratch, Jovie developed a genuine love for the outdoors long before it became a career.
She writes with a practical, no-fluff approach — always testing ideas in her own backyard before sharing them with readers. From composting systems and native plant selection to patio design and pest control, Jovie covers the full spectrum of backyard life with equal parts expertise and enthusiasm.
Education
B.Sc. in Horticulture Science
University of Florida (UF) · Gainesville, FL · 2014
IFAS College of Agricultural and Life Sciences
Minor in Environmental Studies
University of Florida (UF) · Gainesville, FL · 2014
College of Liberal Arts and Sciences
Areas of expertise
- Lawn & Garden Care
- Soil prep, planting, seasonal care
- Outdoor DIY Projects
- Raised beds, fencing, pathways
- Composting & Soil Health
- Organic methods, amendments
- Native Plants & Wildlife
- Pollinators, habitat gardening
When she is not writing, Jovie can be found testing new composting techniques, growing tomatoes in questionable quantities, or convincing her neighbors that clover lawns are actually a great idea. She currently gardens in the Pacific Northwest.




