Keeping backyard chickens is a rewarding hobby that provides fresh eggs and great fertilizer, but the startup costs can feel overwhelming. Many aspiring homesteaders hesitate because they assume housing their flock requires expensive, pre-made structures that cost hundreds of dollars. Fortunately, you don’t need a professional carpenter’s budget to create a safe haven for your birds. With a little creativity and some elbow grease, anyone can construct a sturdy home for their flock.

This guide is designed to help you navigate the process without breaking the bank. We focus on sourcing affordable materials, using simple tools, and maximizing efficiency. Whether you are repurposing old pallets or scouting for discount lumber, we will show you how to build a chicken coop cheap without sacrificing quality or safety. Let’s get your hands dirty and build a palace your chickens will love.
Why Building a Budget-Friendly Coop Matters
Choosing to construct your own coop rather than buying a pre-fabricated kit is one of the smartest financial decisions a new poultry keeper can make. Commercial coops often come with a hefty markup simply because of convenience. By taking the DIY route, you control every aspect of the budget. You can decide where to splurge, such as on high-quality hardware cloth for predator protection, and where to save, like using reclaimed wood for the siding.
Beyond the financial savings, building it yourself allows for customization that fits your specific backyard landscape. You aren’t limited to the dimensions of a box from a farm supply store. You can create a structure that perfectly utilizes a corner of your garden or integrates with an existing shed. This approach also teaches you valuable construction skills that will come in handy for future garden projects. Ultimately, a self-built coop is often sturdier and longer-lasting than flimsy, mass-produced alternatives.
8 Step-by-Step Guide on How to Build a Chicken Coop Cheap
Step 1: Design Your Plan and Gather Materials
Before you hammer a single nail, you must have a clear plan in place to avoid wasting expensive materials. Start by sketching out a simple design that accommodates the number of chickens you plan to keep, allowing at least four square feet of space per bird inside the coop.
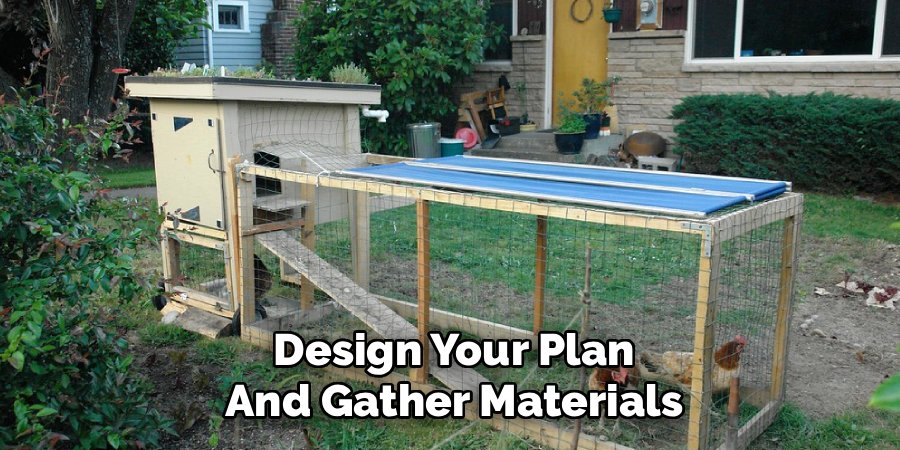
Look around your property for items you can repurpose, such as old cabinets, scrap wood, or unused dog kennels. Visit local construction sites or online marketplaces to find free or discounted lumber. By meticulously planning your dimensions based on the materials you have available, you significantly reduce waste and costs.
Step 2: Prepare the Site and Build the Foundation
A solid foundation is crucial for keeping your coop level and protecting it from rot and predators. Select a high, dry spot in your yard that gets a mix of sun and shade. You do not need to pour a concrete slab, which is expensive and permanent. Instead, use cinder blocks or pressure-treated 4×4 posts set on gravel pads to elevate the structure. This elevation prevents ground moisture from rotting the wooden floor and discourages rodents from nesting underneath. Ensure your foundation is perfectly square and level, as this will make framing the walls much easier and ensures your doors swing correctly later on.
Step 3: Frame the Floor and Walls Efficiently
Once your foundation is set, you need to construct the skeleton of your coop using standard framing techniques. Build a simple rectangular floor frame using pressure-treated lumber and cover it with a sheet of plywood or oriented strand board (OSB). For the walls, you can use 2x4s spaced 24 inches apart rather than the standard 16 inches to save on lumber costs without compromising structural integrity for a small shed. Assemble the wall frames on the ground first, then lift them into place and screw them securely into the floor deck. This method is faster and safer than trying to nail vertical studs in place one by one.
Step 4: Install Roof Rafters and Sheathing
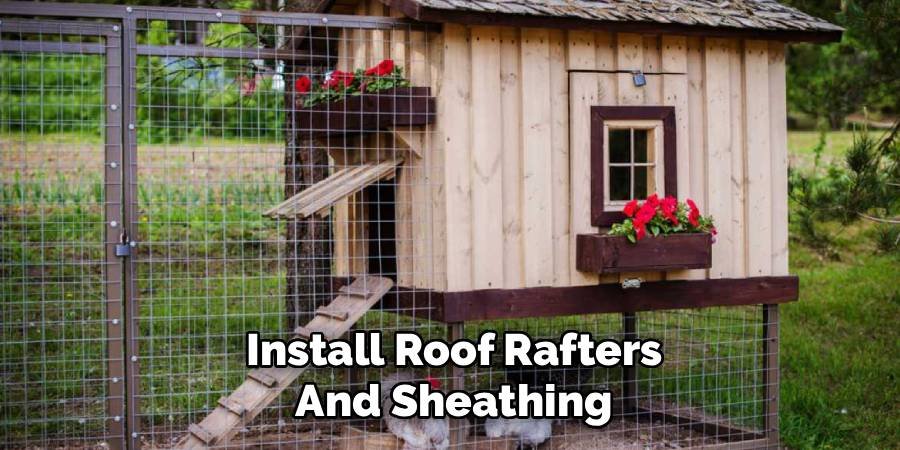
The roof is your flock’s primary defense against rain, snow, and harsh sun, so it must be watertight. A simple shed-style roof, which slopes in only one direction, is the easiest and most cost-effective design to build. Cut rafters from 2×4 lumber and attach them to the top plates of your wall frames, ensuring there is an overhang of at least few inches on all sides to direct water away from the walls. Cover the rafters with plywood sheathing. If you are learning how to build a chicken coop cheap, using leftover corrugated metal or asphalt roll roofing instead of individual shingles can save you a significant amount of money and time.
Step 5: Add Siding and Secure the Structure
With the frame and roof deck in place, it is time to enclose the coop to protect your birds from drafts and predators. Plywood sheets are a quick and affordable option for siding, but you can also use pallet wood for a rustic look if you have access to a planer and some patience. Screw the siding directly into the wall studs, ensuring there are no gaps larger than a half-inch where predators like weasels could squeeze through. If you are using reclaimed wood, be sure to sand down any rough edges that could injure your chickens. This step transforms the skeleton into a real building.
Step 6: Install Windows and Ventilation for Health
Proper ventilation is absolutely critical for chicken health, preventing respiratory issues caused by moisture and ammonia buildup. You do not need to buy expensive new windows; look for second-hand ones at habitat restores or simply cut openings in the walls and cover them with hardware cloth.
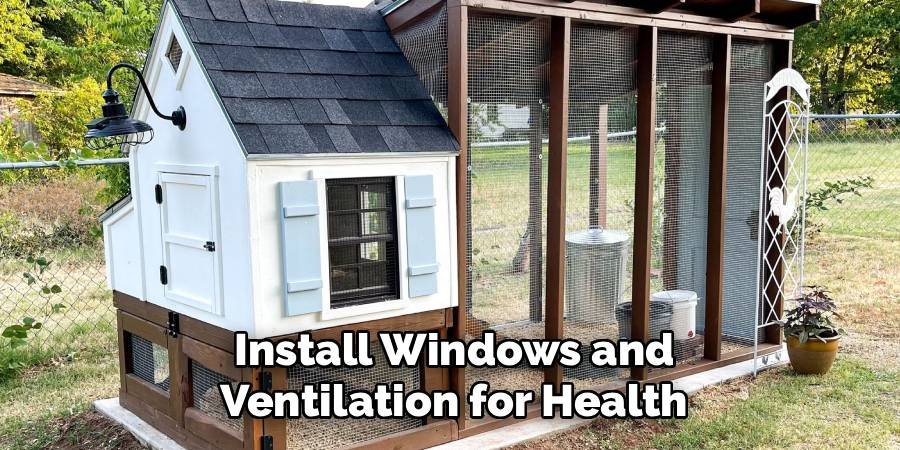
Position vents high up on the walls, near the roofline, to allow hot, stale air to escape without creating cold drafts directly on the roosting birds below. In the summer, these windows provide cross-breezes that keep the coop cool. Always prioritize securing these openings with strong wire mesh to keep raccoons and other clever predators out at night.
Step 7: Build Nesting Boxes and Roosts
Your chickens need specific furniture inside their home to feel comfortable and lay eggs consistently. Roosts should be placed higher than the nesting boxes, as chickens naturally seek the highest point to sleep. Use a 2×4 board with the wide side facing up to protect their feet from frostbite in winter. For nesting boxes, you can repurpose old milk crates, 5-gallon buckets turned on their side, or build simple wooden cubbies. You need one box for every three to four hens. Attach these securely to the wall or place them on a raised platform to maximize floor space for scratching and moving around.
Step 8: Attach Hardware Cloth to the Run
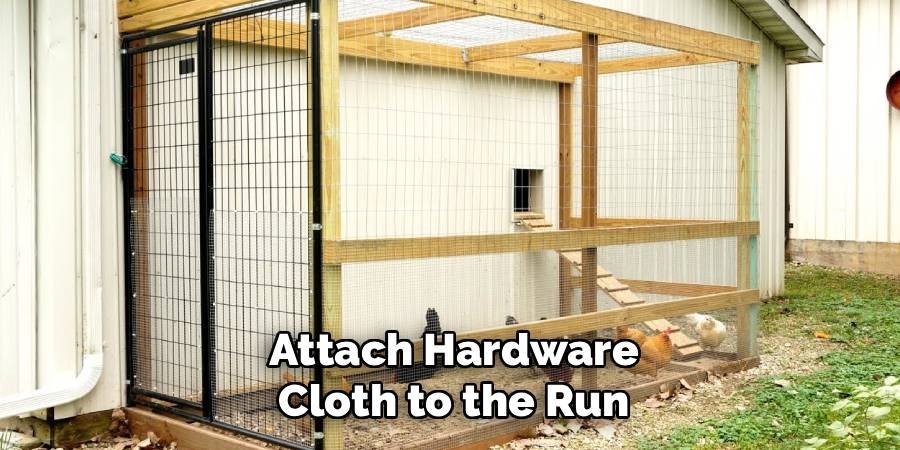
The final major construction step is securing the outdoor run area attached to your coop. Never use chicken wire for predator protection, as dogs and raccoons can tear through it easily. Instead, invest in 1/2-inch hardware cloth, which is a welded wire mesh that is virtually impenetrable. Bury the wire at least 12 inches deep around the perimeter of the run to stop predators from digging underneath. Attach the wire to your wooden frame using heavy-duty staples or screws with washers. This might be the most expensive part of the project, but it is essential for keeping your flock safe.
Install Doors and Locking Mechanisms
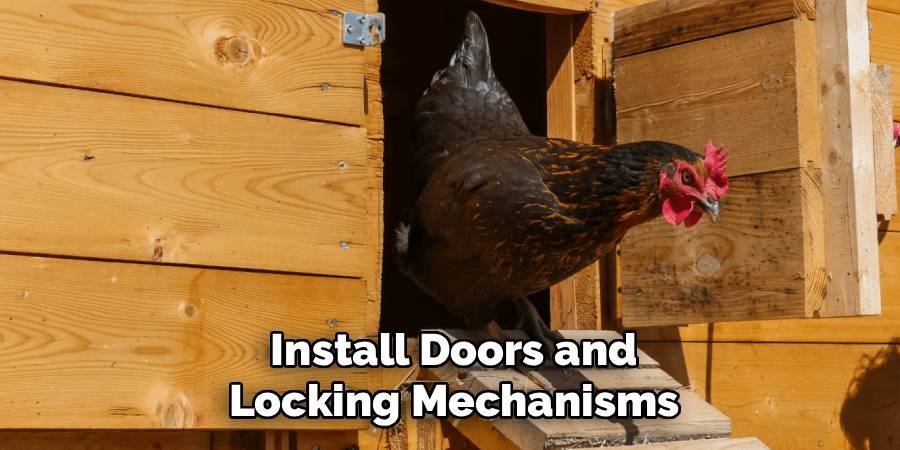
Access is key for both you and your chickens, so you need to build sturdy doors for the coop and the run. Build simple frames using 2x4s and cover them with the same siding or wire mesh used elsewhere. Install heavy-duty hinges that can withstand frequent use. The most important detail here is the latch. Raccoons are incredibly dexterous and can open simple slide bolts or hook-and-eye latches. Use spring-loaded carabiners or padlocks on every door. Knowing how to build a chicken coop cheap involves smart security, so do not skimp on the locks, as losing your flock is far more costly than a good latch.
Paint and Final Touches
Adding a coat of paint or non-toxic sealant not only makes your coop look great but also extends the life of the wood significantly. You can often find “oops paint” at hardware stores—cans that were mistinted and are sold for a fraction of the price. Choose a light color to reflect heat in the summer. Inside, consider laying down inexpensive vinyl flooring scraps over the wood floor to make cleaning easier. Add a ramp for the chickens to access the coop door, and fill the floor with pine shavings or straw. Your budget-friendly masterpiece is now ready for its new residents.
Frequently Asked Questions
What Is the Cheapest Material for a Chicken Coop?
The absolute cheapest material is often reclaimed or free wood, specifically shipping pallets. Pallets are usually available for free from local businesses and warehouses. While they require extra labor to disassemble and sand, the wood is generally sturdy oak or pine. Other affordable options include using “cull lumber” (imperfect wood sold at a discount) from hardware stores, or repurposing old furniture like dressers, playhouses, or large dog kennels into a coop structure.
Do I Really Need a Floor in My Chicken Coop?
Yes, having a solid floor is highly recommended for the coop itself. A dirt floor allows rodents and predators to dig their way inside easily. It also makes cleaning much harder, as moisture and manure mix with the soil to create mud and bacteria. A wooden floor elevated off the ground keeps the coop dry, warmer in winter, and significantly safer from burrowing predators. You can cover the wood with linoleum for easy cleaning.
How Much Space Do I Need per Chicken?
For standard-sized breeds, you should provide at least 4 square feet of space per bird inside the coop and about 10 square feet per bird in the outdoor run. If you are raising bantam breeds, you can get away with slightly less space, roughly 2 to 3 square feet inside. Overcrowding leads to stress, feather picking, and the rapid spread of disease, so it is always better to build slightly larger than you think you need.
Is It Cheaper to Buy or Build a Chicken Coop?
In almost every scenario, it is significantly cheaper to build your own coop, provided you have basic tools and skills. Pre-made coops are convenient but often use thin, low-quality wood and can cost $300 to $800 for a small setup. By building it yourself, you can source cheaper materials and build a much larger, sturdier structure for $100 to $200. You are paying for labor and marketing with a store-bought coop.
Can I Use Chicken Wire for the Whole Coop?
No, you should never rely solely on chicken wire. Chicken wire is designed to keep chickens in, not to keep predators out. Raccoons, foxes, and neighborhood dogs can easily rip through chicken wire or reach their paws through the large holes. You must use hardware cloth (welded wire mesh) with openings no larger than 1/2 inch for all windows, vents, and the lower portion of your run to ensure true safety.
Conclusion
Building a safe and comfortable home for your chickens does not require a contractor or a massive savings account. By repurposing materials, planning carefully, and putting in some physical effort, you can create a high-quality structure that rivals expensive commercial options. The satisfaction of watching your flock explore a home you built with your own hands is unmatched.
Remember that the goal is functionality and safety over aesthetic perfection. Your chickens won’t mind if the paint is a discount color or if the siding is made from old pallets, as long as they are dry and safe from predators. Now that you know how to build a chicken coop cheap, it is time to grab your hammer, gather your materials, and start building a backyard haven that will provide you with fresh eggs for years to come.

About
Jovie Mathews is a backyard and outdoor expert writer with over 12 years of hands-on experience transforming neglected outdoor spaces into thriving gardens and functional retreats. Raised in a family where weekends meant digging in the soil and building raised beds from scratch, Jovie developed a genuine love for the outdoors long before it became a career.
She writes with a practical, no-fluff approach — always testing ideas in her own backyard before sharing them with readers. From composting systems and native plant selection to patio design and pest control, Jovie covers the full spectrum of backyard life with equal parts expertise and enthusiasm.
Education
B.Sc. in Horticulture Science
University of Florida (UF) · Gainesville, FL · 2014
IFAS College of Agricultural and Life Sciences
Minor in Environmental Studies
University of Florida (UF) · Gainesville, FL · 2014
College of Liberal Arts and Sciences
Areas of expertise
- Lawn & Garden Care
- Soil prep, planting, seasonal care
- Outdoor DIY Projects
- Raised beds, fencing, pathways
- Composting & Soil Health
- Organic methods, amendments
- Native Plants & Wildlife
- Pollinators, habitat gardening
When she is not writing, Jovie can be found testing new composting techniques, growing tomatoes in questionable quantities, or convincing her neighbors that clover lawns are actually a great idea. She currently gardens in the Pacific Northwest.